Author Archives: Tim

More bunk….

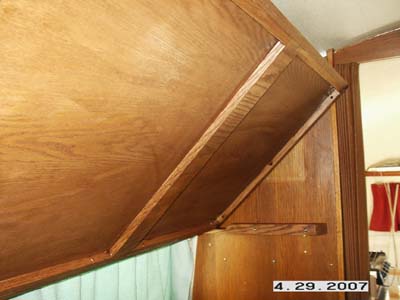
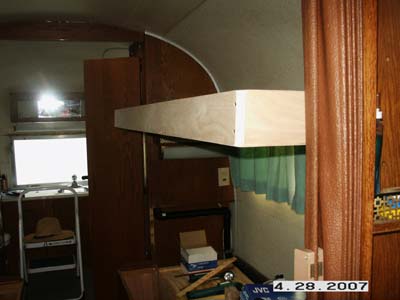
I got called into work this morning at 4:30am, so I did not get to do everything I wanted with the bunk.  Basically I was able to remove the upper cabinet on the street side and make the mounts for the bed.

It’s a shame to remove that cabinet, it was in great shape.  Its too big for me to store so it will likely meet the trash dump soon. 🙁

Here is the bed up on its mount.

pict0286a.jpg

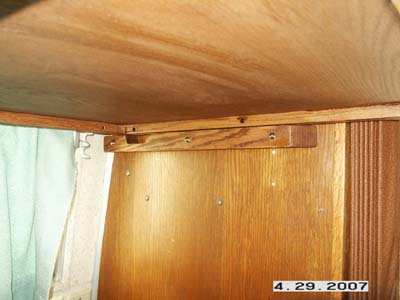
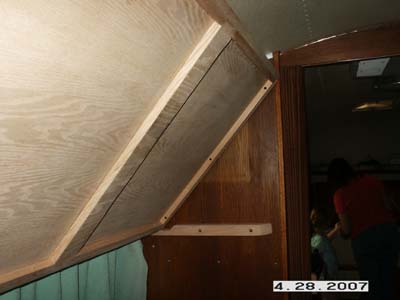
Here is a closer view of the stringers I made out of 2×2 oak.

And lastly a photo of the bed in the up position.  I’m just holding it there now.  I’ll probably wait until I get the mattress before mounting the latches to be sure I get them positioned right.

pict0288c.jpg

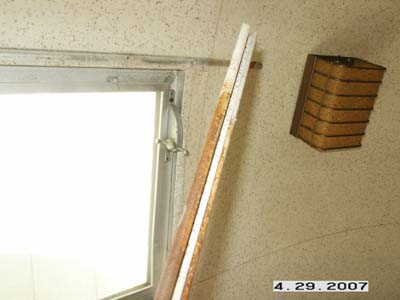
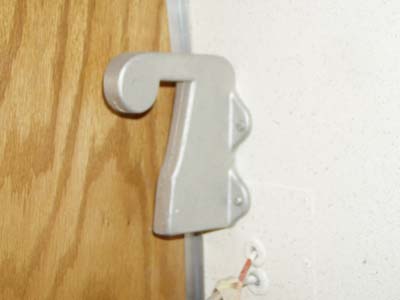
I still need to find these brakets or make them some how.  These keep the bed from falling off the stringers.

p1010015001.jpg

p1010017001.jpg


Anyone have any leads let me know!

Facebooktwitterredditpinterestlinkedinmailby feather

More bunk business

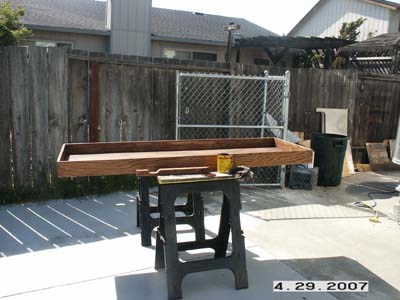
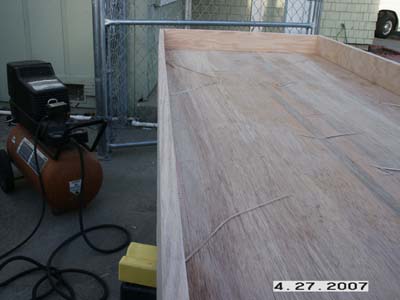
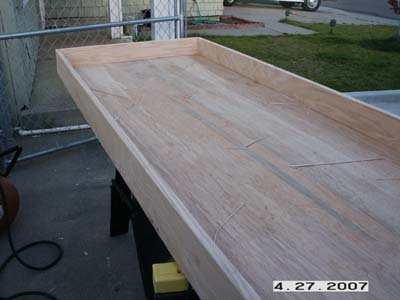
Worked on the bunk bed some more today.  Actually I worked on it yesterday but had no time to blog it since we did a show last night.

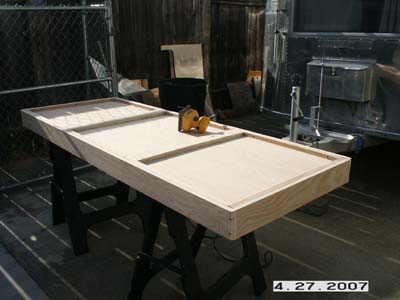
Here is a view of the bottom as I started to sand it.

pict0275a.jpg

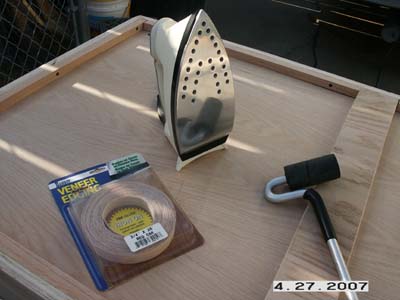
I was just going to sand it down and stain it, but I happened to see the oak edging strips that you iron on.  It hides the end grain of the plywood.  For $6/roll I thought I give it a try.  Remember, I’m not a woodworker at all.  Just a guy with a skill saw and a dull blade so this is all new territory for me :-).

pict0276b.jpg

Basically you just set the iron to cotton and start ironing on the trim.  It has glue built into it and starts going on pretty easy.  I then took the roller and hit it pretty hard with that.  This stuff is real wood, so you can sand and stain it.

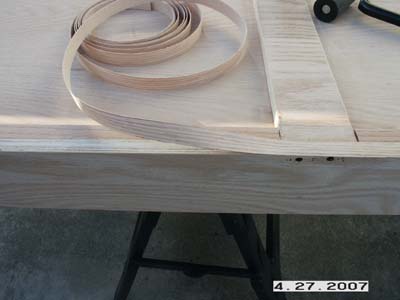
pict0277c.jpg

The edging is a little wider than the wood so you have to trim it.  They make a special edge trimmer for about $8, but since I’m most likey not going to be doing this again, I just used a razor blade. 

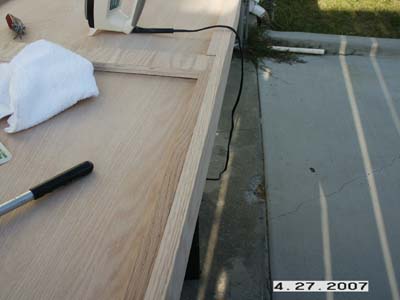
pict0278d.jpg

After practicing on the bottom, I went over the top.  Trimmed then hit it with the sander again.  I’m pretty impressed.  It gives it that extra detail.

pict0280f.jpg

pict0279e.jpg

Tomorrow will be staining, removing the existing upper cabinets, and building the bunk supports.

Facebooktwitterredditpinterestlinkedinmailby feather

Beginnings of a bunk

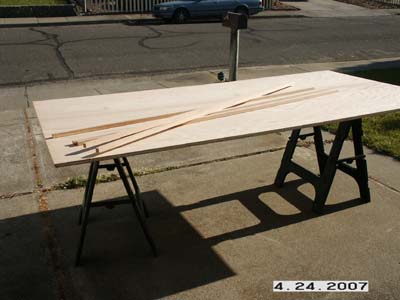
Time to start building a bunk bed.  It’s hard to believe this will end up a bed.

pict0273a.jpg

I’m trying to recreate an original bunk bed just like they were made in 1960.  I was able to get some photos and measurements from an AS buddy, Jim.  Thanks Jim.

I will have to come up with some wall brackets that keep the bunk from slideing when in the down position.  Anyone know of any available?

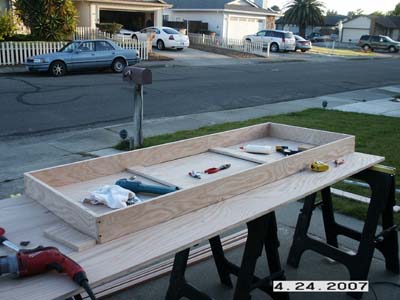
Here is what I have so far, still a little way to go yet.

pict0274b.jpg

It’s getting there….

Facebooktwitterredditpinterestlinkedinmailby feather

Two more leaks stopped …. I hope

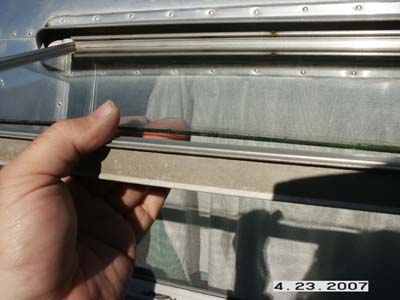
Durring the last couple of light rains I noticed water running down the window seal inside the curbside trailer bedroom.  Closer examination I found the original tape bedding for the glass had failed across the bottom.

pict0270f.jpg

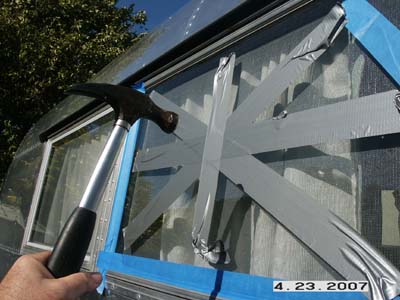
I tried to gently loosen up the remaining tape, and CRACK! went the glass, both of them.  So today I stopped at the glass shop and had them cut me two new ones.  I had to settle for 1/16″ because they did not have 3/32″.  The nice thing about these 60’s windows is the glass was $11 each, any glass shop can cut for you.  Not some special expensive and hard to get window.

So I did not feel to bad about having to do this….

pict0266b.jpg

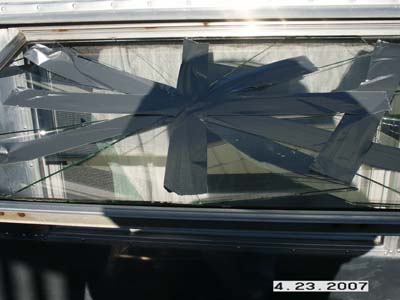
You guess it.  I had to break it out in peices in a controlled fashion.  It would have come out in peices anyway.

pict0271g.jpg

Wearing gloves I removed the larger peices of glass and dropped them to a waiting trash can below.

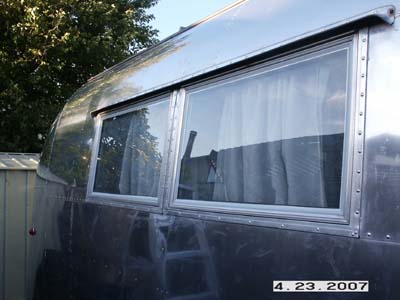
After cleaning up the old bedding tape and adding new.  I now have two new windows, that hopefully don’t leak.

pict0272h.jpg

Facebooktwitterredditpinterestlinkedinmailby feather

Lights done

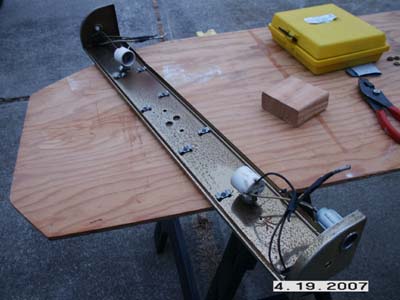
You’d think it would be simple, remove the lights, clean them up, repaint, and mount them back… 

Well, the problem is they are 47 years old.  The nice thing about each light is they are both 110vac and 12vdc, but that doubles the wiring.   On one light the switch was broken, another the wire was busted off the 12v convience outlet.  Yet another 12vdc light that did not work the wire was bad out of the wall, and another had a broken lense.  Each item needed attention.  Time adds up.

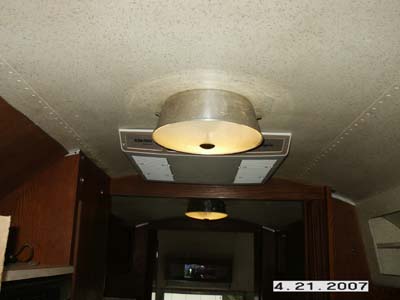
The original ceiling lights were carefully painted by a previous owner….

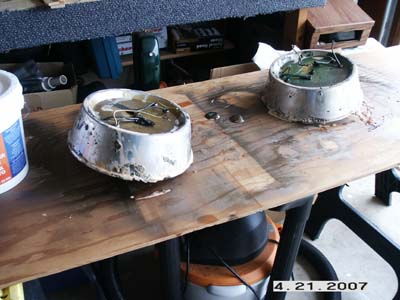
I decided to remove them, and simply spray paint them with the same bronze metalic paint.  After I did the paint started bubbling.  It was wierd.  I guess the PO’s green paint and my bronze paint don’t mix.

So I decided I would need to strip them first.  Out comes the left over Removall.

pict0256a.jpg

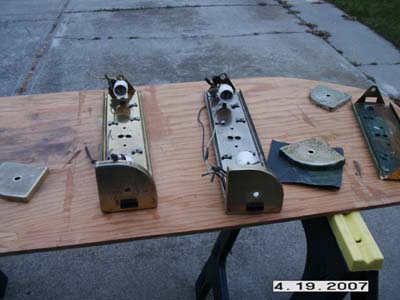
After the first application of removall I noticed these were aluminum.  I decided to do a second application of removall and see how well they cleaned up.  Maybe I would not repaint them at all.

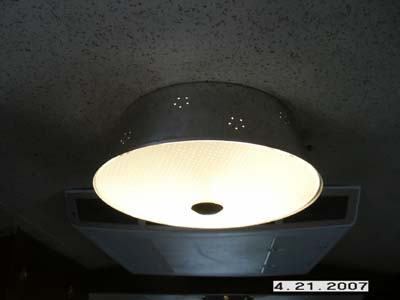
Turns out they looked pretty good.  Bare aluminum again…  Look out CCD…

pict0257b.jpg

pict0258c.jpg

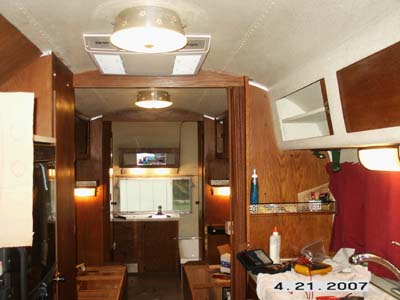
And after working through all the bugs I mentioned, I have 110v and 12v throughout as it was meant to be.

pict0261d.jpg

Just after I got cleaned up and came in the house, I found an auction for 4 matching leg-o-matic chairs on ebay was ending.  After a crazy bidding frenzie, I won these.

legos.jpg

The only problem is they are cherry and the Ambassador is all oak.  I’m not sure how much they will clash.  We will see.  Can always ebay them again….

We went to the local AS dealer this morning to turn in our paper for the free Wanderlust book.  While there I was able to check out a couple of Basecamps, pretty neat little trailer.

Facebooktwitterredditpinterestlinkedinmailby feather

Light refurbs

I removed all the light fixtures expect the two round ceiling mounts.

These were originally painted with some kind of brass paint, but were really peeling and rusting.

The PO tried painting one in place, along with the two ceiling mounted ones with some ugly green….. yuck.  And he got green paint on the zolatone.

pict0252b.jpg

pict0251a.jpg

I lightly sanded them and hit them with some of Rustoleum’s Metalic Bronze paint.  The same paint I used on the front wall sconces.

pict0255c.jpg

I’ll try to intall them back tomorrow.  Then I’ll have to work on getting the ceiling lights down.


Facebooktwitterredditpinterestlinkedinmailby feather

Tank you, tank you very much…

Well, I’m still pretty sick so I really should not have done anything today.  Its supposed to rain the next few days so I did some light weight testing of the tanks.

The first thing I did was repair the short drain pipe from the tub under the trailer.  Works great now.

Next quest was to see how much water my grey tank would hold.  It was calculated at around 27 gallons when I ordered it.

I found a sink and half in the kitchen equals 5 gallons.  I wanted to see how much water would go in before the water started coming back up in the tub.  After 25 gallons, it started backing up in the tub.  And even though all the plumbing lines are new it was still nasty because of the rust in the cast iron tub trap that I reused.  Even though I back flushed it while I had it out.

Anyway, I’m sure its the 27 gallon capacity like I designed, since my sink method is not scientifically approved :-).   So I’m happy about that.  I was a little worried on how it would work because of my wierd grey tank design.  Maybe we should talk about that for a minute.

You’re looking at a side view of the trailer.  The kitchen sink, bath sink, tub, plywood sub floor, and grey tank.

grey-tank-system.jpg

Basically I had to go with this tank layout because the tub sat on the floor.  I suppose I could have build a platform but that could have caused further complications.  Remember, this design in 1960 was not meant for a grey tank.  The grey water was to be dumped straight on the ground as you used it.

The kitchen sink is pretty straight forward.  Its vented and drains right into the top of the tank.  Tank gets full and your done.  The vent also acts as the tank vent so it can fill completely (lets the air escape), and drain quicker.

The draining of the tub and bath sink together into the side of the tank was some what of a different idea.  In theory, as long as the vent would allow the air to escape, the drain into the side of the grey tank would continue to take in water even after the inlet itself was under water.  ie. when the tank is half full.

It appears to work fine.   After I filled the tank until it overflowed the tub, I started emptying the grey tank.  After the water left the tub, I ran the shower to clean it out and it went down the drain w/o backing up even with the inlet on the tank clearly under water.

But there is one side effect.  After the grey tank gets to the point where its full to the side water inlet, the water line in the tub drain raises to within a couple of inches from the top of the drain.  Even though there is still plenty of tank capacity left.  The water just seeks its level in those connecting drain pipes.  It never rises out of the drain until the tank is over full and backs up.   So it works.   You could put a one way valve if you did not want to see water in the drain or backup into the tub at all if you wanted.  But the tub is a good place to have an overflow.  Just don’t keep stuff in it like some people do!

Short version if you skipped all that above.  Grey tank works, I’m happy with it.

Next was to overfill the black tank.  I wanted to see how it handled it and if there would be any leaks on the toilet base or the vent base in the closet, or the outlet flange on the bottom of the tank.

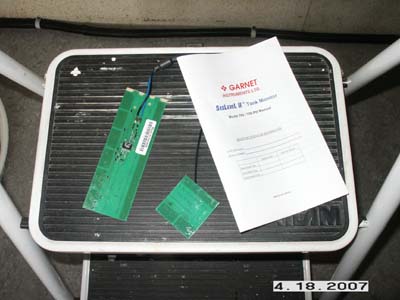
For fun, I taped on a See Level gauge on the side of the black tank to see how it worked.  The sensors a flexible circuit boards that you cut to lengh at specificed marks.  These sensors read from the OUTSIDE of the tank.  Therefore nothing to get dirty or stuck to in the inside, which causes most probe failures.

Here’s a shot of a sensor and the cut portion I removed.
pict0250c.jpg

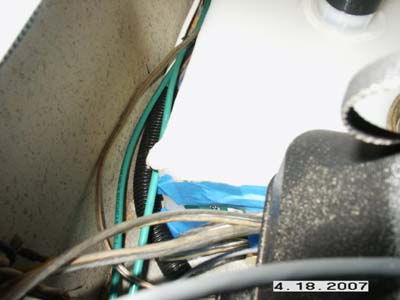
Next I taped it temporarily to the side of the black tank for testing.  You can see it there among all that blue tape.
pict0249b.jpg

The sensors have a self adhesive once you are sure where you want them.  Next thing I did was just started filling the toilet.  I kept my foot on the petal and let the tank fill up.  As it filled I kept checking the See Level to see how it was doing.

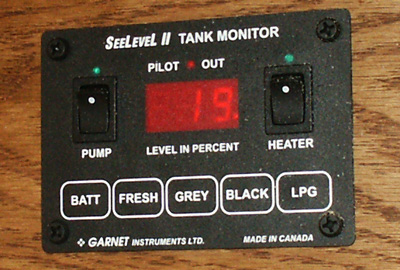
I was quite impressed as it matched what I was seeing in the side of the tank with my flash light.  Here is a shot of the tank monitor when it was 19% full.
pict0247a.jpg

But I just kept going and going unil the monitor said 100%.   Then I looked at the tank, it was dead on.  But, I wanted to see how my setup would handle an overflow condition! :-)  Literally just about 15 seconds more of water and the toilet started filling…  As it got this full there was an audible expansion noise from the plastic tank.  It grunted! 🙂

The display still showed 100%.  I checked for leaks around the toilet base, and vent outlet in the closest.  All good.  Went outside and checked the flange connection on the tanks output… again good.

So I pulled the black tank valve.  I did have my valterra cap on the drain with a 5/8″ garden hose attached to drain it out away from the trailer.  So it took a bit.  I was able to watch the tank start to relax then the tank monitor started dropping, 94%, 88%, etc…  And visual idication on the tank matched what the monitor was showing.

This system is really great if you have plastic tanks.  The sensors won’t work on metal tanks.  If you have a system thats not working, this is easy to retro fit.  You can use the existing sensor wiring, just stick this one on the side of the tank and you are good to go.  If you do buy one, tell them you heard about it on theVAP!

Facebooktwitterredditpinterestlinkedinmailby feather

Is it grey water or gray water?

Which ever it is I finally have a valve in place for it. 🙂

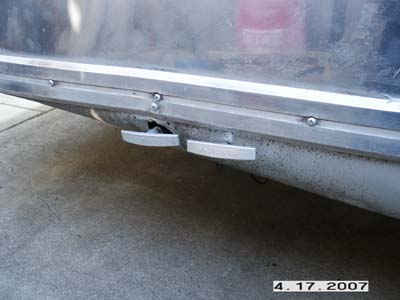
I ended up grinding the hole the factory put in the frame rail about 1/16″ more to fit the 90 elbow in.  This allowed me to use the cheaper valve that I wanted, plus kept it simple.

pict0240c.jpg

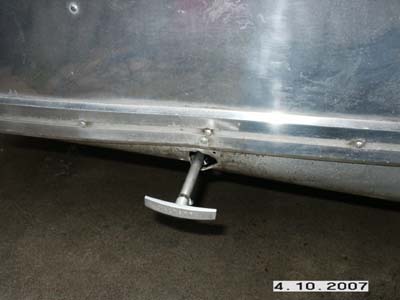
And something you don’t see too often on a vintage trailer….. TWO dump handles.  Yes that’s a grey dump handle in the front.

pict0238a.jpg

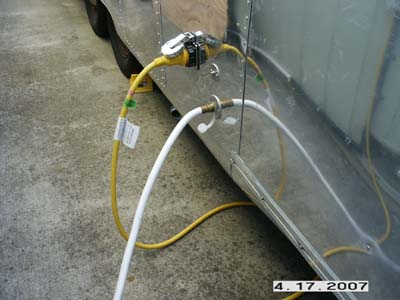
Now that the drains and valves were done, there was only one thing left to do…  Hook up a water hose 🙂 !

pict0242e.jpg

Well, I’m not going to say that I did not have any leaks…..  there were a few.  Those SeaTech fittings have to pushed in absolutely straight and in completely.  My last trailer I plumbed in cpvc.  Is is a rigid pipe made for hot and cold potable water.  It uses glue fittings that are quite compact compared to the fittings for PEX.  You can make a very small manifold with cpvc and put it the way you like and you’re done.  No leaks.

PEX on the other hand is bendable.  But it also holds its bend for some time.  Its sold in a large roll which causes problems.  For one I put in the system in the Winter so everything was cold.  The pipe kept is curved shape and basically went what ever direction it wanted.  Makes for a rather poor looking system when done.  Even small sections to join together the PEX would have its *learned* bend to it and cause the fittings to go different directions than you’d like for a clean system.

/PEX rant off

These bends caused some of my fittings to not be seated well.  A few had to be redone and now rewatched (is that a word).  One other spot is the drain under the trailer from the tub.  The ABS glued fitting is leaking.  Weird!?!  Not hard to redo though.

I even ran the 110v heater on the TwinTemp Jr. to check for hot water in all the right places.  Good to report it worked well.

pict0241d.jpg

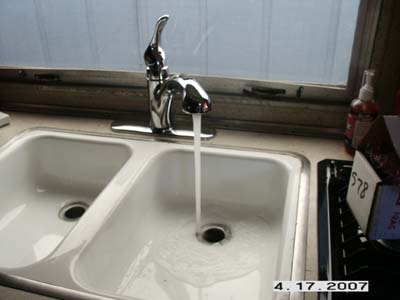
I filled the sinks and the tub a few times and let them drain.  They drained pretty good.  Guess my vent is working.  I was worried about the tub and bath sink since they are indirectly vented through the grey tank.  But they did fine.  Perhaps when the side inlet to the tank where they tie into is underwater it will be a different story.  I’m going to measure capacity with a 5 gallon bucket until it backs up in the tub.  I’m just curious.

Anyway, the valves worked fine.  No leaks from the toilet or the black tank.  I let it fill up part way.  I will do it again until it over flows the toilet to check for leaks.  Better now with clean water…… 🙂

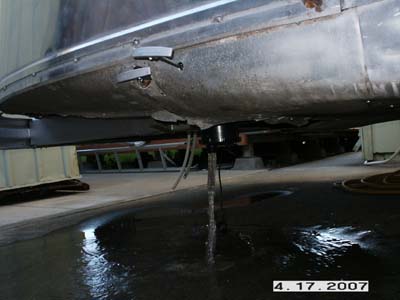
Thats the grey tank being emptied.  Rare thing to see on a vintage trailer.  Consider yourself privileged!

pict0243f.jpg


Facebooktwitterredditpinterestlinkedinmailby feather

Dump this project

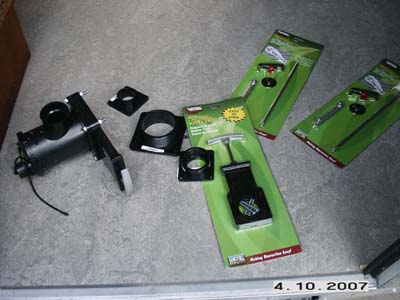
I wonder if I can put a waste dump system together with all this stuff….

pict0229a.jpg

The challange was to keep the bottom of the dump valve as close to the belly pan as possible.  This part of the trailer gets mightly low to the ground when backing up an incline.  The valve I took off had a rubber peice attached to it that extended around 4 inches below the belly and it cleared my driveway by about an inch.
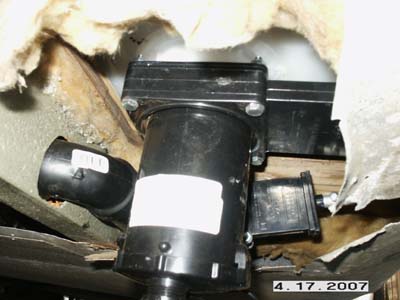
I have not measured this one, but it looks like it’s going to have a little more clearance.  This is another reason why I want to add more height with new axles.

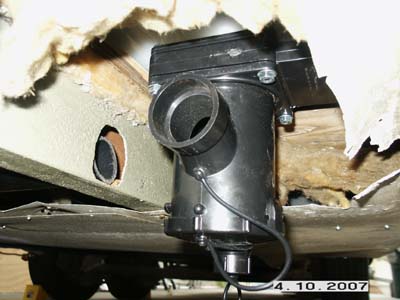
The black 3″ valve is pretty straight forward 🙂 as it goes straight down.  The tricky part is tieing in the grey 1.5″ valve.  In this photo is the original factory hole in the frame rail.  I was going to have my grey line go through it, and loop back and around into the side of the valve assembly.  But it’s looking pretty tight in there for all those 90 degree elbows.

pict0231c.jpg

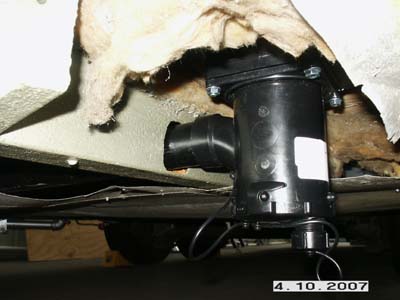
Another option is to tie in the grey plumbing directly like in this photo.  I’d have to use one of those remote valves that use a 72″ flex cable to pull the valve open.  These valves are around $60 instead of the $10 for a regular valve. 

pict0232d.jpg

I did have to get a handle exender to reach the outside of the belly pan.  I still need to fashion a trim peice for where the valve handle comes out.

pict0230b.jpg

Once I finish up this dump arrangement, with the expection of the fresh water tank, the plumbing will be complete.  I’ll just have to get up enough courage to hook a water hose up to the trailer! 🙂

Facebooktwitterredditpinterestlinkedinmailby feather
Cable and curtains

We’ve pretty much decided on this pattern for our new curtains.  We still need to order it and get that project going.  I’m figuring on 15 yards.  It’s called Old Caraca – Meadows.
fabric.jpg

Only had time for one small project.  I made a plate for the CATV connection on the trailer.  I cut it from an old aluminum sign.

pict0225b.jpg

I already had the coax cable run to the street side closet so I just drilled straight through and pushed the wire out.

pict0227d.jpg

Added a little vulkem and a couple of screws and wala! 

pict0228e.jpg

Not bad, and kind of matches the water inlet.   It was either this simple idea or buy the Marinco CATV and Phone inlet.  It would have matched the Marinco electrical inlet.  But I didn’t want to go through drilling another large hole! :-)  I do have the phone cable in the closet just waiting there.   Seems like cell phones and wifi are all the communications used anymore anyway.

Facebooktwitterredditpinterestlinkedinmailby feather