Monthly Archives: May 2008

Small Things

A few weeks ago when I was working in the Ambassador I stepped on the shower curtain and pulled three of the curtain tabs loose.

So today I took a few minutes to sew the tabs back on. You can get these tabs from Vintage Trailer Supply.

Here is a shot of the tabs I sewed on the curtain.
curtain.jpg

curtain2.jpg

curtain3.jpg

Here is the final product.

curtain4.jpg

Since I had the needle and thread out, I went ahead and fixed the room divider. It has metal rods that help form the curtain and they were all loose because the thread holding it together are missing.

divider.jpg

There were lots of bad spots on this divider. This took forever to fix by hand. We have one of those portable handheld sowing machines but I have no idea how to use it…. bad for me. At least its done and holding together.

divider1.jpg

Ya, its ugly,,, but done.

Last little job was the door stop. There was a dried up rubber door stop to keep the door handle from contacting the trailer skin. I had purchased a rubber plug and made a replacement but it did not last.

I happened to run across a rubber foot from an old piece of electronic equipment. It looked perfect for the job.

doorstop.jpg

doorstop2.jpg

doorstop1.jpg

That should do it. Nice to be down to such small repairs 😉

Facebooktwitterredditpinterestlinkedinmailby feather

Spare Tire and More

There were of course no keys that came with the Ambassador when I bought it almost 2 years ago. I have since gotten all the keys working by buying new lock cylinders or have the local locksmith make a key when I brought him the lock.

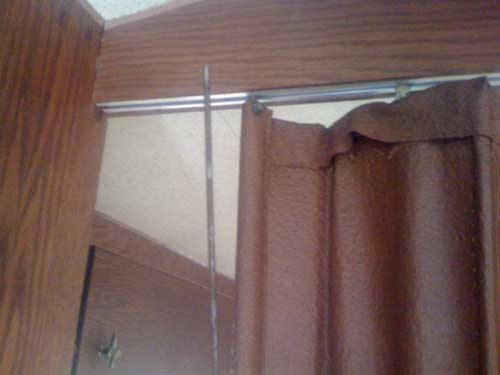
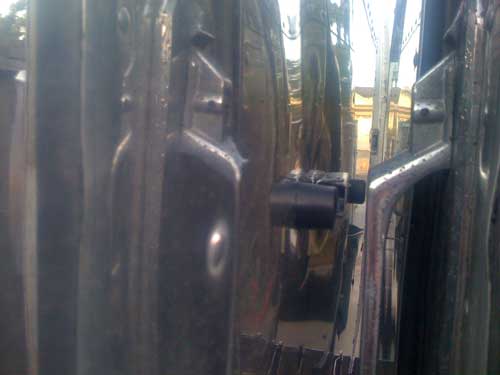
I had one key still missing to the storage compartment toward the back on the curb side. It is installed such a way as you cannot remove it easily. Colin had suspected that the key to his access door on his ’59 Ambassador would work. I had since been bugging him for over a year to get a copy to try. At the CBR he brought a copy of his key, and I found anyone with a similar hatch and borrowed their keys to make copies. I tried from a ’58 – ’61. Spent about $11 on keys.

When I returned home to California, one of the first things I tried was the hatch keys. Not one of them worked! I was bummed.

After polishing the trailer since it was all hooked up, I decided to tow it to the locksmith and see if he could make a key from a 50 year old lock. He had a small scope much like the doctor uses to check your ears. He looked in the lock for a couple of minutes and came back with a key, after a couple of tries, it worked! He fine tuned the key and for $21 and fifteen minutes, I had a perfect key…. finally.

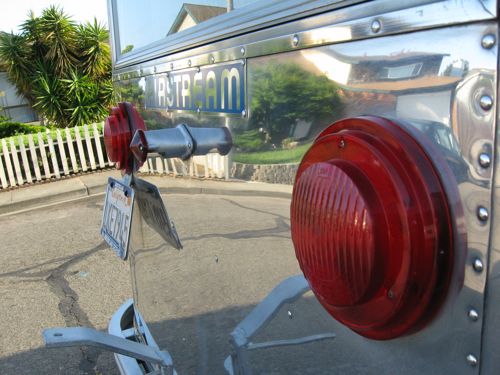
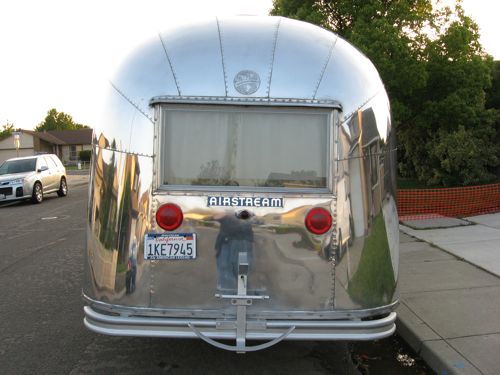
Todays project was another long awaited one. I have been carrying the spare tire in the bed of the truck. There is a spare tire carrier on the trailer. Its pretty much rusted to the rear bumper, they are one now. A lot of people are scared to put a tire on the rear and if they don’t know their floor and frame are solid they are probably should be. Since I repaired my rear floor and the rear frame, I decided to go ahead and use it. I have seen a lot of photos and videos of these old trailers carrying even two spare tires on the rear bumper on those around the World caravans, so I’m not too worried.

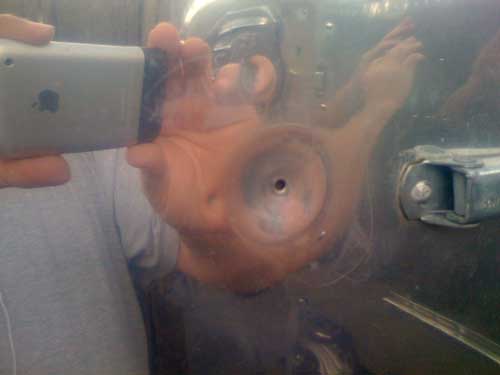
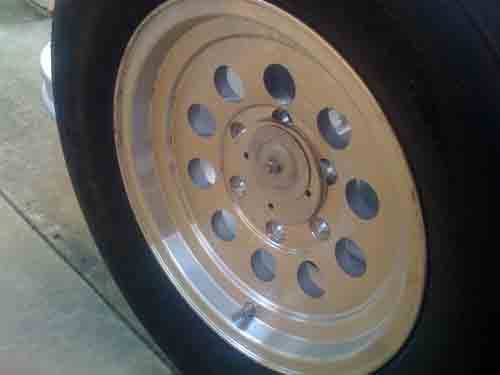
I was missing the parts to secure the rim to the mount. I ended up re-purposing a floor flange used in electrical plumbing parts. Here are some photos.

tire3.jpg

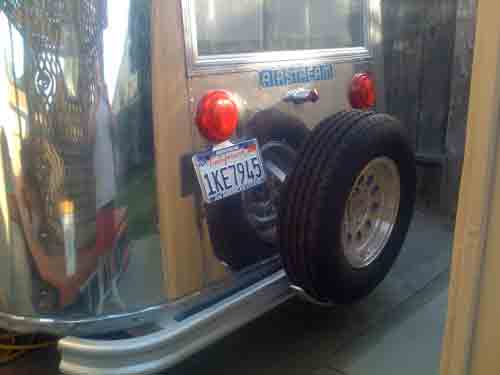
Here is a close up of how its secured to the carrier. Since the wheel is aluminum I cut a piece of cork to help keep the metal from marring the wheel.

tire4.jpg

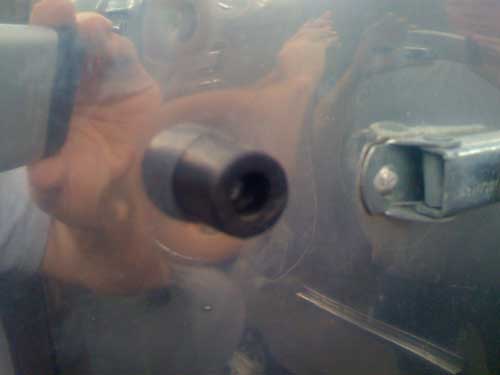
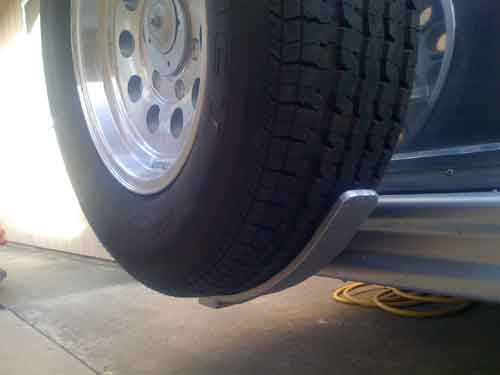
Some more close ups of the mount. The bottom bracket is actually supporting the tire weight. The nut is just keeping it from coming of the mount.

tire.jpg

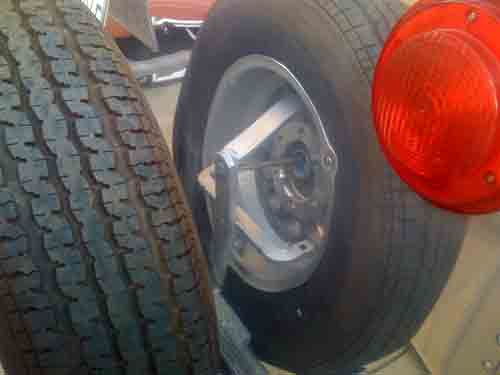
This last shot shows the rear view. There are two holes in the mount. I’m going to run a cable lock through them and the wheel to keep it secure.

tire2.jpg

Facebooktwitterredditpinterestlinkedinmailby feather

Final polishing photos

final5.jpg

The moment you’ve been waiting for. I waxed half of the trailer with Nu Finish. I should be able to complete that tomorrow.

Overall I’m pretty happy with the job. But I do see the flaws. Check this close up and notice the compounding swirls. This is after compounding with C, cycloing with F7 then again with S.

final1.jpg

I think it will just take more cycloing with F7. Perhaps as much as 4 – 5 times. Maybe I’ll try again next year.

Here are some other photos. Street side close up.

final4.jpg

final3.jpg

final2.jpg

That’s it for now. I’ll move the trailer back to its place on the side of the house in the next couple of days.

Facebooktwitterredditpinterestlinkedinmailby feather

Add 9 and done…. for now

I put in three hours a day the last three days. That puts me at a total of 90 hours, or 20 hours for my polishing update.

I looked closed at the curbside and noted that even though I cyclo’d with F7 then again with S, there are still lots of compounding swirls. Like I said earlier I think you have to cyclo with F7 until the swirls are gone. I’m out of polishing steam…

On the street side I just cyclo’d once with F7 and left it at that. Its comparable to the curbside. So my advice is to not waste the S polish until you have the swirls gone from earlier work.

Anyway, I finished up the front of the trailer, including a quickie job on the propane tanks. So I’m done for the year.

Next is to hand polish a coat of Nu Finish on it. Then I’m done. I’ll take some decent photos then. I do have this one photo from my phone I took….

Enjoy.

streetside1.jpg

Facebooktwitterredditpinterestlinkedinmailby feather

4 more make 81

I put four more hours in today. Basically I now have the curb side finished save the wax.

I tried an experiment. On the rear end cap after compounding with C, I went straight to cycloing with S. Turned out pretty well. One thing is at night with headlights shinning on it you can still see the swirls from the compounding.

So the test was I did the rest of the side in two steps. I cyclo’d with F7 then again with S. Although I have not shinned a headlamp on it, the verdict….. direct to S is fine for me.

There are still swirls after the two steps. Basically its because you probably need to do the F7 cyclo about 3 – 4 times and only do a two-square foot area at a time and move the wrap cloth more often. I am not about to put that much time into it on a 28 foot trailer!

So the street side will get direct to cycloing with S after the compounding with C. Your mileage may very.

So as I type this I have a grand total of 81 hours into the polish job with an estimate of another 10 – 12 to complete this touch up. I need to compound the street side and front of the trailer and do the two propane tanks.

Here are some photos. Note, taking photos of polished trailers at dusk is cheating… they all look better that way.

polish_curb2.jpg

polish_curb1.jpg

polish_curb4.jpg

This last one is the street side and can be used as a before photo on the curb side..

polish_curb3.jpg

Thats it for now…. Compounding continues tomorrow….

Facebooktwitterredditpinterestlinkedinmailby feather

Keeping count

No photos today. Photos and black polish oxidation don’t go well together.

Since the last post I put another 5 hours into the compounding. I’m just going to add to my original polish count and call it 77 hours.

I have the curbside finished with the compounding. I’m going to start with the cyclo next before I start on the street side….

Facebooktwitterredditpinterestlinkedinmailby feather