I was doing my pre-camping checks on the trailer and lit the water heater to give it a good test. Then I noticed water dripping from the Relief Valve. Not good.
Some might worry the valve is bad, but I remembered reading somewhere years ago that this can happen when the “air gap” in the tank is gone. The air gap is nothing you can really control, but it’s necessary for proper operation. It allows for water expansion as it heats. Overtime, the gap becomes smaller and water can start leaking out the Relief Valve.
Unfortunately, I didn’t remember exactly how to put the air gap back. I thought I had to drain the tank, which is also a good maintenance practice anyway.
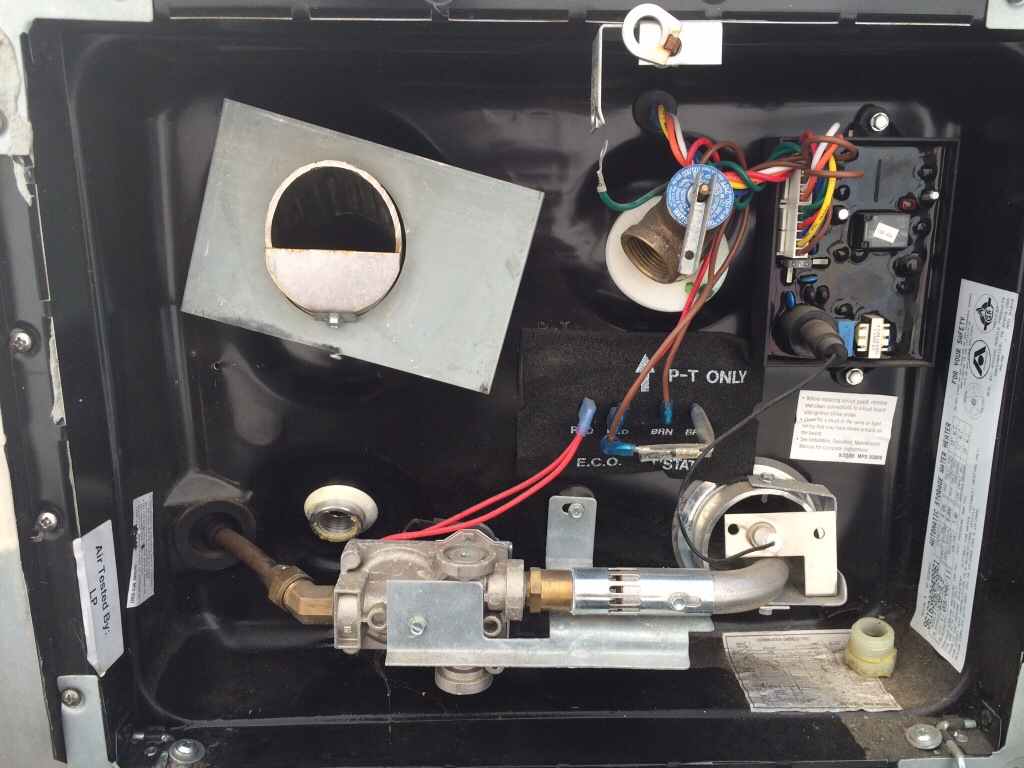
So I set out to drain the tank after it cooled overnight. Access to the drain plug was difficult because of the exhaust
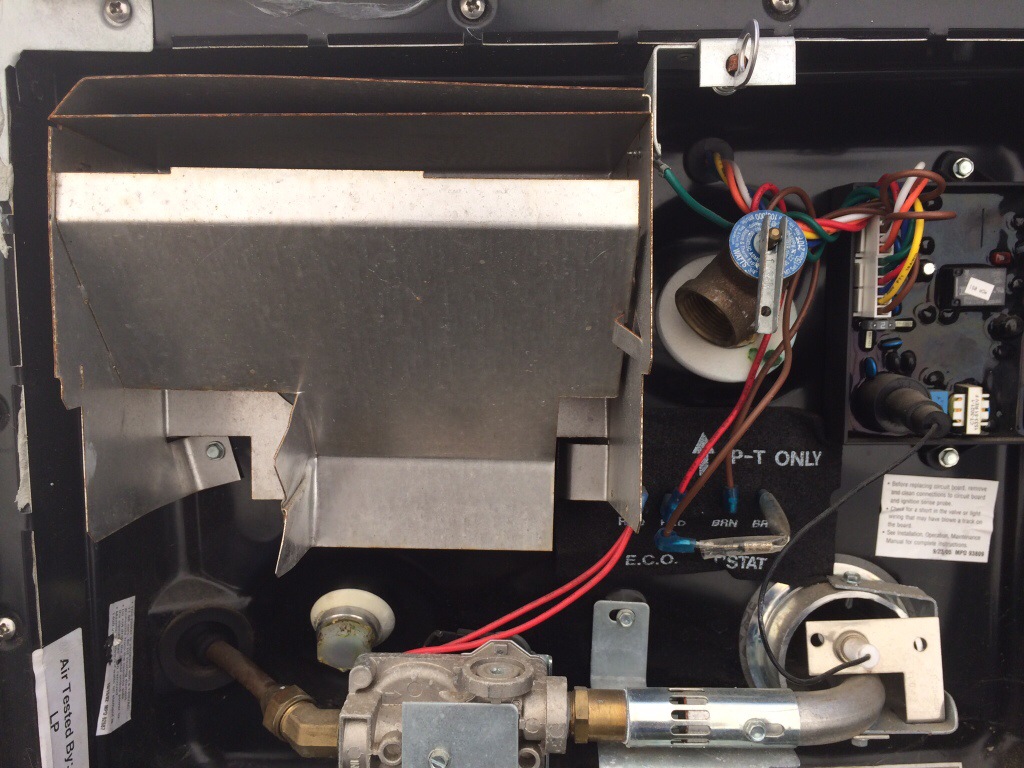
Two 1/4″ bolts was all that holds on the exhaust. Makes getting to the drain much easier.
With the drain plug removed the water started seeping out. This is why you want it to be cool. Not a good time for uncontrolled hot water! I pulled the release on the Relief Valve which let air in the top of the tank and really sped up the draining.
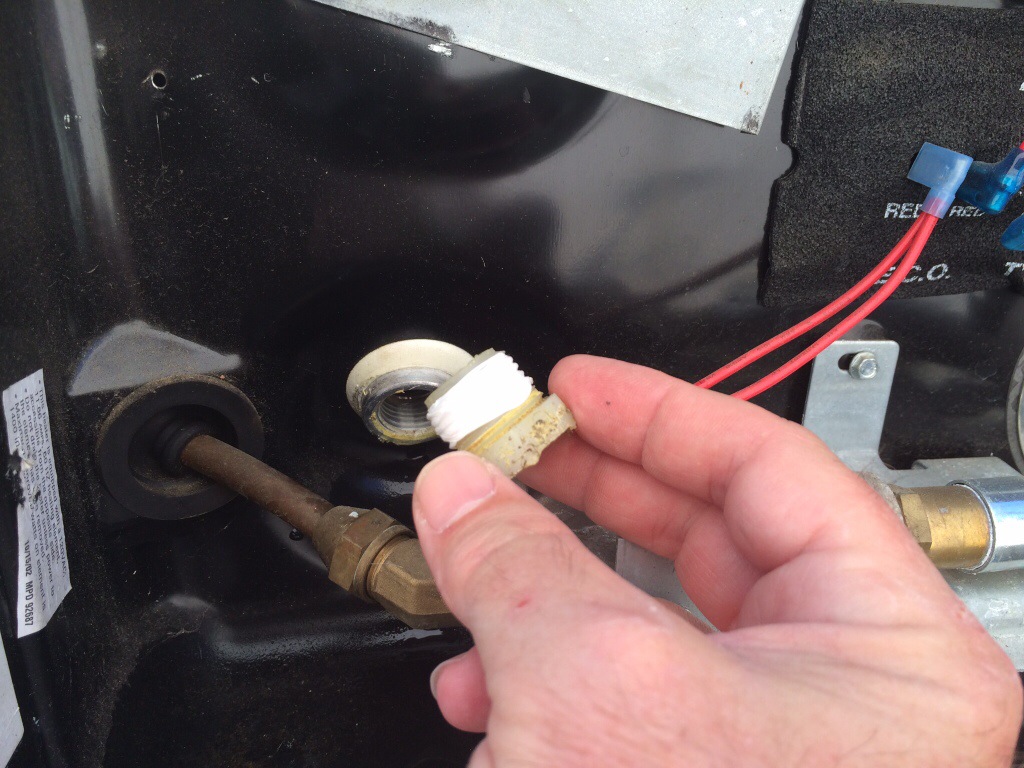
Be sure to add some teflon tape before installing the drain plug. Start it by hand and be careful not to cross-thread or over-tighten it. Refill the tank and check for leaks.
After I did all this work, my seeping Relief Valve was fixed, but as I mentioned, I didn’t need to do all of this work.
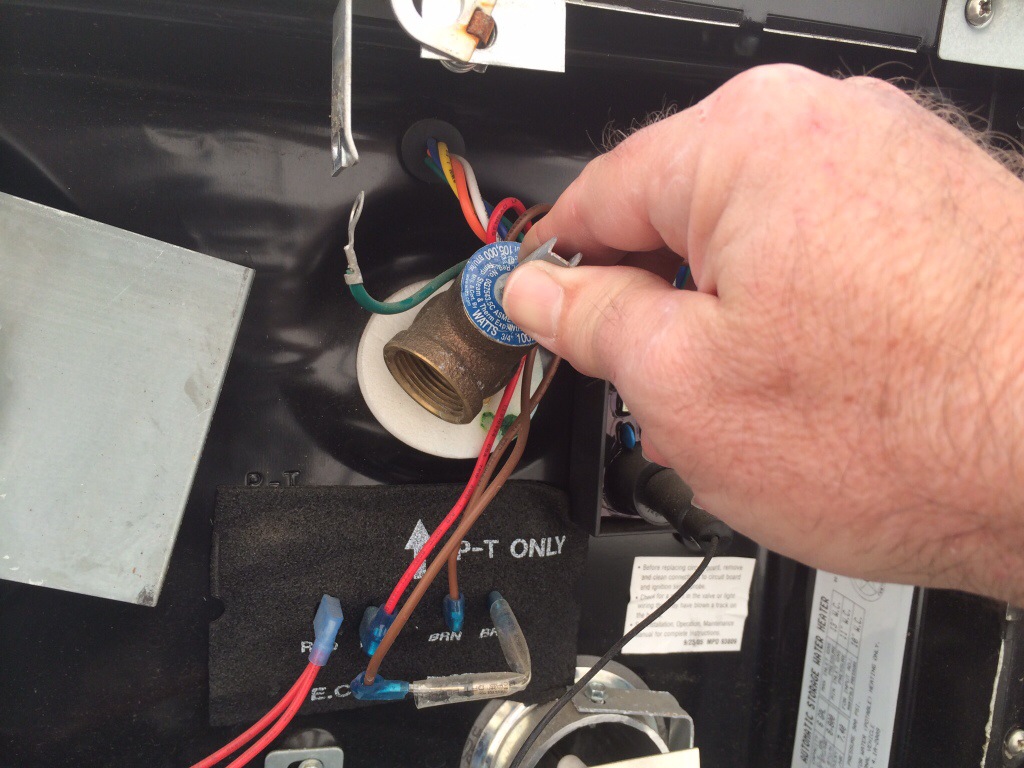
All you need to do is, after the water is cool in the tank, open a hot water tap closest to the tank, then pull the lever on the Relief Valve and allow the water to drain from it restoring the air gap.
Oh well, I don’t mind going the extra mile. 🙂
Here is the excerpt from the Atwood manual.
PRESSURE-TEMPERATURE RELIEF VALVE
WARNING EXPLOSION
• Do not place a valve, plug or reducing coupling on outlet part of pressure-temperature relief valve.
A Pressure Temperature Relief Valve, dripping while the water heater is running, DOES NOT mean it is defective. During normal expansion of water, as it is heated in the closed water system of a recreation vehicle, the Pressure Temperature Relief Valve will sometimes drip. The Atwood water heater tank is designed with an internal air gap at the top of the tank to reduce the possibility of dripping. In time, the expanding water will absorb this air and it must be restored.
TO REPLACE THE AIR GAP FOLLOW THESE STEPS:
1. Turn off main water supply (the pump or water hook up source).
2. Let water cool or let run until cool.
3. Open the hot water faucet closest to the water heater.
4. Pull handle of pressure temperature relief valve straight out and
allow water to flow until it stops.
5. Allow pressure temperature relief valve to snap shut; close faucet;
turn on water supply.
6. Turn on water heater and test.
• At least once a year manually operate pressure-temperature relief valve.
When pressure-temperature relief valve discharges again, repeat above procedure. For a permanent solution, we recommend one of the following:
• Install a pressure relief valve in cold water inlet line to water heater and attach a drain line from valve to outside of coach. Set to relieve at 100-125 PSI.
• Install a diaphragm-type expansion tank in cold water inlet line. Tank should be sized to allow for expansion of approximately 15 oz. of water and pre-charged to a pressure equal to water supply pres- sure. These devices can be obtained from a plumbing contractor or service center.


 by
by