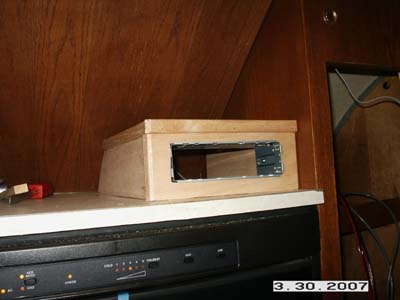
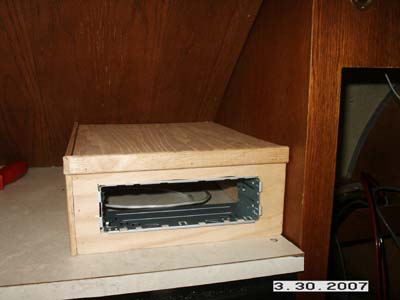
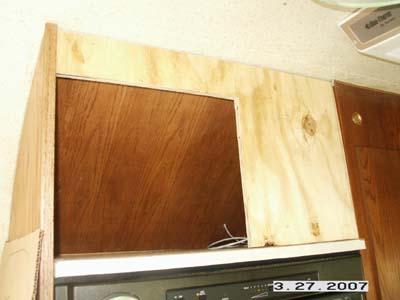
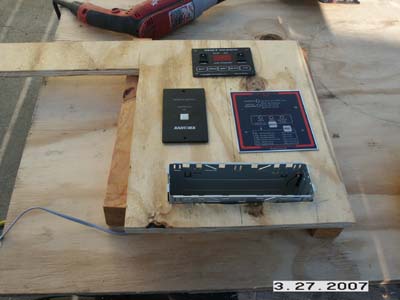
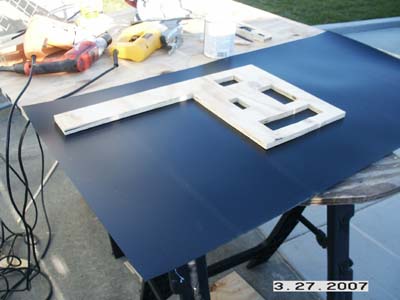
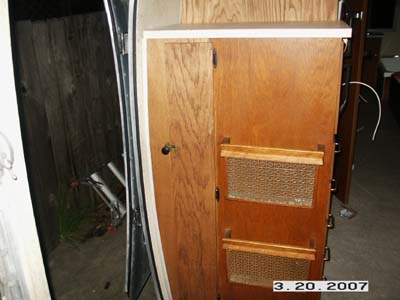
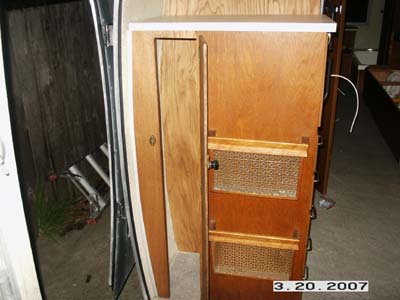
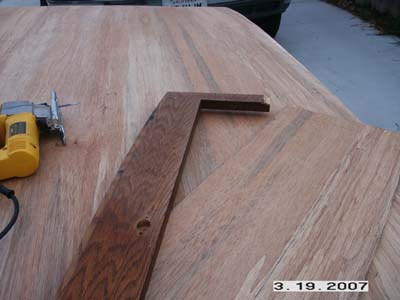
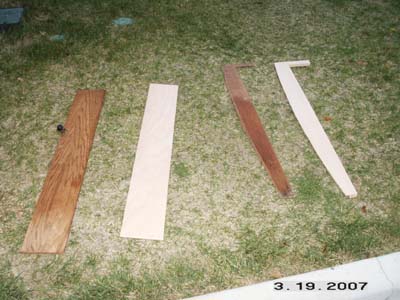
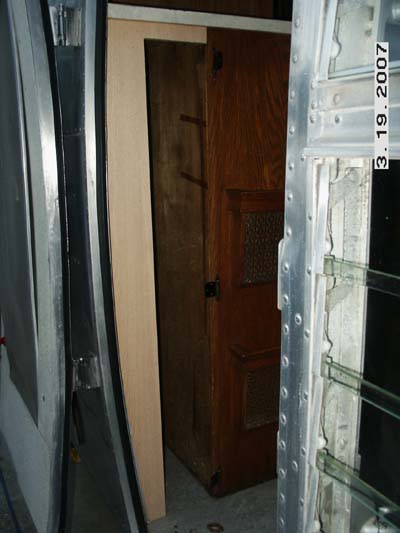
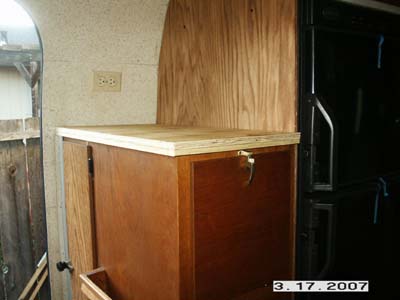
Started off this morning building my instrument panel for inside the pantry. I went ahead and stained it along with my new improved stereo box.
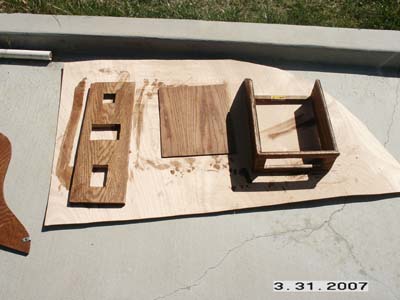
While that was drying I had an idea about the DVD player. I was originally going to put it in the pantry as well. But that started taking up food space, and you would not be able to use the remote to control the DVD player.
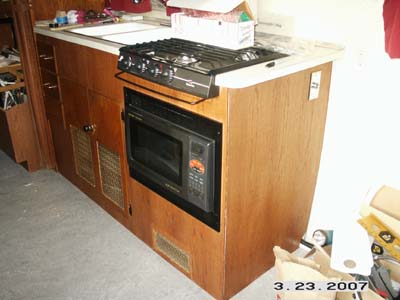
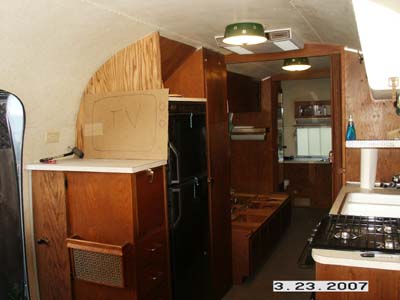
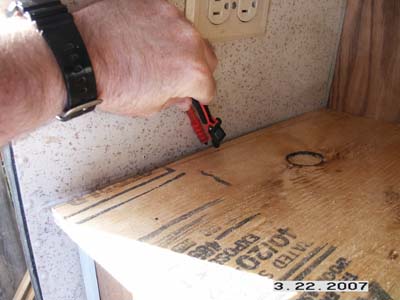
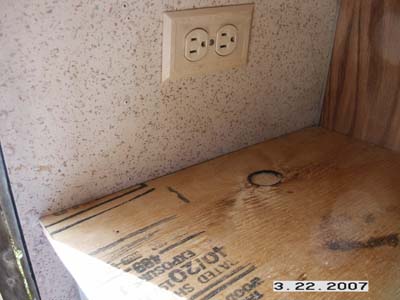
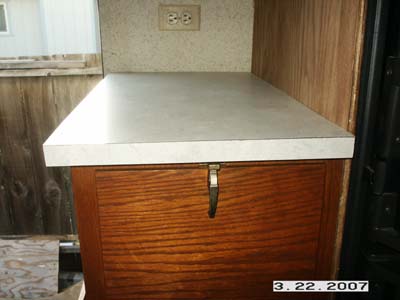
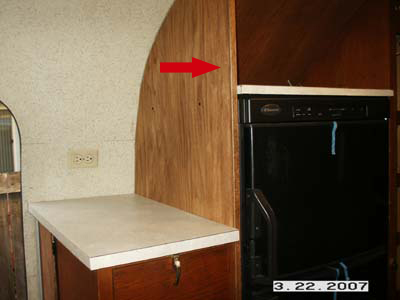
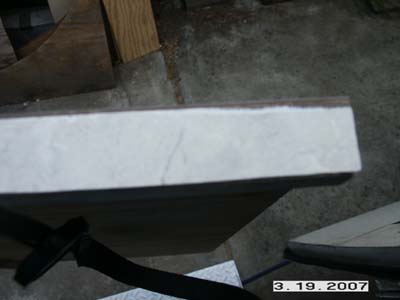
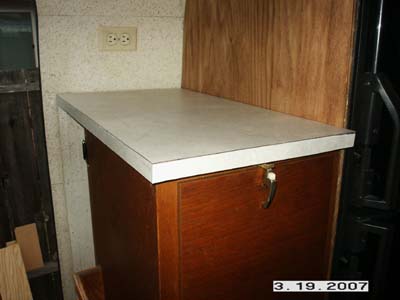
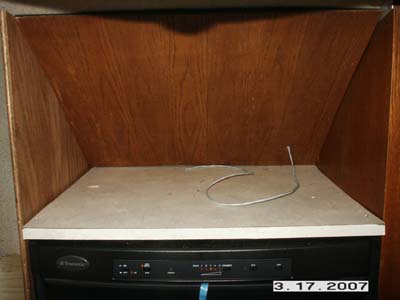
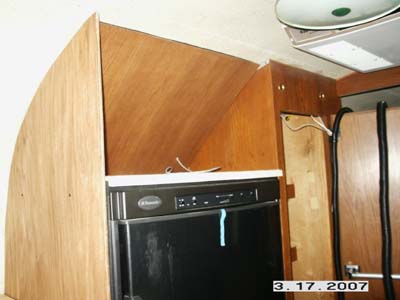
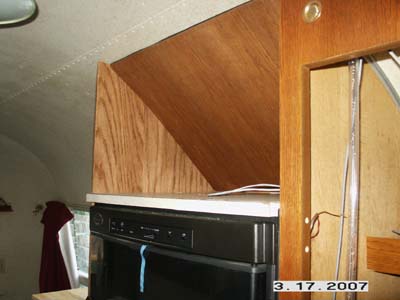
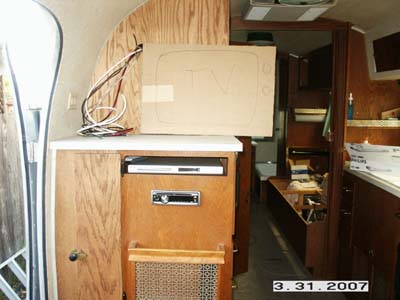
So my new idea was to make an opening with a shelf in the cabinet below the TV. This required removing the countertop and the cabinet door so I could run the router to make the opening.
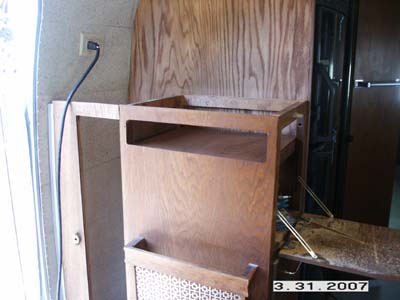
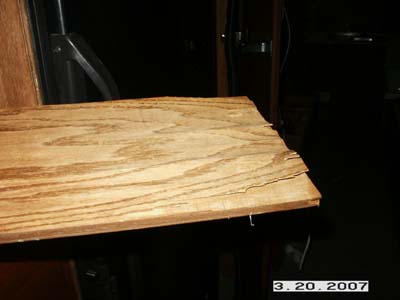
Man, that router saw dust gets everywhere. Anyway, I made a shelf out of 1/8″ oak, stained it and put it in. I like the way it turned out.
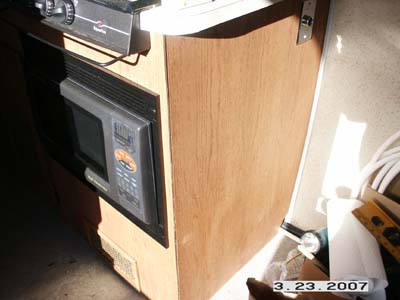
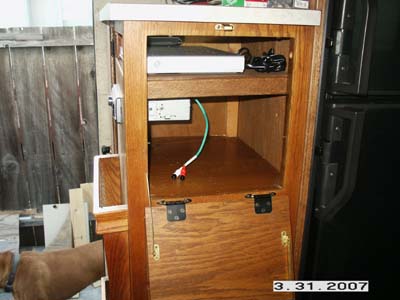
This gave me an idea though. I still was not really happy with my stereo box. I just looked out of place and it took away valuable shelf space. So…. I put it in the side of the cabinet as well, just under the DVD player.
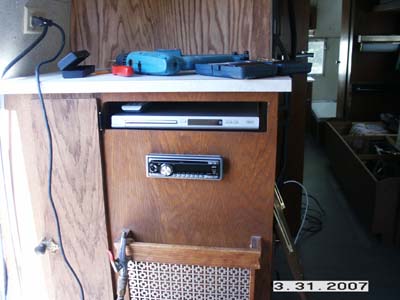
I like it. It sits a little low, but everything in a trailer is a comprimise anyway. So now I don’t need my newly stained custom stereo box… Only problem with moving the stereo here is that I had already cut the wires to length for it to be above the fridge. So a little creative wiring is in order.
Speaking of wiring. It was time to secure all those wires that I ran to the pantry. I needed to start wiring all my devices but of course I did not label any wires. I used my tone generator to hunt them out. First you put the tone generator on one end of the wire. And use the tracer on the other. Makes simple work of it.
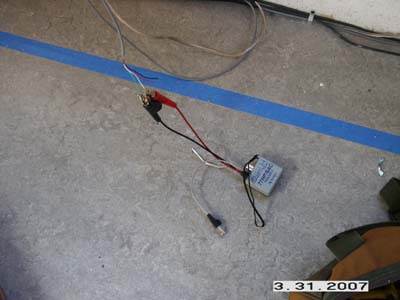
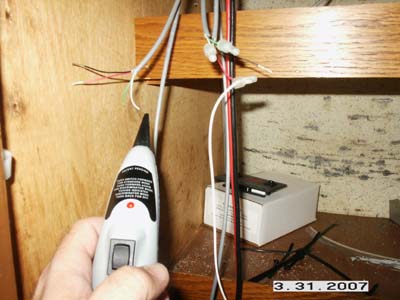
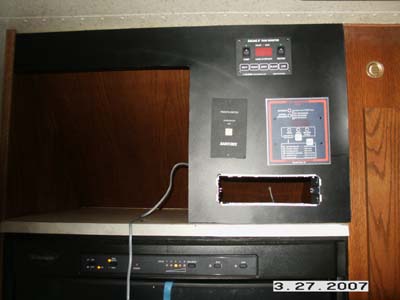
With all the wires sorted, I got the panel fixed up. From left to right its the SeeLevel tank monitor, Tri-Metric battery system, and Xantech remote inverter switch.
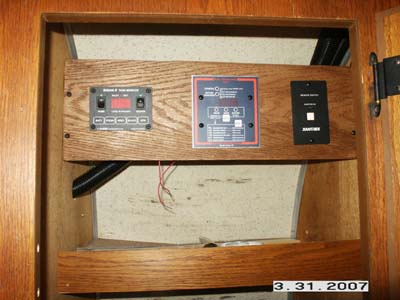
The two red wires hanging there are waiting for a switch. These will turn on the fans I put in the fridge chimney.
I’m pretty pleased with the way this turned out. I can simply close the pantry door and all this high tech stuff goes away. It keeps it from standing out too much, yet simple to get to when needed.
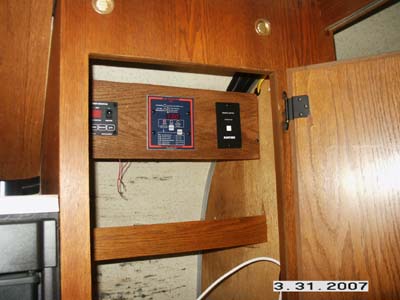
All the panels are now wired up and working. The remote inverter switch turns on the inverter that’s under the curbside bed with the push of the button. All the outlets on the curbside switch over to the inverted power automatically.  The DVD player and TV’s will be plugged into the curbside outlets so we can use them when we are not hooked to city power.
The tri-metric is hooked up and running as well. I can monitor battery voltage, current to and from the battery, precentage of battery power available, number of days since fully charged, etc… Its nice because now I can turn on any particular item and see how much power it’s drawing and decide if I need it or not.
The See Level gauge is wired up, but the tank sensors are not. One neat thing about the gauge is that is has two switches. One switch is labled heater, and another is labled pump. I ran a two pair wire from the panel to the TwinTemp and another up to the front of the trailer where the water pump will be.
I wired the heater switch on the See Level to a relay located near the TwinTemp. So now when you flip the switch on the See Level for heater, the TwinTemp turns on :-). I used the second pair of wires in the cable to connect the Dometic Climate Control Center to the TwinTemp thermostat wiring. So the CCC will now control the TwinTemp in furnace mode!
Here is the relay under the streetside bed that powers up the TwinTemp.
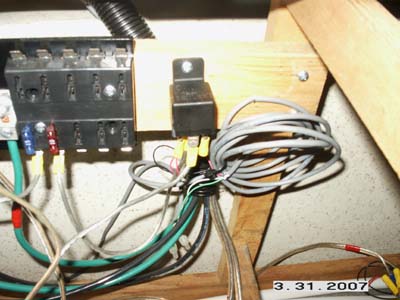
I also wired the same kind of relay up front near where the fresh water tank will be. So the See Level pump switch, will control the Shurflo water pump.
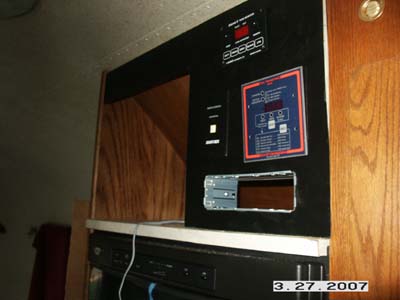
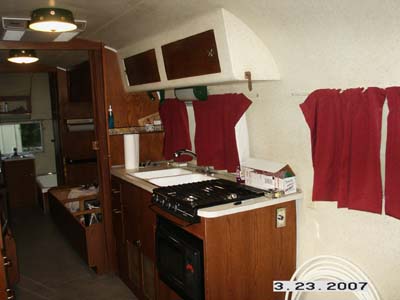
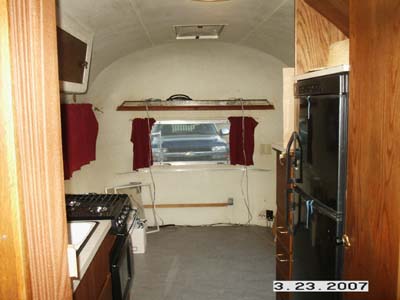
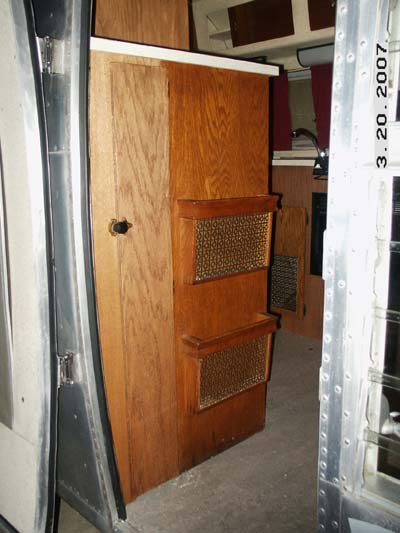
Here’s a couple more shots of the entertainment center. I still need to finish running the wires down to the stereo.
Overall I’m pretty happy about the days progress. Stay tuned….

