Author Archives: Tim

Electrical and more

The original electrical connection on this trailer for the 110vac shoreline is on the curb side of the trailer.  It feeds two (very old) 20 amp breakers.  These two breakers supply power to the outlets in the trailer as well as the lights.

Since I am going to be adding some modern appliances, ie. A/C, mircowave, TwinTemp, I need to update the electrical panel.  I purchased the smallest panel I could find that would support the number of breakers I needed.

Besides updating the eletrical panel, I’m also going to move the 110v ac inlet to the street side so it will be closer to the hookups found at modern campgrounds.  I purchased a Marinco 30amp stainless steel power inlet for this, along with a Marinco 30′ RV cord as well.  This should be a very nice upgrade for the trailer.

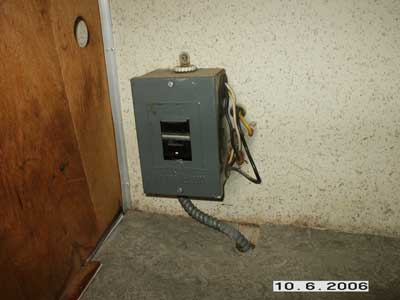
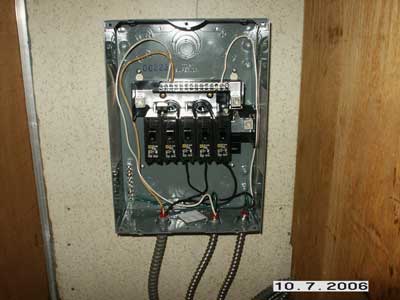
Here is the original electrical breaker box that came with the trailer.  Note the lamp on the top that would light up if the campground’s A/C was wired reversed.

electrical.jpg

After removing power, my next goal was to figure out what these wires went to.  The larger 10 gauge wires are from the current power inlet which will not be used.  This fed both 20amp breakers.  Each breaker powered the outlets on each side of the coach. 

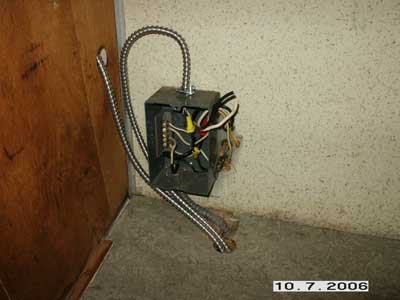
I decided to reuse this box as a junction box to make my A/C connections from the new panel to the old wiring.  This original box was in the curb side closet.  I mounted my new box in the street side closet so it would be closer to to the new power inlet (on order).  There was already one armored cable runing under the coach, inside the belly pan that fed a street side electric water heater.  So I reused that line and ran two others, one to feed the existing trailer outlets, and another to power the new fridge when it A/C mode.

Still needs a little clean up work.  The unterminated wires are from the original inlet.  They will be capped.  You can see the two new flex lines installed.

electrical1.jpg

Here is a shot of the new box in the street side closet.   The first breaker on the left is a 30 amp main, yet to be wired.  The next one is is a 20 amp for the future A/C.  The remaining are for outlets, and lights.  I will also wire in dedicated breakers for the microwave and TwinTemp.

electrical2.jpg

Moving on….

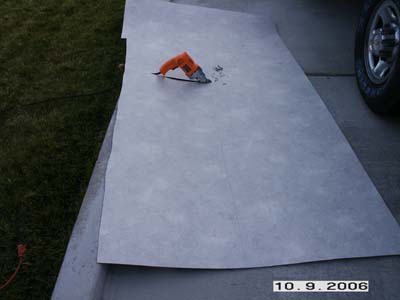
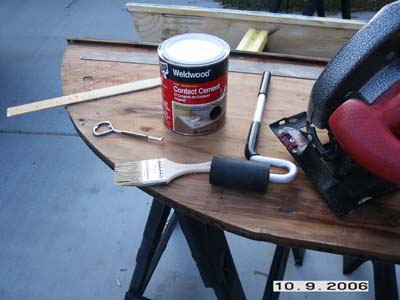
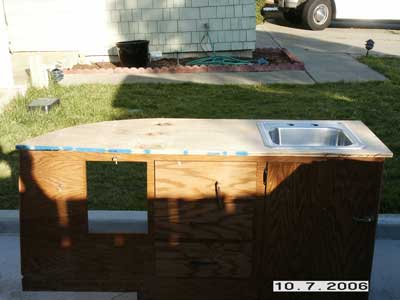
While I’m waiting for the custom black tank to be made, I decided to tackle the new countertop for the vainty.  The old Formica was dull and faded.  We are replacing it with new Formica contributed by Formica.com.  We are also replacing the sink with a stainless steel model.

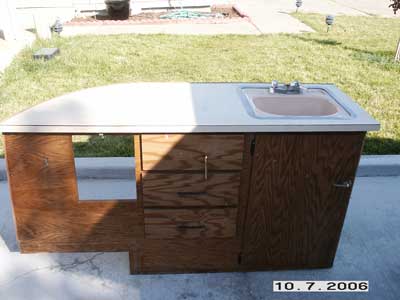
So here is the original vanity.  Note the original pink sink that matched the pink tub and pink toilet!

vanity.jpg

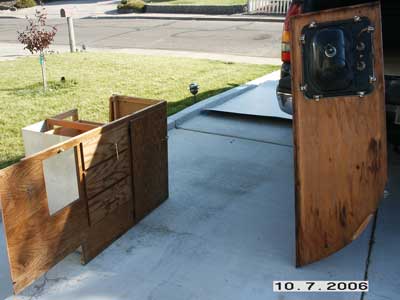
First thing to do was remove the countertop to use as a template for the new one.

vanity1.jpg

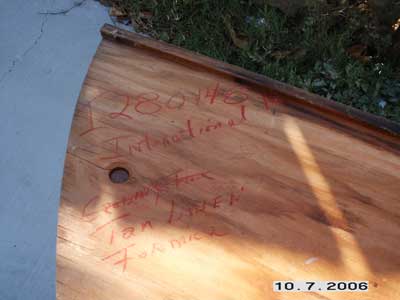
On close inspection, I found some interesting writing on the bottom of the counter.  It shows the trailers VIN number, the fact that the trailer is an International model, and that the Formica was changed from Crusing Fleck to Tan Linen just before it was made!

vanity2.jpg

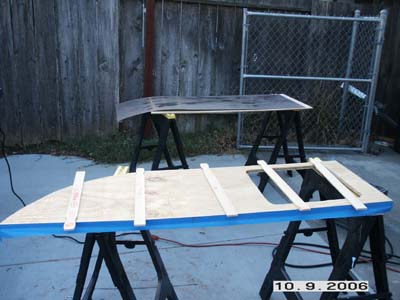
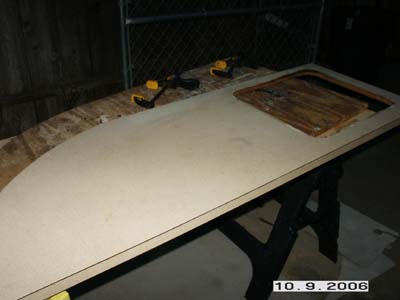
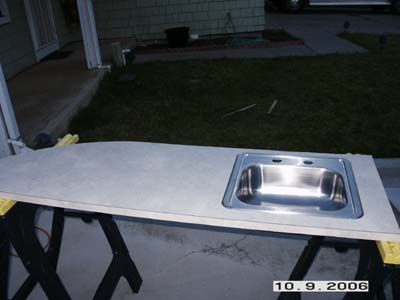
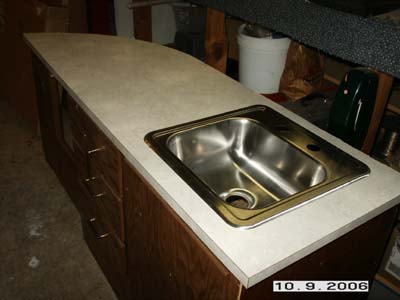
Here is the rough in of the new countertop.  I got the sink in for a test fit as well.  I need to get some 3/8″ molding to get the edge the correct thickness so I can laminate it.

 vanity3.jpg

Thats it for today.   Plenty for tomorrow 🙂 .

Facebooktwitterredditpinterestlinkedinmailby feather

Cabinets Done….

First off I got my tanks ordered from All-Rite.  I say tanks because I also asked them to build me a grey tank as well.  So I should have two new tanks next week! ;-)  I’ll have them build a fresh water tank once I know what the layout of the front of the trailer will be.

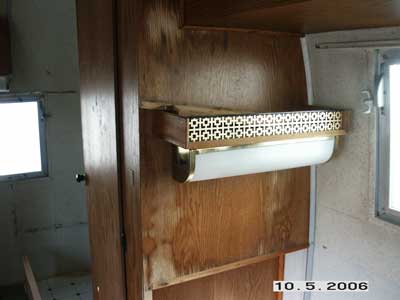
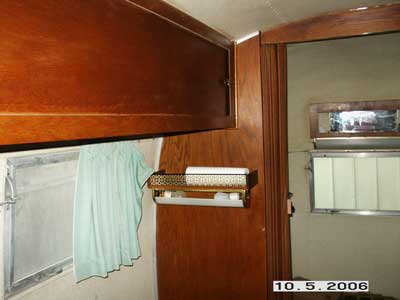
I was able to finish up the wood refinishing on the inside of the trailer. Here is the required before photo.

cabinet_before.jpg

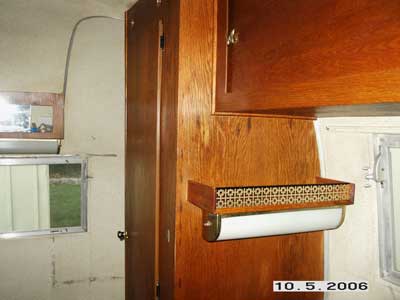
And after a little steel wool and Howard refishing magic…

cabinet_after1.jpg

cabinet_after2.jpg

No bad at all.  There are a few parts that I will look into reskining because of delamination or, like on the kitchen cabinet, I’m changing the layout.  So, I will be having to stain to match as best I can.

But that’s for another day….

Facebooktwitterredditpinterestlinkedinmailby feather

Bad news on the vintage poop!

My previously *repaired* fiberglass tank leaks :-(.  I have no one to blame but myself!

I decided to move on and have a new tank made.  The company I am going to look into making it for me is called All-Rite.

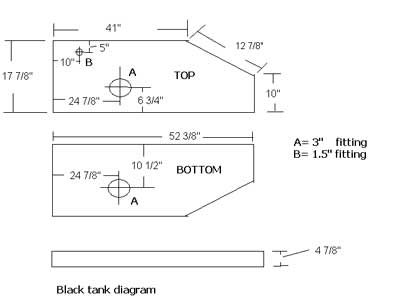
You sketch out the drawing complete with measurements and they will custom build the tank.  Exactly.  So you’d better be right in your measuring!

Here is the diagram I made, measuring everything twice.

black-tank.jpg

Since I am having a tank made, I’m going to make a couple of changes.  If only those Airstream Engineers were as smart as I am! 🙂 🙂 🙂

I’m adding about 13 inches to the tank which will increase the gallons from about a 15 gallon tank to a 20 gallon.  I’m also adding a vent connection on the top of the tank to exhaust through the roof of the trailer.

First thing you have to do is fax your diagram to All-Rite and then they call back with a price.  Should be interesting how this turns out.

Facebooktwitterredditpinterestlinkedinmailby feather

Door Weatherstrip done!

I keep trying to call them gaskets, but I guess they are really weatherstrips.

Whatever they are called they are finally done.  A least on the door, which took new material in three locations!

door_gasket2.jpg

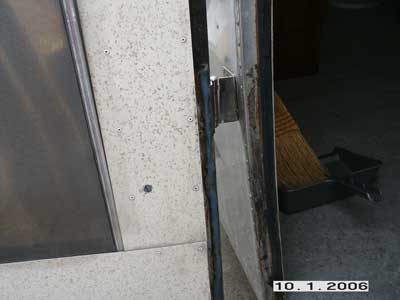
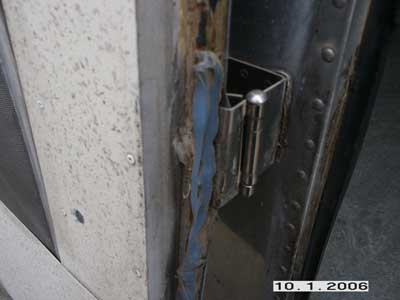
Here is the before picture.  Note the excessive glue, and dirty door jamb.  I spent the extra time to clean it up.  That’s where most of the time was, cleaning the old stuff off and prepping it for new material.

door_gasket3.jpg

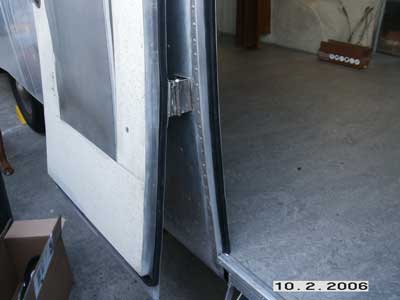
So here is the new weatherstrip in place on a clean door jamb ;-) 

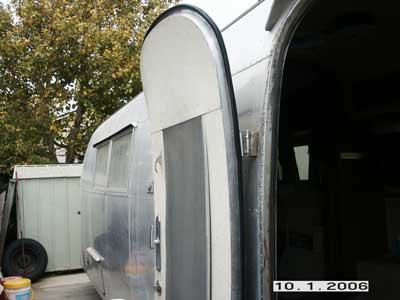
Only one problem.  The door I’m sure popped open sometime in it’s 46 years, because the door does not seal.  It closes much better then it did with the old dried out gasket, but there is a huge gap you can drive a truck through on the top :-(.

Now, I need to gently bend the door back in its original position to seal up properly.

Facebooktwitterredditpinterestlinkedinmailby feather

Time for gaskets!

Had a couple of hours today to work on the Ambassador.

Got my order in from Vintage Trailer Supply, a project contributor!   New door gaskets were in my order.  I planned to replace the gasket on the door, the door-in-a-door, and the trailer opening.  Well, like all the projects on this trailer, things took longer than I thought.

Took two trips to the hardware store to get the right dremal bit to clean off the old gasket material.  Basically its a small 60 grit sanding drum.  cleaned it right up.

And boy did it need it.  You call this a gasket?!?!

door_gasket.jpg

Here is the finished product on the door only.  I’ll get to the rest of them asap.  It looks like rain here 🙁

door_gasket1.jpg

This gasket has sticky backing on it already.  No need for gasket adhesives.  I hope it holds up to the Summer heat! 

Oh well, one gasket closer to water tightness!

Facebooktwitterredditpinterestlinkedinmailby feather

Panels Done!

One more step to waterproofing!

I was able to put a couple of hours if work on the trailer today and finished up the panels I needed to keep the water out!

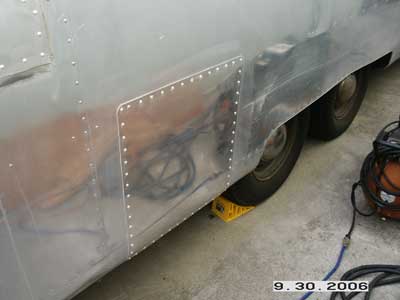
Here is a daytime shot of the panel I did the other day.  I cleaned up the vulkem a little.  Still need a rivet shaver!

panel5.jpg

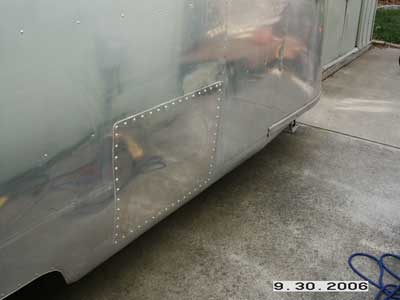
Here is the next panel installed to cover the orginal furnace opening.

panel4.jpg

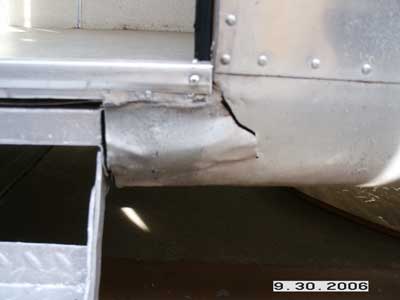
On the right side of the door, the bellypan was torn.  I think this may have been due to a loose outrigger which has been repaired in the welding phase.

panel6.jpg

So, I decided to plate over it while I was doing the rest.  Turned out pretty good to me.

panel7.jpg

I had made a duplicate for the left side which does not have a problem, just to make it match, but I decided not to install it.

I know all these panels really stand out now, but as soon as the rest of the trailer is polished, they will blend right in.

That’s all for now 😉

Facebooktwitterredditpinterestlinkedinmailby feather

The rivets are here!

My Olympic rivets showed up.  That means I get to put on my panels.  I really need to get this trailer sealed up before the rains come.  The weather is so goofy durng winter here it can rain one day and be sunny the next.  So I need to be ready.

Here are the tools I laid out for the job.  A power drill, air riveter, vulkem, and the Olympic rivets.

panel.jpg

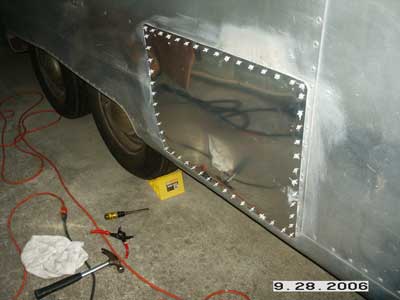
Here is the opening where the original gas water heater was.  When I got the trailer, that had been replaced with a small household 110vac unit.  I pulled that out and since I am not putting in a standard water heater, I need to cover the opening.

panel2.jpg

How come when I started it was light out, and when I finished it was dark already?!  Means it’s getting dark earlier around here. :-(  In a couple of weeks, along with the time change, it will be dark around 5:30pm. 🙁 🙁 Won’t have any time during the week to work on the the outside of the trailer.

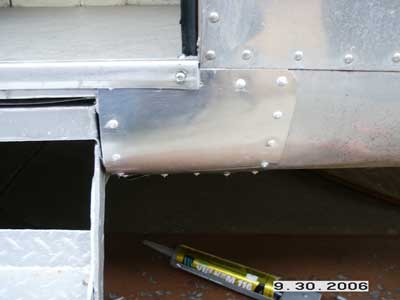
Here is the panel done, but not cleaned up yet.  I still need to buy/borrow a rivet shaver!  Just look at that shine.  Maybe I should replace the rest of the aluminum, then I wouldn’t have to polish the trailer!

panel3.jpg

It took a little more time than I’d like to admit, so I only got the one panel done :-(  I will have to finish the others over the next few days.

Facebooktwitterredditpinterestlinkedinmailby feather

Restoring the wood.

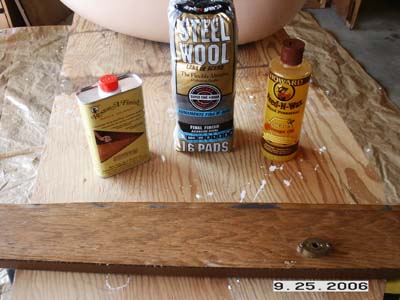
The 46 year old cabinets in the trailer are all scratched and dingy looking.  I looked around the home improvement store and found a couple of products I thought I’d give a try.  Howard’s Restore-A-Finish and Feed-N-Wax.

You simply rub on the Restore-A-Finish with a super fine steel wool.  These cleans it and adds a small hint of color as well.

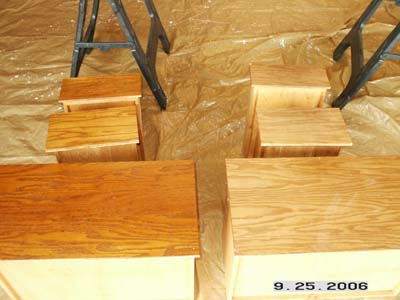
The ones on the left were restored and also feed with the Feed-N-Wax.  The ones on the right are the way they came out of the trailer.  Big difference.  Hope they stay that way 🙂

Some more of the finished cabinets.  That’s enough for today.  I’m just stalling waiting for my order of olympic rivets.  Need to get this trailer sealed up before the rains start!

Facebooktwitterredditpinterestlinkedinmailby feather

It’s time for Tubby

I decided to clean up the old faded bathtub.  There are a few different methods to do this.  Simply sanding and waxing is one.  Or painting with a two part epoxy paint.  I opted for choice number two so I could change from the original pink color to something a little more modern.

The tub is ABS plastic.  That causes some problems because you can’t just paint it with any kind of paint.  A two-part acrylic automotive paint, like they use on car bumpers, is actually ideal.  But it involves expensive paints and special spray equipment and techniuqes.  So I opted for a cheaper DIY method.  In comes from Tubby USA.

The Tubby product is formulated for refinishing household tubs as its main objective.  However it also says on the box, that it will work for fiberglass, porcelin, and plastics.  I called and asked specifically about ABS and they assured me it would be fine.  So I thought I’d give it a shot.  The kit comes with everything you need.  It’s rolled on and fairly inexpensive at $75 for the kit.

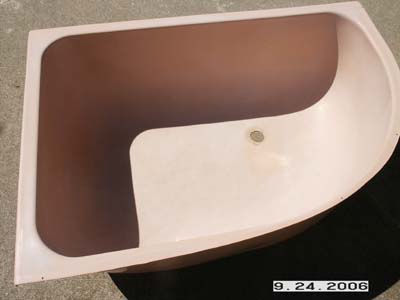
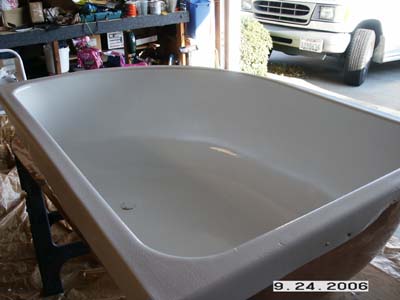
Here is the tub after special cleaning with the included cleanser and wet sanding.  It was pretty much discolored even before the sanding.  It needed updated bad.

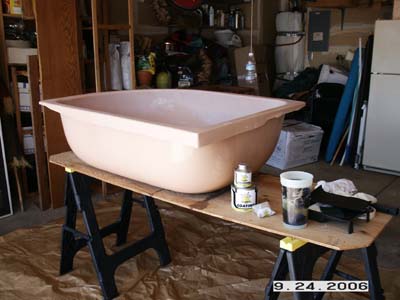
Here is the paint shop, er uh, garage.  The two cans there are the Tubby paint and hardner.  You mix them as per the instructions.

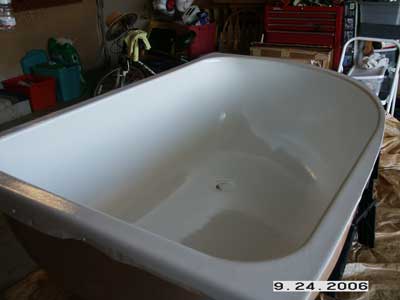
Here is the tub after the second coat.  You have to wait 1.5 hours between coats.  So the job took about 3 hours from start to finish.  Now I just have to wait the 48 hours dry time before I can bath in it 🙂

Facebooktwitterredditpinterestlinkedinmailby feather

Let’s call her *Patches*

The Ambassador has several non VAP approved exterior openings.

I removed the 110vAC water heater and the original furnace.  These both left rather large openings.  I plan on replacing these with a combo unit from Precision Temp, an Ambasador contributor.

I also removed the original black tank vent on the roof because it was attached to a rubber hose in the wall that was rotted.  It also would not work with a modern toilet.  The original vent for the black tank came from the base of the toilet.

So I spent the day making panels to cover these areas with Alclad Aluminum contributed by Air Parts Inc.

I used my Harbor Freight electric shear to cut it.  Worked great!

One panel down, several to go!

Next I had to mark and drill rivet holes in the panels.  I measured .5 inch from the edge then 1.5 inch spacing all around.

Ready to install panels.  One problem.  I only had enough rivets to install one panel!

The old black vent location.  Should be leak free now!  This was the only patch I had enough rivets to install.  Need to fire my inventory guy.

Anyone got a rivet shaver for rent?!?!

Since I ran out of rivets, I went on to a different project alltogether.  I needed to change out the trailers 6-pin wiring socket.  The old one was rusted up.  I also wanted to modernize it by adding a battery charge line, and get connections for a power hitch jack and the emergentcy breakaway switch.

Here is the original rusted 6-way socket that was on the trailer.  Notice the poor attempt to paint it to make it *pass* 😉

The left hole held the 6-way socket.  The right one is a 4-pin socket.  This is how the trailer was originally.  When the cable was setup it would tie into both sockets.  The 6-pin for brakes, running lights, brake lights, etc…, the right 4-pin was for a charge circuit only.  So your cable coming from your tow vehicle had to split into two connections at the trailer end if you wanted to charge a trailer battery.

I re-wired the original 6-way socket, with a modern 7-way, to supply charging power as well.  The 7-way socket adds a center pin which is normaly used for backup lights.  Back-up lights are not available on my Ambassador. :-(  In addtion to wiring the new socket, I routed, out of the belly pan, a power wire for a future jack, and the brake wire for a new brake away switch that I ordered from Vintage Trailer Supply.

Close up of new 7-way socket.

Job done!.  With the rewiring I did, I will only need to use the 7-way socket for everything I need.  The right 4-pin socket will now be available for an alternate charging plug, like from a generator, or a 12vdc power point to power 12vdc stuff outside the trailer.

Facebooktwitterredditpinterestlinkedinmailby feather