Got a little time in on the vanity today. It’s getting dark too early now. Soon there will be no light left when I get home from work. 🙁
I had to get a 3/8″ trim peice to add to the counter top edge to give it some thickness.
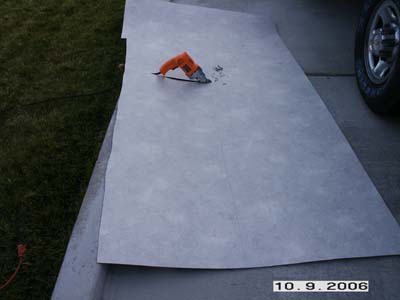
I used the trusty electric shears to cut the laminate. Boy was that a lot easier than the jig saw I used before. Much easier.
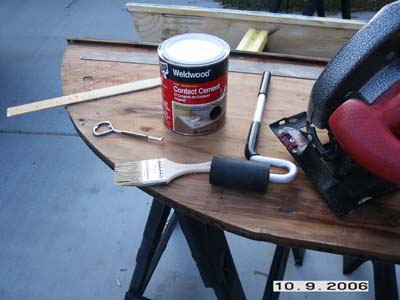
That standard supplies needed. Contact cement, and a J roller.
After brushing on the cement to both the wood an the laminate, there is a trick to use to position it. If the cement touches each other that’s it, stuck for good! The usual idea is to place dowels across the top of the counter after the cement dries, then lay the laminate on the dowels and adjust its position over the counter. Then using the J Roller, you start at one end rolling the laminate down and remove one dowel at a time as you make your way across. I do the same thing, but with paint sticks. Paint sticks are free 😉
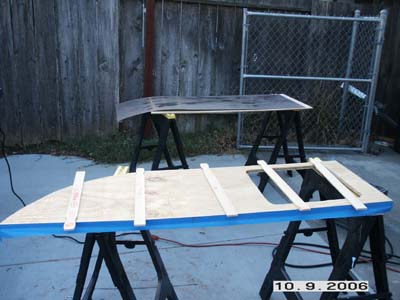
Here is the old top for reference. Funny, it seemed OK when I took it out of the trailer, except for being dirty and faded. But after the weekend outside in the Sun, the laminate has peeled back. It was probably on its way out.
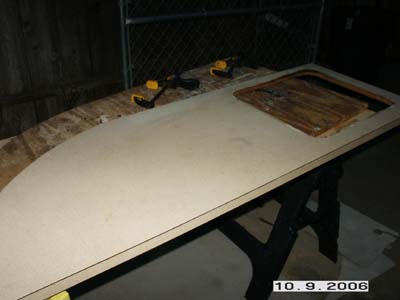
And the new top after using my router with a flush trim bit. First time I used it. A little tip is to do the edges first and the top last. That way there is no edge to snag anything on the top of the counter edge. It just has to do with the way its trimed.
Here is the final top with the sink in place.
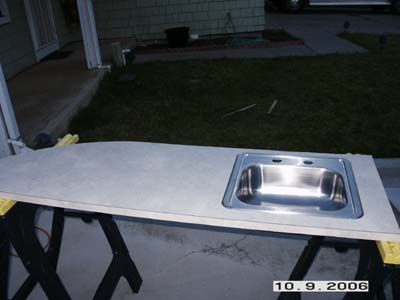
Notice how dark it got 🙁 Had to quit for the night.
And here it is just sitting on top of the vanity.
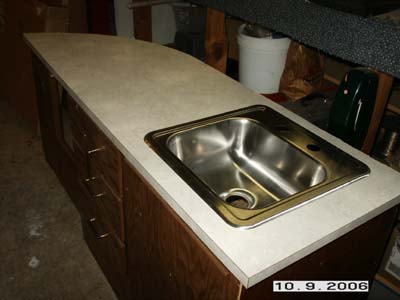
Well, that’s it for today.Â
More to come….
