Author Archives: Tim

Toilet time

Decided to mount the throne today :-).

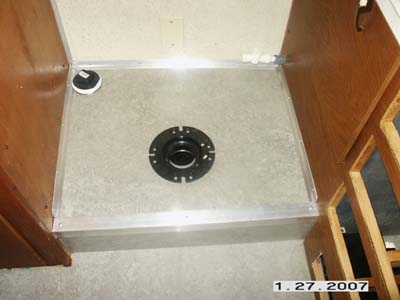
First I had to trim it out with the original aluminum edging and add one to the front.

pict0138d.jpg

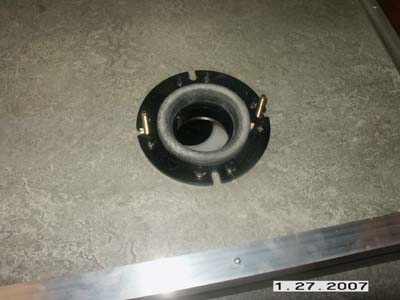
Next was added the eight stainless steel screws into the toilet flange.  Very important thing to remember! :-)  Also you can see the rubber gasket that came with the toilet.  I just set it here for the photo.  When I mounted the toilet I put the gasket on it first.

pict0140e.jpg

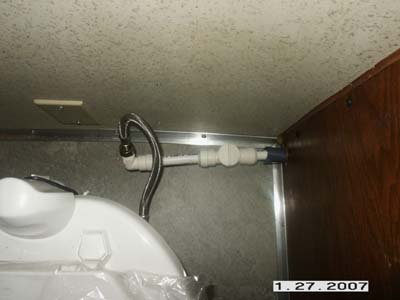
Next is the supply line.  I used the same stainless flex hose I used everywhere else.  Note the shut off valve.

pict0141f.jpg

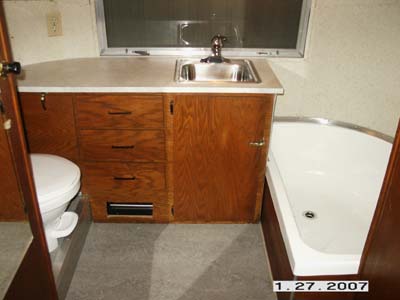
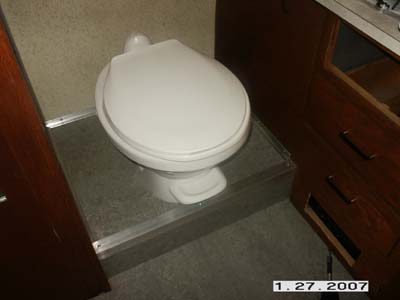
And after I tightened the mounting bolts… wala… new toilet.  Perfect height for a comfortable sit.  All I need is a newspaper and I’ll be all set :-).  Well maybe I should wait until I put in the dump valves….

pict0142g.jpg

Facebooktwitterredditpinterestlinkedinmailby feather

Stacking the stacks

Took a few minutes to glue together the vent stacks for the plumbing.  Everything worked out good.

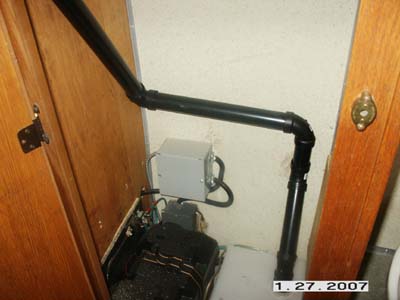
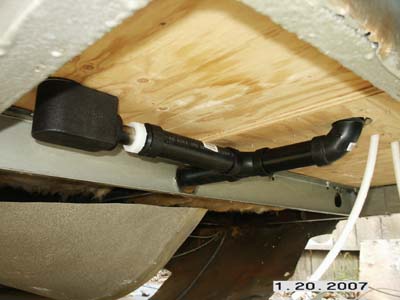
Here is the vent for the black tank.

pict0137c.jpg

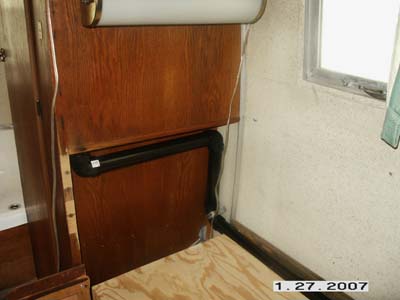
And here is the vent for the grey tank and kitchen plumbing.

pict0135a.jpg

Here is the way it looks in the street side closet.

pict0136b.jpg

Facebooktwitterredditpinterestlinkedinmailby feather

Drains and quack stacks

Today was all about working on the drains.  The first stop was the getting the kitchen drain down into the grey tank.  Note the rubber coupler at the tank inlet.  This will hopefully allow for some flexing down the road.

pict0117b.jpg

Next was finishing up the bathroom drain.  First thing I did was secure the counter top.  With that done, I hooked up the faucet suppy lines and the drain piping.  Again the trap is down below against the wall.  I drilled a hole through the floor so the sink drain can meet up with the tub drain on its way to the grey tank.

pict0116a.jpg

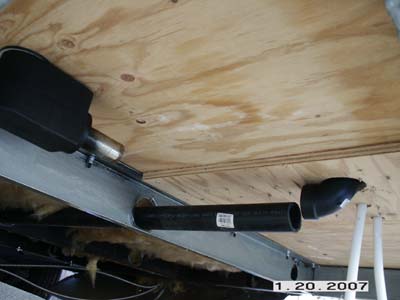
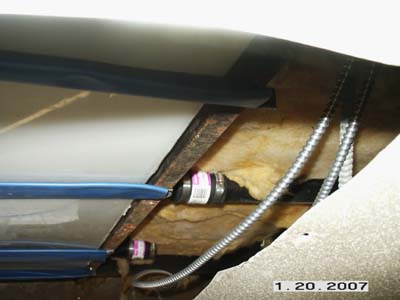
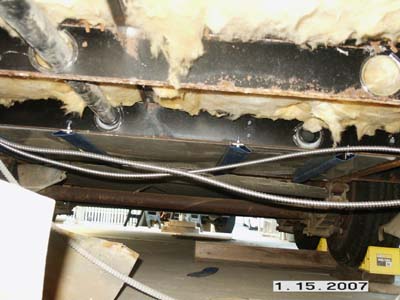
Under the trailer near the back which is under the bathroom you can see where the sink drain comes down to a 90 and the special tub drain/trap on the left.  The ABS pipe running forward goes into the grey tank.

pict0118c.jpg

Here is the same shot with all the plumbing glued in.  Note the two white pex lines are the rear hot and cold drains for winterizing.

pict0119d.jpg

Back at the grey tank you can see the ABS line connecting to it.  Again via rubber couplers.

pict0120e.jpg

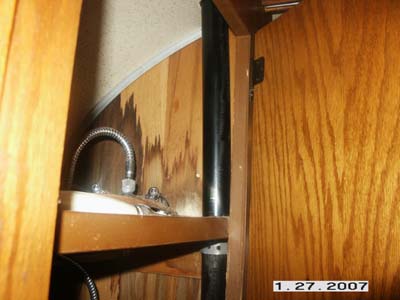
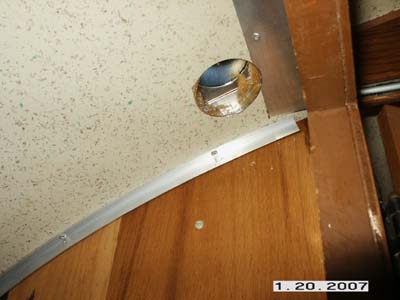
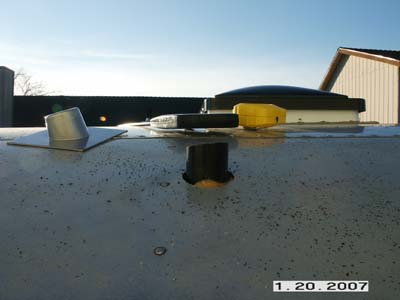
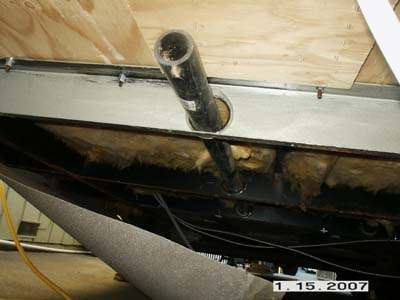
Next up was adding the vents for the black and grey tanks.  These will run up through the closets on both sides of the trailer.  So I had to drill some more holes in the trailer :-).  Here is a hole going up through the street side closet.

pict0121f.jpg

Next I had to size up the pipe to see how long it needed to be.  Looks like a periscope!  Humm…. not a bad idea.

pict0122g.jpg

I cut it down to size so I could fit the vent cover that I purchased from Vintage Trailer Supply on it. 

pict0123h.jpg

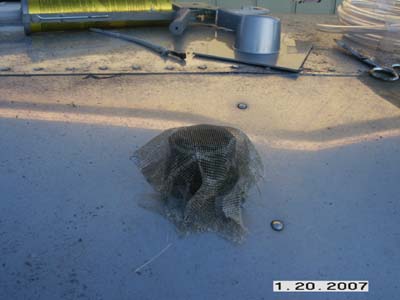
Next up was to use vulkem around the base and add a screen to keep the bugs out.

pict0125j.jpg

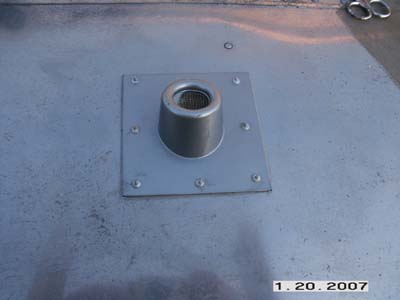
Add a little vulkem in the rim and base and rivet her on!  Not too shabby.

pict0127l.jpg

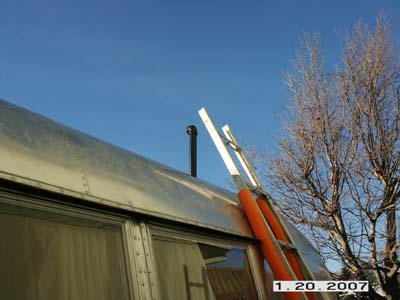
Here’s one final shot showing my twin stacks!

pict0130o.jpg

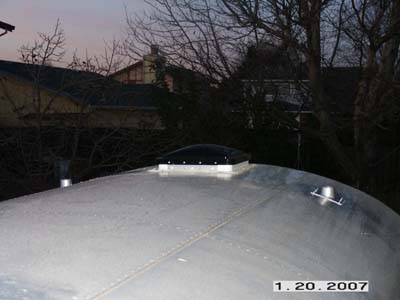
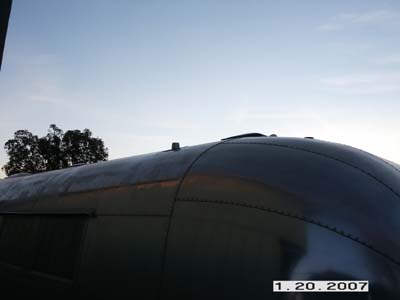
For some perspective, here is what it looks like from the ground.

 pict0129n.jpg

Just a few more connections on the inside to these vent pipes and the interrior plumbing will be done.  Less the fresh water tank that is…. 


Facebooktwitterredditpinterestlinkedinmailby feather

Non-glamorous work

Not a good day to be working on the cold cement on my back all day.  It was about 28 degrees out this morning.  Yet some reason I penciled in today as getting the grey tank finished.  It needed a couple of more mounting straps and the lines running into the cross members needed to be lined with rubber.

First thing I needed to do was raise the trailer.  It sits too low to crawl under and I have a lot of work to do down there.  So I hitched it up, first time in many months.  I was able to check out the eletrical connections to the truck and everything worked great.  Brakes, lights, the charging circuit as verified by the Tri-Metric.  This was cool.

Next I pulled it forward a few feet and put some wood under the wheels so I could have more clearance underneath.

I added two 3/4″ angle iron straps to give better vertical support for the tank.  Now it has four straps total.  All tighened down securely.  I also lined the piping going through the cross memebers with some rubber hose sliced down the side.  Here is a picture.

pict0110c.jpg

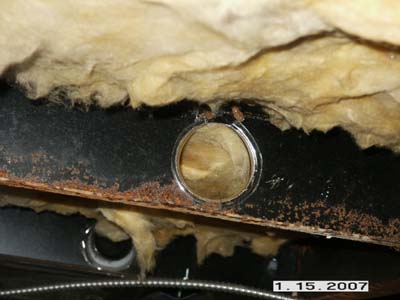
While I was under there I driled through the remaining cross memeber as needed to get my piping back to the bathroom.

pict0108a.jpg

Here’s another shot so you can see the tank mounting.

pict0111d.jpg

That black abs pipe is just there for a test fit.  I will be using rubber couplers at the tank connections for some wiggle room.  Although the tank is in there pretty solid now :-).

You won’t believe how long it took to do all of this.  Lets just say, forever!

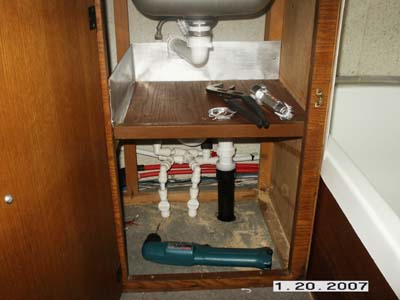
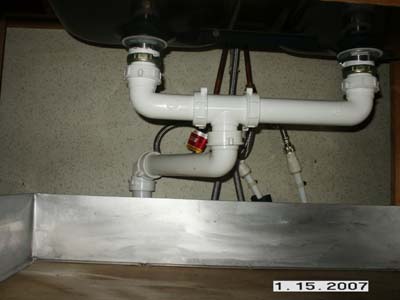
I did manage to get the kitchen drains in place and a main drain line run back toward the tank input inside the trailer.  Here is a shot under the kitchen sink.

pict0112e.jpg

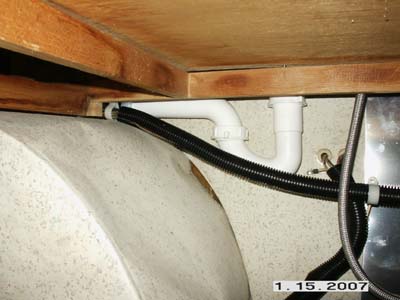
Yes, there is a trap.  I mounted it at the wall instead of directly under the sink so it would not take up vaulable storage space.  Here is the trap from below the shelf.

pict0113f.jpg

The white pipe running off the photo toward the left couples to a 1.5″ black drain pipe which runs toward the tank.  It will tee off there and continue toward the street side closet for the vent stack.

Now that the holding tank is secure, I can finish up my drain lines.  After that, maybe hookup some water to the trailer and see what happens! 🙂


Facebooktwitterredditpinterestlinkedinmailby feather

Working the bathroom

Spent today working on the bathroom. 

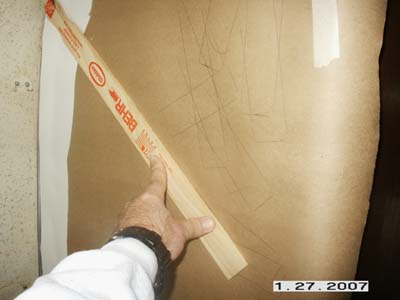
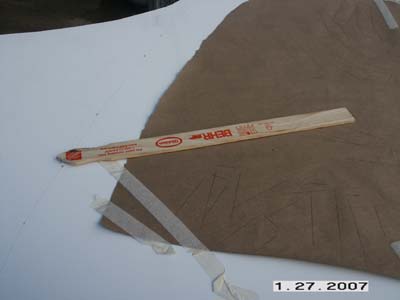
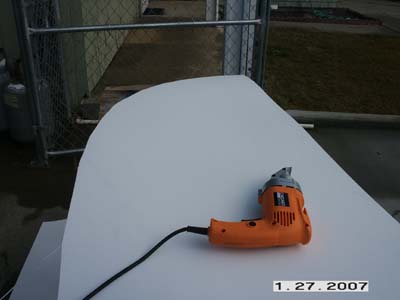
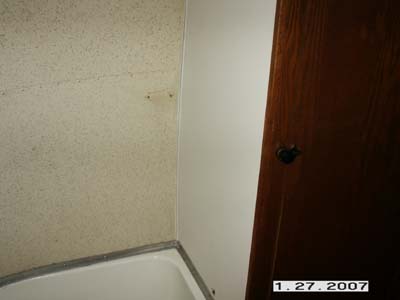
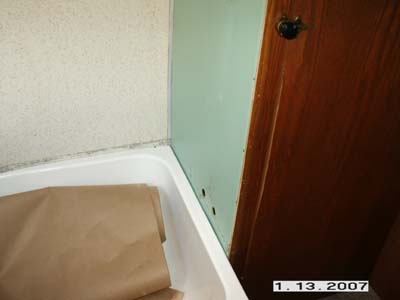
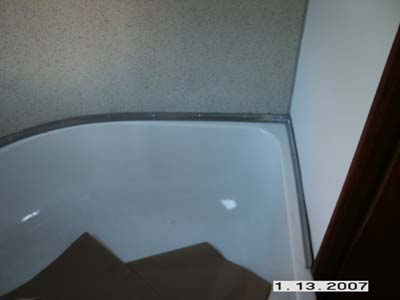
The shower wall had this original green plastic wall paper.  Probably very nice in 1960.  But now it’s not too attractive.  I ended up using a poly wall board to cover it up.

It was quite a challange to make a template to match that pattern of the wall.  Turned out ok, but I need to hang out with a boat builder for a day to learn how to do this right. 🙂

Here is a before photo of the shower.

pict0098b.jpg

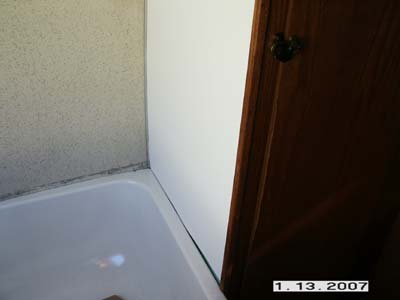
Here is the after shot with the new wall board in place.  I still need to caulk the wall side.

pict0101e.jpg

Next it was time to clean up the original aluminum trim.  I sealed behind it the same way it was originally with butyl tape.

pict0106j.jpg

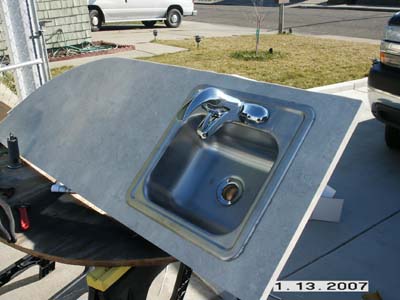
I moved on to the sink and countertop in the bathroom.  It is much easier to install the faucet and drain with the countertop on the work bench! 🙂

pict0102f.jpg

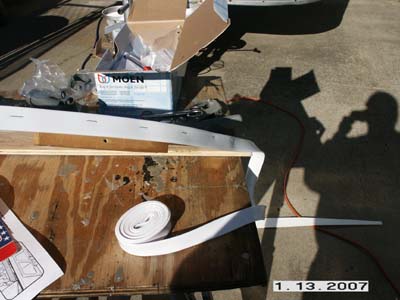
I used some rubber edging that I stapled to the side of the countertop to give it a clean installed look without having to use silicone, since that tends to crack and come apart in a trailer.

pict0103g.jpg

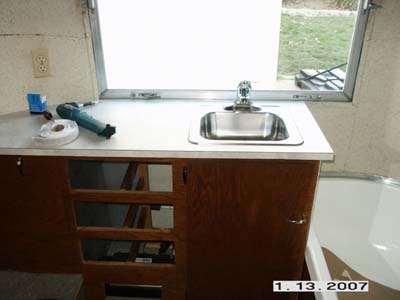
The countertop is set in place on the vanity.  I have not screwed it down yet because I want to hookup the waterlines etc.

pict0107k.jpg

More to come…

Facebooktwitterredditpinterestlinkedinmailby feather

Inverter Transfer Switch

I got the inverter transfer switch done.  I was originally going to go with two outlets and manually switch a plug back and forth depending on if we wanted AC or inverter. 

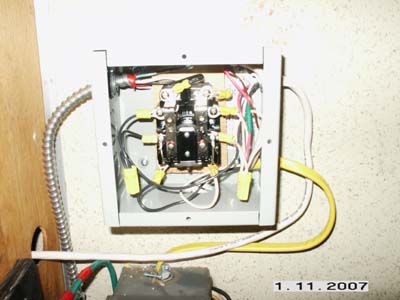
After thinking about it more, I decided to make it automatic with a 30 amp DPDT relay.    When the inverter is off, all the curbside outlets get power from the regular breaker box.

When we are not hooked up to AC line power we can turn the inverter on which powers the relay and puts inverter power to all the curbside outlets.  The main reason is this is where I intend to mount the LCD TV’s and we want to be able to use them if boondocking or dry camping for the night.

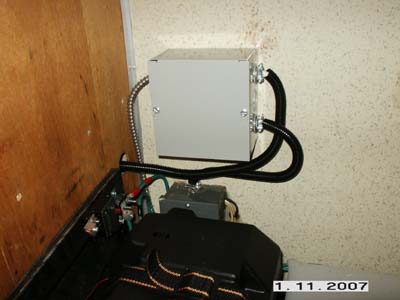
Here’s a shot of the relay installation.

pict0094a.jpg

pict0095b.jpg

Turned out pretty nice and works well.  For a test, even though its an 800 watt inverter it can surge higher and has overload protection, I plugged in a 1500 watt space heater :-).  It ran it for the 30 seconds I left it on.  And it drew 92 amps from the 12vdc battery according to the Tri-Metric! 🙂

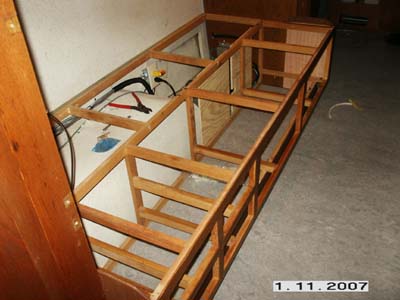
I also was able to get the curbside bed mounted.  The wall side had to be raised about 3/8″ because of the floating floor.  So I got it all screwed back together and ready to go.

pict0096c.jpg

That’s it for now…

Facebooktwitterredditpinterestlinkedinmailby feather

More windows, more electrical

Only had a couple of hours today to tie up some loose ends.

You might recall the original 12vdc fuse box in this trailer….

original-12-volt-fuse-panel.jpg

Two 20 amp glass fuses and a bunch of unmarked wires everywhere.  What a mess.  With some help of my meter, and the guys on the Airstream Forums site, I got all the original wires figured out.  This was the final stop for my rewiring plan for the trailer.  Tieing the the new with the old.

I had run two #8 wires up front from the street side where I had a junction box that has two #6 wires running back to the battery.  This method basically gives me high current access on both sides of the trailer.  Since I never had all the interiror walls off to run all new wiring in the walls, I had to tie into the original 12vdc distribution.  The original wiring in the trailer runs the 12vdc lighting and the two Fantastic Fans I installed.

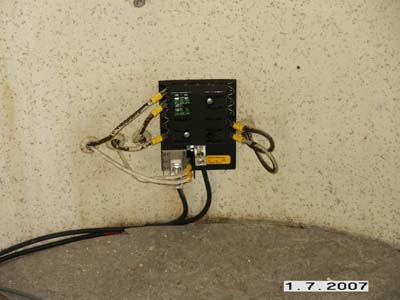
So here’s a shot of the new fuse box in place.

pict0066b.jpg

  • The two black wires are the #8’s that feed power and ground to the fuse box. 
  • The upper left wire coming out of the fuse box is the tow vehicles charge line, that also runs the future power tounge jack, and the emergentcy breakaway switch. 
  • The second wire down is the feed for the original 12vdc in the trailer for the lights and fans. 
  • The unused wire on the bottom left is the original battery wire from the battery box on the front of the trailer.  I just put it on the fuse box until I decide what to do with it. 
  • Likewise the two wires on the right are for the original water pump switch.  I just put both on the block for the time being.

Finally I can run the fans again and of course the 12vdc lights.  Any new devices that need power such as the TwinTemp Jr., the water pump, the radio, etc. will all come from new wiring from one of the fuse boxes.

I also took the time to check my rewire of the 7-way plug on the front of the trailer.  I jumpered wires across to check the running lights, and breaklights since I had worked on all of those items.  Nice to report they all check out fine.  Same as the charge line I added to the plug because it was not originally on it.

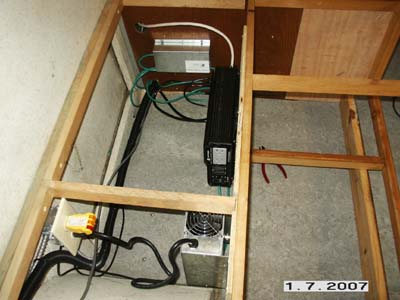
Next I decided I’d like to have the converter off the floor and moved it up next to the inverter.  I cleaned up the wiring a little.  Still more work needed there.

pict0067c.jpg

I ended up having to do a semi-suprise window removal and reinstallation.  I say semi because I suspected the glass was only held in with the the 47 year old dried up weatherstripping.  And I was right.  As soon as I removed the old stripping the window fell right out.  Of course I caught it! 🙂

pict0073e.jpg

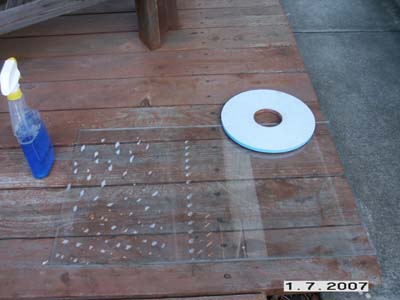
I cleaned up the window and the frame and got my bedding tape ready.  I also wiped the window frame edge and the glass edge with alcohol to help adhesion.

pict0071d.jpg

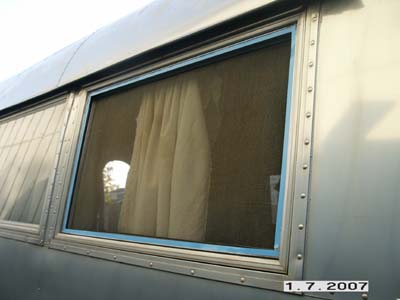
All that’s left is to pop the glass back in and trim it out.

pict0074f.jpg

There ya go, another project done.  Even if this window never fell out, it would have surely leaked.  Now I don’t have to worry about it.

After tying up some more loose ends, it will be off to finishing up the bathroom…..

Facebooktwitterredditpinterestlinkedinmailby feather

All things 12V

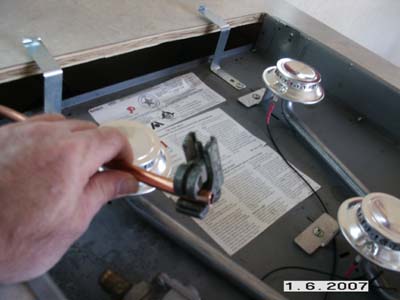
I decided to get the 12VDC stuff done as much as possible today.  But before I could get started on that, I had the gas line on the cook top to finish.  I thought I’d photograph each step for those who have not made a gas flair connection.

Step 1.

Cut the gas line to length with a tubing cutter.

pict0054b.jpg

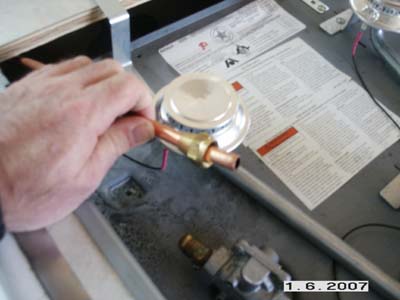
Step 2.

Push the nut on the pipe.

pict0055c.jpg

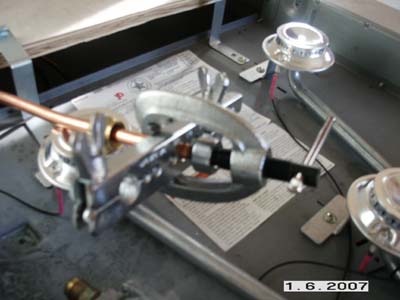
Step 3.

Get the flairing tool ready.

pict0056d.jpg

Step 4.

Tighten the flairing tool down until the end of the pipe is at a 45 degree angle.  Hint: Practice a bit first on a spare pipe.

pict0057e.jpg

Step 5.

Tighen the connection with two wrenches.  Test connection for leaks with soapy water.

pict0058f.jpg

That’s all there is to it!  Of course I could not test mine as the gas lines are not finished being plumbed below the trailer yet.

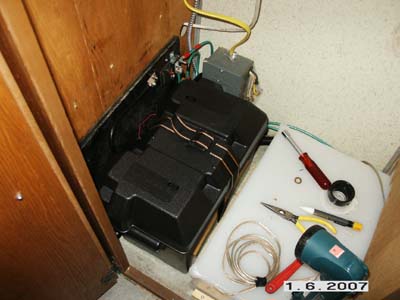
I had to pull the battery out that I had installed before and rewire everything because I had forgotten to wire in my 800W Astron inverter into the system.  These inverters take a lot of power when used at the max wattage.  This means that large wiring is needed.  So I had to basically rework everything I did before with beefier wire, #4 for the inverter.

Here is a photo of the rewiring.  You can’t make it out to well, but I wired a #4 to the ground shunt input and a #4 from the shunt output to the inverter.  I also ran a #6 to the trailers ground bus.  This way the Tri-Metric can measure all current used in the system including that of the inverter.

pict0059g.jpg

The black box with the red button is a 125 amp 12vdc breaker.  I have it wired inline with the inverters #4 positive wiring.  So I now have high current wiring to the inverter for maximum efficeintcy.

The inverter allows for an internal wire hookup for the inverted 115vac.  I hard wired a romex wire into the inverter and ran it back into the closet until I come up with a nice transfer switch system.

pict0060h.jpg

Here is the inverter mounted and wired.  Note the white romex wire running out the back and into the closet.

pict0061i.jpg

Here is another view so you can see where its mounted.  I still need a key for that hatch door!  Colin…… are you listening?! 🙂

pict0062j.jpg

Here is the battery back in place.  Charging up it’s merry way.  You can see the three romex wires in the background.  The metal one is from the breaker box and has line AC on it.  The white one is from the inverter.  And the yellow one is from the outlets on the curb side of the trailer.  The idea is that I will have a system switch the curb side outlets between the inverter and the AC panel as needed.

pict0063k.jpg

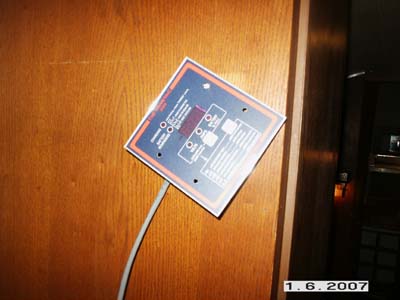
And last a quick shot of the Tri-Metric.  If you look closely you can see it reads full 🙂

pict0064l.jpg

All in a days work….


Facebooktwitterredditpinterestlinkedinmailby feather

Kitchen 80%

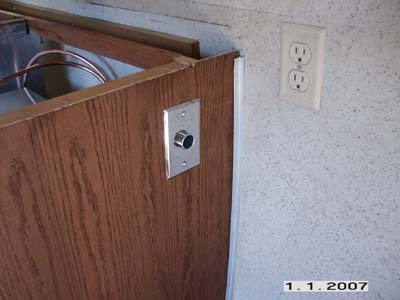
More work today on the kitchen area.  I had run power for a 12vdc power point on the end of the cabinet.  So I went ahead and installed that first thing today.  Should come in handy.

pict0045a.jpg

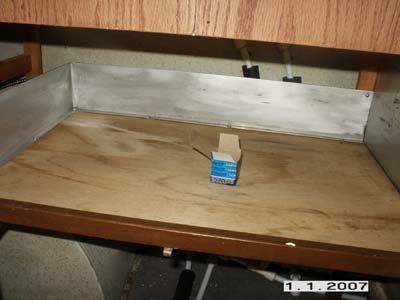
Next task before putting the counter top in place was to put the cabinet shelf back in place.

pict0046b.jpg

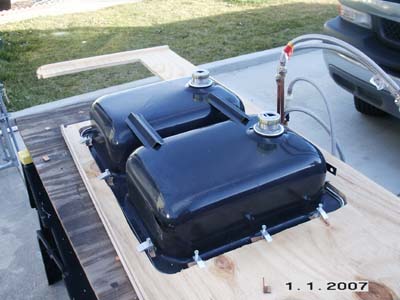
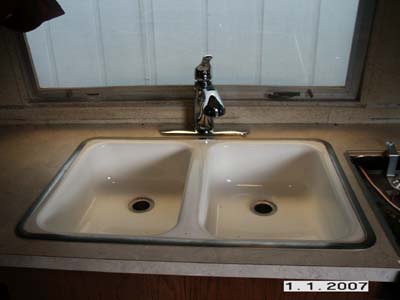
I decided to fit the sink in place before mounting the counter top and avoid having to stand on my head tighening the bolts ;-)  I also fitted the new drains and put on stainless hoses on the faucet.

pict0047c.jpg

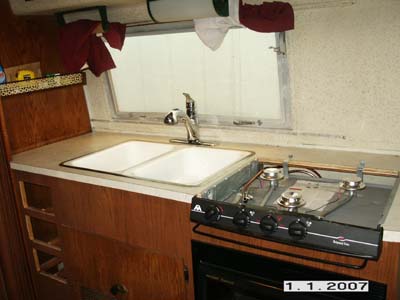
With a big heav-hoe and a lot of muttering, the counter top is fitted in place with the sink and faucet already mounted.

pict0049e.jpg

Next I fitted the cook top in place and screwed it down.  I started running out of time so I’ll have to finish the gas fitting next time and connect up the sink hoses to the supply lines.

pict0048d.jpg

There is still a lot of triming out to do with the alumium trim yet to be fitted, but it was a good days work.  Although I never acomplish as much as I expect to.  Such is the nature of the job.

One last shot of the kitchen.

pict0052h.jpg

More to follow….

Facebooktwitterredditpinterestlinkedinmailby feather

Microwave and more!

Today I worked on getting the convection microwave installed.  It needed a special shelf built and the addition of ductwork for the venting.  I had ordered the built-in kit.

Here you can see the special shelf.  I made it so that i can be removed w/o pulling the entire cabinet.

pict0038a.jpg

Next is the duct work that comes in the kit.  The kit sells for around $120, so its not cheap. 

pict0039b.jpg

I was hoping the kit included some secure way of mounting, but it did not.  I guess the fine folks at Sharp assume your cabinet in your house will not be traveling down the freeway at 65MPH :-).  So I ended up making a bracket in the front that attached to a screw on the bottom of the microwave, and I’ll add an “L” bracket on the rear.  Only problem with that is the microwave won’t be removeable from the front w/o pulling the cook top.

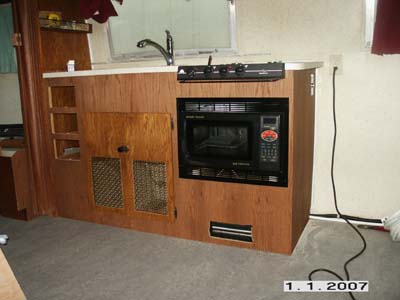
Here is the microwave in place all trimmed out.  Not bad for a first timer…

pict0041c.jpg

I moved on the kitchen faucet.  I picked up a single handle Moen.  Pretty nice with a pull out sprayer.

pict0043d.jpg

And here is a final shot of the day, with the cook top set in place so you can see how the finished kitchen will look real soon.

pict0044e.jpg

Well, thats it for now.  As always, more to come….

Facebooktwitterredditpinterestlinkedinmailby feather