Check out the new online VAP Store. You can get vintage VAP Episodes ala-carte, or get the whole set. Plus books, and more. A large On Sale! area with many free episodes too! Check it out at http://store.theVAP.com.
Plan to wander…
12 Days of Vintage
New VAP Power DVD!
Black Friday Week Sale!
Black Friday Week Sale! Get the first 200 Episodes of theVAP on 4 Discs for only $20. Use voucher vapdvd2015 on check out!
Video comparison of the stock solar controller and the SC20
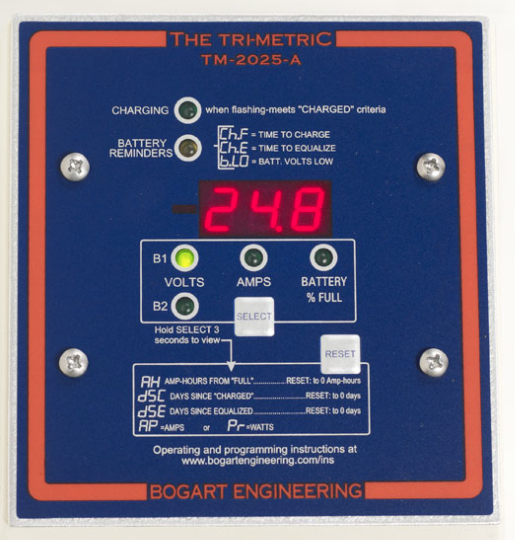
Bogart Engineering’s TriMetric 2030-A and SC2030
After our interview with Ralph Hiesey of Bogart Engineering, I learned a lot about their new battery monitor and solar charge controller. I found it very intriguing.
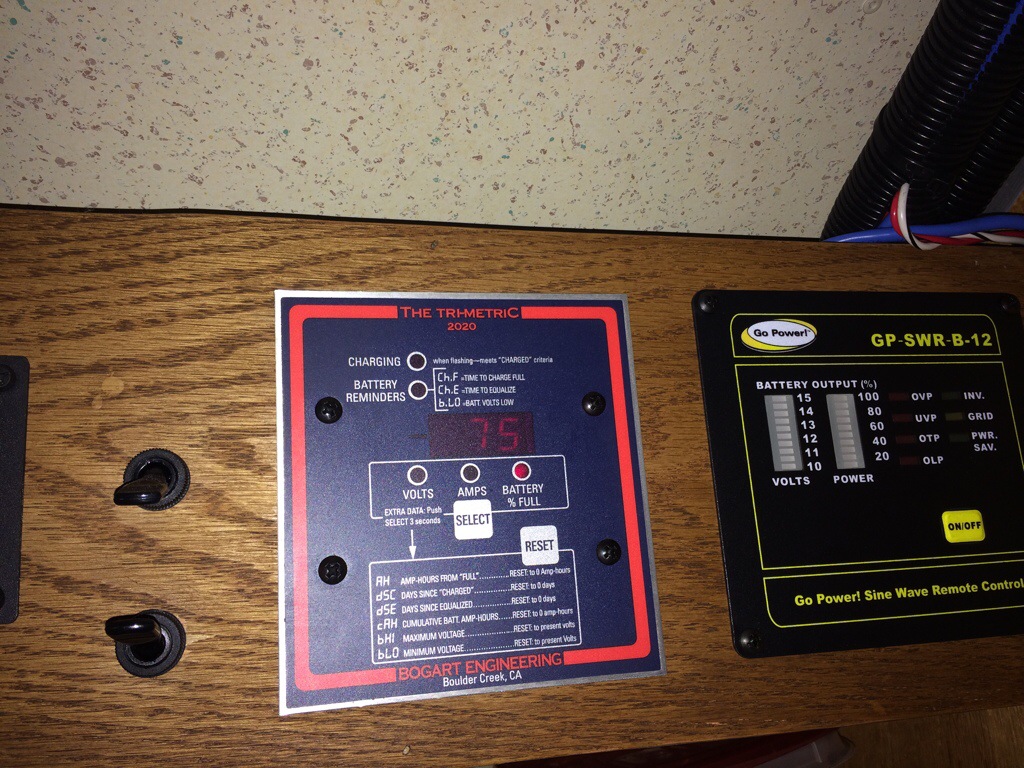
I’ve been enjoying my TriMetric 2020 monitor for years. It allows me to very closely monitor my batteries performance. You press a single button and cycle through readouts that display battery voltage, current, and percent of battery charge.
Now with my new solar panels, I can see when the batteries are charging while boondocking. One problem I noted though, was the need to look at the solar controller to see how much current was coming in from the panels, then look the battery monitor to see how much the batteries were getting. Since my trailers layout separated these panels, it was kind of a pain.
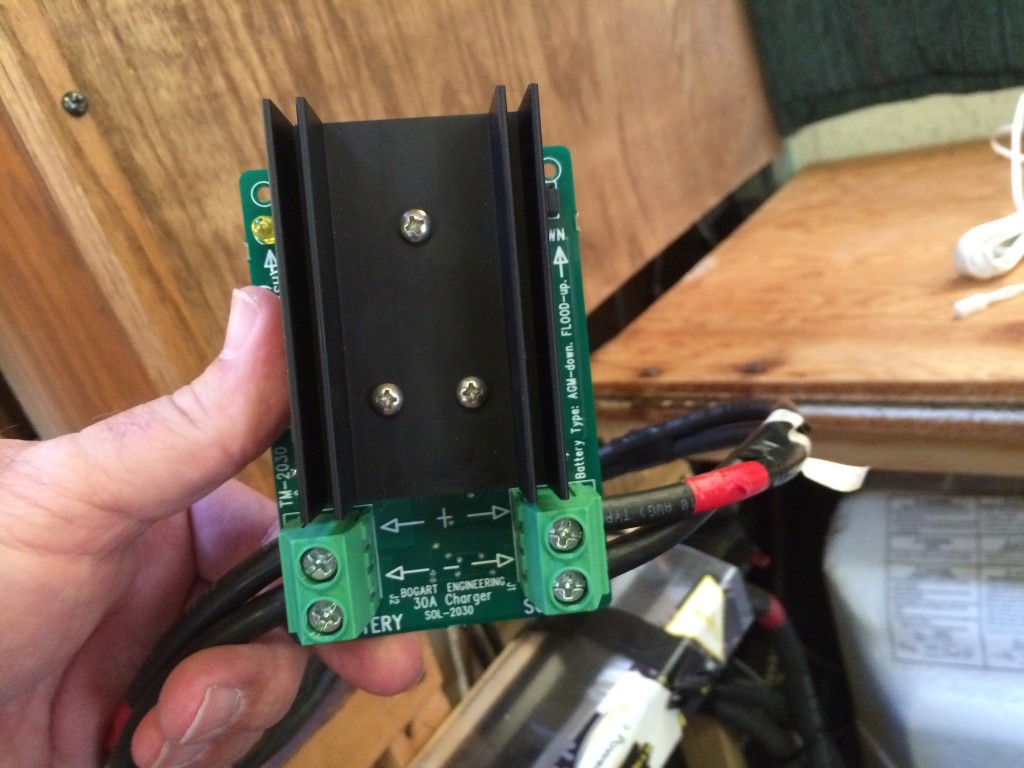
Bogart Engineering recently released a solar charge controller called the SC2030 that connects to their TriMetric 2030A monitor. The SC2030 is a PWM 30 amp controller.
The nice thing about the TriMetric and SC2030 combo is that the Tri-Metric knows the exact status of the battery charge state because it is tracking the power in and out of the battery all the time. With the monitor knowing this information, it can instruct the solar controller to charge your battery the most efficient way.
Another benefit is that you can read all the information about your system in one place. The TriMetric monitor talks to the SC2030 via a data link. So, not only do you get a status of your battery and how much power is going in and out of them, you can read how much power is coming in from the solar panels.
The two devices can work independently. If you don’t have solar, you can still benefit from the TriMetric. The SC2030 charge controller can also operate solo, but the real benefit is when the two work together.
Hi-Tech to Low-Tech and Back Again
We set out to leave on our Oregon trip with our new hi-tech equipped Airstream. Solar-check, LED lights-check, 2000w pure-sine inverter-check. All systems go! Or so I thought.
When hooking up the Airstream with my electric jack, the jack failed to raise completely. It groaned by blowing it’s 20 amp fuse! Keep in mind the family is in the house ready-to-go. They are just waiting for me to pull my hi-tech trailer in front of the house so they can start loading.
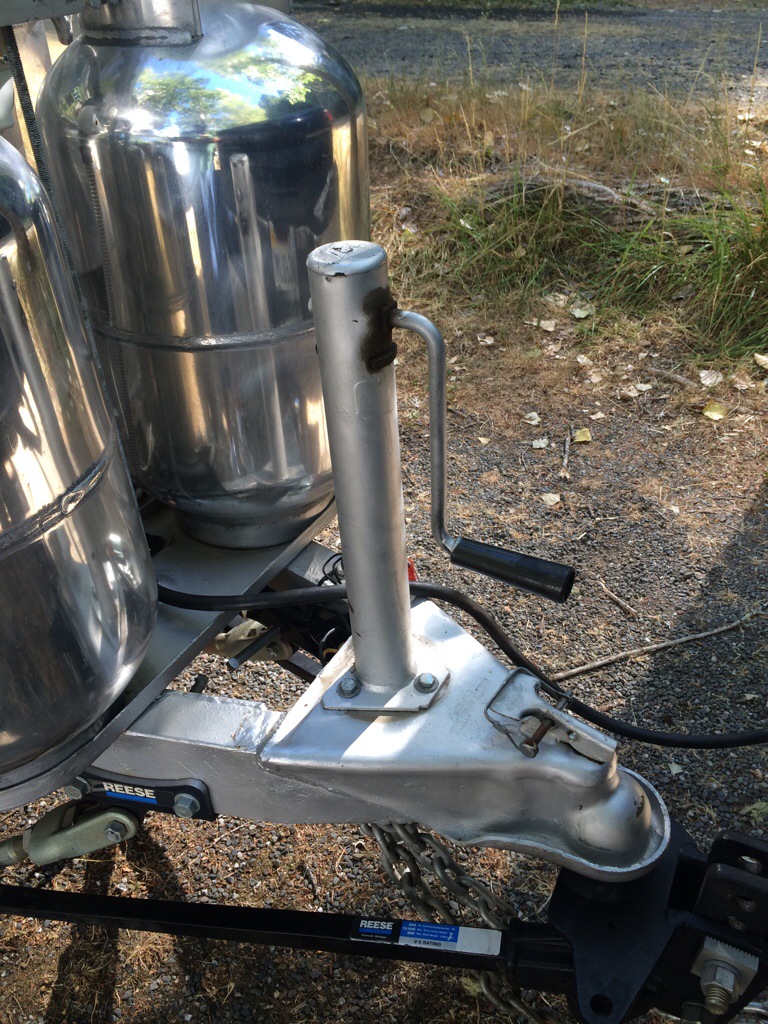
I popped the top of the electric jack loose and used the manual crank to raise it. It was tough and reached a point that I couldn’t raise it any longer. Great! Now what? Stupid electric jack!! Then it dawned on me, laying on the ground was the manual jack I had removed to go with the hi-tech electric one. Just a mere three bolts later, we were back on the road. Cranking away – me just a little more cranky.
Our first stop was just a couple hours from home up the California coast. It was the perfect place for the overnight we needed. Didn’t need to unhook at all. They had full hookup and the price was right at $15 with our Passport America membership. It’s called Sleepy Hollow RV Park, located just north of Willits, CA.
We enjoy full hookups because of our use of electric heat and hot showers for the four of us. This requires a sewer connection. However, I do have my new 400w solar system that I wanted to test. So I left my converter/charger turned off and invented a new kind of camping. I call it “Simulated Boondocking”.
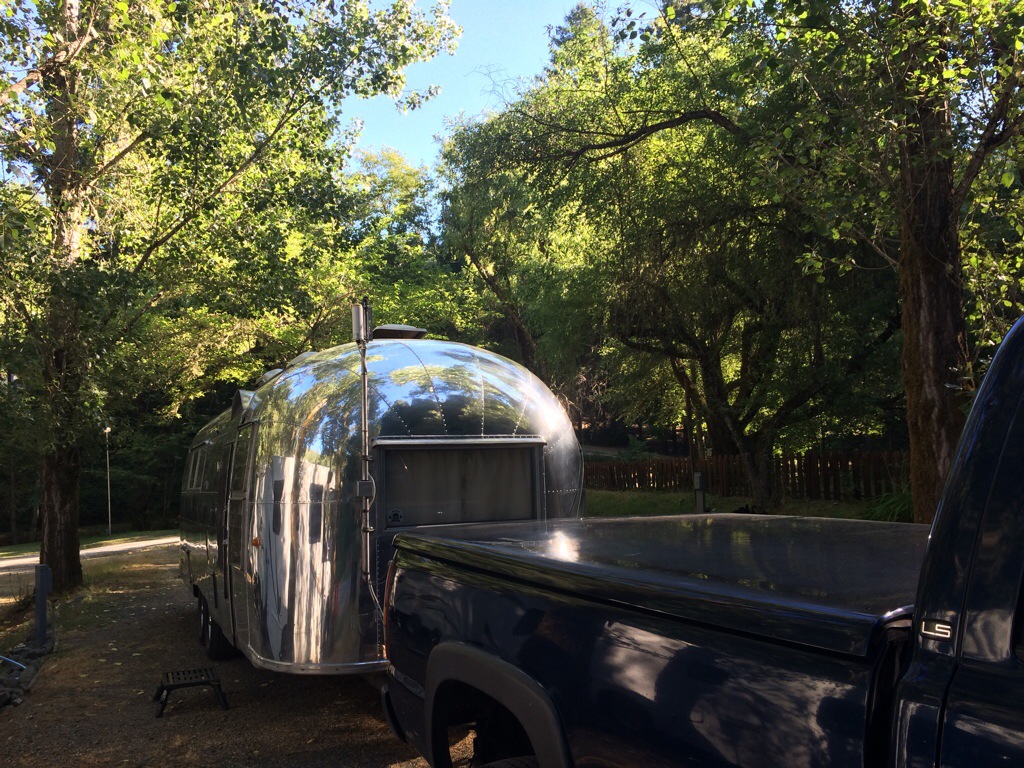 Can’t even see the solar in this photo!
We simulated a Boondocking experience by using our 12v battery system to run our LED lights, running the fridge and water heater control boards, powering our LP and CO detectors, running the stereo, our Fantastic Vent, and of course, our WiFi Ranger.
The first day the solar had charged up our batteries to 100% by the time we stopped about 6pm. We didn’t limit the use if any the devices I mentioned. We used our LED lights without restriction. I realize that many of our lights are also 110v, but we used most of the 12v lights as well. We ran the 12v Fantastic Vent all night, as well as my new LED night lights, which were a big hit.
By morning, around 6:30 am, our Tri-Metric measured our reserve at 80% battery. After the morning rituals, we drove away around 10am with 75% battery. I noted that in the early morning shade among the trees, the solar started bringing in 1 amp.
The drive up north 101 was pretty overcast and often foggy. It is a pretty drive and wasn’t difficult for our 51-foot truck/trailer combo. Even with the overcast and fog we were charging. After an hour drive to fuel up, I checked and found the solar was bringing in 14.7 amps to our 200 a/hr battery bank which brought us to 80%.
Lunch was upon us in no time. Just a three hour jaunt from our morning departure. As we pulled into a rest stop, I realized the kids would want to have mac and cheese. Especially after I had been bragging about the pure sine inverter running the microwave. Me and my big mouth. I’m certain the microwave would only work with fully charged batteries since it draws 150 amps to heat up cheesy noodles. What level would the batteries be at now after Simulated Boondocking and driving three hours in coastal overcast? Was dad going to be a hero, or a big zero?!
I checked the battery status when we parked and was pleased to find them fully charged already! As we drove the solar powered our fridge’s DC control board requirements, detectors, and wifi ranger, as well as topping off our batteries to a microwave-ready 100%. What’s nice about a 400w solar system is that in the sunlight, you can use up to 20 amps of electric without touching your battery reserve. It’s neat to be using electric and still see a positive number on the tri-metric.
It took a total of 7.5 minutes to heat up two kids mac and cheese in the microwave. That may not sound like much, but that is 7.5 minutes of a 150a draw! This with only two batteries. For a 2000w inverter, you really should have four batteries for enough reserve.
Actually it was sunny enough, only 136 amps came from the batteries and the balance from the solar. Another solar benefit. Solar is like an active power buddy stepping in when needed without having to ask! Thanks buddy.
We are on our third day of Simulated Boondocking. Solar has done a great job for us. For example, we stopped at a wild life zoo and had our trailer in the parking lot. I was able leave the Fantastic Vent running the whole time without worry. Of course you should be able to do that anyway, but somehow it seems different when you are using zero battery power to do it.
We were also able to use the microwave again off the battery/solar system to heat up some leftovers for lunch. No problem. From the looks of things so far, it looks like as long as there is sun light, I can go on indefinitely without plugging in to charge the batteries. Of course, there’s not always going to be sunlight. There will be rainy and cloudy days.
I’m only simulating Boondocking. Chances are we’d use more power if really Boondocking. Having said that, I don’t think it would take much effort to stay within our power budget. If we needed more, an extra battery or two would easily settle it for sure.
So far, just like in the Lego Movie, “Everything is Awesome!” Hey, I got kids, cut me some slack!
LED Night Lights
Always room for more LEDS!
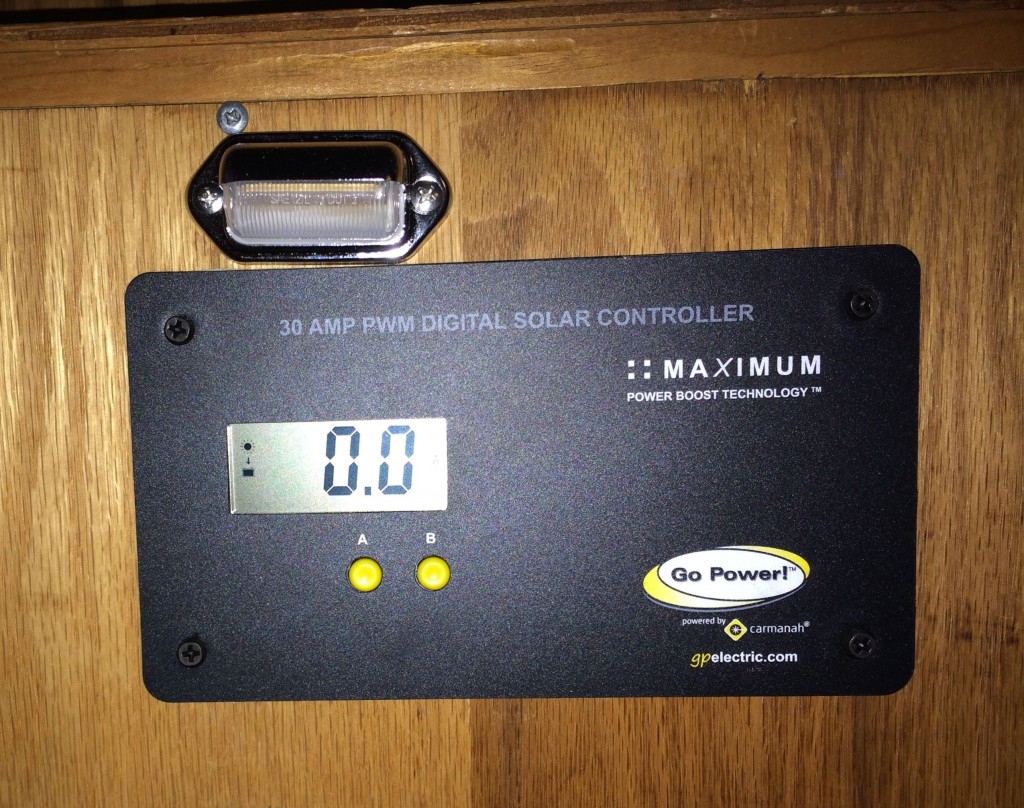
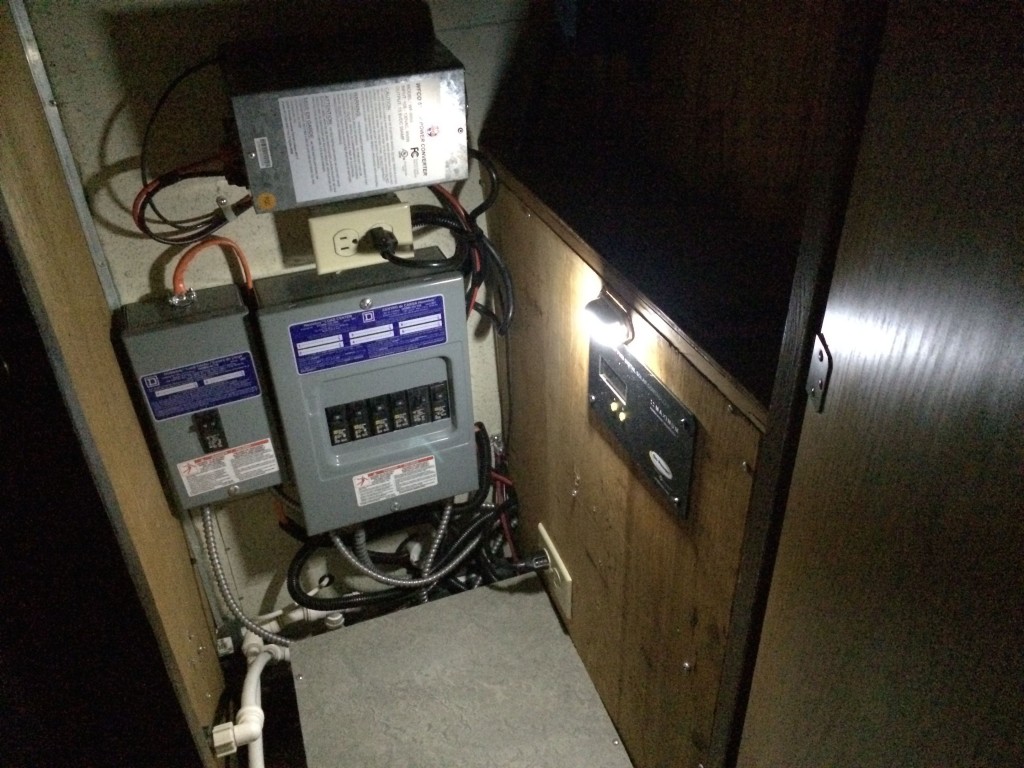
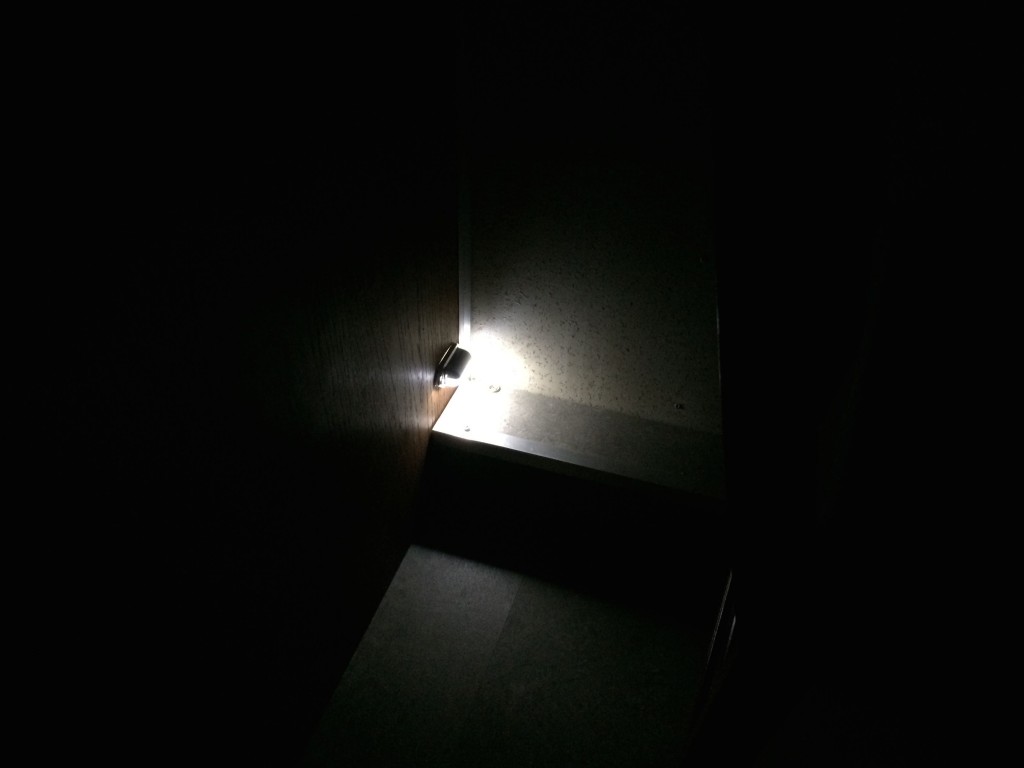
I mounted my solar controller in the street side closet to be closer to the batteries. The only problem is the LCD on the display is not backlit. Every time I wanted to read it I had to use my phone as a flashlight. I decided to mount a small LED light above it.
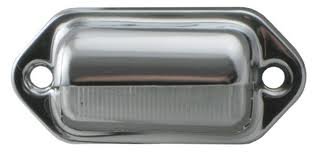
I searched out some cheap surface mount lights and found these mini LED License Plate lights (Amazon Link). I actually picked them up cheaper at a local auto parts store.
These have two bright LED chips. Almost too bright. The chips are on one side of the board in the plastic housing. To reduce the light, I aimed the light up into the cover, which made the light the perfect brightness for what I was looking for.
I mounted one in the closet above the solar controller and it turned out great.
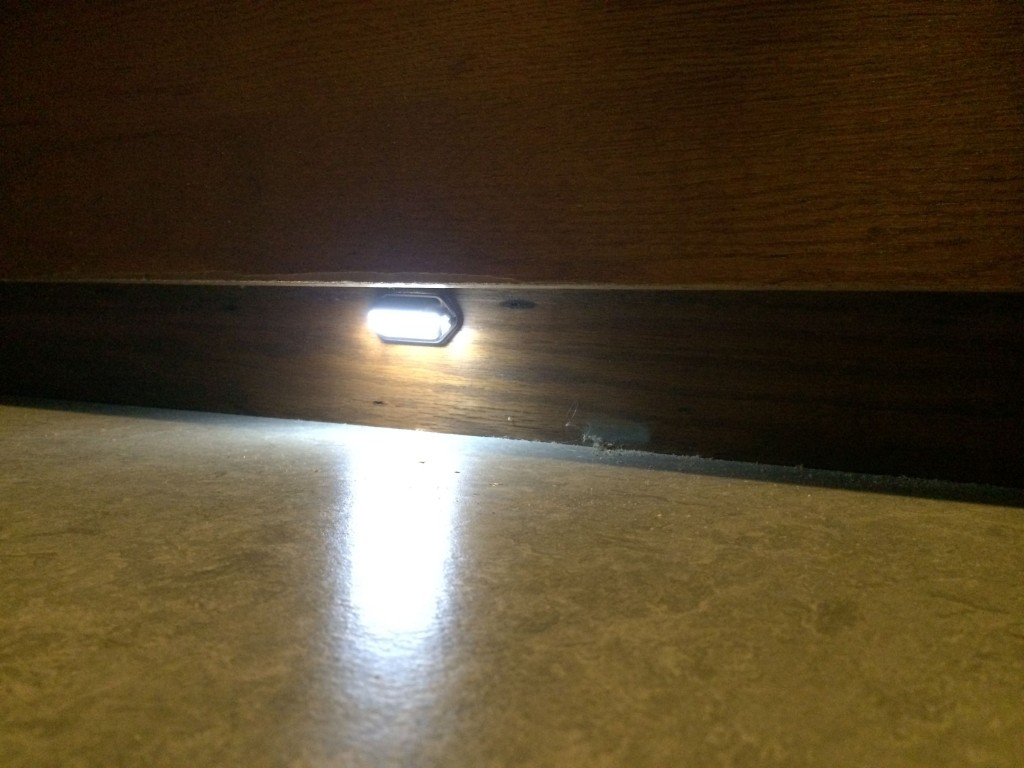
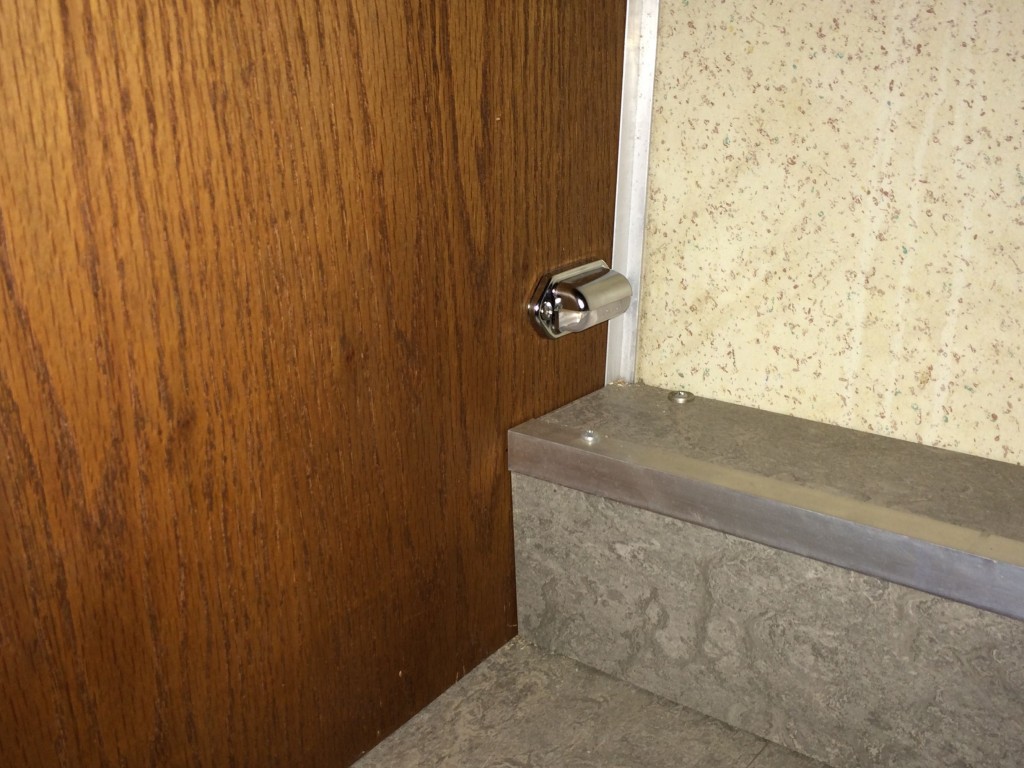
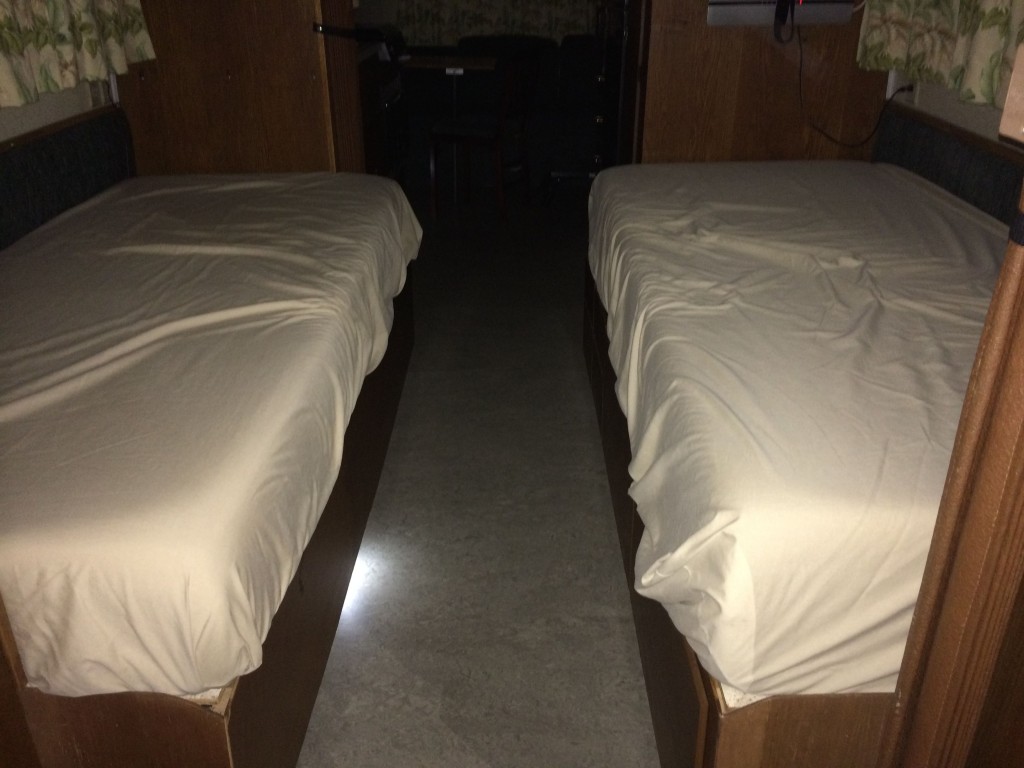
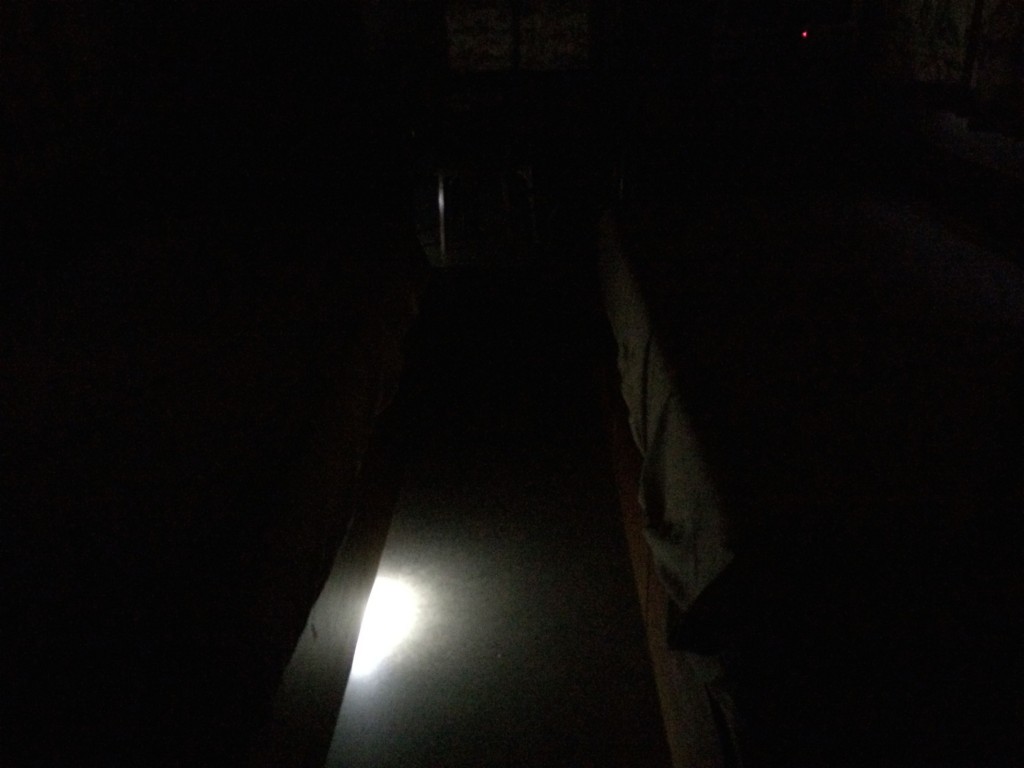
I decided to add two more for night lights in the trailer. I put one under the street side bed where the kick plate is located and another at the end of the kitchen counter.
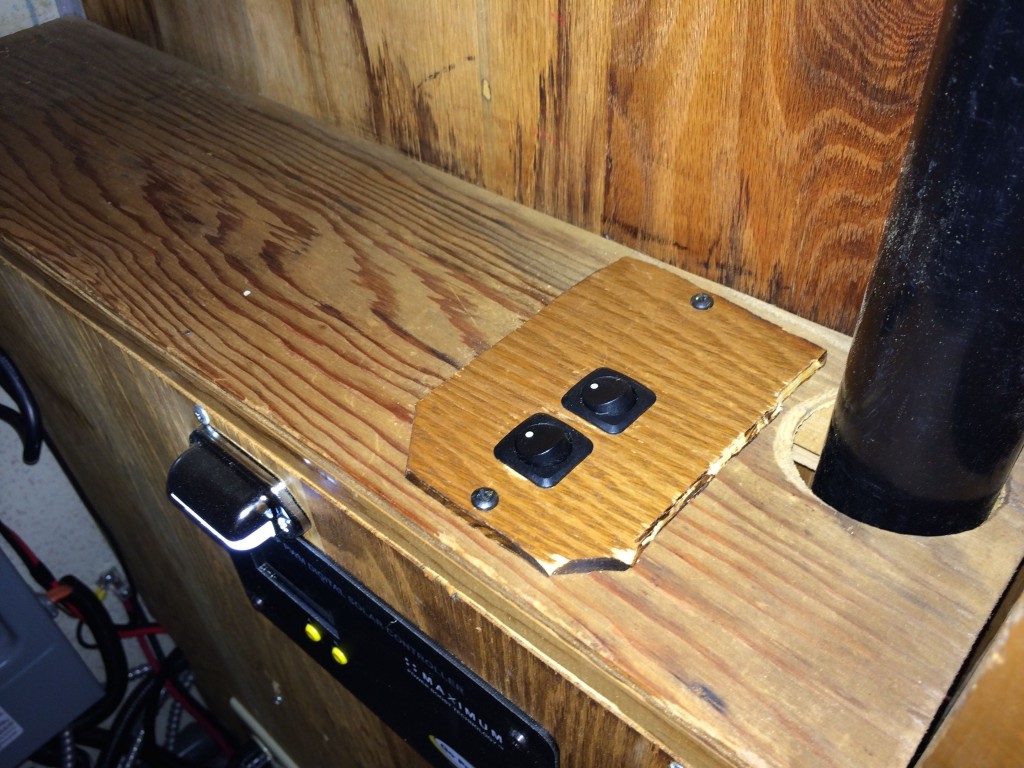
A couple of switches in the closet finish off the installation. One is for the panel light, and the other for the night lights. I left room for another switch or two. Ya never know….
Fun little addition to the lighting in the Ambassador. The best part is the lights only draw .1amp each! Won’t be a problem running them all night to keep the boogie man away!


