Today was all about the back the of the trailer. In 6 hours I was able to do all three passes. Total 22. I figure I’m just over half way done.
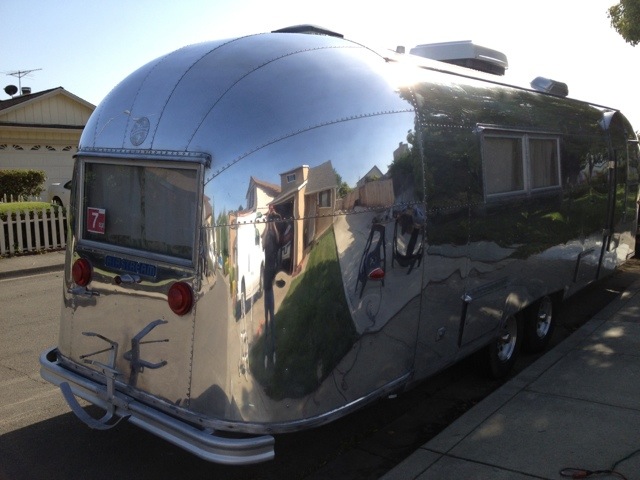
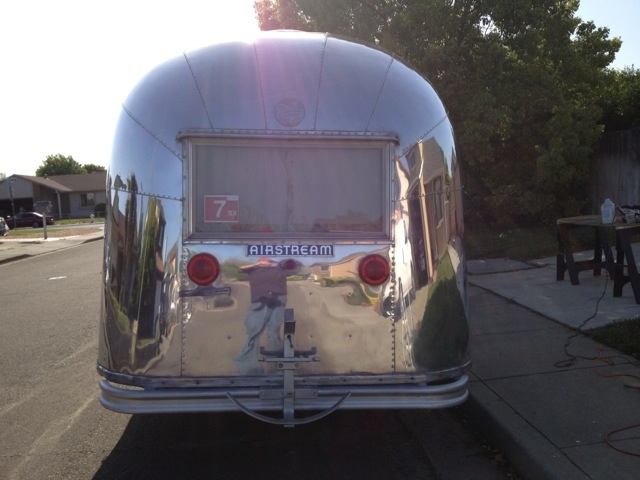
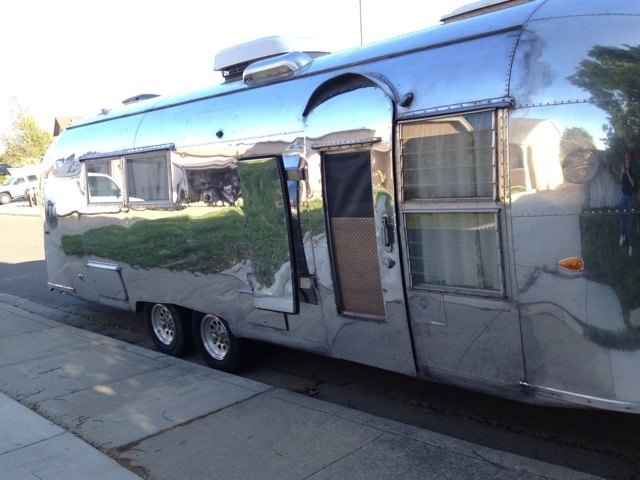
This photo shows the street side, which is not finished, to give you an idea of the change.

Today was all about the back the of the trailer. In 6 hours I was able to do all three passes. Total 22. I figure I’m just over half way done.
This photo shows the street side, which is not finished, to give you an idea of the change.
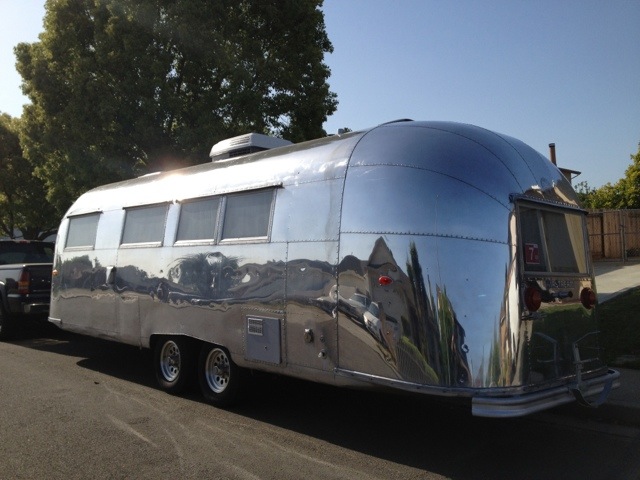
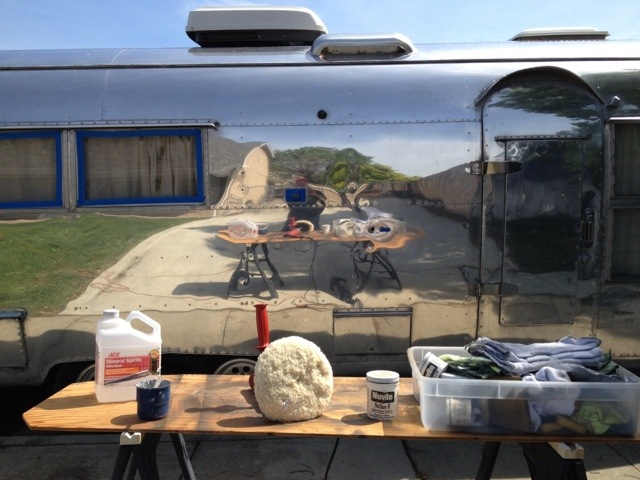
Six more hours. This time I cyclo’d the curbside between end caps. I went over it twice, the first time with F7, then again with Nuvite S.
Looks pretty good, but my arms are tired!
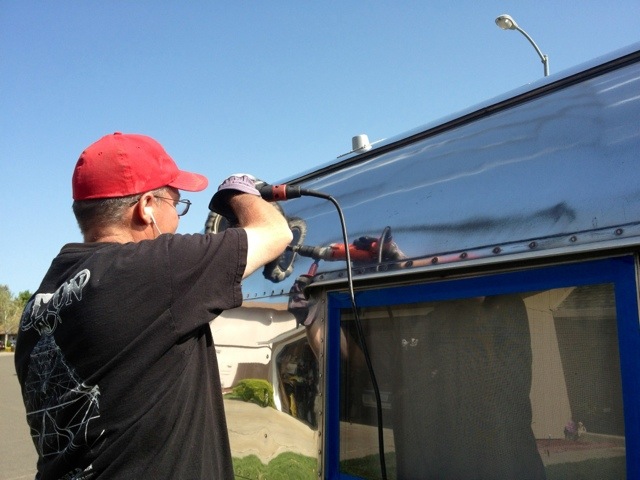
It’s been five years since I’ve fired up the cyclo.
I decided to start at the top. I just like to give it a good compounding with F7 so it looks ok from above.
The rest of the trailer requires more work. After five years I have a lot of water spotting and stains from the birdies little gift packages. Because of this I need to be a little more aggressive.
I have decided to compound the whole trailer with F7 and then cyclo with F7 then again with S. Hopefully this will give me a decent shine. I have about 10 hours in the last two days.
I have the top compounded and the curbside between end caps. Next week I’ll start with the cyclo on the curbside. I actually prefer the compounding. The cyclo is heavy and can be somewhat temperamental. Alas, it must be done.

I took care of some loose ends on the trailer today. I tested the water heater to see how the electric would help in heating. From a cold tank to heated with gas only it took 29 minutes. With gas and electric it took about 15 minutes. So thats a nice improvement.
I had a helper most of the day.

Here is another shot of the water heater.

Water heater
I cleaned up the brackets and holes left from the last water heater. Here’s a final shot.

Outside picture
If you remember on the show, I mentioned that we got stuck in a field on our big trip this summer. After trying to turn around we damaged the gas line to the refrigerator. I decided to go ahead and change it out.

Gas line under trailer for fridge
Here is the kink in the line. It wasn’t too bad after I pulled it off.

Kink in line
I stil had some copper left from the work I did before. So I gathered my tools and went to work.

Gas line tools
Here is the new line installed.

New gas line installed
Checked for gas leaks of course!

Gas leak solution
The last thing was to tighten up my black and grey tank handles. The gray one fell off during our trip! I picked up some lock tight and it was dried out. Even though it was new! Ugh.
I painted the black tank handle black. Seemed to make sense.

Black and gray valve handles.
Trailer should be road ready again!
The Atwood water heater I’m installing is a dual heat unit. It heats from propane and also with a 110 VAC heating element. Atwood provides a dual panel switch that also includes a pilot out indicator lamp. The dual switches allow you to turn on gas heating, electric heating, or both. The nice thing about being able to use both heat sources is that the hot water recovery time is greatly increased.
Here is the switch that Atwood provides.

Atwood Dual Switch
Since I’m replacing a water heater and not putting one in from scratch, I decided to reuse the switch panels that I had already in my trailer. The tank level gauge that I have is a SeeLevel by RV Gauge. The SeeLevel has switches built in for a water pump, and water heater.

SeeLevel
The panel is mounted on the opposite side of the trailer from the water heater. Since its a long wire run, I used a relay to power the water heater which is controlled by the panel switch. A relay is basically a remotely controlled switch. Doing it this way allows relatively small control wire from the switch to power a heavier duty appliance like the water heater.
The SeeLevel only has one switch for the gas heater so I had to add a second switch for the electric function that the Atwood panel provided.

New Switch

Control relays. Left controls the gas function. Right controls the electric.
The other nice thing about the SeeLevel panel is that it provides for a Pilot Out lamp. This will light up if the water heater fails to ignite the pilot after three tries, like if you run out of propane. This way you know something went wrong and you can check it out.
There does seem to be some kind of bug, or maybe its the way they meant it to work. If both the gas and electric switches are on and the heater fails to light, the Pilot Out Lamp will not turn on. It will only turn on if the electric switch is off.
I tested this by leaving the gas off and turning on the heater.

Pilot Out Indicator
So after dressing the wires a bit more, I needed to add some more bed support. Here is a photo of the end result.

Completed installation

Interesting side note. If you look closely you can see two pipes leaving the back of the water heater. The way I understand it is that if this was installed in a motorhome, you could plumb the coolant through these which would keep the water heated while driving to you next spot. Kinda cool.

As I mentioned in the previous post we did have some problems with the trailer. The most notable one was the water heater went out. It was the Precision Temp Twin Temp Jr. I was able to work with them on the phone during the trip and get some use out of it on the way home. It was a big hassle for sure. After we returned I sent the whole unit back to the factory and they found that the main tank had corroded through. The cost to fix it was too high for me to invest in it further. I felt it should have lasted longer than four years.
I reached out to Atwood Mobile who offered to send us a water heater for the show. They sent us their six gallon electric/gas combo unit with electronic ignition. Thanks Atwood!
First thing was to make room for it. I had to cut a hole in the side of the trailer, which is the same spot I had patched a hole from the original water heater.

After some work on the PEX plumbing I freed up some space to remove the inside panel and insulation.

I used a drill to make a pilot hole out the side of the trailer in the center of where I wanted the opening. Then I went outside with my level and marked the overall dimensions.

I held up the cover just to make sure my lines were good, i.e. that it covered the hole I was about to make.

The next step was to drill the corners out to prepare for the metal shear.


This electric shear from Harbor Freight has been worth its weight in gold! I highly recommend one.

Guess what, it fit perfect the first time. NOT! Had to make a few adjustments. Better to make it too small than too big. Take your time on this step.

I fashioned the panel that I removed from the inside into a drain pan. I thought might as well since I had the screen air intake hole in the floor from the Twin Temp.

Here’s a shot with the water heater in place. The cover is the standard white one for aftermarket sales. Atwood does make a gray one, see pics below.

Here is the grey cover vs. the stock white one. The part number for the grey door is 91506 and you can get it from any Atwood dealer for list price of around $37.


Here is the plumbing after reworking the PEX lines. Luckily I used SeaTech fittings that use quick releases so I could move everything around like a puzzle.

I decided to go ahead and add three valves for wintering purposes, even though I never do it. But the idea is that I can turn off the horizontal valves leaving the water heater and then drain the water heater via its external drain plug. Then I would open the valve between the hot and cold lines. This would allow me to pump special RV antifreeze into the lines bypassing the need to fill up the 6 gallon water heater. Remember this is NOT automotive antifreeze. It is made specifically for winterizing RV’s.

You can get this nice right angle brackets to put a 90 in a PEX line. The bracket also lets you screw the line down.

That’s it for now. I’m working on the wiring portion now. I’ve got some creative ideas on how to wire it to my SeeLevel RV Gauge that I already have installed in my panel. More on that in a future post.
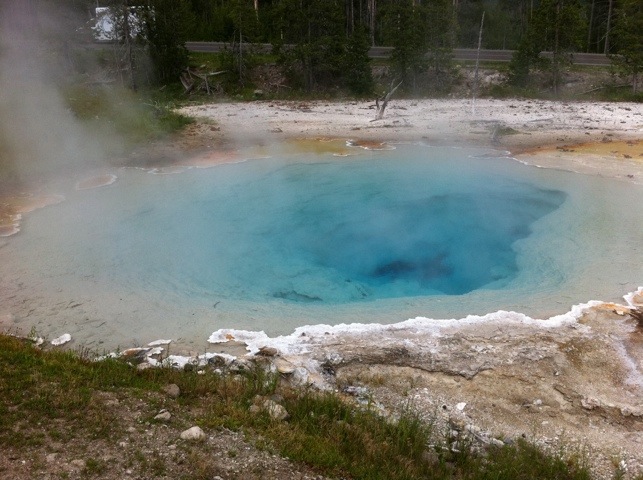
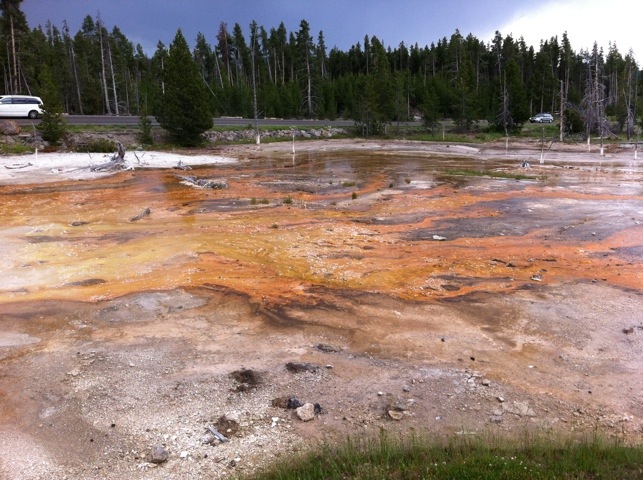
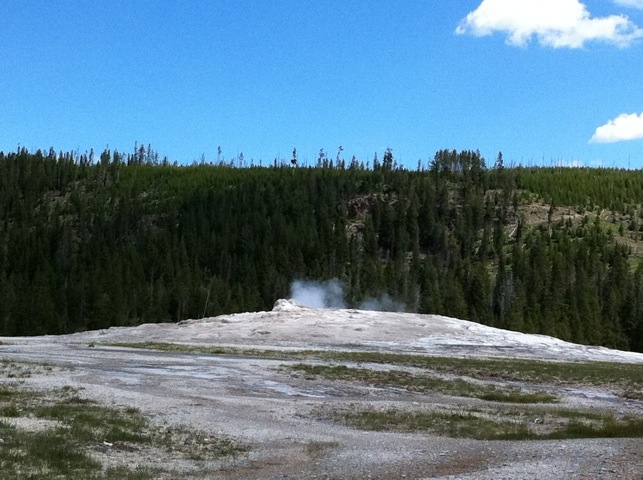
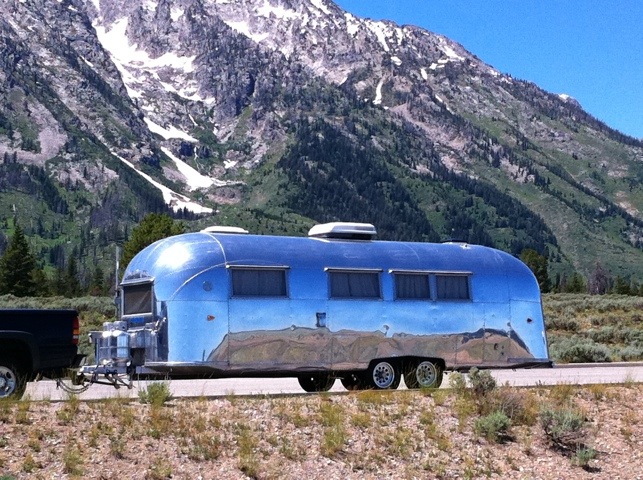
We had a nice two week trip in the Ambassador. We headed toward South Dakota via Yellowstone. Saw some great sights and animals there.
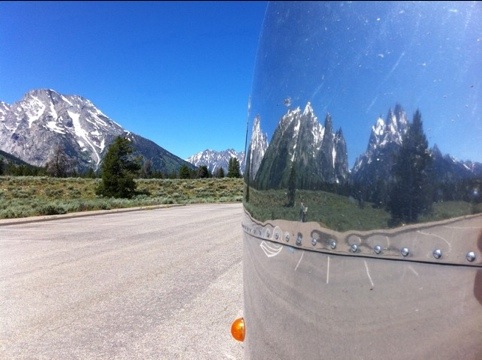
Here is a great shot of the Grand Tetons on our way to SD.
.
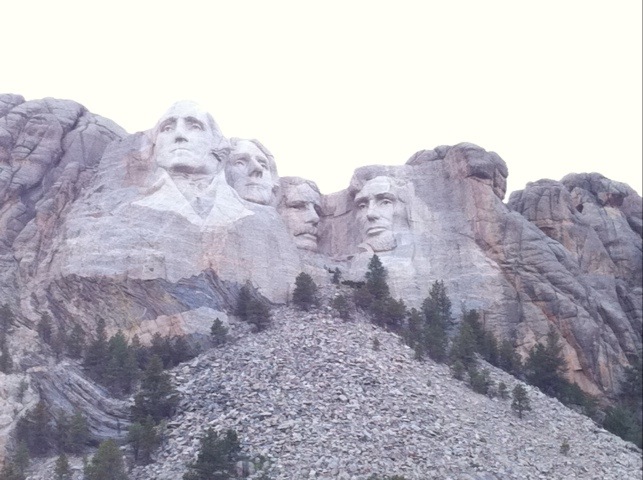
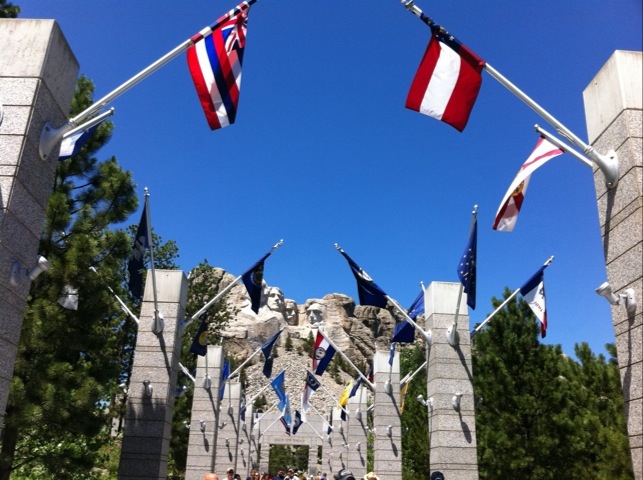
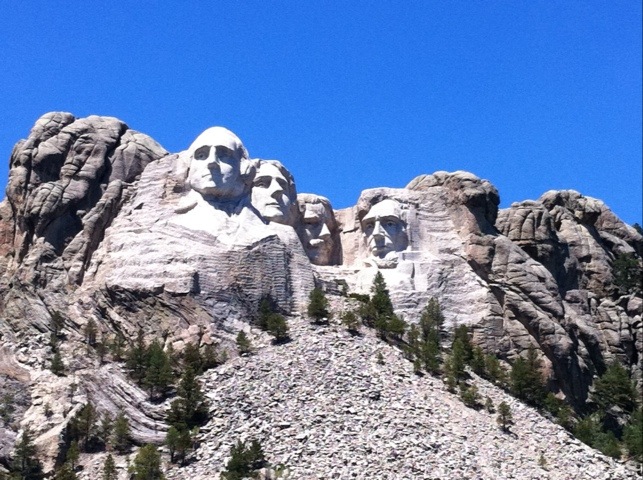
Rushmore is great. We spent an entire day there learning about it. Of course the kids became Jr. Rangers at both parks.
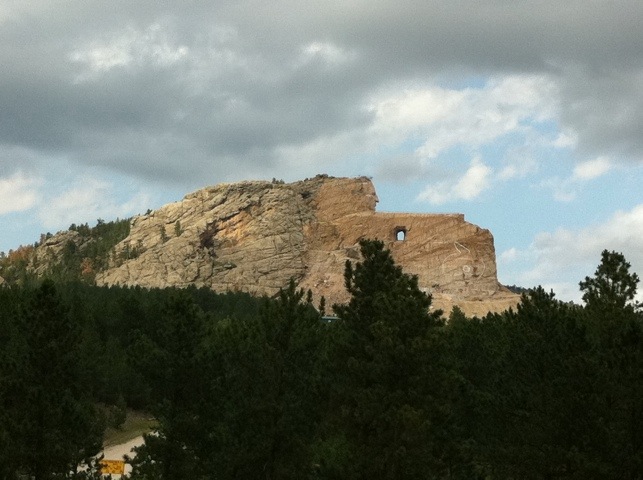
Don’t forget a stop at Crazy Horse. It was only worth a couple of hours to us. Still very interesting.
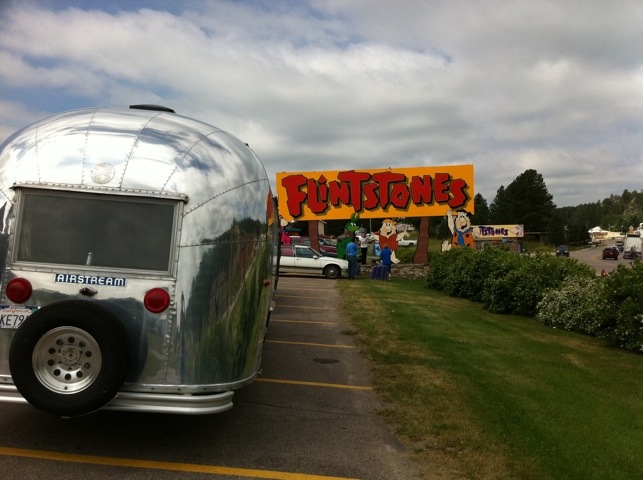
While in Custer, SD don’t miss the Flintstones Bedrock City if you have kids. It’s a recreation of the city of Bedrock and its been there since the mid 60’s
Well,
This is an old back up that is all that remains of the Ambassador blog. After the theVAP.com was compromised the host deleted everything and did not have any clean backups. This was the latest backup I had.
Luckily it has all the restoration posts intact. That is the most important part.
We did make it out in the Ambassador this week. We hit up the Monterey and Santa Cruz area. Had a great time at the beach and aquarium.


The campground had one large tree we decided to go for the shade.

Unfortunately, there was a by-product of a shade tree…

After two hours of pressure washing, most of it came off…

It was worth it, we all had a great time. Everyone wants to hit the road again soon.
Actually this was our second trip out this year.
We decided to take the Ambassador up the Northern CA coast by way of Weaverille, CA to visit family. We stayed at a nice little place called Bigfoot RV in Junction City,CA.

After the owner saw the Ambassador he was quick to show me a sticker on his store window. His campground had hosted a vintage rally in the past.

After our visit we wanted to head to the coast for cooler weather. Of course we had to stop by McKinleyville, CA to see the World’s Largest Totem Pole as found on RoadSideAmerica.com. The totem pole is over 500 years old and made of redwood. According to the site, someone else build a taller one so they had to add a pole to regain the World’s Largest title. 😉


From there we headed to the Trees of Mystery. Unfortunately with the parking situation, I could not get a shot of the trailer with Paul Bunyan :-(.

After finding a local campground we headed to Ocean World the next day to pet some sharks ;-).

Next we headed up the coast into Oregon. We landed a a decent KOA there and headed for the West Coast Walk Through Safari. Its a pretty neat place where you walk among the dear, goats, lamas, etc… as you walk around the park. The kids loved it.
Of course we had to stop by the beach during our coastal stay.

On our drive back down the coast of Oregon we ran across the Prehistoric Gardens. A interesting walk through of dinosaurs and plants.

We headed back inland via the Oregon Caves and Grants Pass. We missed the Grants Pass Caveman, maybe next time.
Some shots of the caves.


We did find a great state park that had full hookups! We use rvparkreviews.com all the time and found this little gem there. The cost was about half that of private campgrounds.

One more roadside attraction was the Black Bird of Medford Oregon. It looks like its the mascot for a hardware store. They probably wondered why we stopped by :-).

We had an nice trip. The trailer did really well. We even got our first *thumbs up* heading down the freeway!
See ya down the road!

