Author Archives: Tim

Round 4

Decided to tackle the laminate problem again.  I need to get this counter top done!

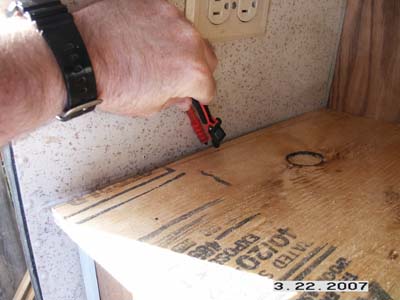
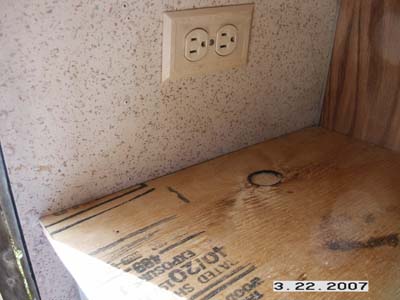
I went ahead and started from scratch.  I got some more 5/8th plywood and got started.  Here I have it square with the bulkhead wall but its way off on the back.  So I used a compass to scribe it.

pict0105a.jpg

After I had that mark, which was just a slight angle, I cut it with the skill saw and it fit great.

pict0106b.jpg

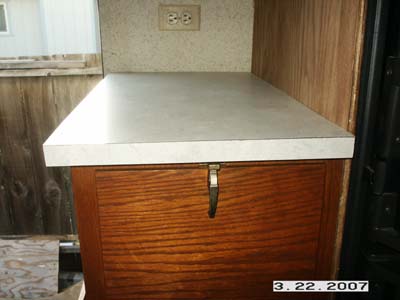
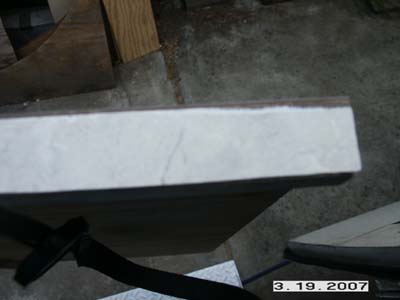
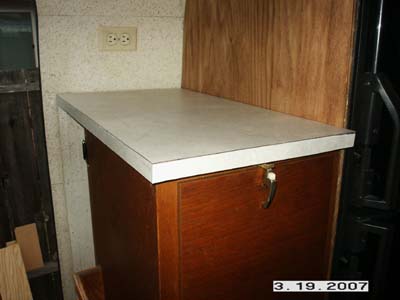
I decided on about an 1-1/4″ overhang.  I added a 1/2″ x 3/4″ edge molding to give it some thickness.  Here are some steps I did to help not have the same problem as before which was cutting into the edge laminte as I trimmed the top.

  • Used the skill saw to cut the edges flush after I added the edge molding
  • Sanded the laminate edges between each piece as it was applied
  • Put double thickness of tape on the edges before trimming the top
  • Moved the router quickly and in a back and forth maner
  • Went wide on the corners and came back over them instead of hugging them close
  • Sanded the edges with a sanding block

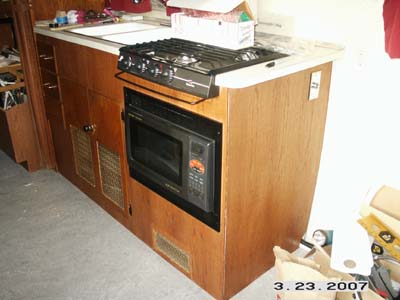
In any case the results were worth the effort.  Who says 3rd time’s the charm…

pict0108d.jpg

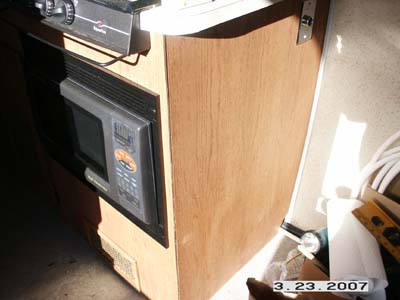
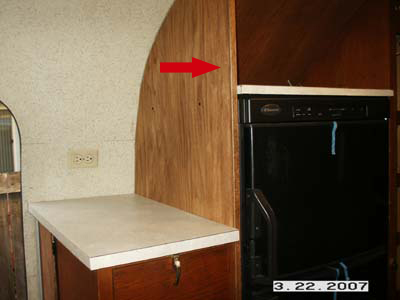
I had some extra time to add some oak molding to the edge of the bulkhead wall.  You can compare this with the photo above.  Turned out nice.

pict0109e.jpg

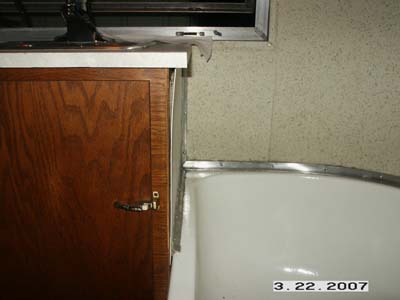
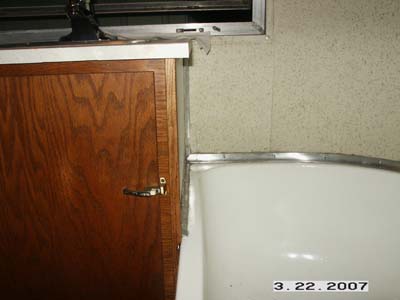
Next I put some trim on the bathroom vanity.  Here are the before and after shots.

pict0110f.jpg

pict0111g.jpg

Not bad for an ameatur.  Besides the router the only woodworking tools I have are a circular saw and the jig saw.  It would be nice to have a table saw if I needed to make a straight cut. 🙂

Good thing it’s an Airstream. 

Facebooktwitterredditpinterestlinkedinmailby feather

Few hours here and there.

A few hours here and there and its starting to look like a trailer again.

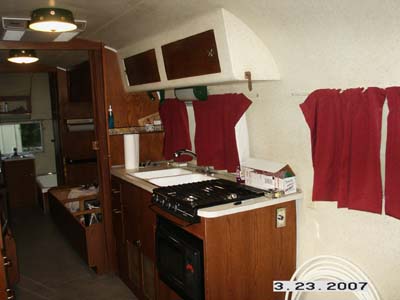
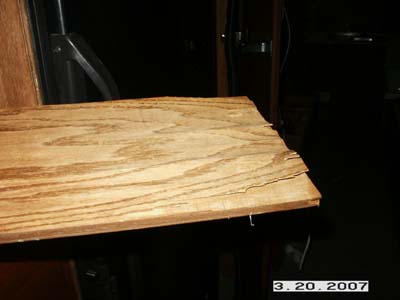
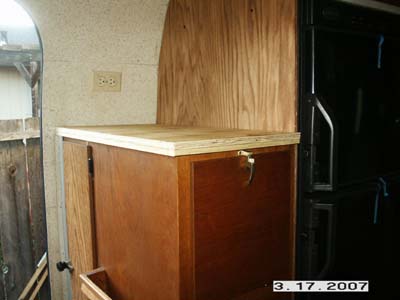
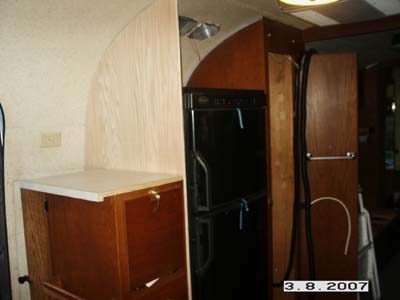
I finished up the cabinet repairs today.  I’m not sure I really showed why I had to do this.  Here is a photo of the cabinet door showing the delamination.

pict0096c.jpg

The partial wall segment was poor too and actually broke off from the main cabinet.  Originally they were one piece.

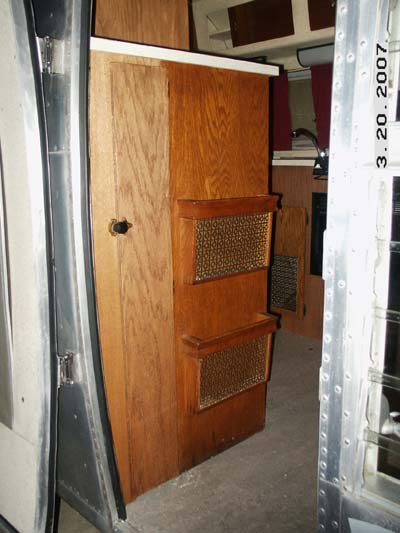
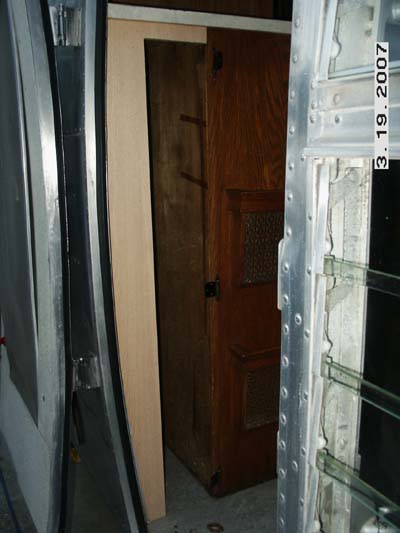
Here is a shot with the cabinet stained an back together.

pict0094a.jpg

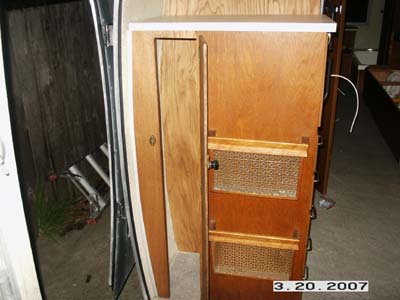
And with the door open…

pict0095b.jpg

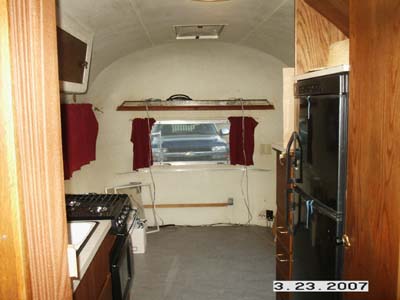
Nice little closet.  Looks good with the flooring in there too. 🙂

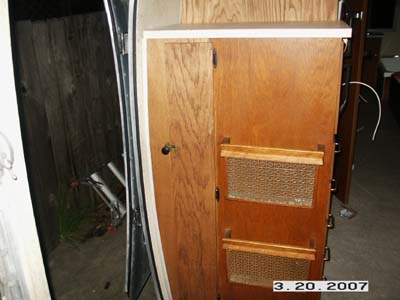
Here is a shot from the outside. 

pict0097d.jpg

All of these shots had to use a flash since it was dark.  Kind of washing things out.   I still need to use the refinish/renew and wax on all the newly stained wood.  This will help match it up to the original.

Facebooktwitterredditpinterestlinkedinmailby feather

Taj Mahal

Taj Mahal is what the neighbor called the Ambassador the other day.  Actually he said that must be the Taj Mahal for the amount of time I work on it :-).

I’ve been having a problem getting my countertops just the way I’d like them.  I keep getting small *burned or scraped* areas on the edges when I run the laminte bit to trim the top.

I neglected to point this out on my kitchen counter because I’m trying to learn to quit pointing out the negative.  But the shelf I made above the fridge has a bad spot, and now this small top is giving me a fit.

What should have been quick hour job, turned into about three hours of frustration.  I’ve now laminated this top three times :-(.

pict0088b.jpg

pict0085a.jpg

I’ve already spent too much time working with this. I had to move on.  When I find some free time I’ll come back to it.

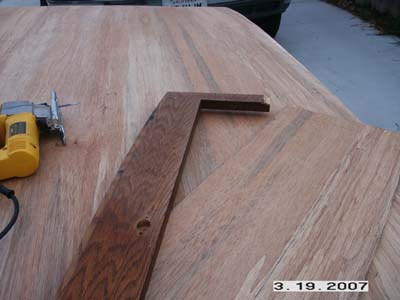
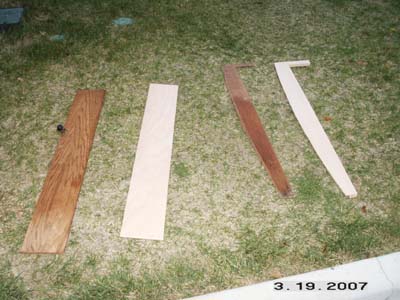
Like I mentioned earlier the door on the left side of this cabinet was pretty delaminated.  I had to build it up from scratch.  I picked up some 1/8″ oak and got started.

pict0090c.jpg

On the left is the delaminating door and the replacement made.  On the right is the cabinet wall that was bad as well.

pict0091d.jpg

Here is the cabinet dry fitted in place.  Of course everything still needs to be stained.  It turned out pretty well.  I should be able to stain and install it tomorrow.

pict0092e.jpg

Facebooktwitterredditpinterestlinkedinmailby feather

Refrigerator Cabinetry

Today was the day to finish working on the fridge cabinet.  I needed to install that bulkhead I had made, build a shelf for the top of the fridge and make a chimney.

I also wanted to build the electronics panel but I have to buy a stereo for the trailer still.

My dad came by to help carry an entertainment center into the house so he got suckered into helping build my shelf.

I did not bring the camera out this morning so I don’t have any during photos.  Basically we laminated a shelf for the fridge top, mounted the bulkhead wall, and made chimney with 1/8″ oak.

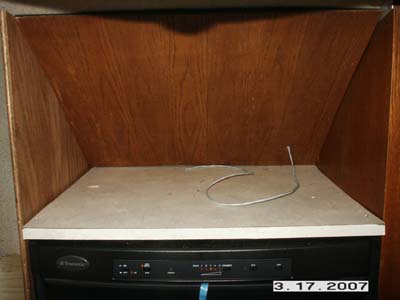
Here’s a shot of the shelf.  The wire coming through is the 12vdc fan lead for the chimney fans.  The whole right side of this opening is where I plan on having the stereo, Tri-metric, SeeLevel Gauge, and the remote turn on for my inverter.

pict0084e.jpg

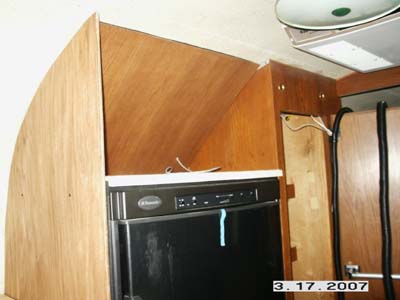
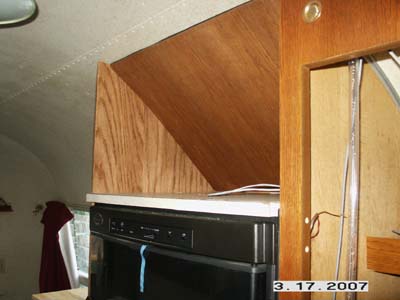
Here’s a shot from the front and one from the back.

pict0082c.jpg

pict0083d.jpg

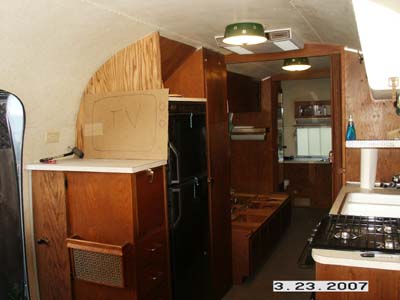
I was then able to get the original cabinet mounted back in to the left of the refrigerator.  I also built a top for it that still needs to be laminated.  I ran out of glue and time.

I was going to make the counter top curved like I did on the kitchen counter but it proved to stick out too far so I just made it like original.  Now I’m wishing I just made the kitchen counter square as well.  Because its kind of out of place now.

pict0081b.jpg

The little door on this cabinet on the left of the photo needs to be redone.  Its de-laminating.  Also the piece it closes onto is shot too.  I ran out of 1/8″ oak so that will be a project for another day. 

Oh, by the way.  The entire bulkhead wall has buytl putty tape running down where it meets the wall.  The chimney cover is glued along the sides and the tops and bottoms have a foam rubber gasket.  These steps should help keep the fumes out of the living area. 

Facebooktwitterredditpinterestlinkedinmailby feather

Odds and ends

I’m waiting for a LCD TV mount I bought ebay to show up before I mount the bulkhead I made.  I may mount it with tee-nuts so I’m waiting.

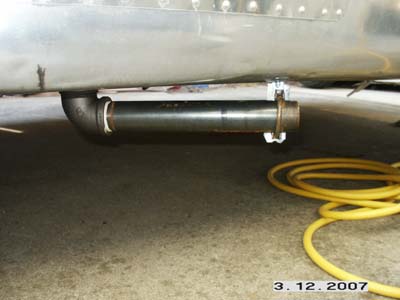
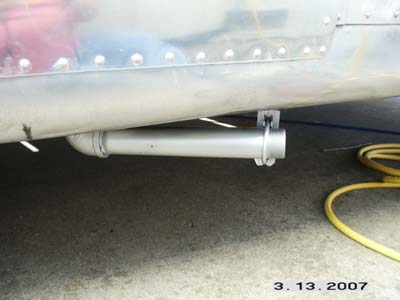
Today I got a few small projects done.  I painted the exhaust pipe on the TwinTemp Jr. with high temp paint.

pict0073a.jpg

pict0074b.jpg

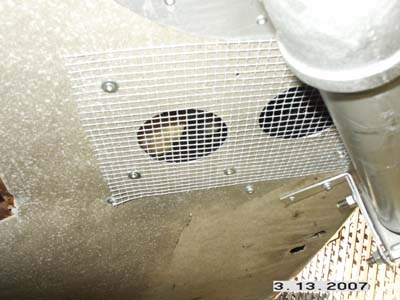
Next I added a screen over the two fresh air intakes I made for the Jr.  Looks like I missed a rivet! 🙂

pict0075c.jpg

Lastly on the Jr. I installed the cover.  Hopefully it can stay on for a while!

pict0076d.jpg

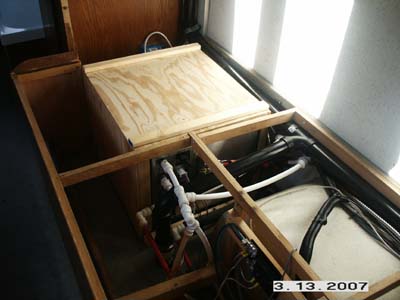
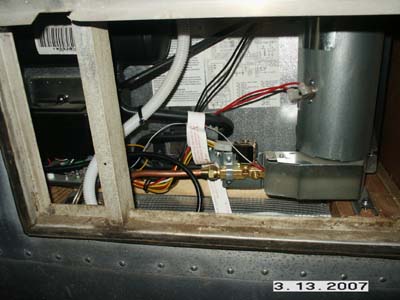
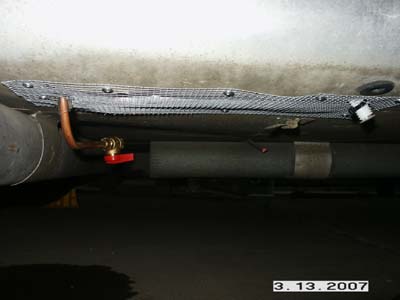
Next it was time to move on to the fridge.  I installed the 3/8″ copper gas line and fished the condensation drain out the bottom of the trailer.

pict0077e.jpg

On each point of entry for the propane lines, I added a gas shut off valve.

pict0078f.jpg

Well that was it for the day.  The main propane line will be 1/2″ copper.  But I can’t run it until the new axles are installed.

Facebooktwitterredditpinterestlinkedinmailby feather

Wheels go round and round

Not much time for work today.  There were a couple of critical things I needed to get done.  I want to get some new wheels ordered and I needed to double check the wheel specs.

There is really a lot to wheels, more than I wanted to know, bore size, offset, backspace, width, load rating, it goes on and on.  And it’s critical to get it right.

The first thing I know is the tire size is a ST225/75R15.  The ST is Special Trailer, the 225 in milimeters tells you how wide the tread is that will contact the road.  The 75 is a ratio of the 225 number and tells you how high the tire is from the rim to the tread.  So in my case the height is 75% of 225mm or 168.75mm high.  The R designates a Radial tire, and the 15 is the size of the wheel in inches.

I went surfing the net to find a place to help explain the wheel specs. I came across this site: Wheel Technical Information.

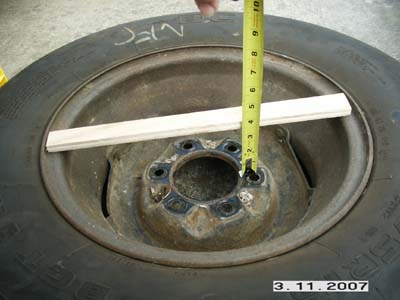
After pulling the wheel off the trailer, I cut a stick just long enough to fit into the wheel to measure the Backspace.  I got 3.5″. 

pict0068a.jpg

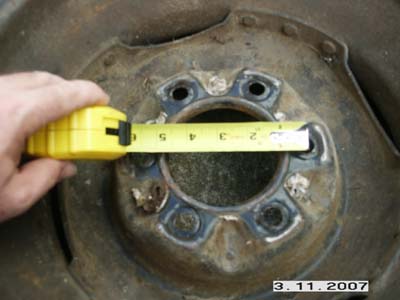
For the bolt pattern I simply needed to count the number of bolt holes.  There are six on my wheel.  When the number of holes are even you mesure across two of them center to center to get the spec.  I measured 5.5″.  So I have a 6 on 5.5 bolt pattern.
pict0069b.jpg

Next is bore size.  I’m not sure about this one.  I know it’s the center hole on the wheel.  Mine measured 3-5/8″.  I assume this will depend on your axle.  If you know, send me a note and fill me in :-).
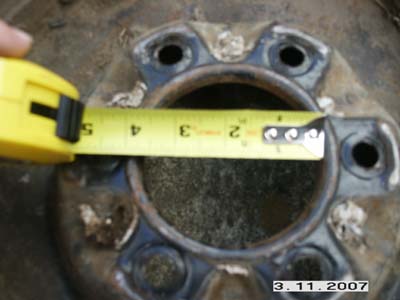
pict0070c.jpg

So, now I know I need a 15″ wheel, with 6 on 5.5 bolt holes, 3.5″ backspace, and a 2600lb load rating since thats what Airstream uses.  Hopefully I have enough info to get the correct wheels coming.

The only other thing I had time for was lining the TwinTemp Jr. box with ceramic insulation.  This will help keep the heat transfer down when the Jr. is running with the cover on.
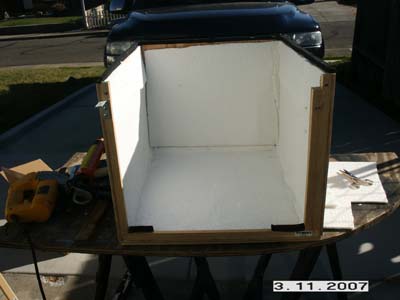
pict0072e.jpg

I have not put the cover back on yet there are a few items I want to tiddy first regarding the Jr.  Hopefully I can finish it up soon.

Facebooktwitterredditpinterestlinkedinmailby feather

Building a Bulkhead

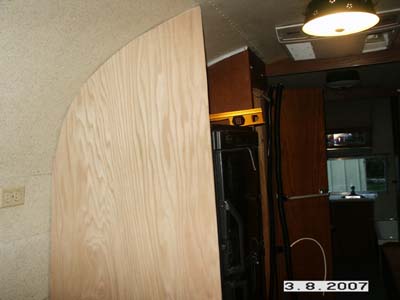
A bulkhead is the term used for the little half walls in an Airstream.  I needed to build one to surround the refrigerator.  As you can imagine with all the curves in an Airstream this is no easy task to build from scratch.  Expecially for a rank ameatur woodworker like me :-).

I used a combination of techniques from the Story Stick I used earlier to the compass method we talked about in Episode 39.

Before cutting my $39 sheet of 1/2″ oak, I used an $8 sheet of luan for a template.

pict0061a.jpg

I scribed and cut, scribed some more until it came out like this.  Then I laid it out over my oak sheet and traced it out.

pict0062b.jpg

I cut it a little large and sanded the edges before I did my test fit in the trailer.

pict0063c.jpg

To my amazement it fit pretty well :-).  Next I trimed the vertical for the size I wanted and then placed my cabinet next to it to see how it will fit together.

pict0064d.jpg

Looks like it will work out fine.  Just some more sanding and staining and it will be good to go!

Facebooktwitterredditpinterestlinkedinmailby feather

More A/C Work

I had a couple of hours to get some more work done on the A/C unit today.

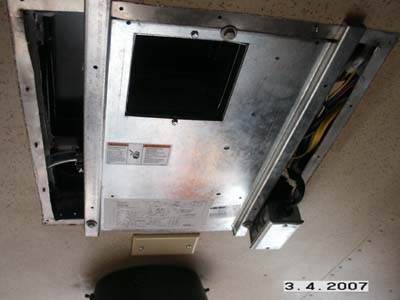
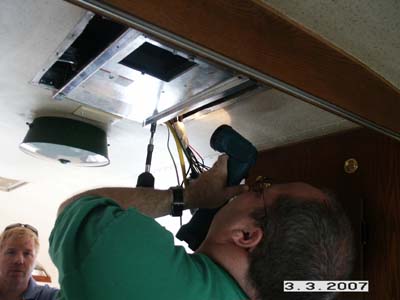
The wiring at the opening was connected to the heatpump.  This included the 110vac, Comfort Control Center, 12vdc, and furnace wiring.

pict0056a.jpg

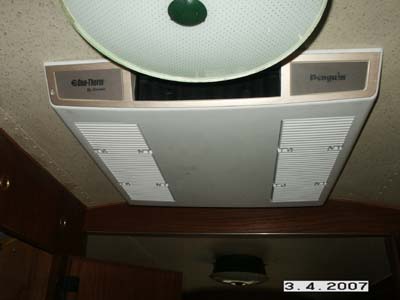
With the wiring tucked up in place, I mounted the ceiling package.

pict0058c.jpg

The final step in the instructions should have been the first step.  There is a set of dip switches that need to be set depending on your configuration of the heatpump.  The last instruction tells you how to set this switch.  However, the switch is located on the roof under the shroud! 🙁

So, up on the roof and pulling the cover was the next step.  I had to tell the system it will be connected to a furnace.  This will allow the Comfort Control Center to a) operate the furnace, and b) when running the heatpump and the outside temp drops to 30 degrees, the system will automatically shut down the heatpump and turn on the furnace.

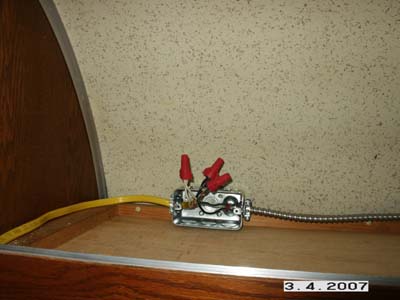
After I got that setup, I continued to wire up the rest of it.  I ran the 110vac 20amp dedicated circuit from the vent opening into the pantry.  From there it went into the overhead curbside cabinet and was wired to a junction box I had waiting for it.

pict0057b.jpg

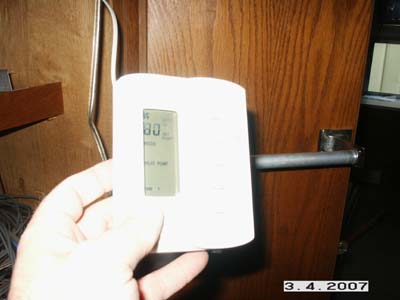
After the 110vac was wired I only had a few minutes left to work on the trailer.  I decided to temporarily wire the 12dc and plug in the Comfort Control Center for a quick test.

pict0060d.jpg

Everything appears to be working perfectly.  The one thing I like about the Comfort Control System compared to my older A/C unit is that the fan has an AUTO mode.  When the trailer reaches the temperature you set, the fan will shut off. 

So the mode selections are, Fan only, Cool, Heatpump, and Furnace.  Once I wire the thermostat leads from the TwinTemp Jr, I should be able to control everything from this one location.  Sweet! 🙂

Facebooktwitterredditpinterestlinkedinmailby feather

A/C Party

When I heard my brothers were coming to town this weekend, all efforts turned to getting the A/C ready. 🙂

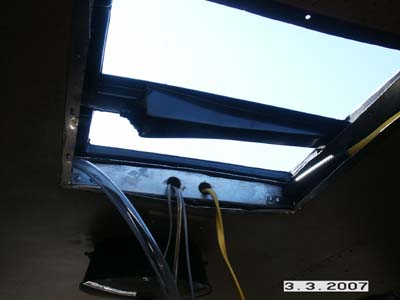
I had prepped the opening by running the electrical and drain line to the 14×14″ opening.  I also framed it out some to add some strength.
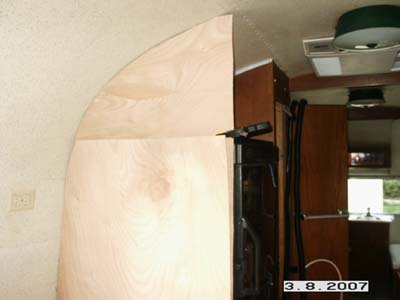
Here is a shot of the opening ready with drain pan in place.

pict0025a.jpg

The opening needed the AC power, 12vdc, furnace thermostat, and a control wire for the Comfort Control Center.  Also needed was the 1/2″ drain tube for the drip pan.  This will keep condenstation from running down the side of the trailer.

Here is a shot with the drain pan in place.  I put a good bead of vulkem around the opening before placing the pan down.

pict0031c.jpg


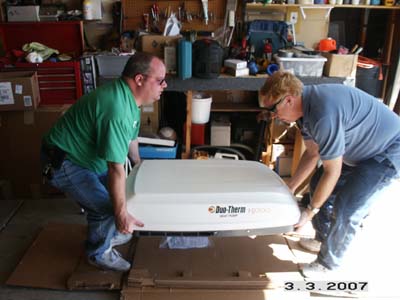
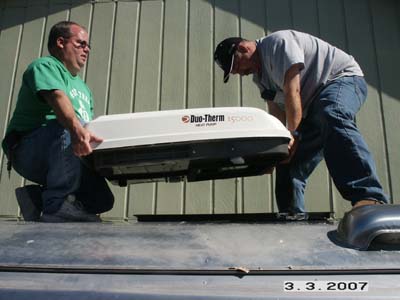
Me on the left and brother Mark on the right lift the 92lb heatpump from the carton.

pict0029b.jpg

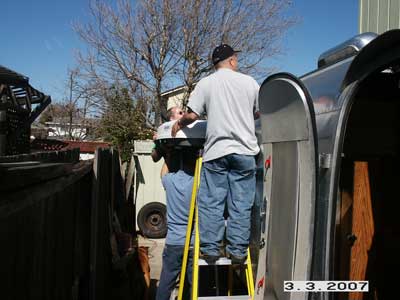
Next challange was getting the unit on the roof.  It took all three of us.  That’s Chuck in the foreground.  Of course my dad was the photo journelist today ;-).

pict0033.jpg

We basically walked it up using two ladders and set it on the edge of the roof.  Then we got up on the roof and walked it in place.

pict0034d.jpg

After carefully setting it in place and with one brother on the roof watching things over, I tightened down the three bolts until the gasket was evenly compressed all the way around.

pict0041e.jpg

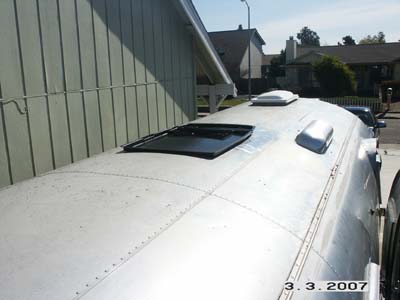
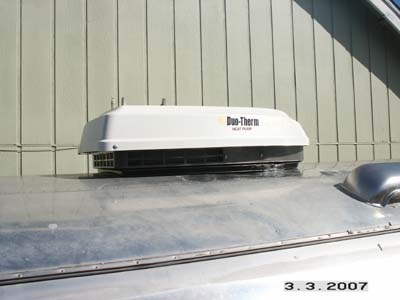
And here is how it looks now on the roof.  All thats left is hooking up all the wiring and mounting the lower piece.

pict0044f.jpg

Could not have done it without the help of my brothers and dad, thanks guys!


Facebooktwitterredditpinterestlinkedinmailby feather
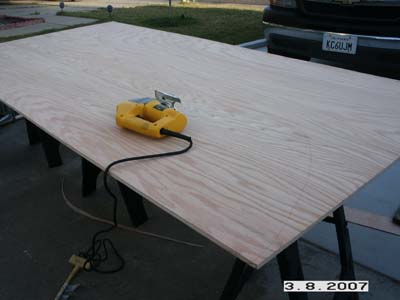
Quiet heat from the TwinTemp Jr.

Gerry from Precision Temp sent me a replacement heat exchanger and it arrived today.  The rain let up just enough to give it a try.
Here’s the old exchanger.

pict0018a.jpg

I replaced the one I broke with the new one and was extra careful to use two wrenches while tightening the fittings.  I added some water to the Jr. and ran the pump and watched for leaks.  Looks good! 🙂

Here is the replacement exchanger put back under the kitchen counter.

pict0020c.jpg

Next I had to pump a couple of gallons of water out so I could put the non-toxic antifreeze in.  I topped it off with water and hooked up my BBQ grills propane tank to give a test.

After a few minutes of the Jr. doing its thing we had heat!  Nice and quite coming from all three resgisters.

pict0019b.jpg

Just a couple of loose ends to button up on the Jr. system and it gets a DONE stamp!

As soon as I get some time I’ll hook up some water to the trailer and test for my instant and endless JR. hot water supply.  Stay tuned.


Facebooktwitterredditpinterestlinkedinmailby feather