Discover why upgrading to a Lithium Ion Phosphate Battery is a game-changer for your RV! See how I transformed my RV battery setup from traditional AGM batteries to a more efficient, safer, and lighter 280 amp hour lithium battery. Learn about the benefits of battery longevity, solar charging, and battery management system (BMS) for an enhanced RV living experience. If you’re into boondocking, van life, or just love the freedom of off-grid living, this video is your guide to battery efficiency and durability. Watch now to revolutionize your power management and embrace the adventure with lithium battery for camping!
I’ve been getting a lot of questions about how to make the archives shows available. I’m sure everyone realizes there are costs associated with hosting 360 hour long shows as well as the bandwidth to download/stream them.I think I have found a way to keep it going with locals.com.
The locals platform allows you to join for free and view and listen to content on theVAP channel. Their local’s app allows you to stream the shows (and even listen with your phone screen off)! This helps with the download issues many were having when using phones and tablets.
Locals also has a support feature where you can support the content via a monthly subscription that will open up all the content, allow for posting, commenting, etc. It’s through the subscription that I’m hoping enough people will support the content to allow me to keep the site up going forward.I can also add new content on locals for subscribers, and do live streams.
Locals does have tiers, so if I did the math right, I will need 50 to host all the back shows.Check out the link below. Join for free and browse around.
I posted the first 20 shows so far and made many open and available so you can try it out with apps or your browser. I will keep working until I get as many uploaded as they allow.Once there, please consider becoming a supporter.
I set the monthly fee as low as they allow which is $5.Thanks for all the support over the years!
It’s time. After over 16 and a half years I’m retiring from theVAP.
We’ve had a great run. Much longer than any of us thought. I like to think that we have helped hundreds, if not thousands make their Airstream dream come true.
In over 400k downloads in multiple countries, we have talked with the Airstream CEO, rock stars, polishing gurus, Airstream entrepreneurs and enthusiasts from all over. Each has contributed to the longevity and entertainment of the show! Thank you!
The fun in creating the show each week was possible from the Panel Pros, Colin Hyde, and Rob Baker! Thank you to them!
In 2005 when I had the idea for an Airstream podcast, I sent an email on an Airstream list, and Rob answered up. He had recently started working with Colin on his own restoration. The dream team was born!
Over the years each of you had a big role as well. Calling and emailing with your questions and comments for the show made it so much more interactive for us. Seeing the photos of your field finds, in-progress work, and restorations, was very exciting for all. Answering your questions each show was fun, and let us banter back and forth on each topic. You’d get the Pro answer, and some of my weekend mechanic input! So a big Thank You to you, the listeners of the Vintage Airstream Podcast!
Lastly, I have enjoyed learning from all of you, the Panel Pros, and through my own restoration and travel experiences. The writing of my book, Restoring a Dream, was another accomplishment I had never imagined. Thank you all for the support over more than a decade and a half!
Where do we go from here?
I will continue to release Vintage VAP (reruns) for as long as there is an audience. I’m thinking of sprinkling in some Airstream Stories episodes.
I would like to do one on one discussions with Airstream owners about their Airstream life, vintage or not. If you’re interested talking about your own adventures whether it be your travels, personal airstream experiences, or restoration, send an email to tim@theVAP.com.
Thanks again and I hope to see ya down the road…..
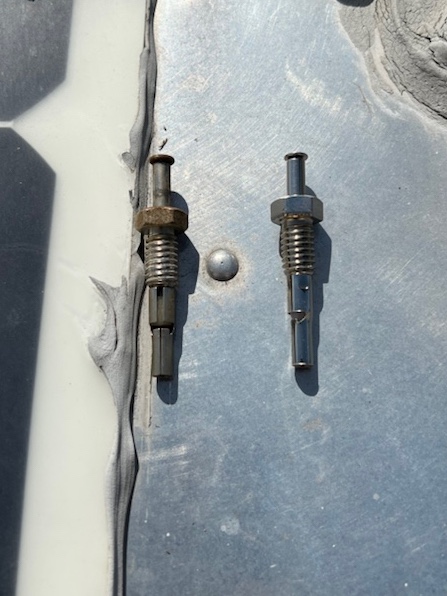
The last few times we were camping, I noticed our bathroom fan would sometimes not come on.
A couple times I noticed if I closed and reopened the lid it would work. I started doing some research and found it’s common for the plunger switch to go bad. I was able to find a part breakdown and ordered the switch from Amazon. https://amzn.to/3v8mnsO
Old plunger left, new on right
It would probably take about 15-30 minutesdo it yourself. Plus it saves the hassle of replacing the $280 fan.
When we camped near Yosemite this spring, the temps dropped to freezing! We normally stay away from freezing temps in the Airstream since we only have a heat pump to keep us warm.
I did take some steps last year to help cooling, that worked equally well for heating. Since the heat pump is in the kitchen, the rear of the trailer was cooler due to the curtain.
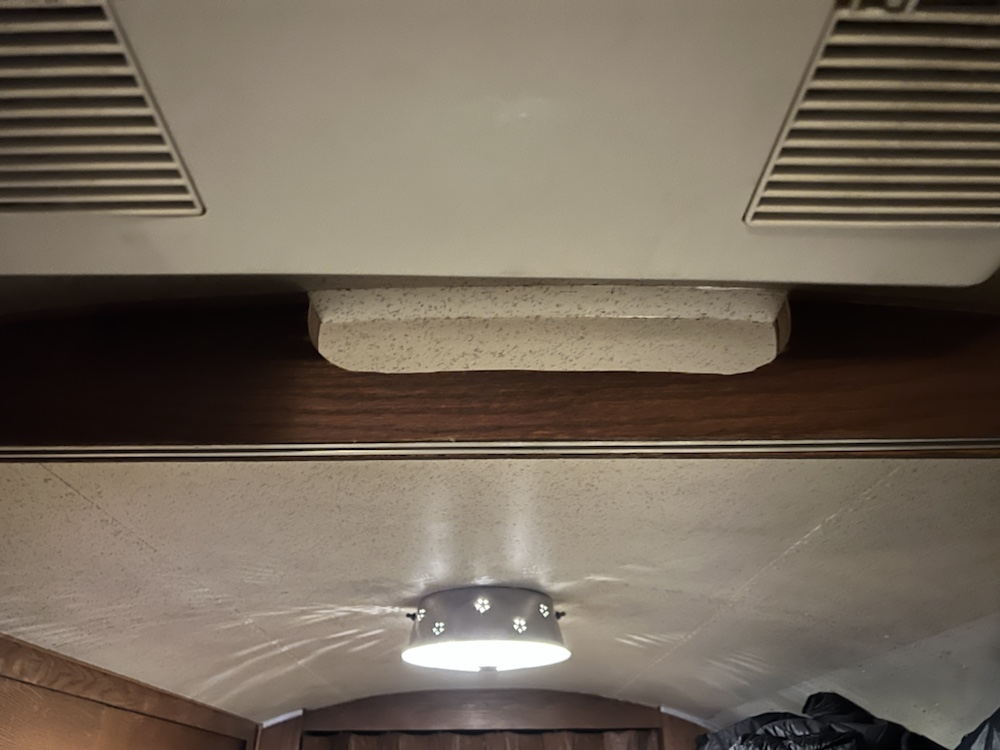
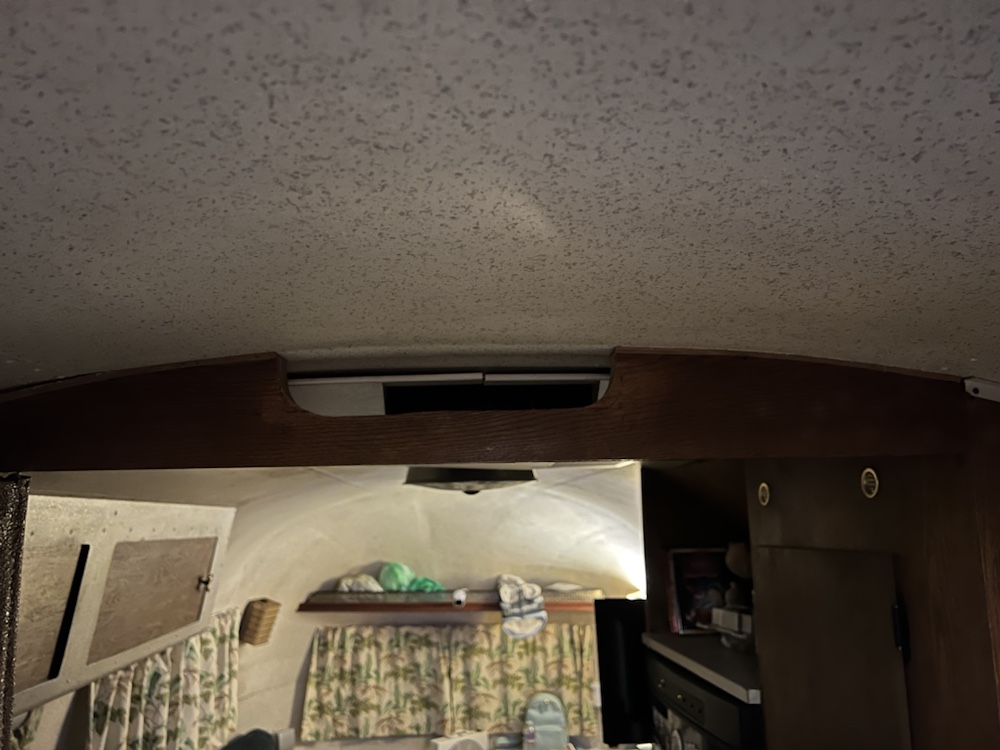
In comes the heat pump notch!
The air from the heat pump would hit that bulkhead and keep the air flow out of the back of the trailer. The notch solved that problem.
The notch cut is centered. I never realized the heat pump wasn’t.
This one seems obvious now, but it really helps to close the bathroom door! That’s a large space to heat over night and it makes a big difference when keeping it closed. Of course, I feel sorry for anyone needing the facility at night.
Even with the lovely notch and closing the bathroom door, the heat pump starts to fall short at 40F. I’ve carried an electric ceramic heater as a back up for years. This was the first time to dig it out.
This helped a lot. It took some of the heat load off the heat pump. However when temps dipped to freezing the heat pump would let a big groan and stop blowing any heat.
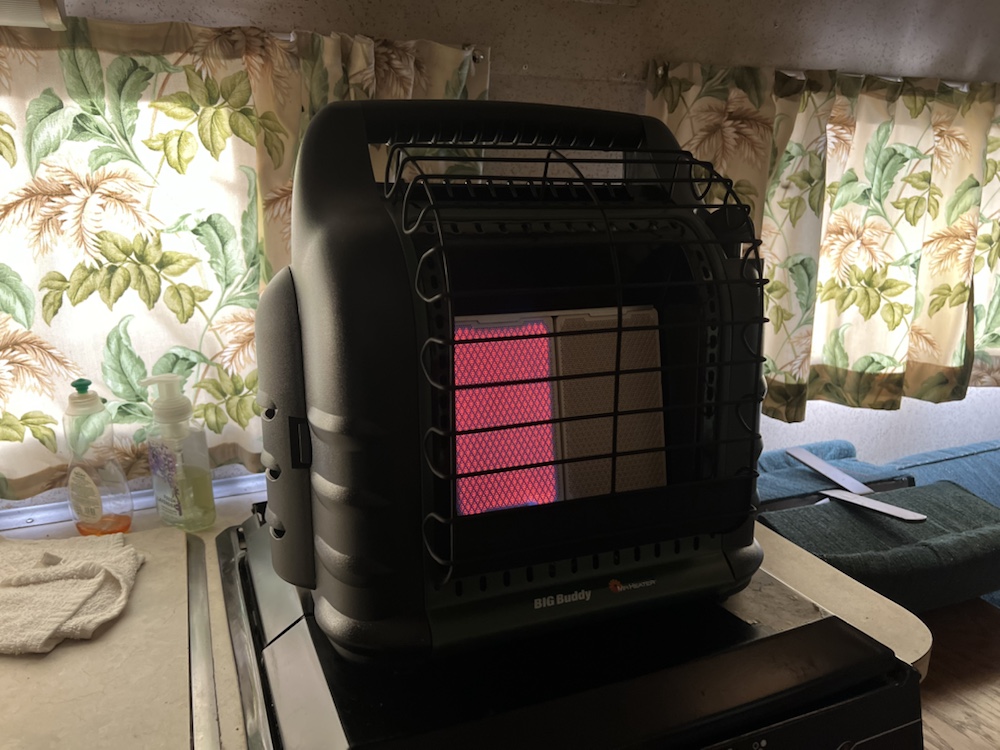
Time to pull out the big gun, or Big Buddy heater.
I just picked up the big buddy after our campground lost power last fall and we needed to borrow a buddy heater. I’m glad I picked this up!
On low, this keeps the airstream inside temp in the 80’sF. It has low, med, and high settings.
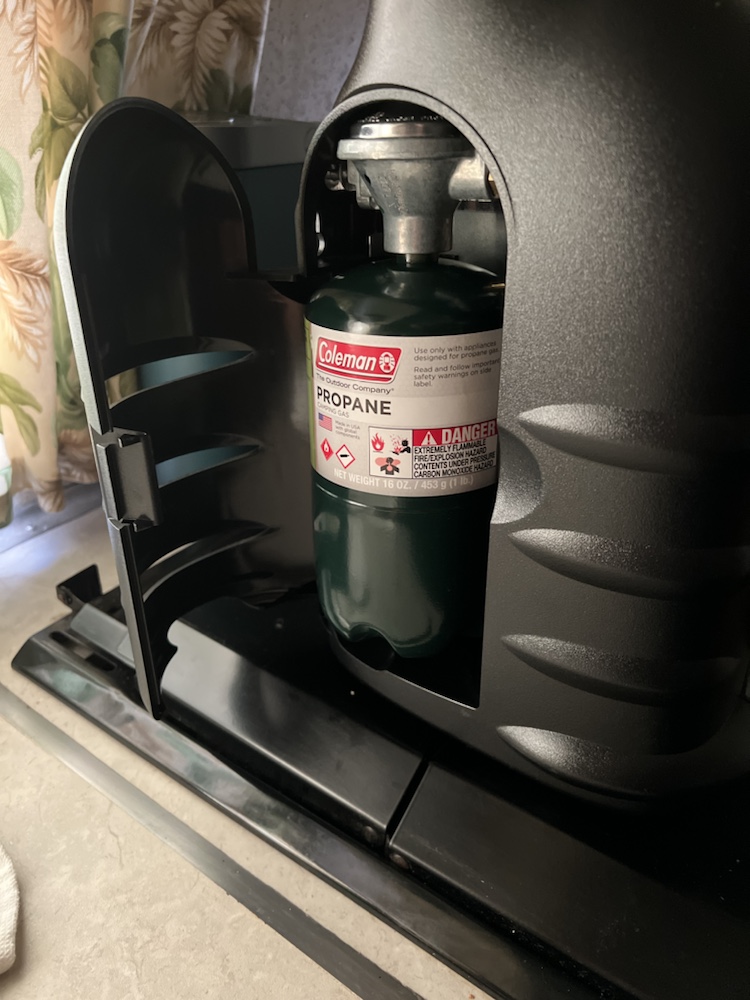
This Big Buddy can hold two 16oz propane canisters that should last all night. One can only lasted around 5-6 hours. You can also get an attachment to connect to a larger tank.
You do need to follow the directions about cracking a window for fresh air. It does have tip, and low oxygen sensors, but we don’t want to rely on that. Also I recently replaced my CO and propane detector.
Well, that’s how we survived the flash freeze! We kept warm and slept well.
Of course in the morning, I turned the faucet on and nothing came out. But that’s another story….
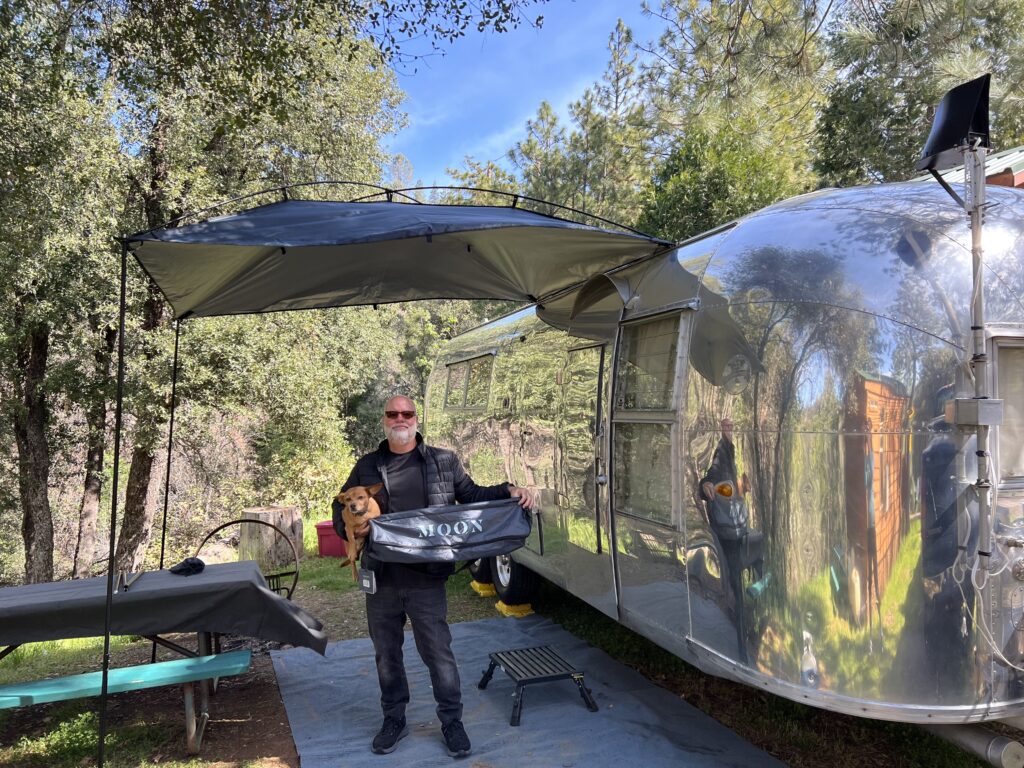
I’ve always wanted an awning ready to deploy when taking our 1960 Airstream Ambassador out around California. The problem for me was keeping to the 1960 period correct of my Airstream, and also keeping it stream-lined.
They did have awnings available back in 1960 of course, but getting one now to look correct would be having a custom one built. And they are hard to put up and down each time.
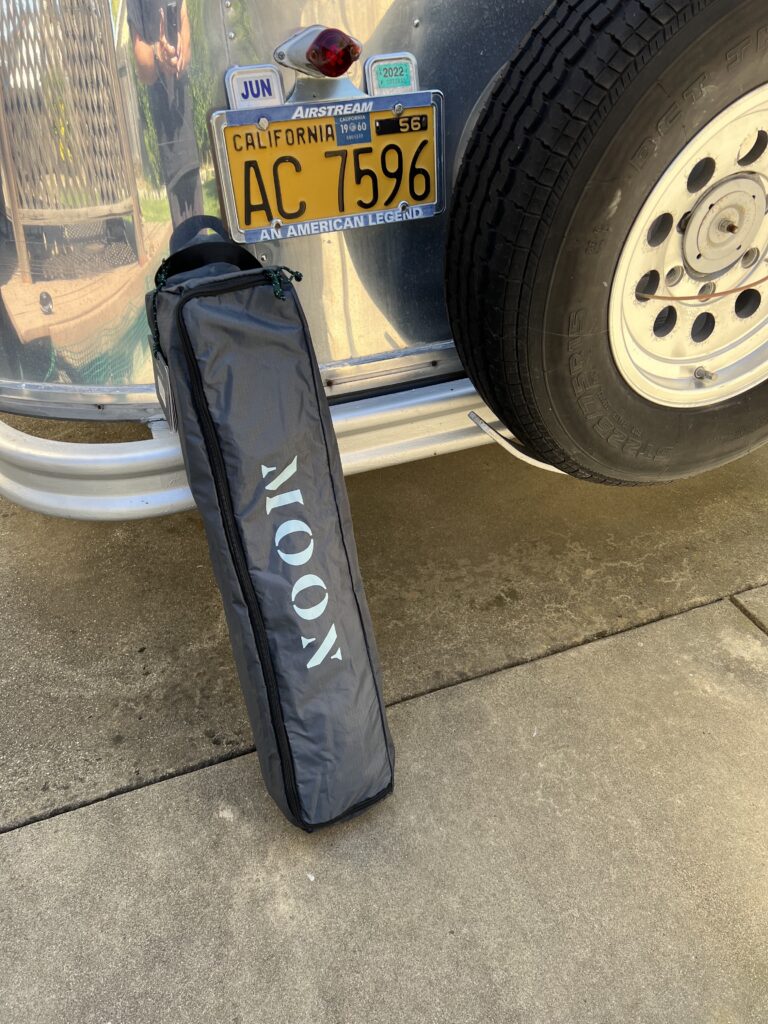
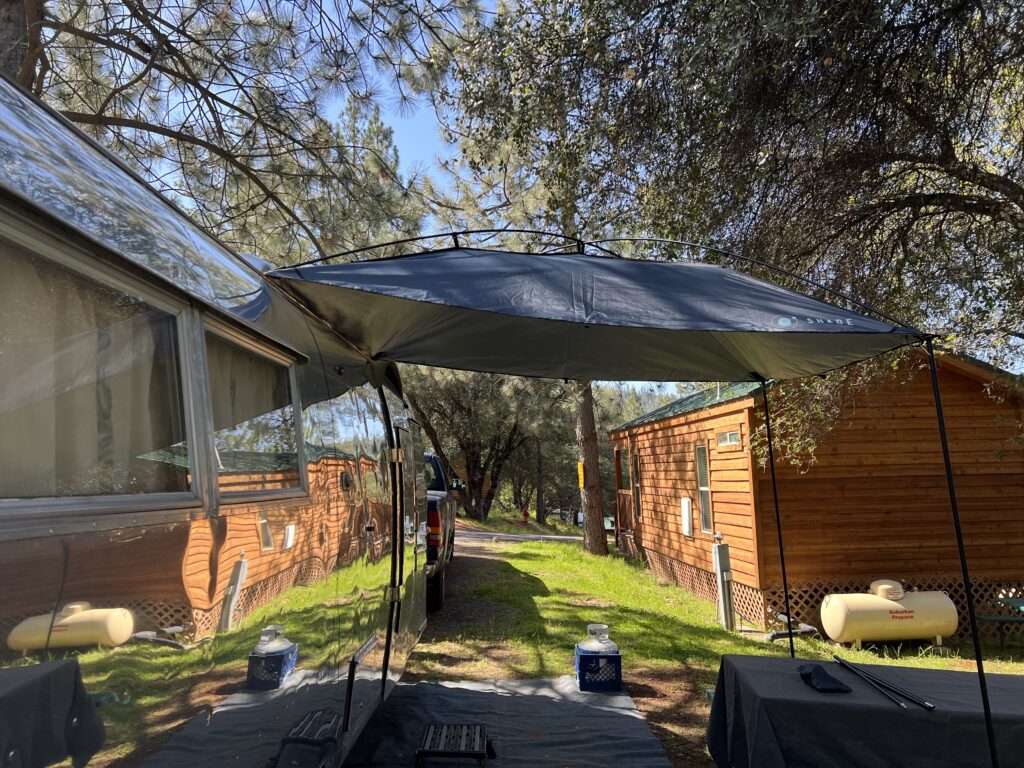
When I came across the MoonShade, I thought wow, this looks promising! MoonFab was nice enough to send me one out for review.
It’s not much larger than a portable camping chair and around 8lbs when packed away.
They offer many different anchors for the awning including, suction cups, magnetic mounts, etc. But the one we are interested in is the awning rail anchor.
3/8″ Awning rail anchor
These make it a snap to install on our vintage Airstreams that have original awning rails.
With anchors in place, the setup is easily less than 10 minutes by yourself, and you won’t even need a ladder! Check out our video to see step by step how to set it up and the other uses you’ll find for the MoonShade.
MoonFab has provided a discount code for $30 off for our listeners. Use code VAPMOON30OFF on checkout or simply click here and it will be added for you. The code is valid until 8/31//2022.
The only real downside is the size, being 9ft × 7ft. If they made one a bit larger that would be perfect!
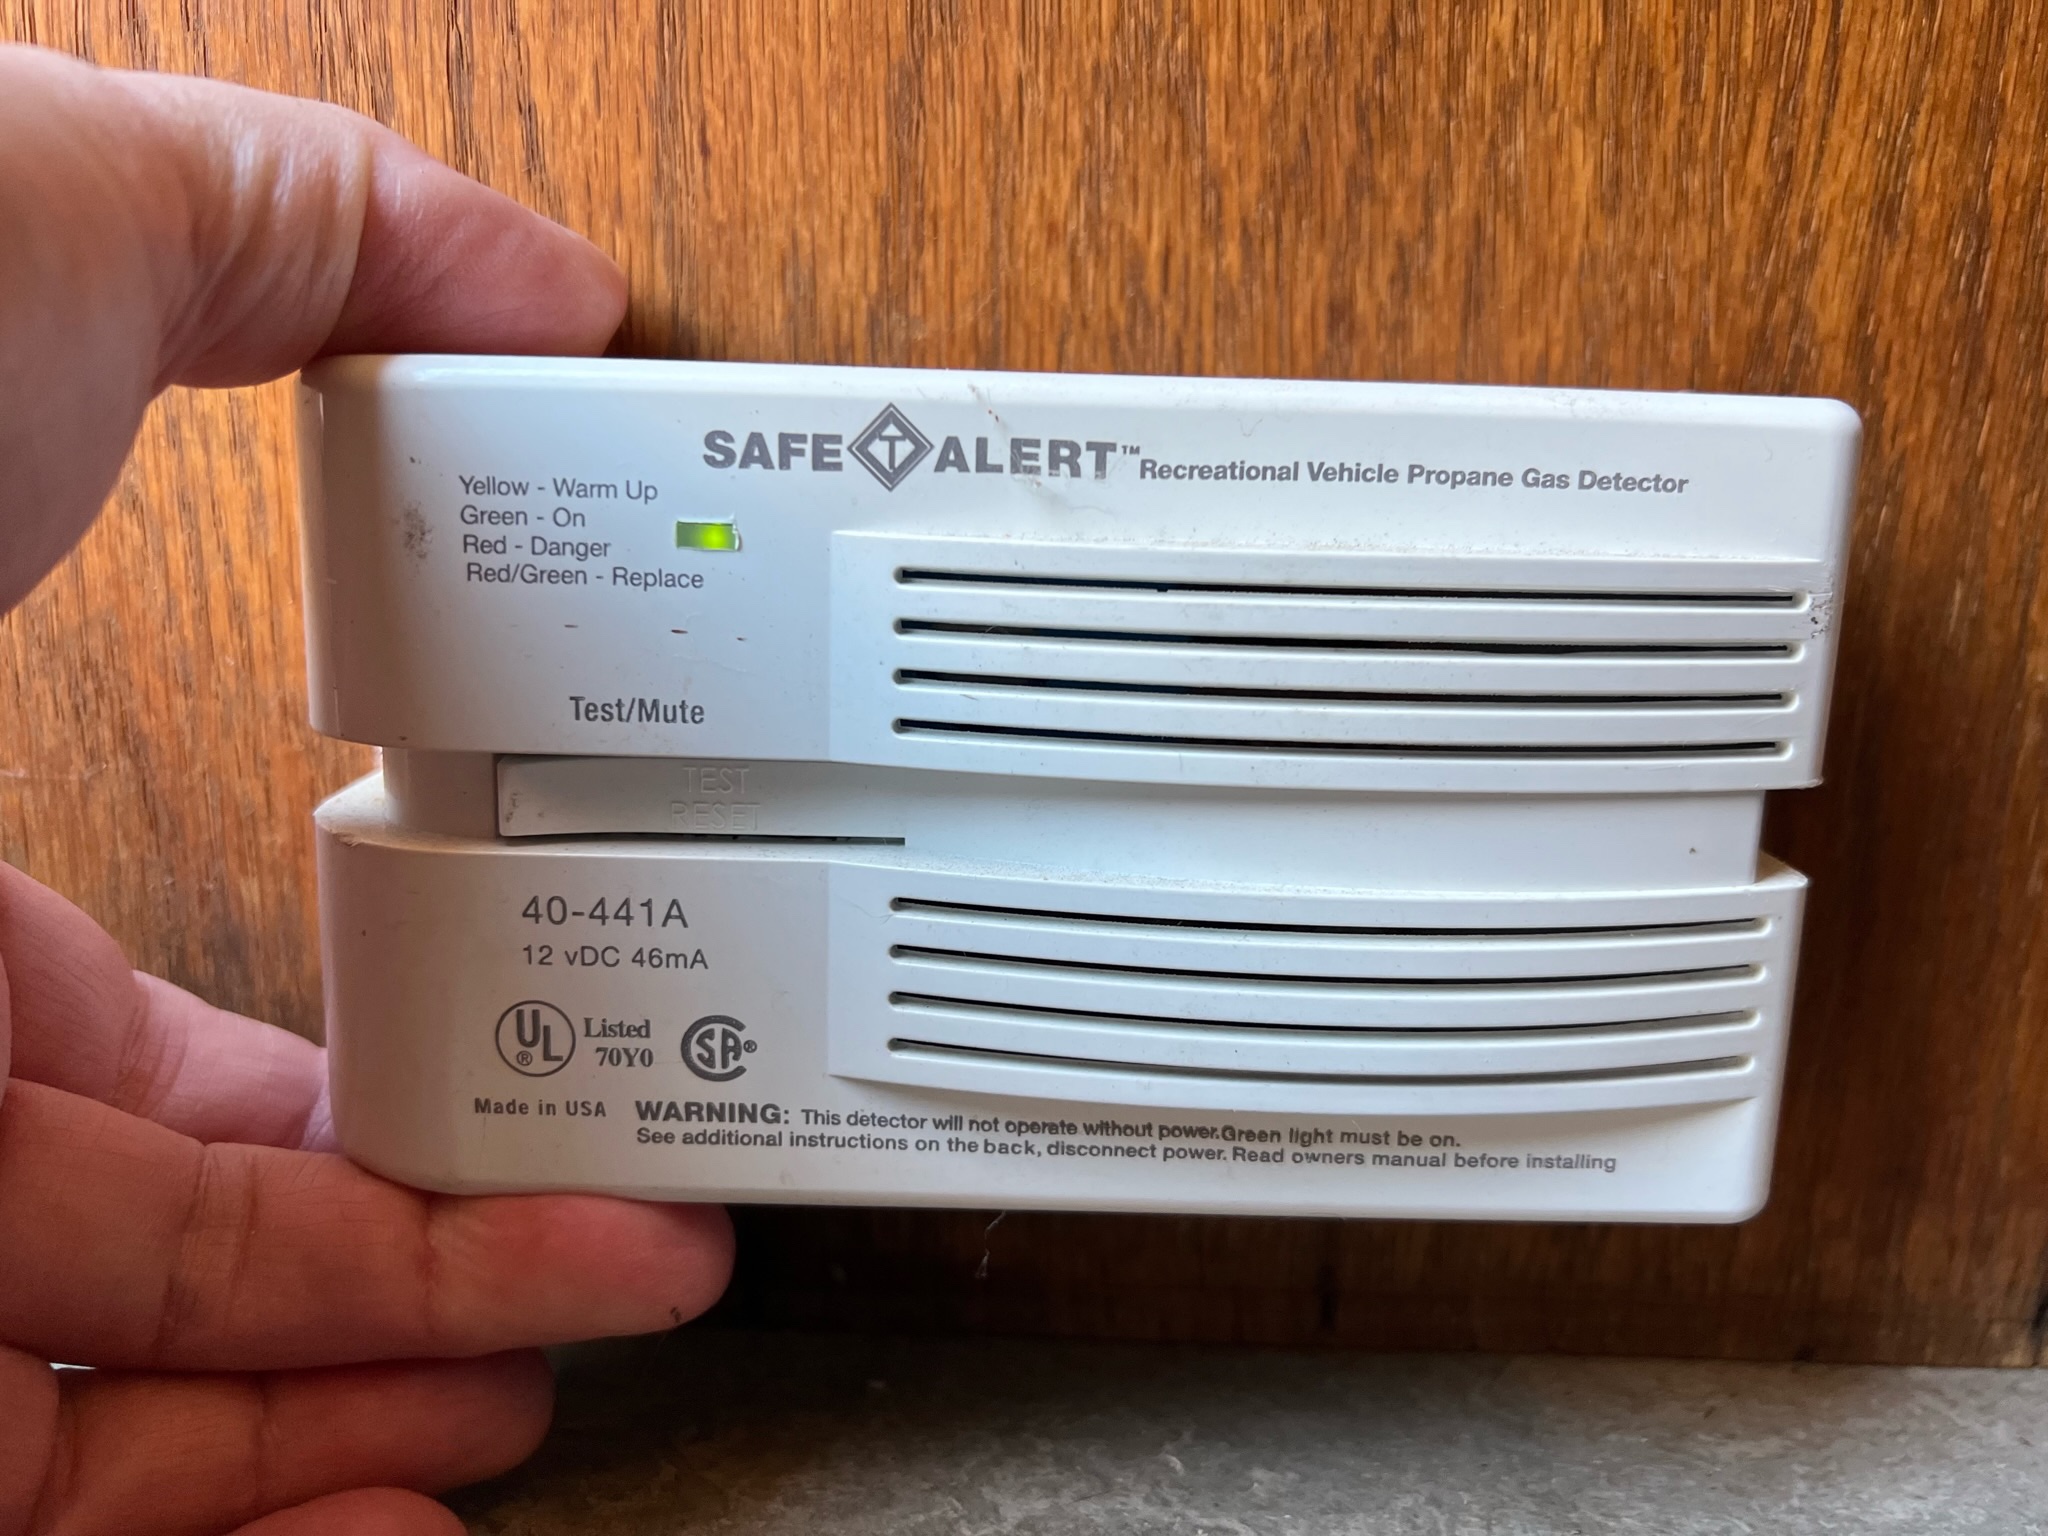
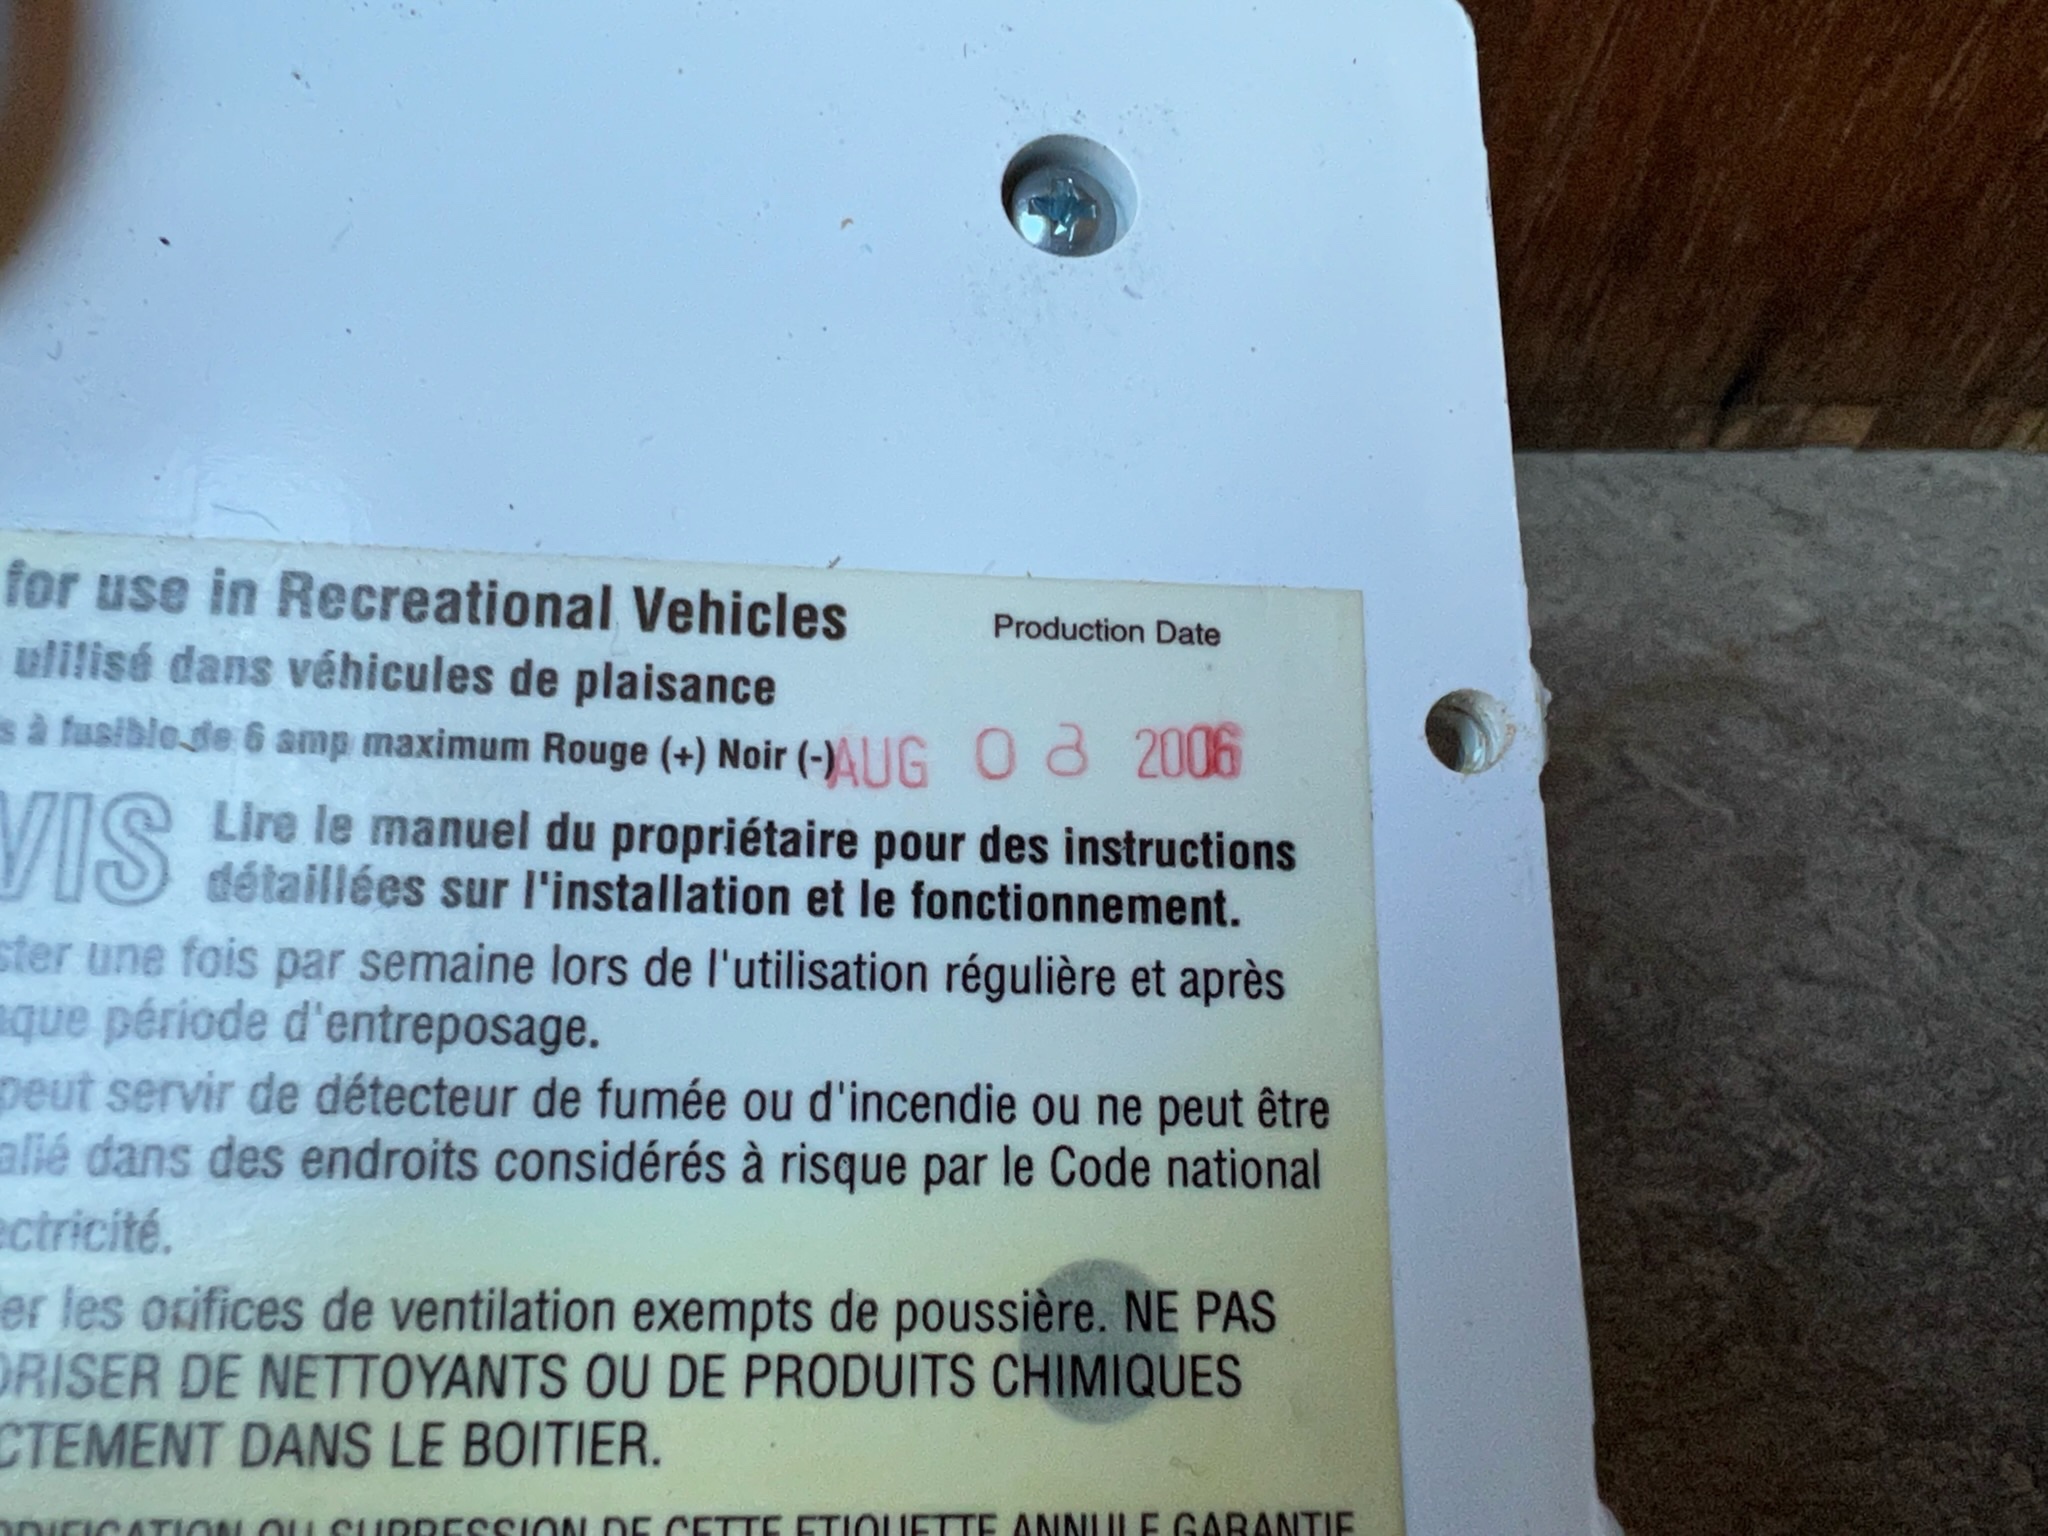
After we had to use a propane heater in the trailer last year when the park lost power, I decided to change out our LP and CO detectors. I had no idea they were so old. 2006!
Check the date on back. This one was from 2006!
In case you don’t know, these need to be replaced every 5 years. The sensors decay over time. You should get an RV rated detector that is hardwired (12vdc) and made for the rough trailer life.
The new detector I got is a combo LP and CO detector. The LP has some strict rules on where it’s installed. Mine had to be at least 12 inches from an opening, like a door or window, and between 4 and 20 inches off the ground. Be sure to check your instructions carefully!
I made this video for you to check out. While your at it, subscribe to our YouTube channel and podcast! Enjoy!
WifiRanger sent us their new Osprey router. This router is intended to work in conjunction with a Winegard 360+ TV antenna.
The 360+ has integrated WiFi and LTE antennas along with the TV/FM. Check out our first look video below. Be sure to subscribe to our YouTube channel and our podcast!
Use WFRVAP for a 5% discount for WifiRanger products over at www.WifiRanger.com.
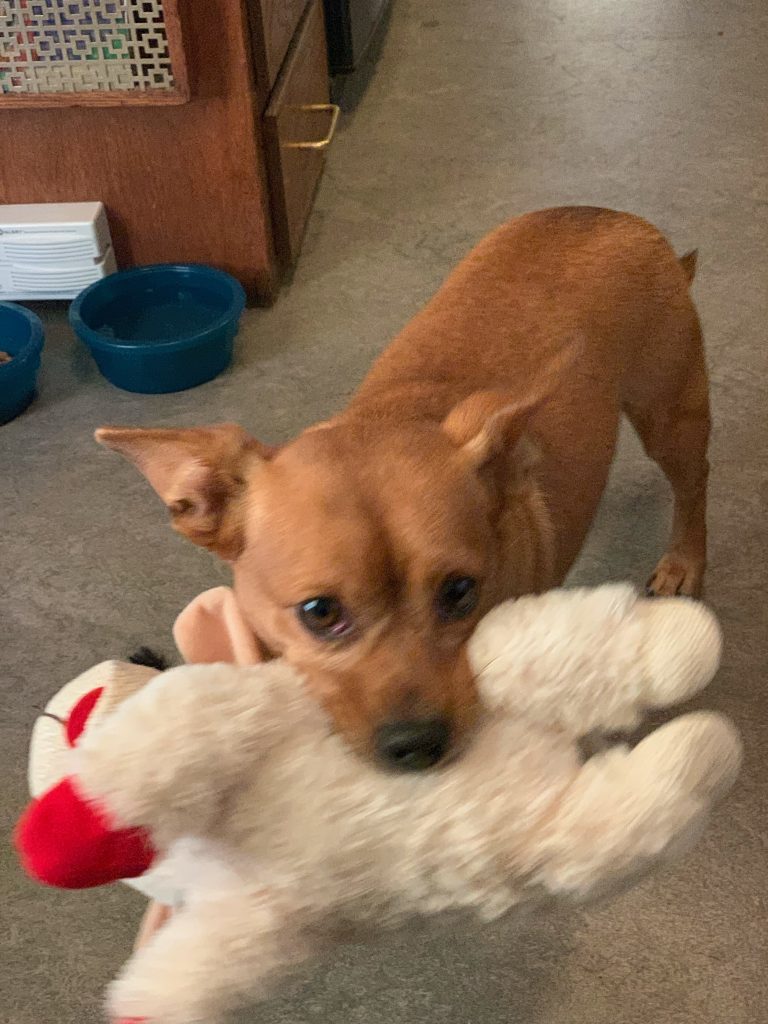
After we adopted Louie I knew we’d take him camping with us. We do some excursions that aren’t always pet friendly, so I started investigating solutions for over temp notifications.
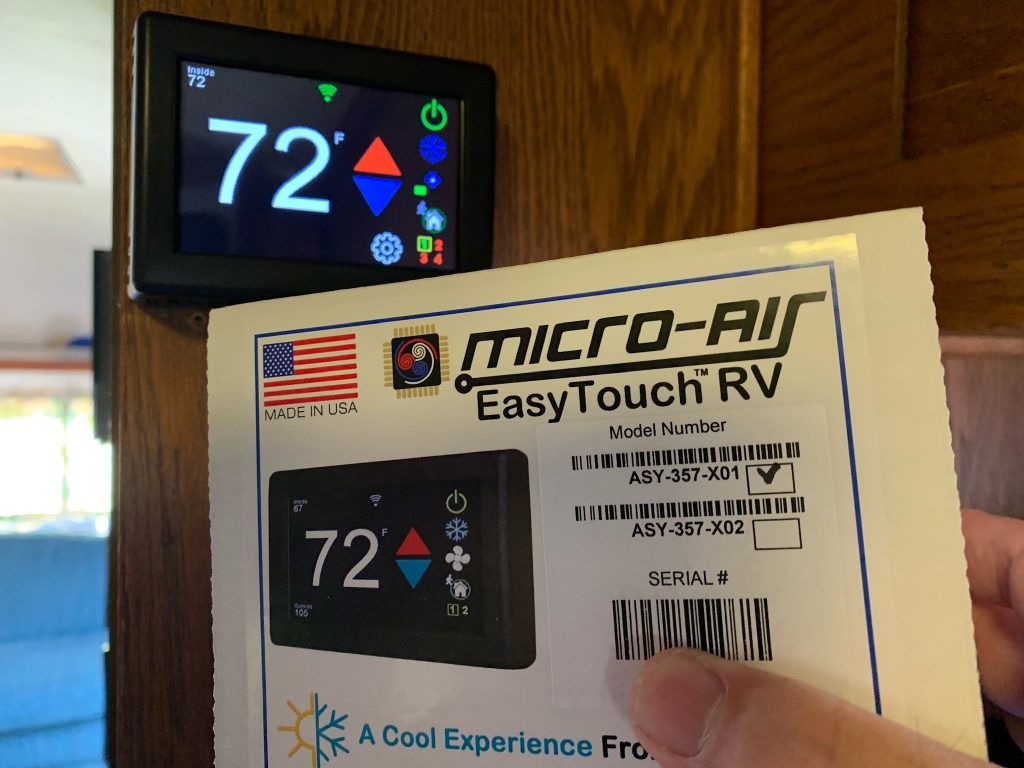
The usual suspects on the market require subscriptions, and only alerts you to an issue. You can’t do anything about it other than hustle back to the Airstream. That is until we found the EasyTouch.
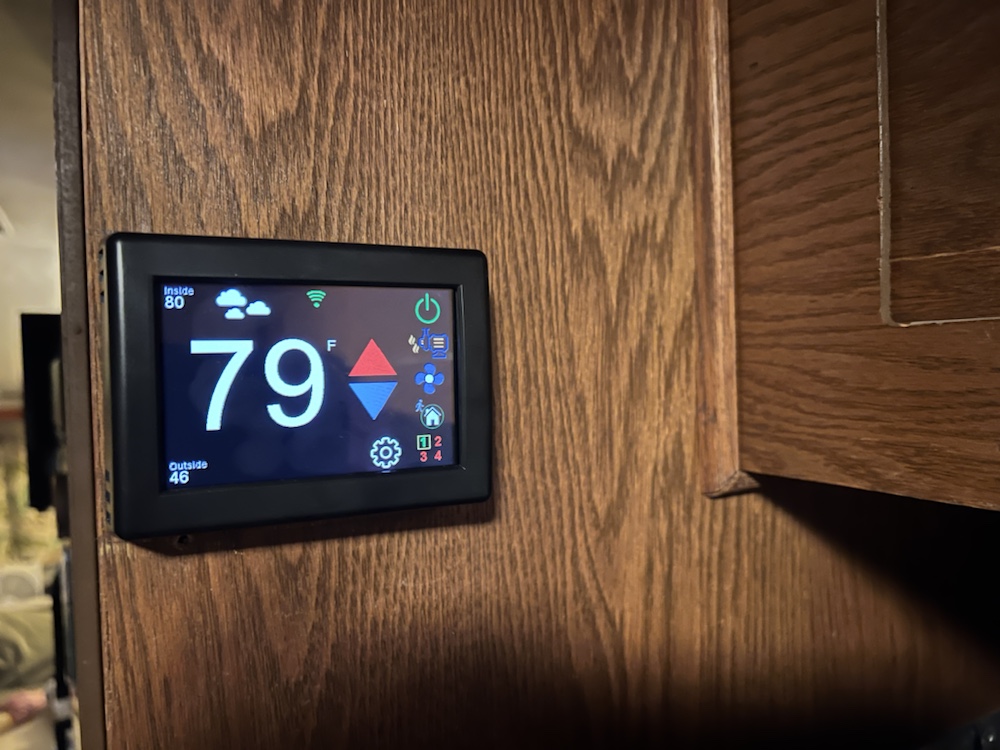
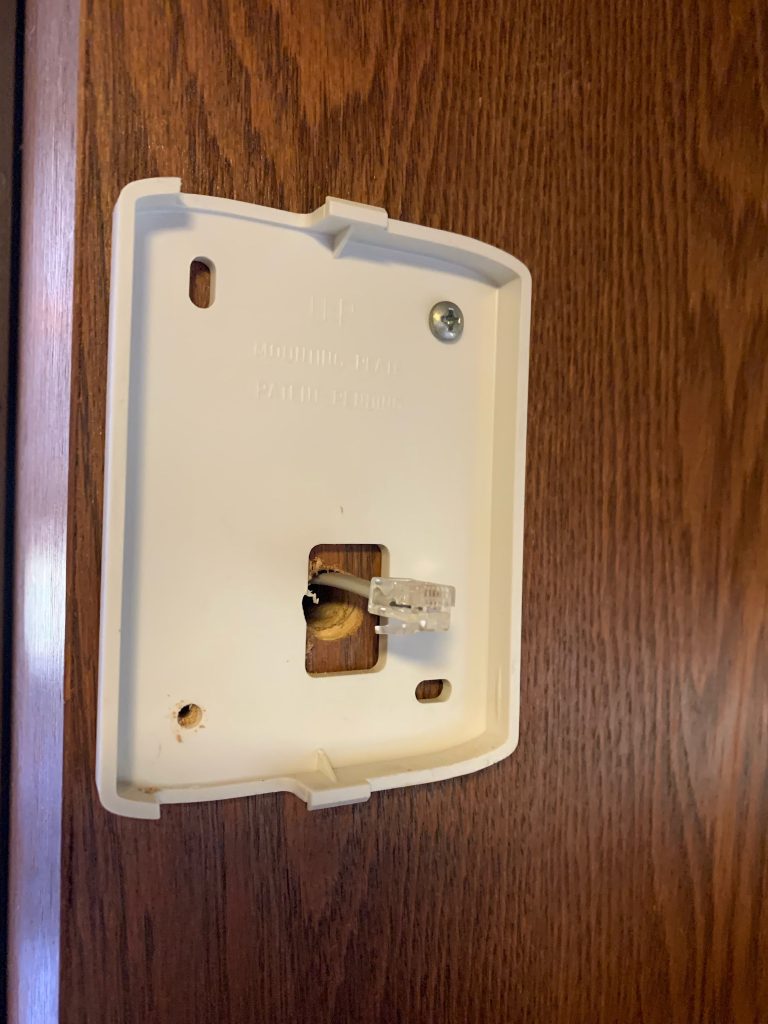
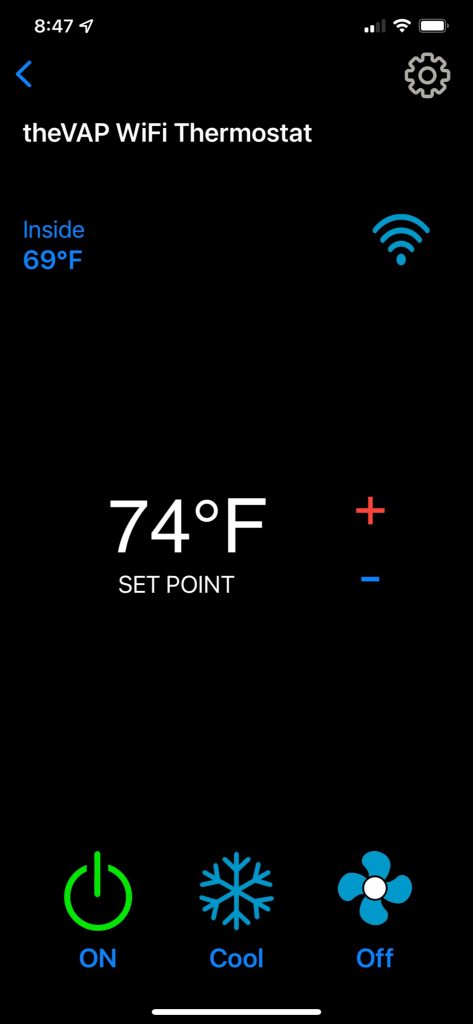
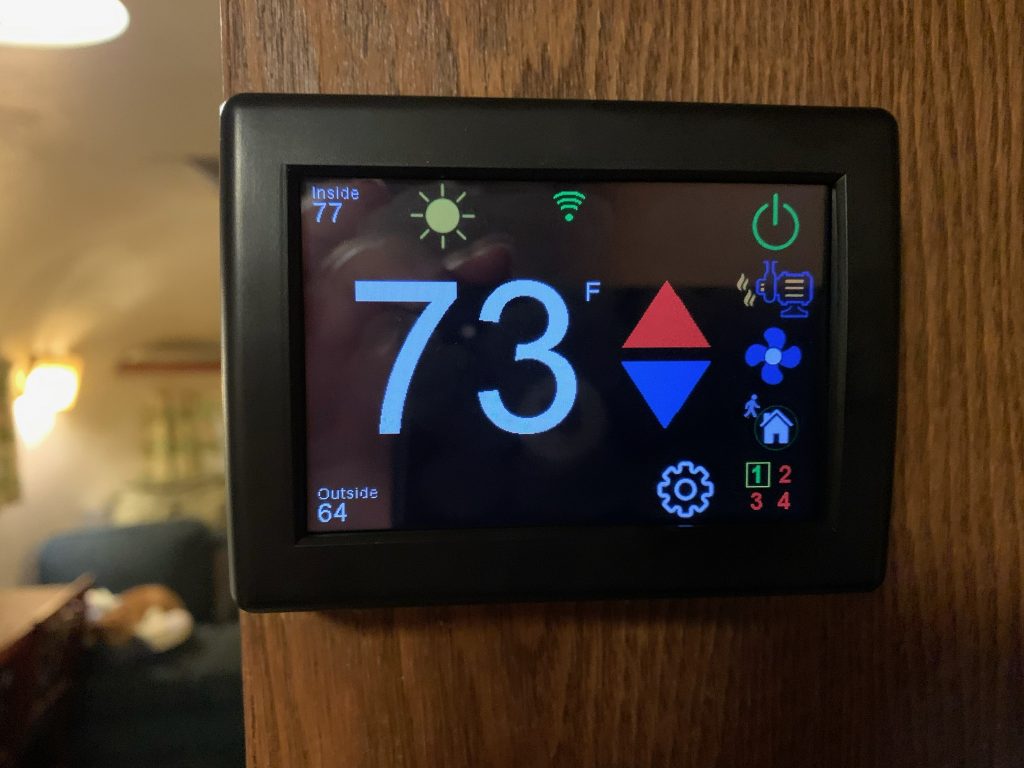
The Micro-Air EasyTouch replaces your current digital thermostat and adds Bluetooth and WiFi capability. The Micro-Air website has a handy click-though questionnaire to lead you to the model you need.
With my Dometic Heatpump’s Comfort Control Thermostat, installation was literally one cable!
The EasyTouch can operate the air, heatpump, and furnace if so equipped.
Setting up the app is a snap. Downloads are available from both Apple and Android.
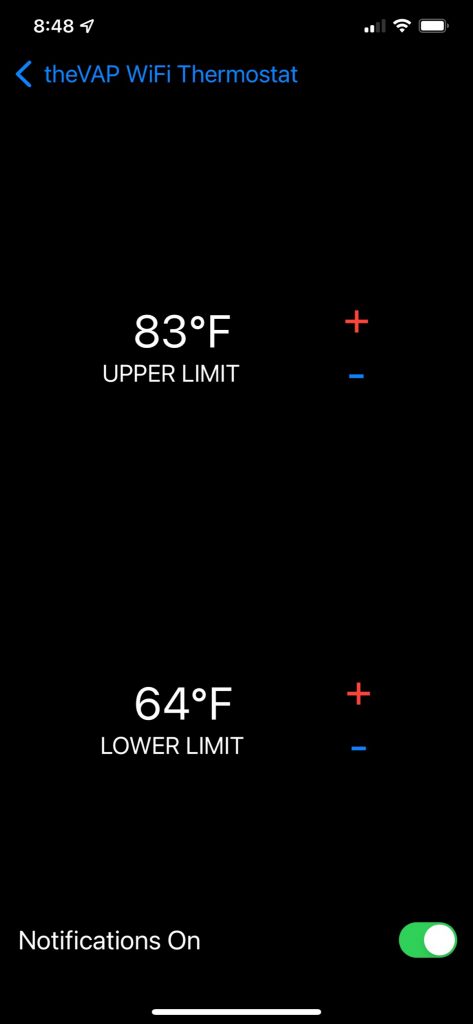
Connect via Bluetooth to setup the WiFi, or just use Bluetooth when in range. You can set the notifications next.
I have a WiFi ranger with a LTE connection so I was able to receive alerts and control the thermostat remotely. That’s key so you can take care of the issue immediately!
The alert did come in handy on our maiden voyage with the EasyTouch, although it wasn’t for the dog, it was for the kids.
Me and Louie were walking and chatting it up with other Airstreamers while the kids were sleeping in. All of a sudden I got an alert on my watch that said it was 84F in the trailer! It was set to heatpump from overnight and the morning sun was heating it up. I was able to pull my phone out and turn on the a/c while on our walk!
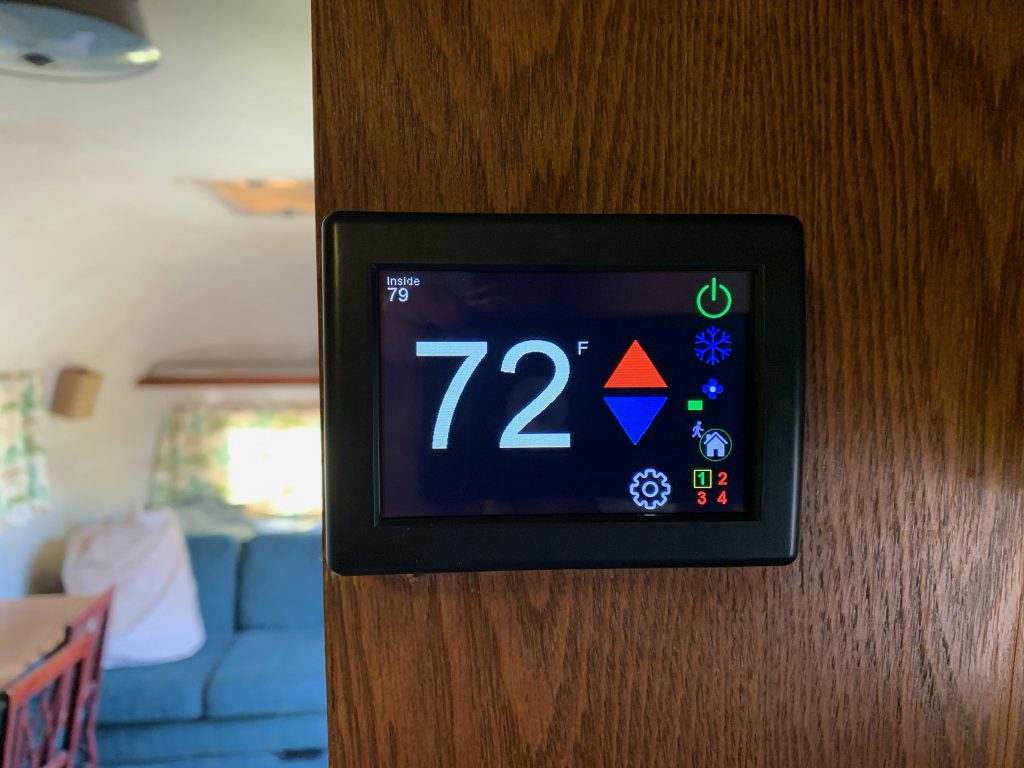
Another benefit of the WiFi connected thermostat is the local weather is displayed. You can see the inside temperature, which my old thermostat didn’t do, the outside temp, and detailed weather info.
Plus the EasyTouch gets software updates and new features added. Before you ask, yes the display can be set to go completely dark when needed for bedtime.
I like technology, but love technology with a real purpose. The Micro=Air EasyTouch is an Easy No-Brainer addition.
They offered a $15 coupon for VAP listeners with code easy15.