Go to part one of the install
Go to part three of the install
The long awaited three 100 w GoPower! Solar Flex panels arrived. Well, not really that long, it just took a week.
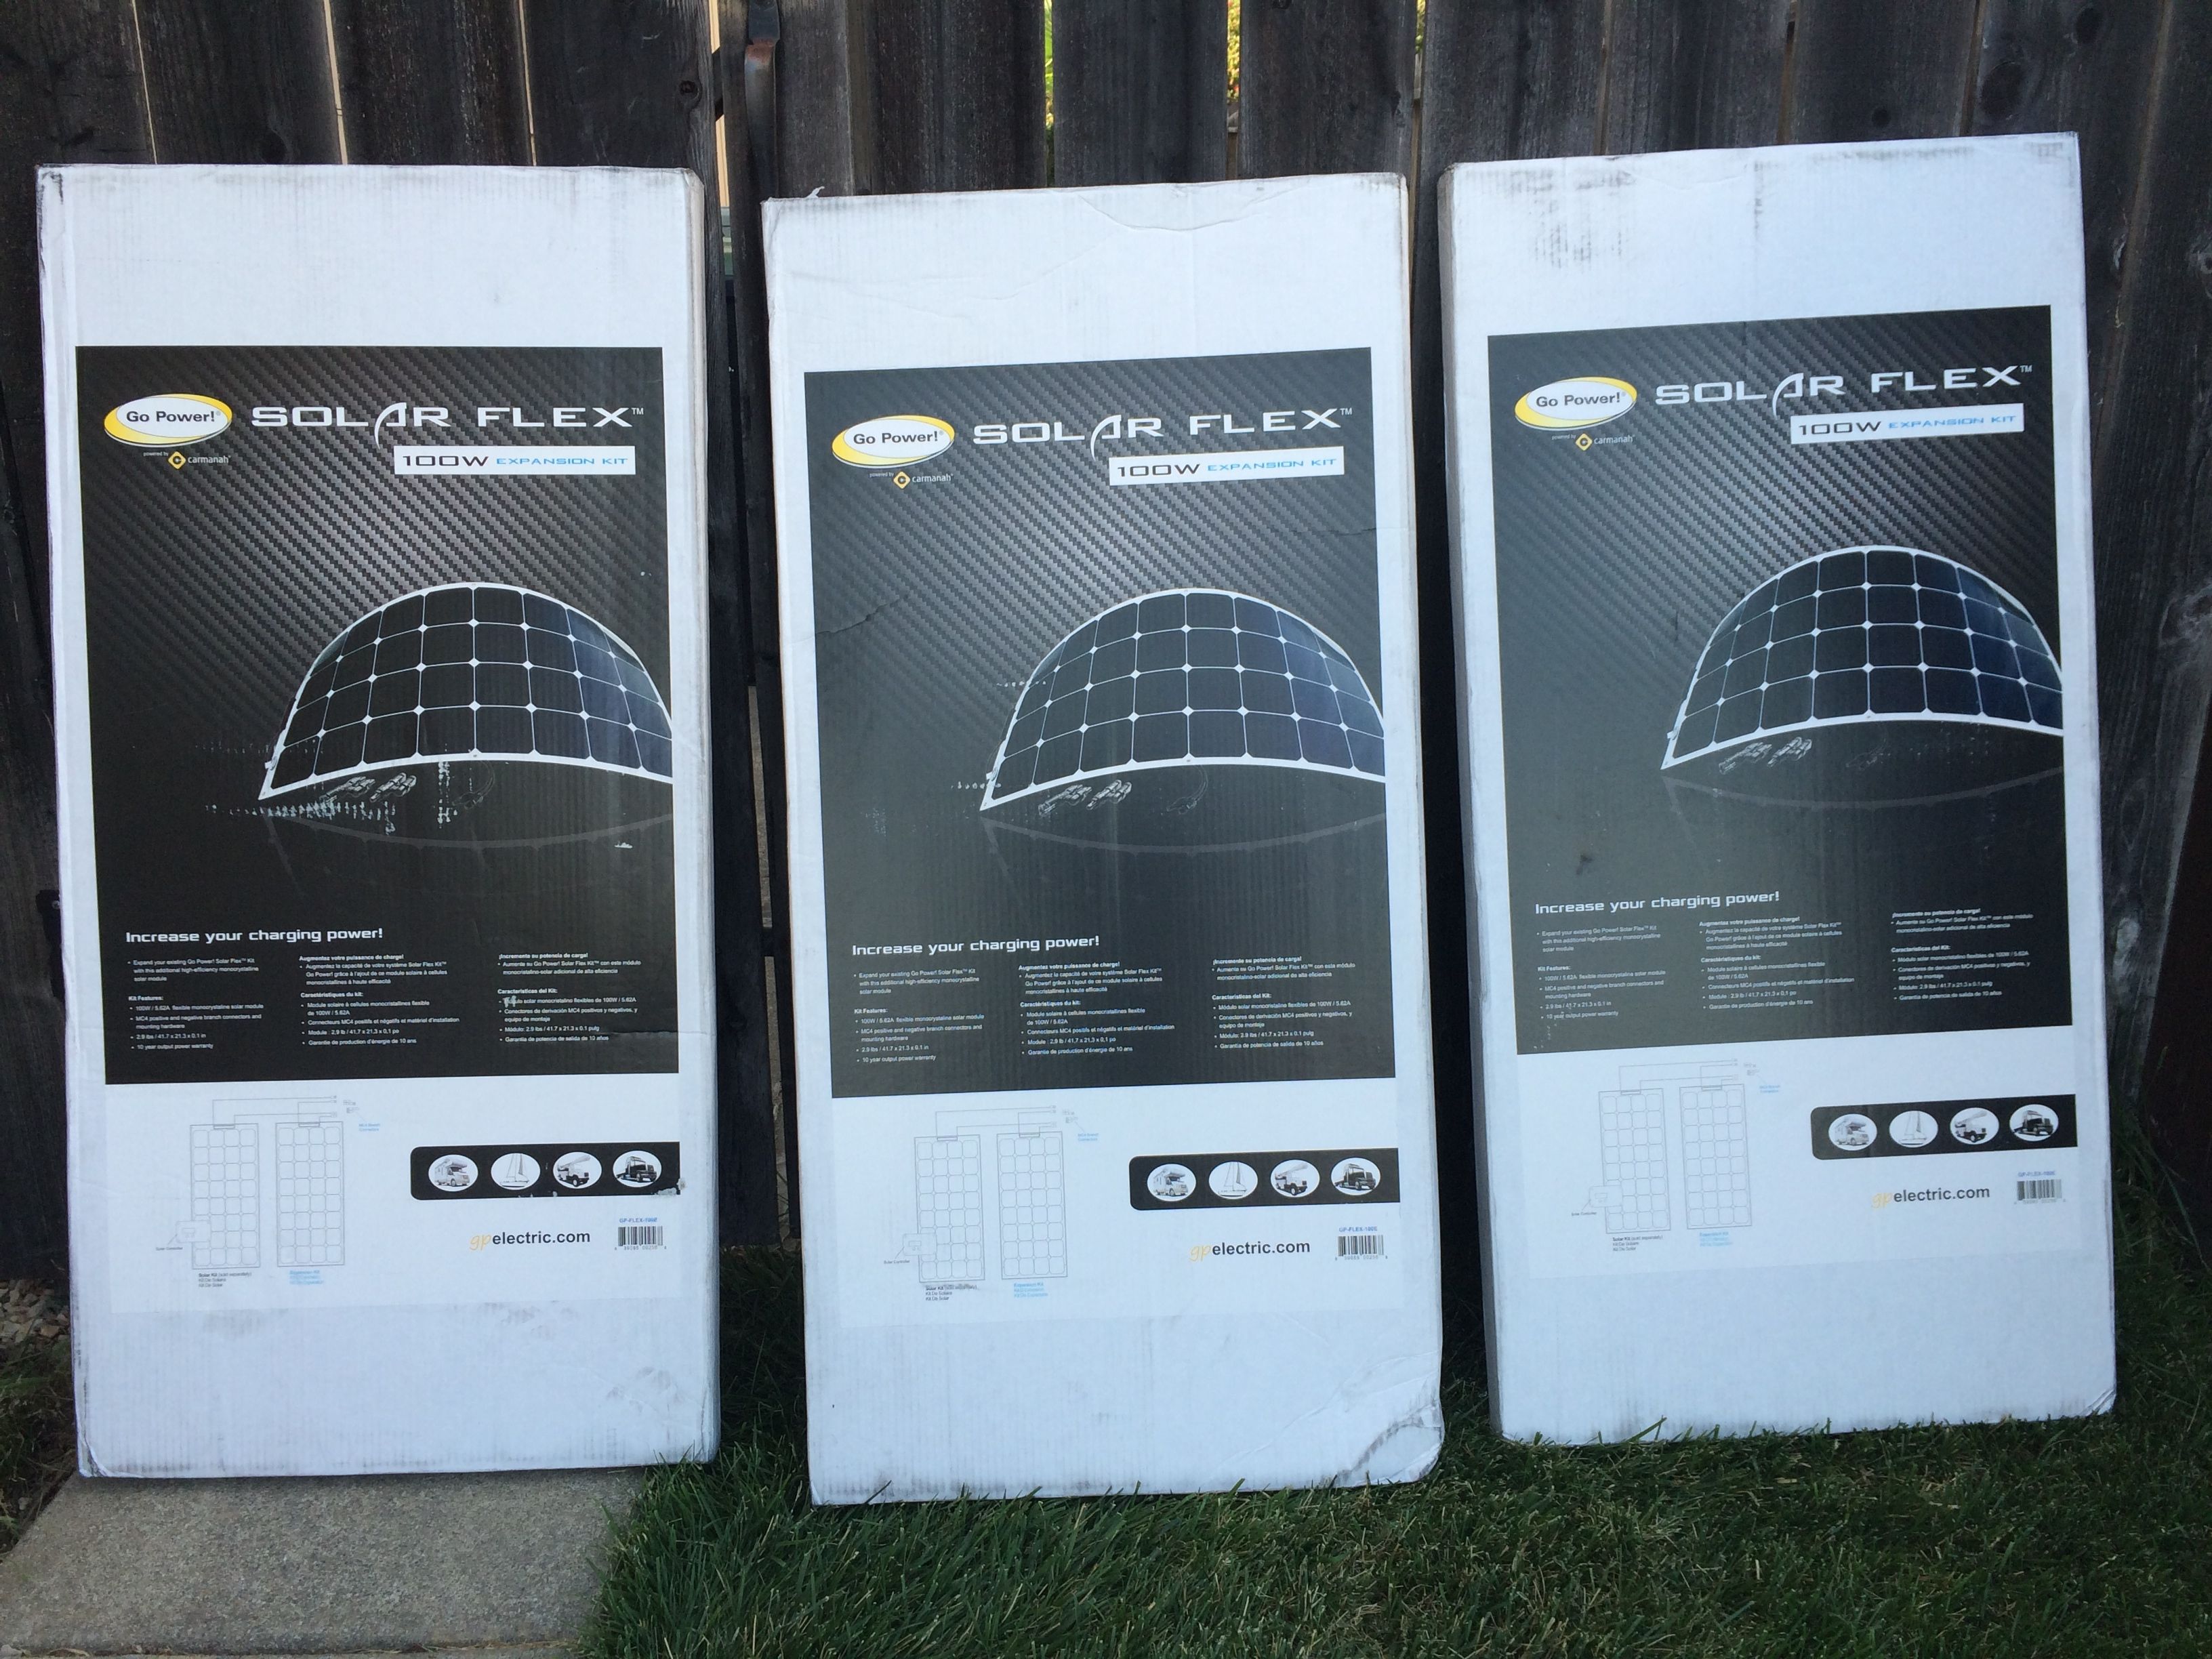
Expansion Kits
Each box contains a 100w flex panel, mounting hardware, and a special MC4 bridging connector to parallel two panels together. Once you go over two panels you need a combiner box of some sort. I did it with Blue Sea bulk head connectors on my fridge vent. The odd thing is the manual says the expansion kit also comes with a 50′ MC4 cable, but the box does not and it was missing. I need one to wire in the second set of panels. I’ve contacted GoPower! to sort it out.
I’m going to mount the panels with 3M VHB (Very High Bond) 4941 tape. I know it sounds crazy, but this tape is specially formulated to bond plastic and metal. A typical use is to hold nameplates on vehicles. I followed 3M’s technical bulletin to install the tape. This is in place the rivnut installation I did on the first panel. I didn’t like it because the panel did not lay flat. Plus why drill more holes in your Airstream than you need?
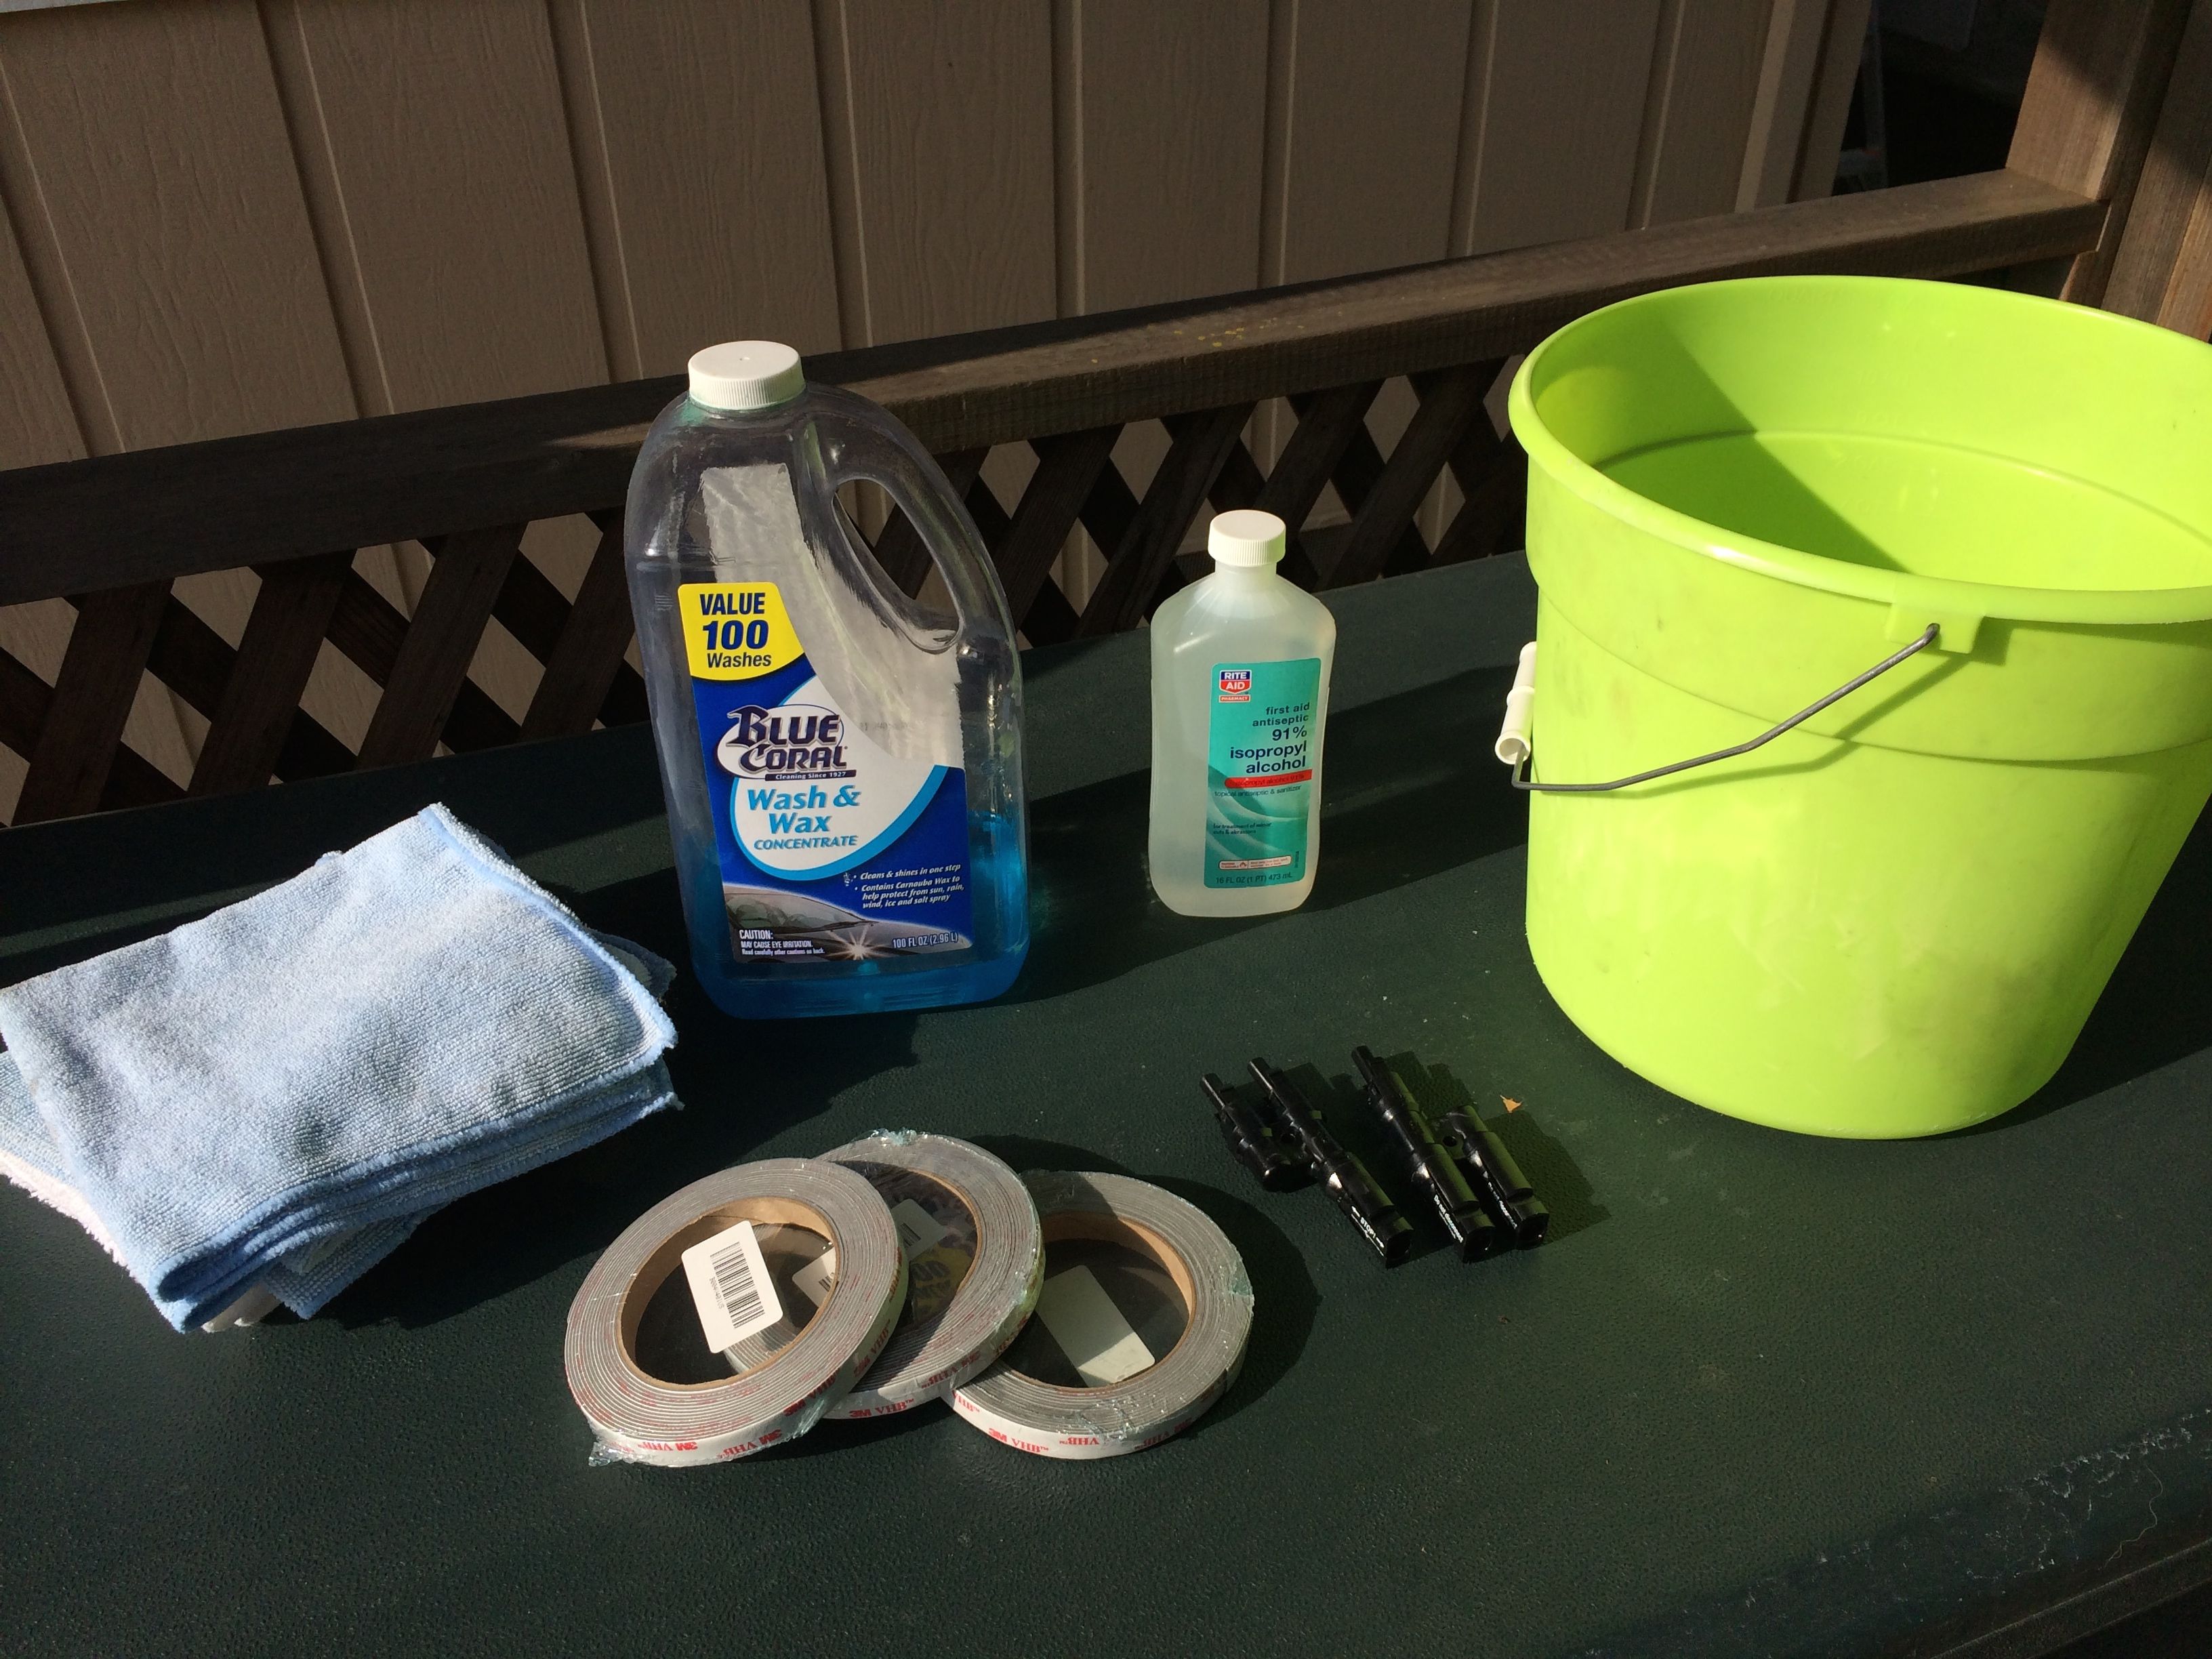
I gathered my supplies and set out to get started. I have 15 yards of 3M tape, microfiber towels, soap to clean the roof, and isopropyl alcohol. You may also notice the black MC4 parallel adapters in the photo. These are used to parallel two panels together. More on that later.
After cleaning the roof with soap and water, and allowing it to dry, I wiped down the area with my 50/50 water-alcohol solution.

While the roof was drying, it was time to prepare the panels. The first step is to lightly sand, in a circular pattern, the back surface of the panel. This will allow the tape to adhere more completely.

Sand in small circles.
Then used my 50/50 water-alcohol solution and cleaned the edges of the panel that I just sanded, and let dry.

Clean off the residue left from the sanding.
The next step is to apply the 3M VHB tape. I just slowly worked it around the edges then used a J-roller to secure it in place.

Next I marked off where the first panel would go on the roof of the Airstream. I used the edge of the top aluminum panel as my reference and laid out blue painters tape to my desired location.
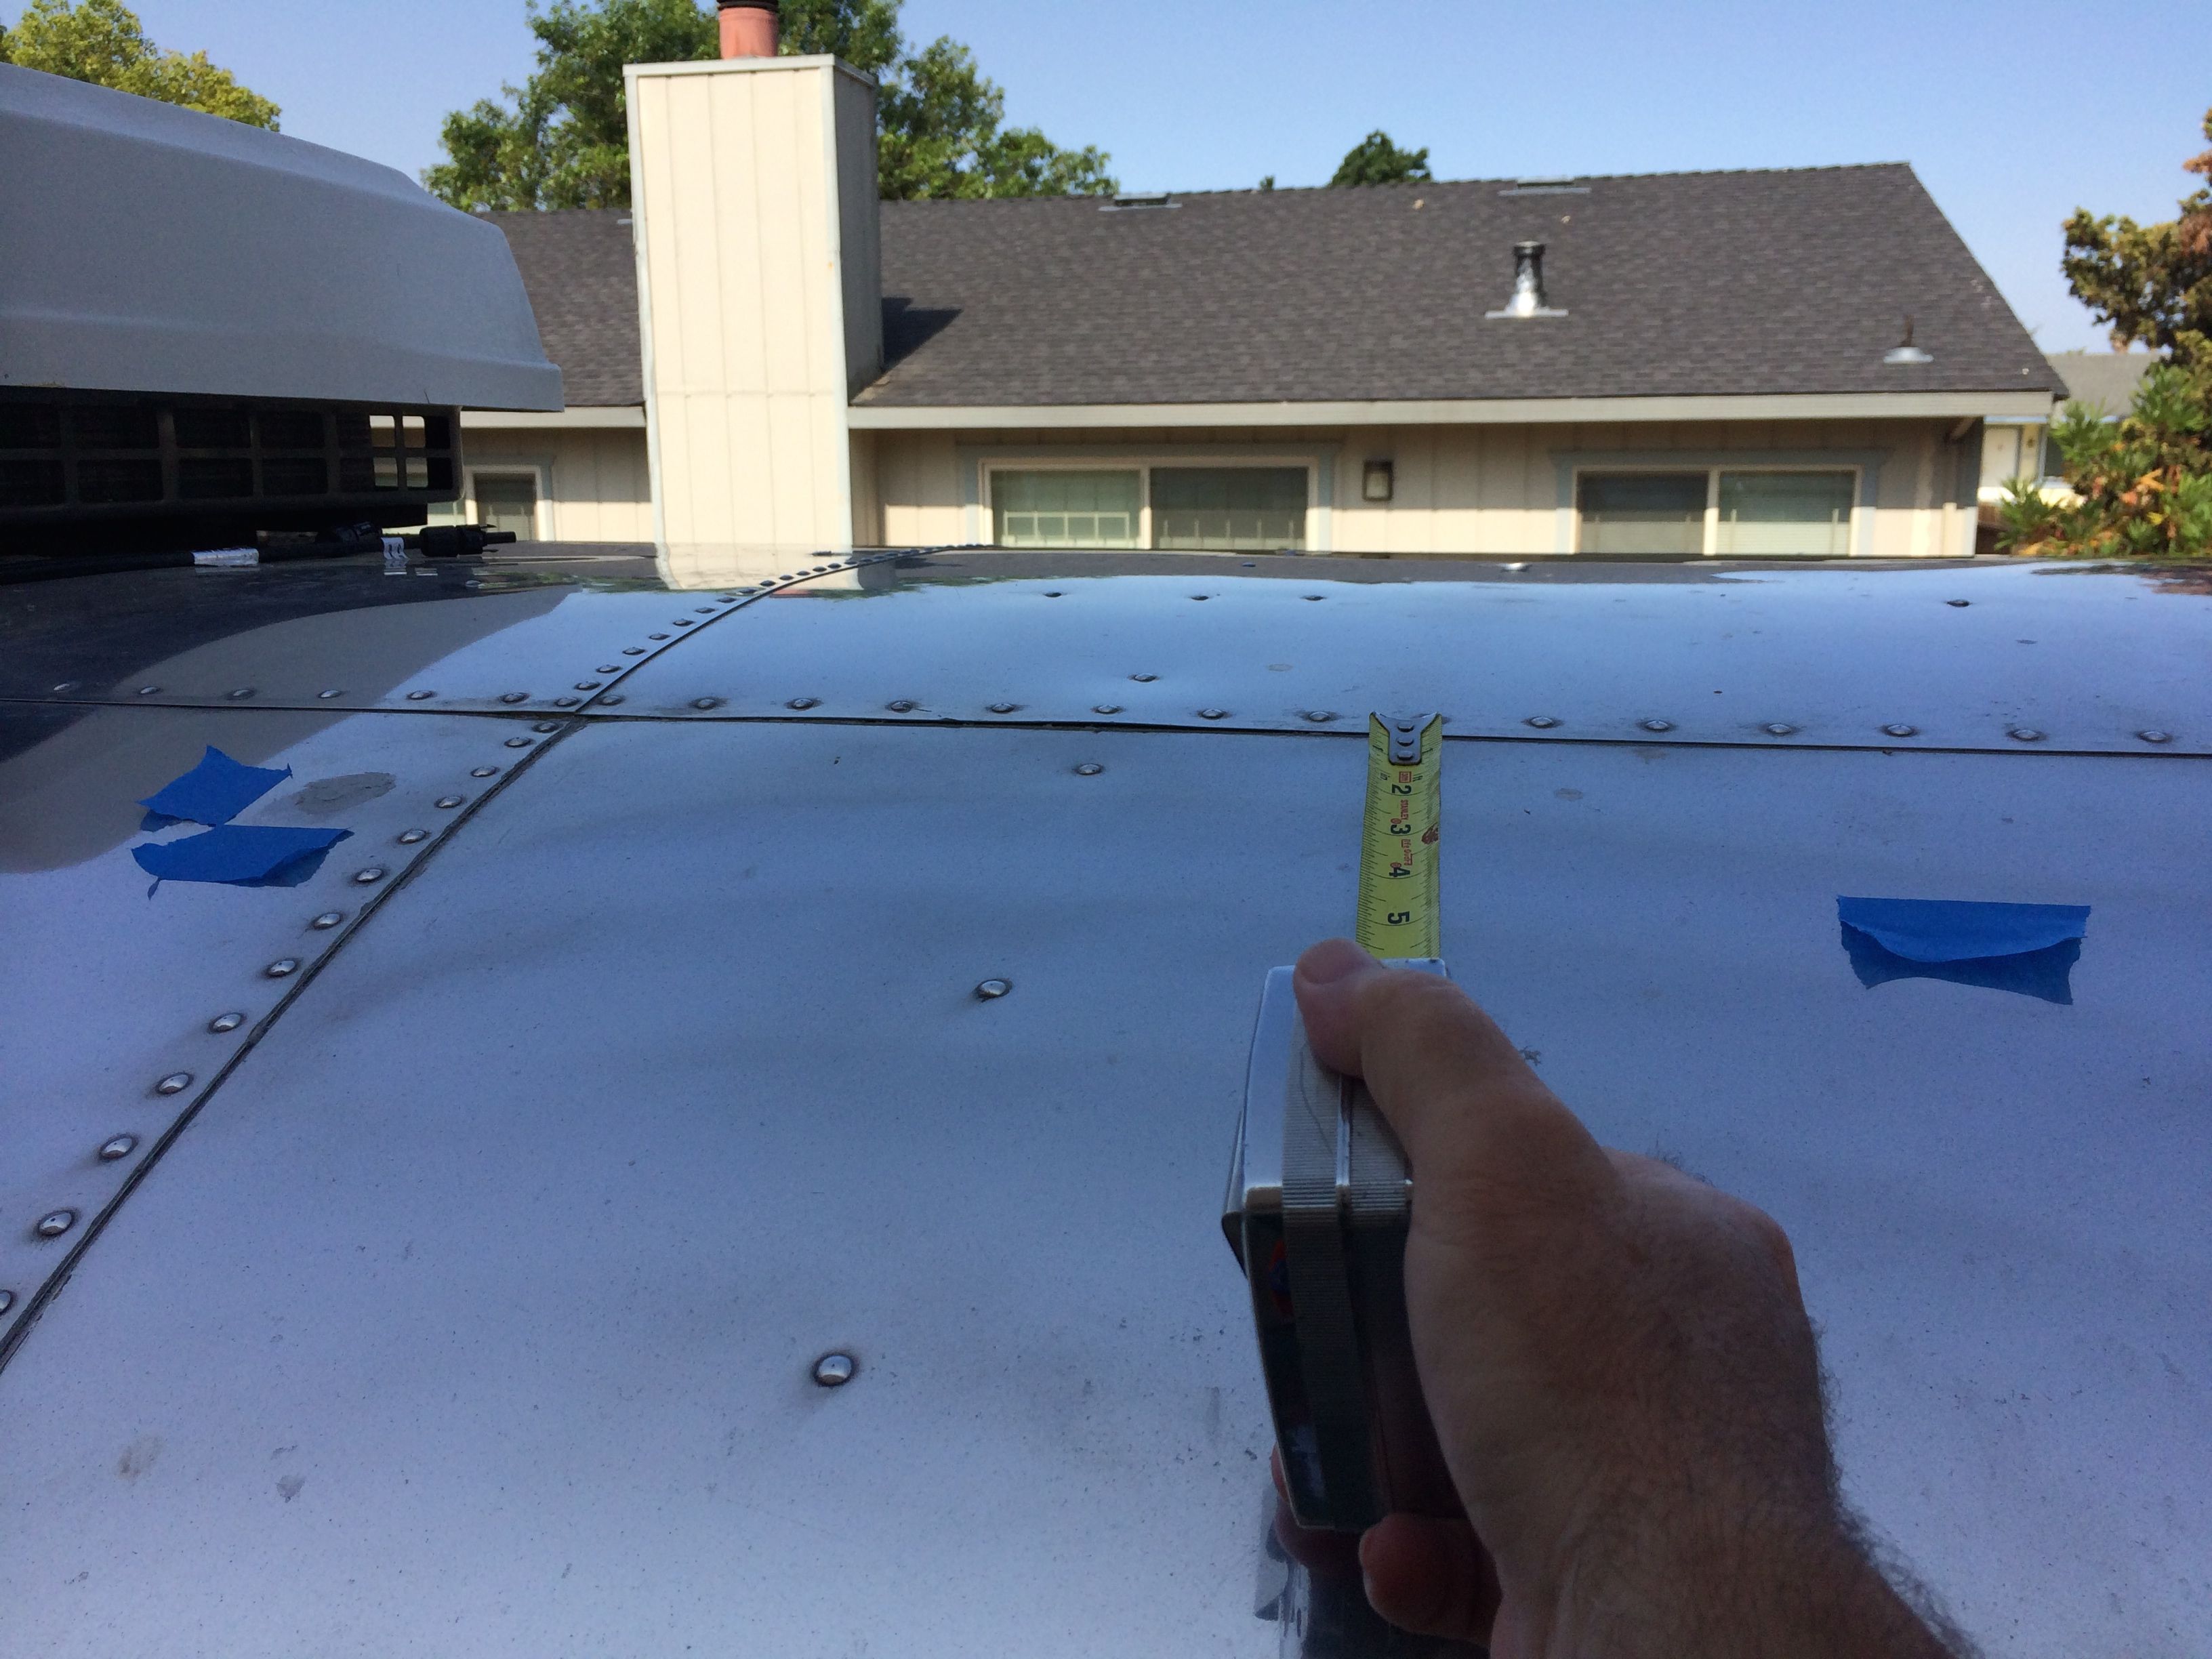
Measure twice. Stick once!
I got up on the roof and peeled off the backing tape and carefully lowered the panel toward my reference marks. The stuff sticks quickly. If you are VERY light with it, you can shift it somewhat, but you’d better be sure where its going before you lay it down. Don’t forget the direction the power wires need to go before you lay the panel down!
After the panel was in place it was time to J-roll the edges.
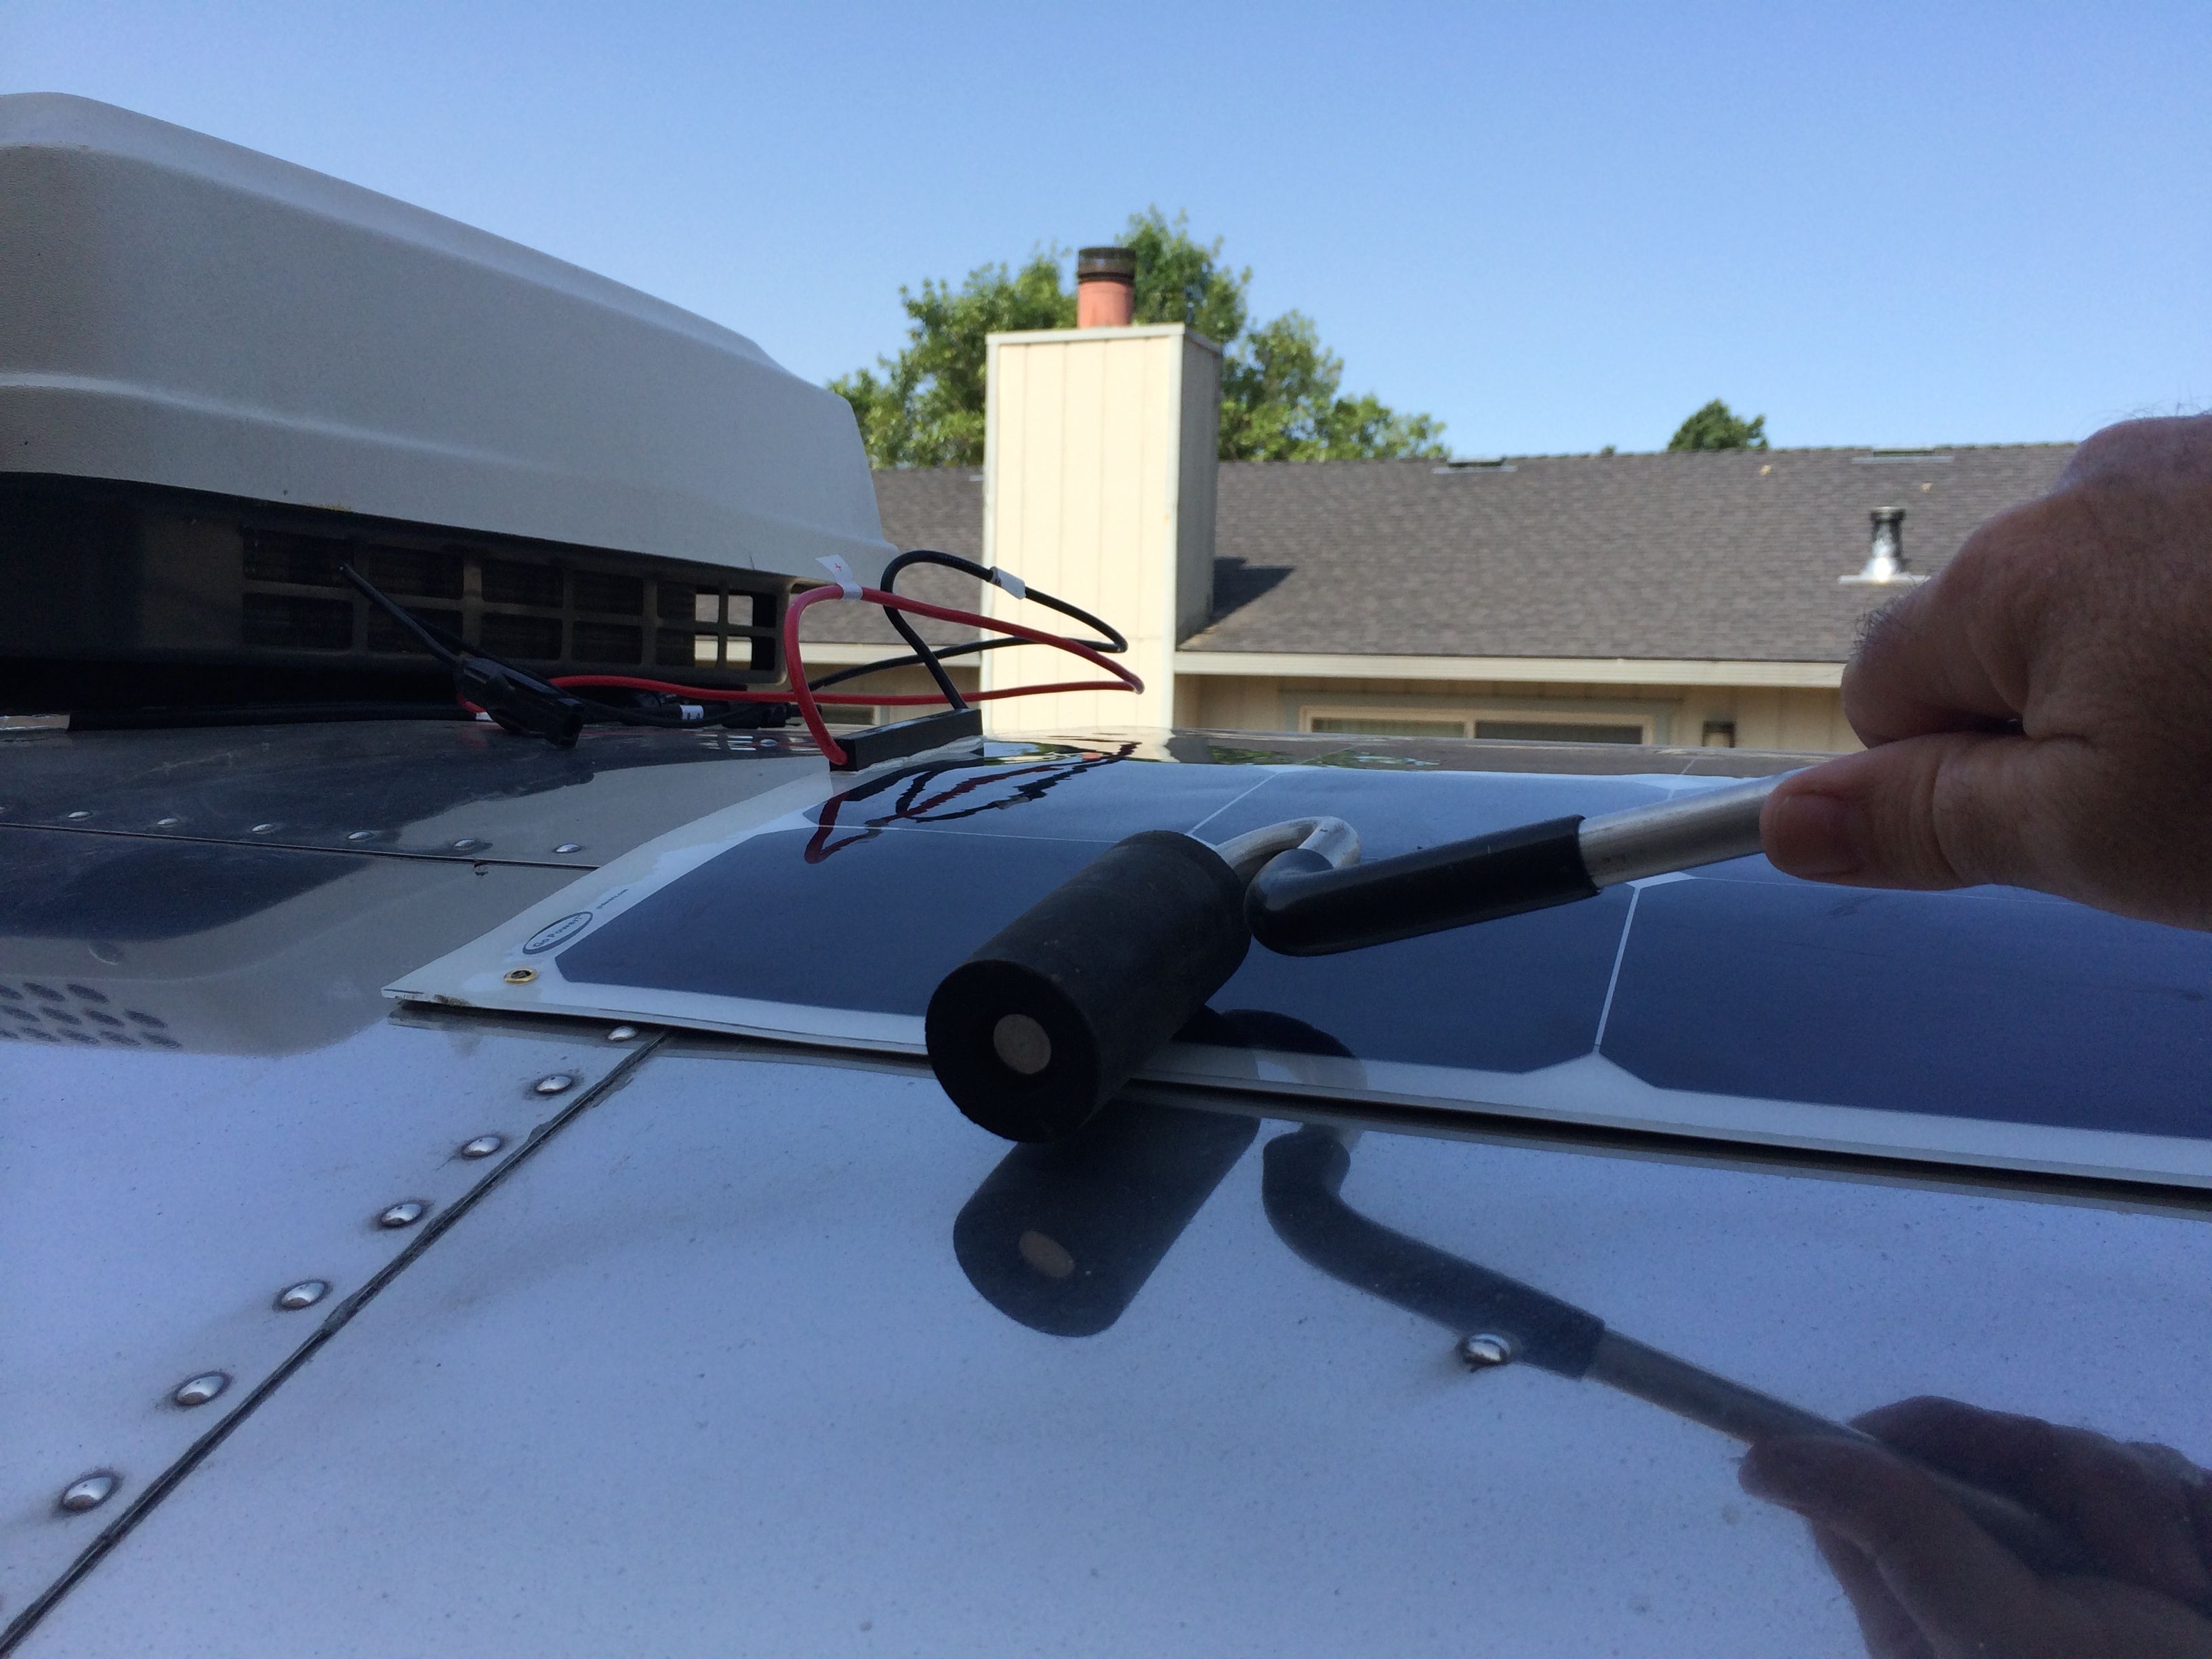
Securing the panel with a J roller
Repeat for the next three panels. I left about 1/2″ between panels on the roof because I intend to use SikaFlex 221 around the edges of the panel to help secure them even more and keep water off of the tape.
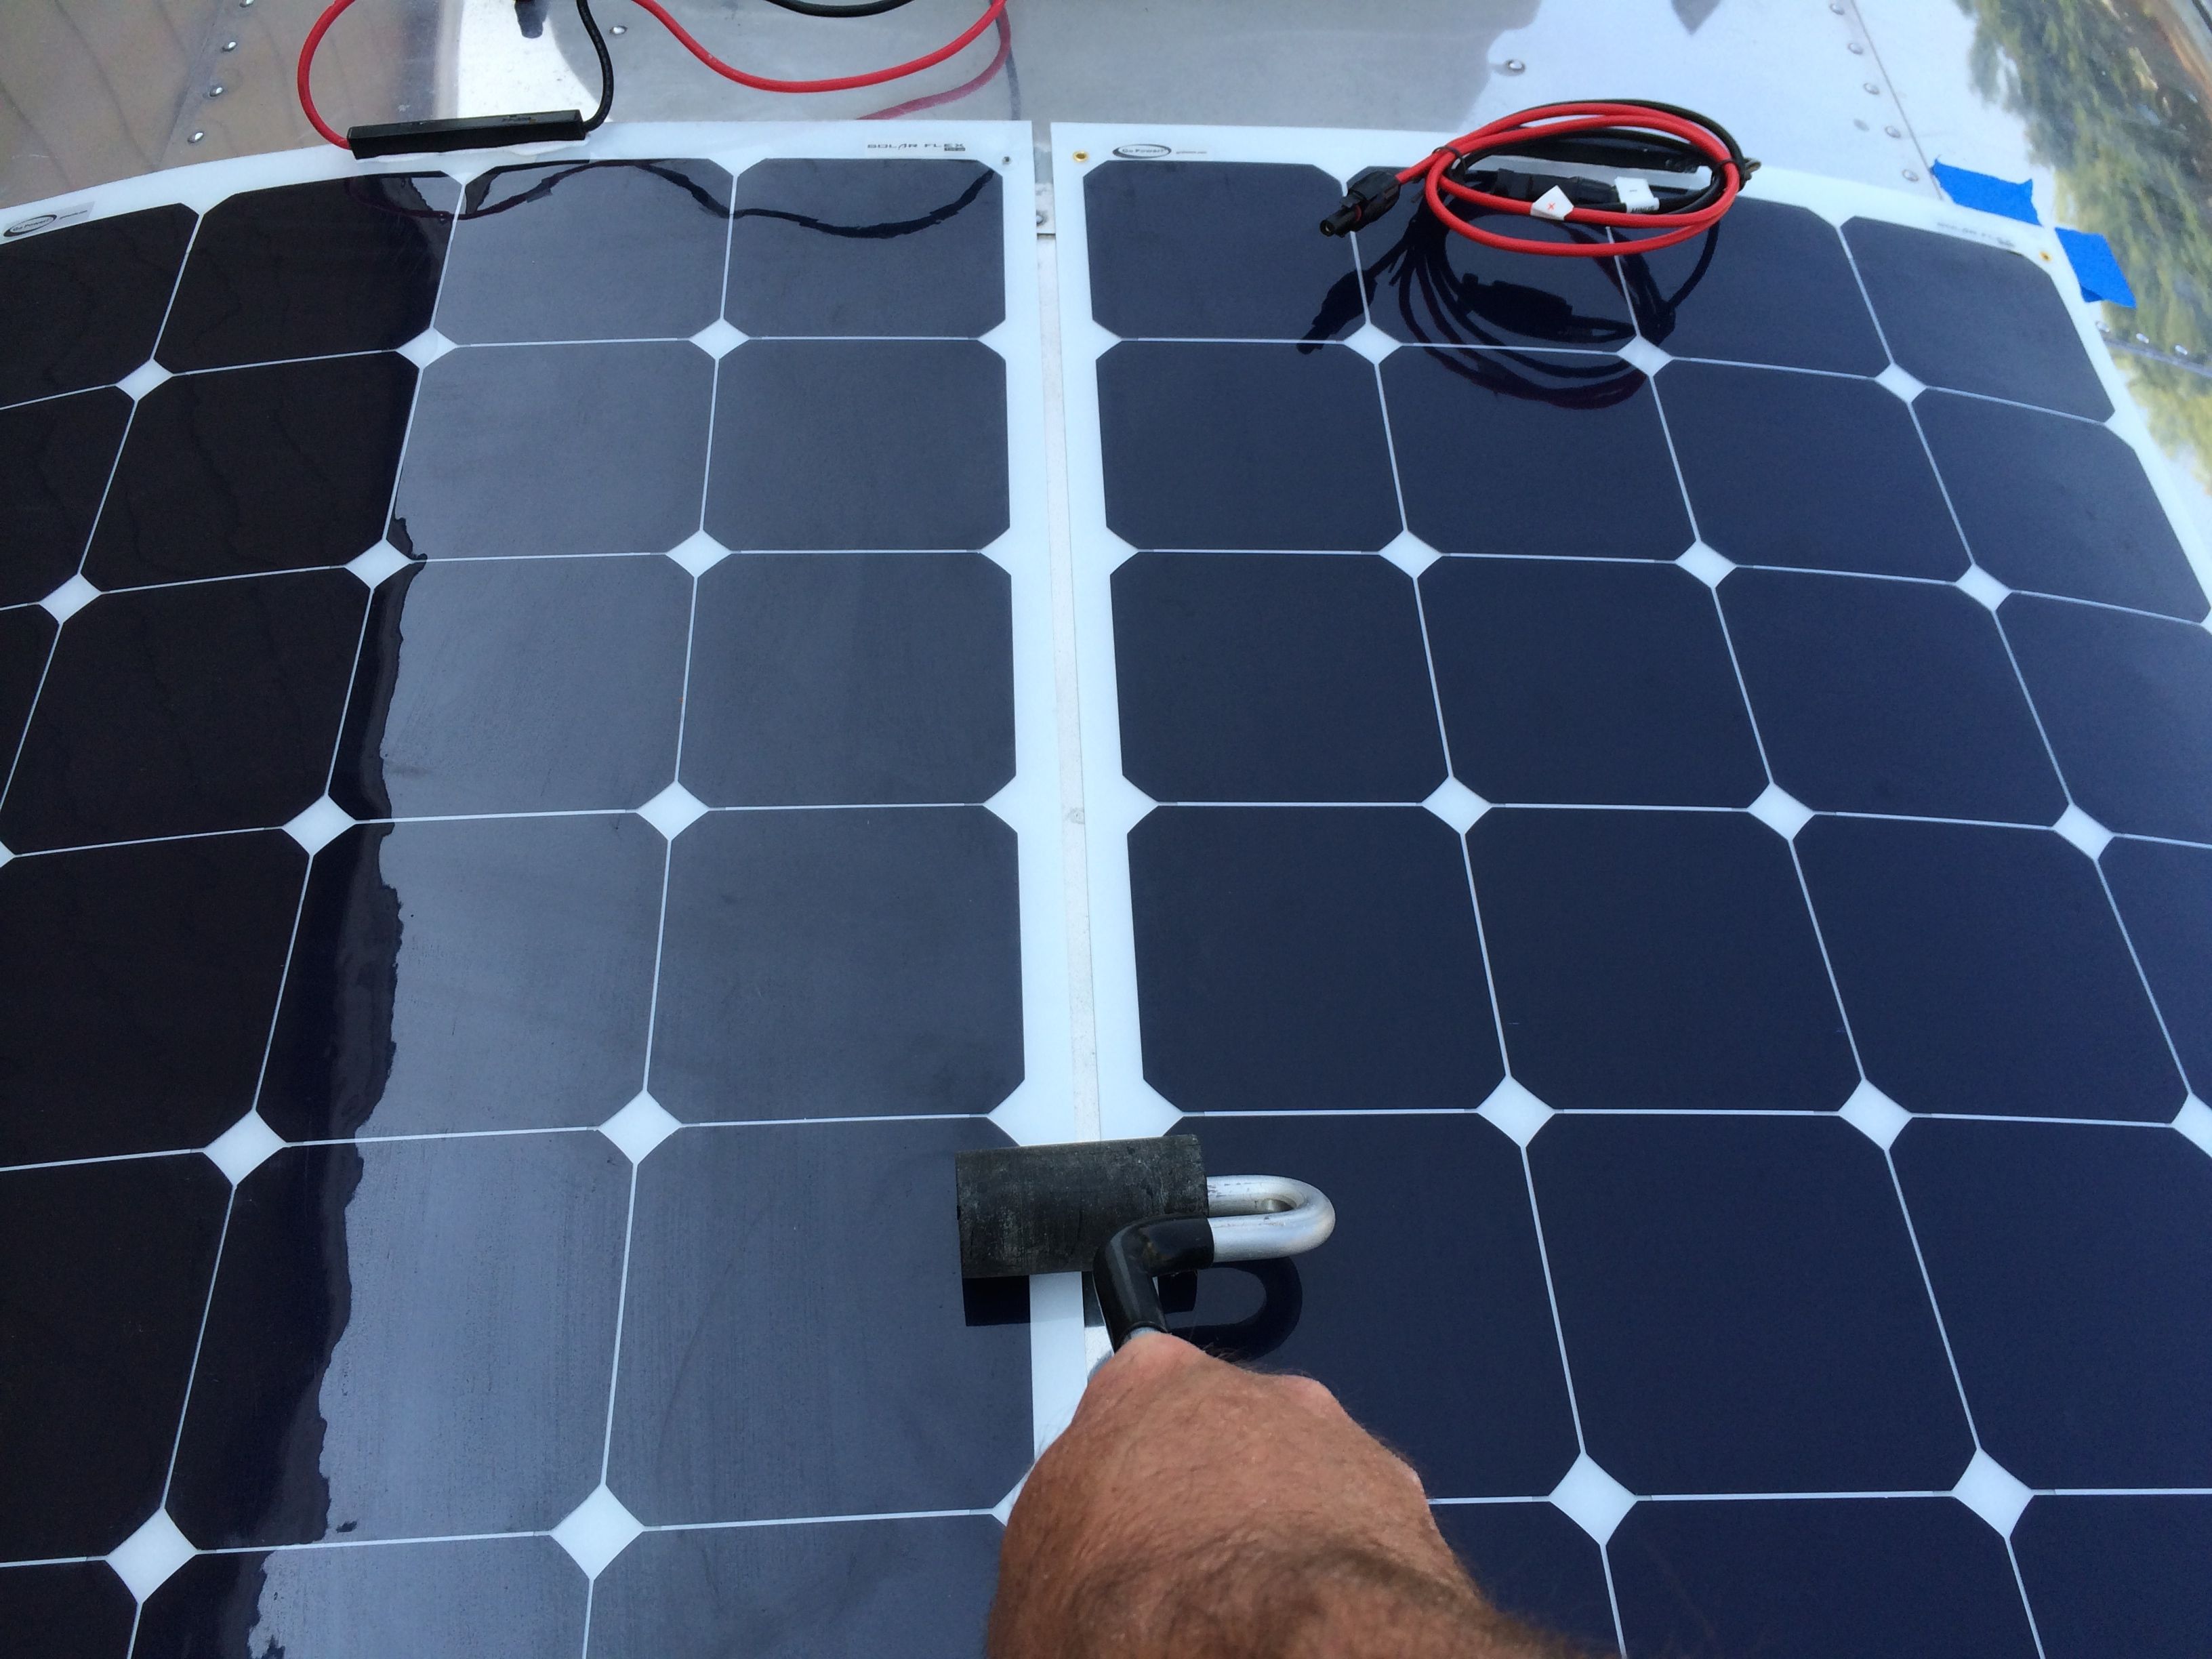
Yes, you can walk on them. It’s almost necessary on my Airstream just to get around the narrow roof. Here I am J-rolling the set. Ain’t they pretty?
BTW – here is a tip. Don’t lean on your sun rotted A/C shroud while maneuvering around the roof. – OUCH!
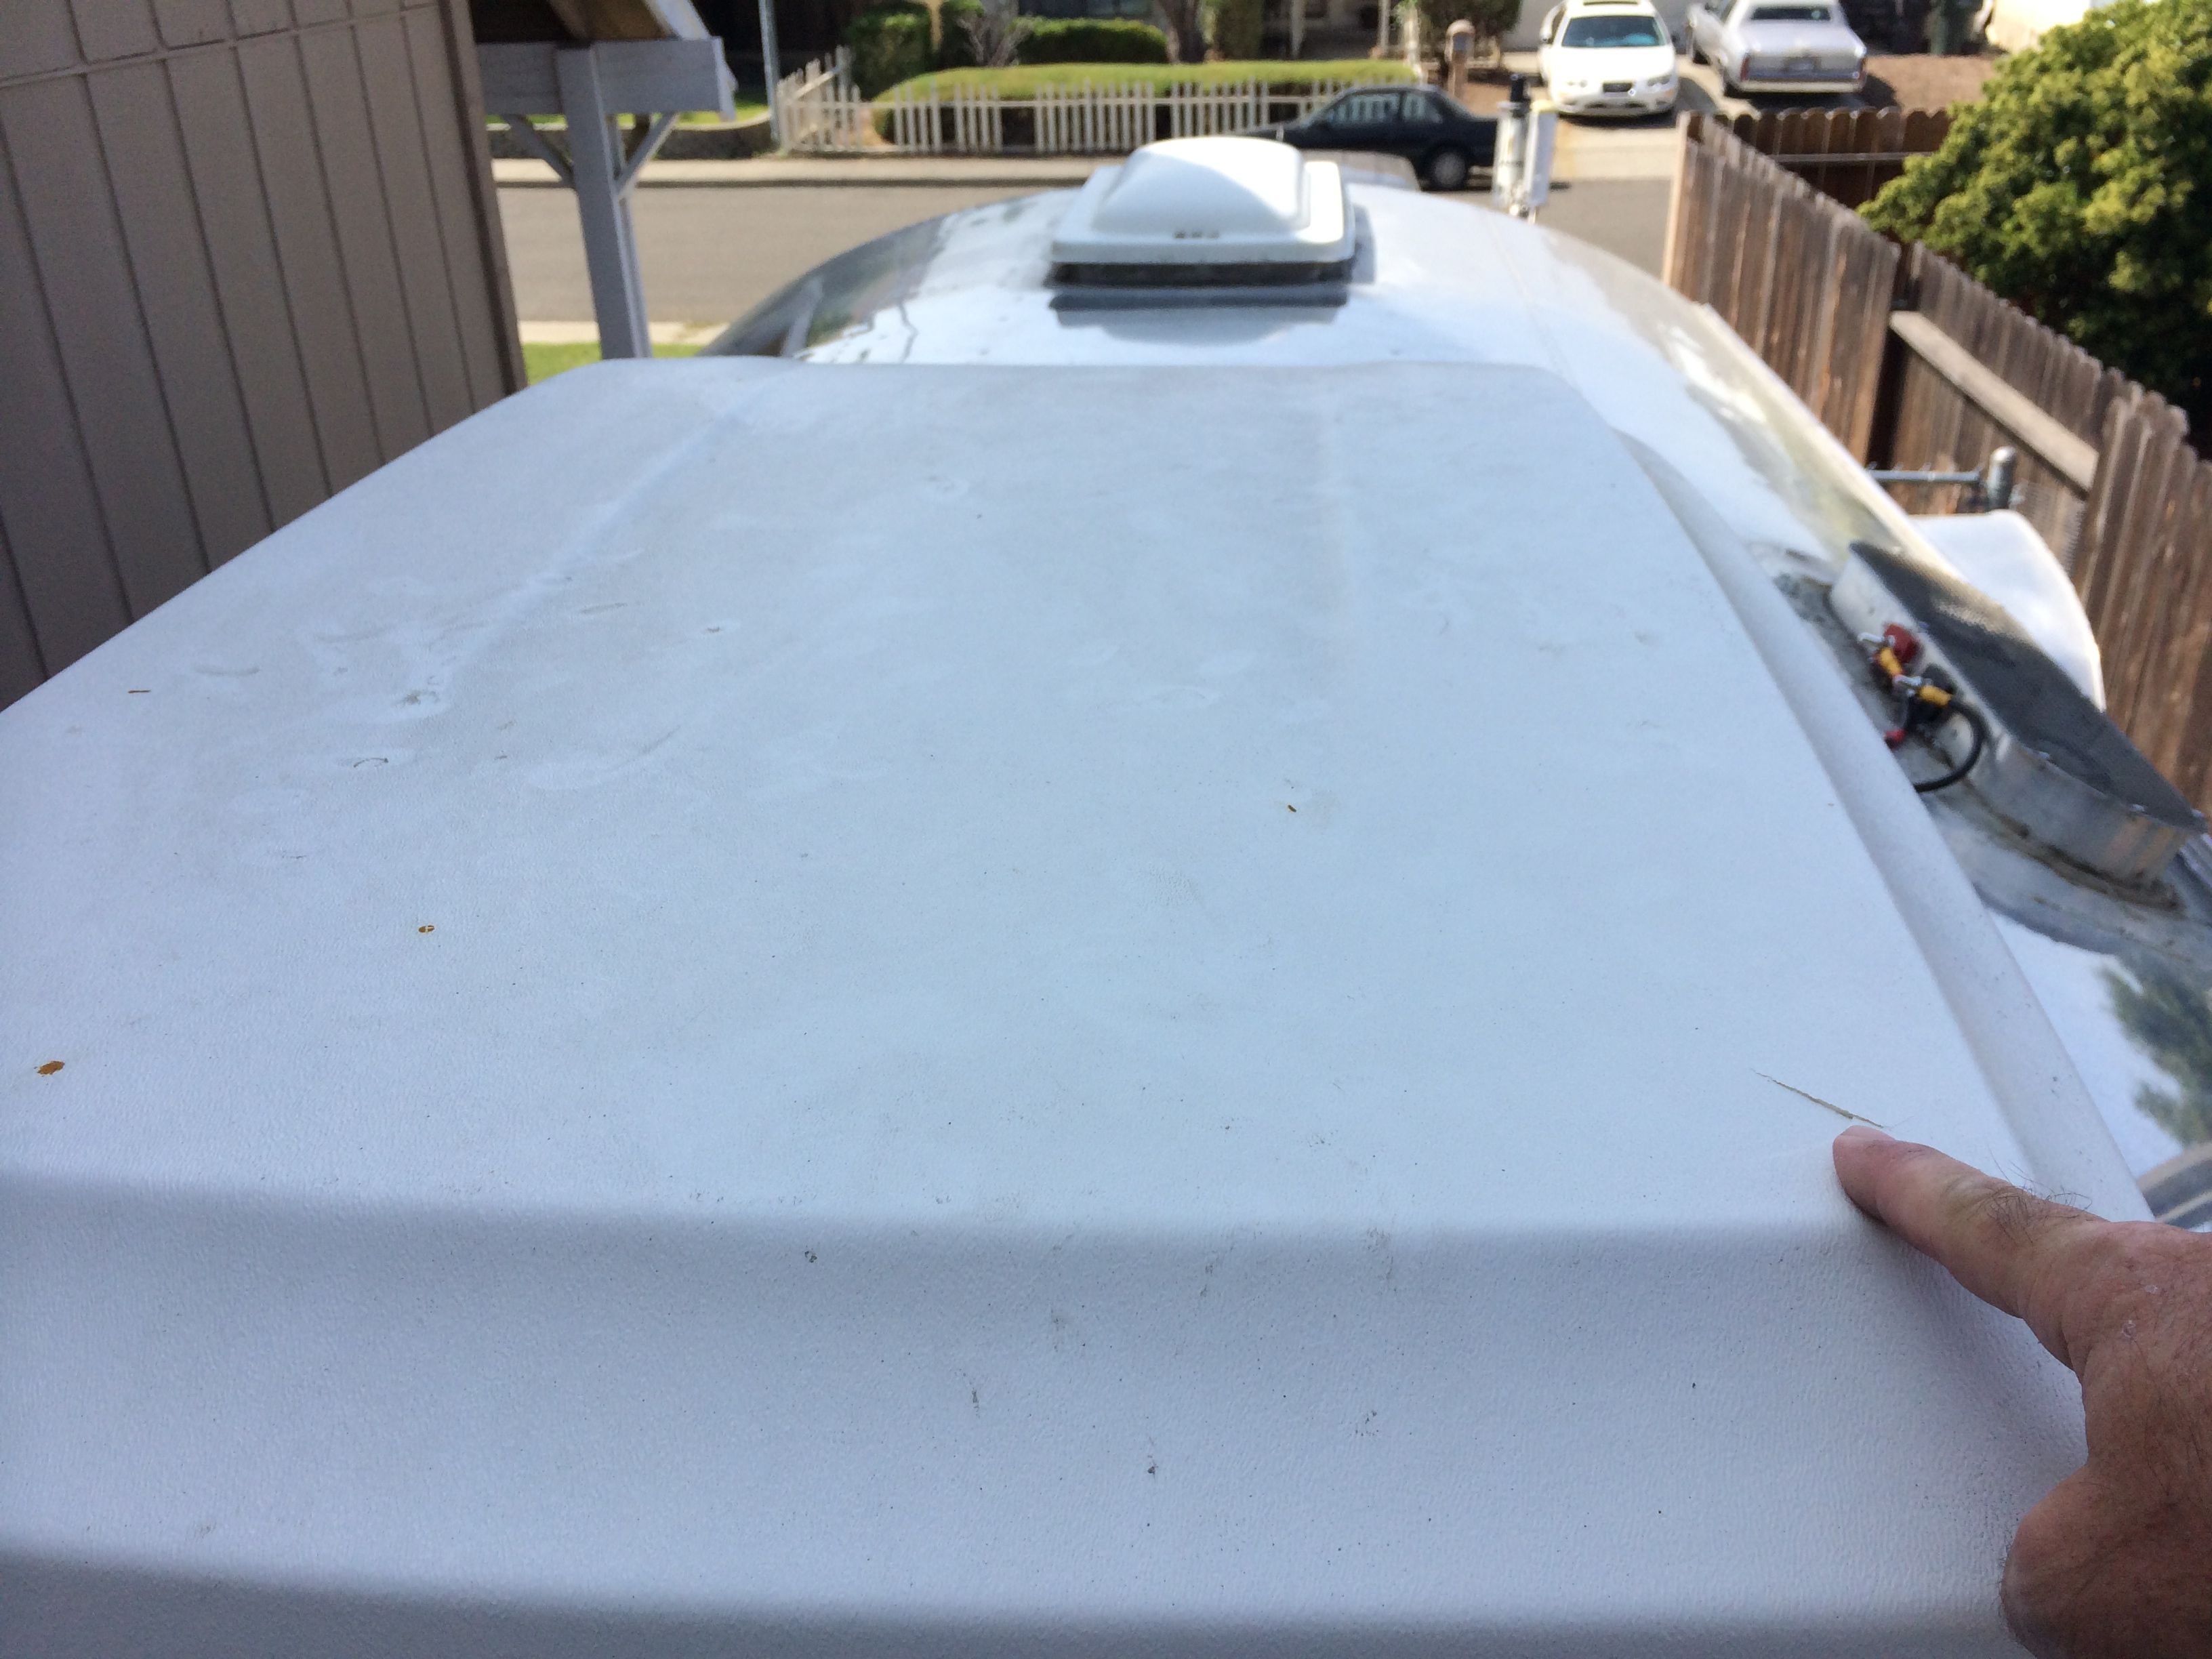
I’ve needed a new one for a while anyway.
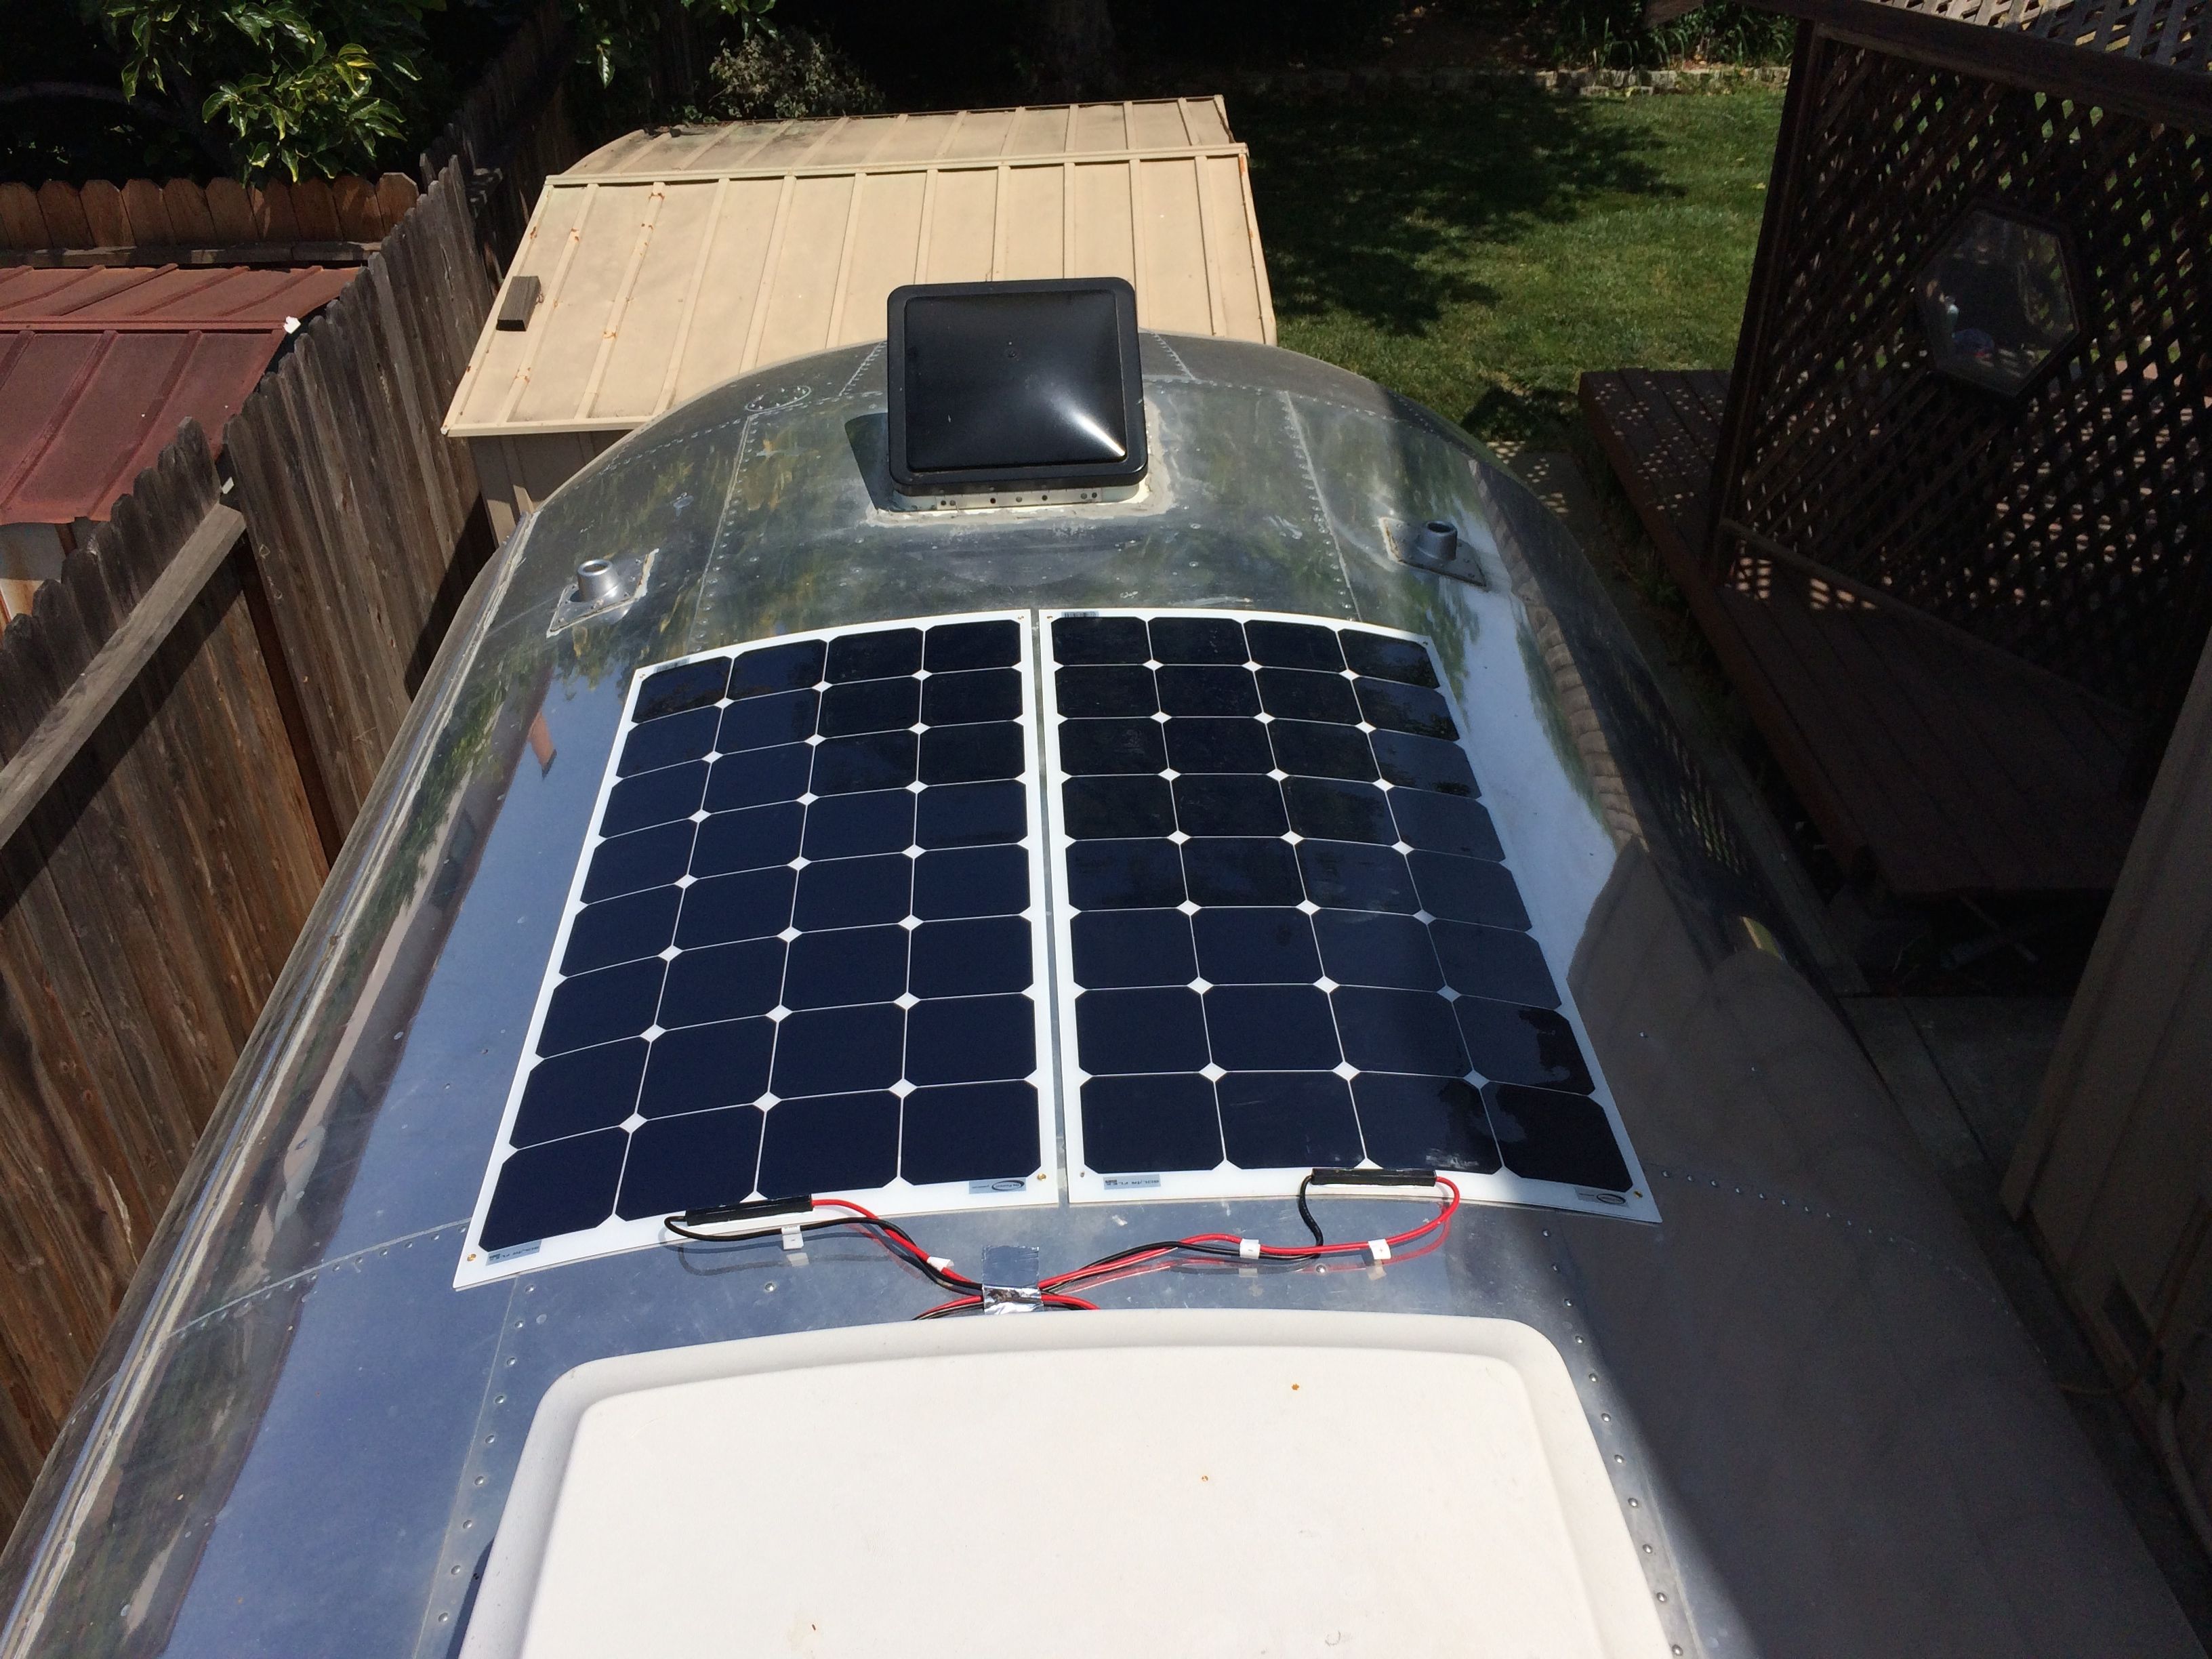
With my existing cable I’m able to run these two panels into the charger controller. I just need another MC4 cable to hook up the front to panels.
It’s very easy to wire two panels together. Each panel has a positive and negative connection. Using the bridging adapters, you hook both negatives into one adapter, and both positives into the other.
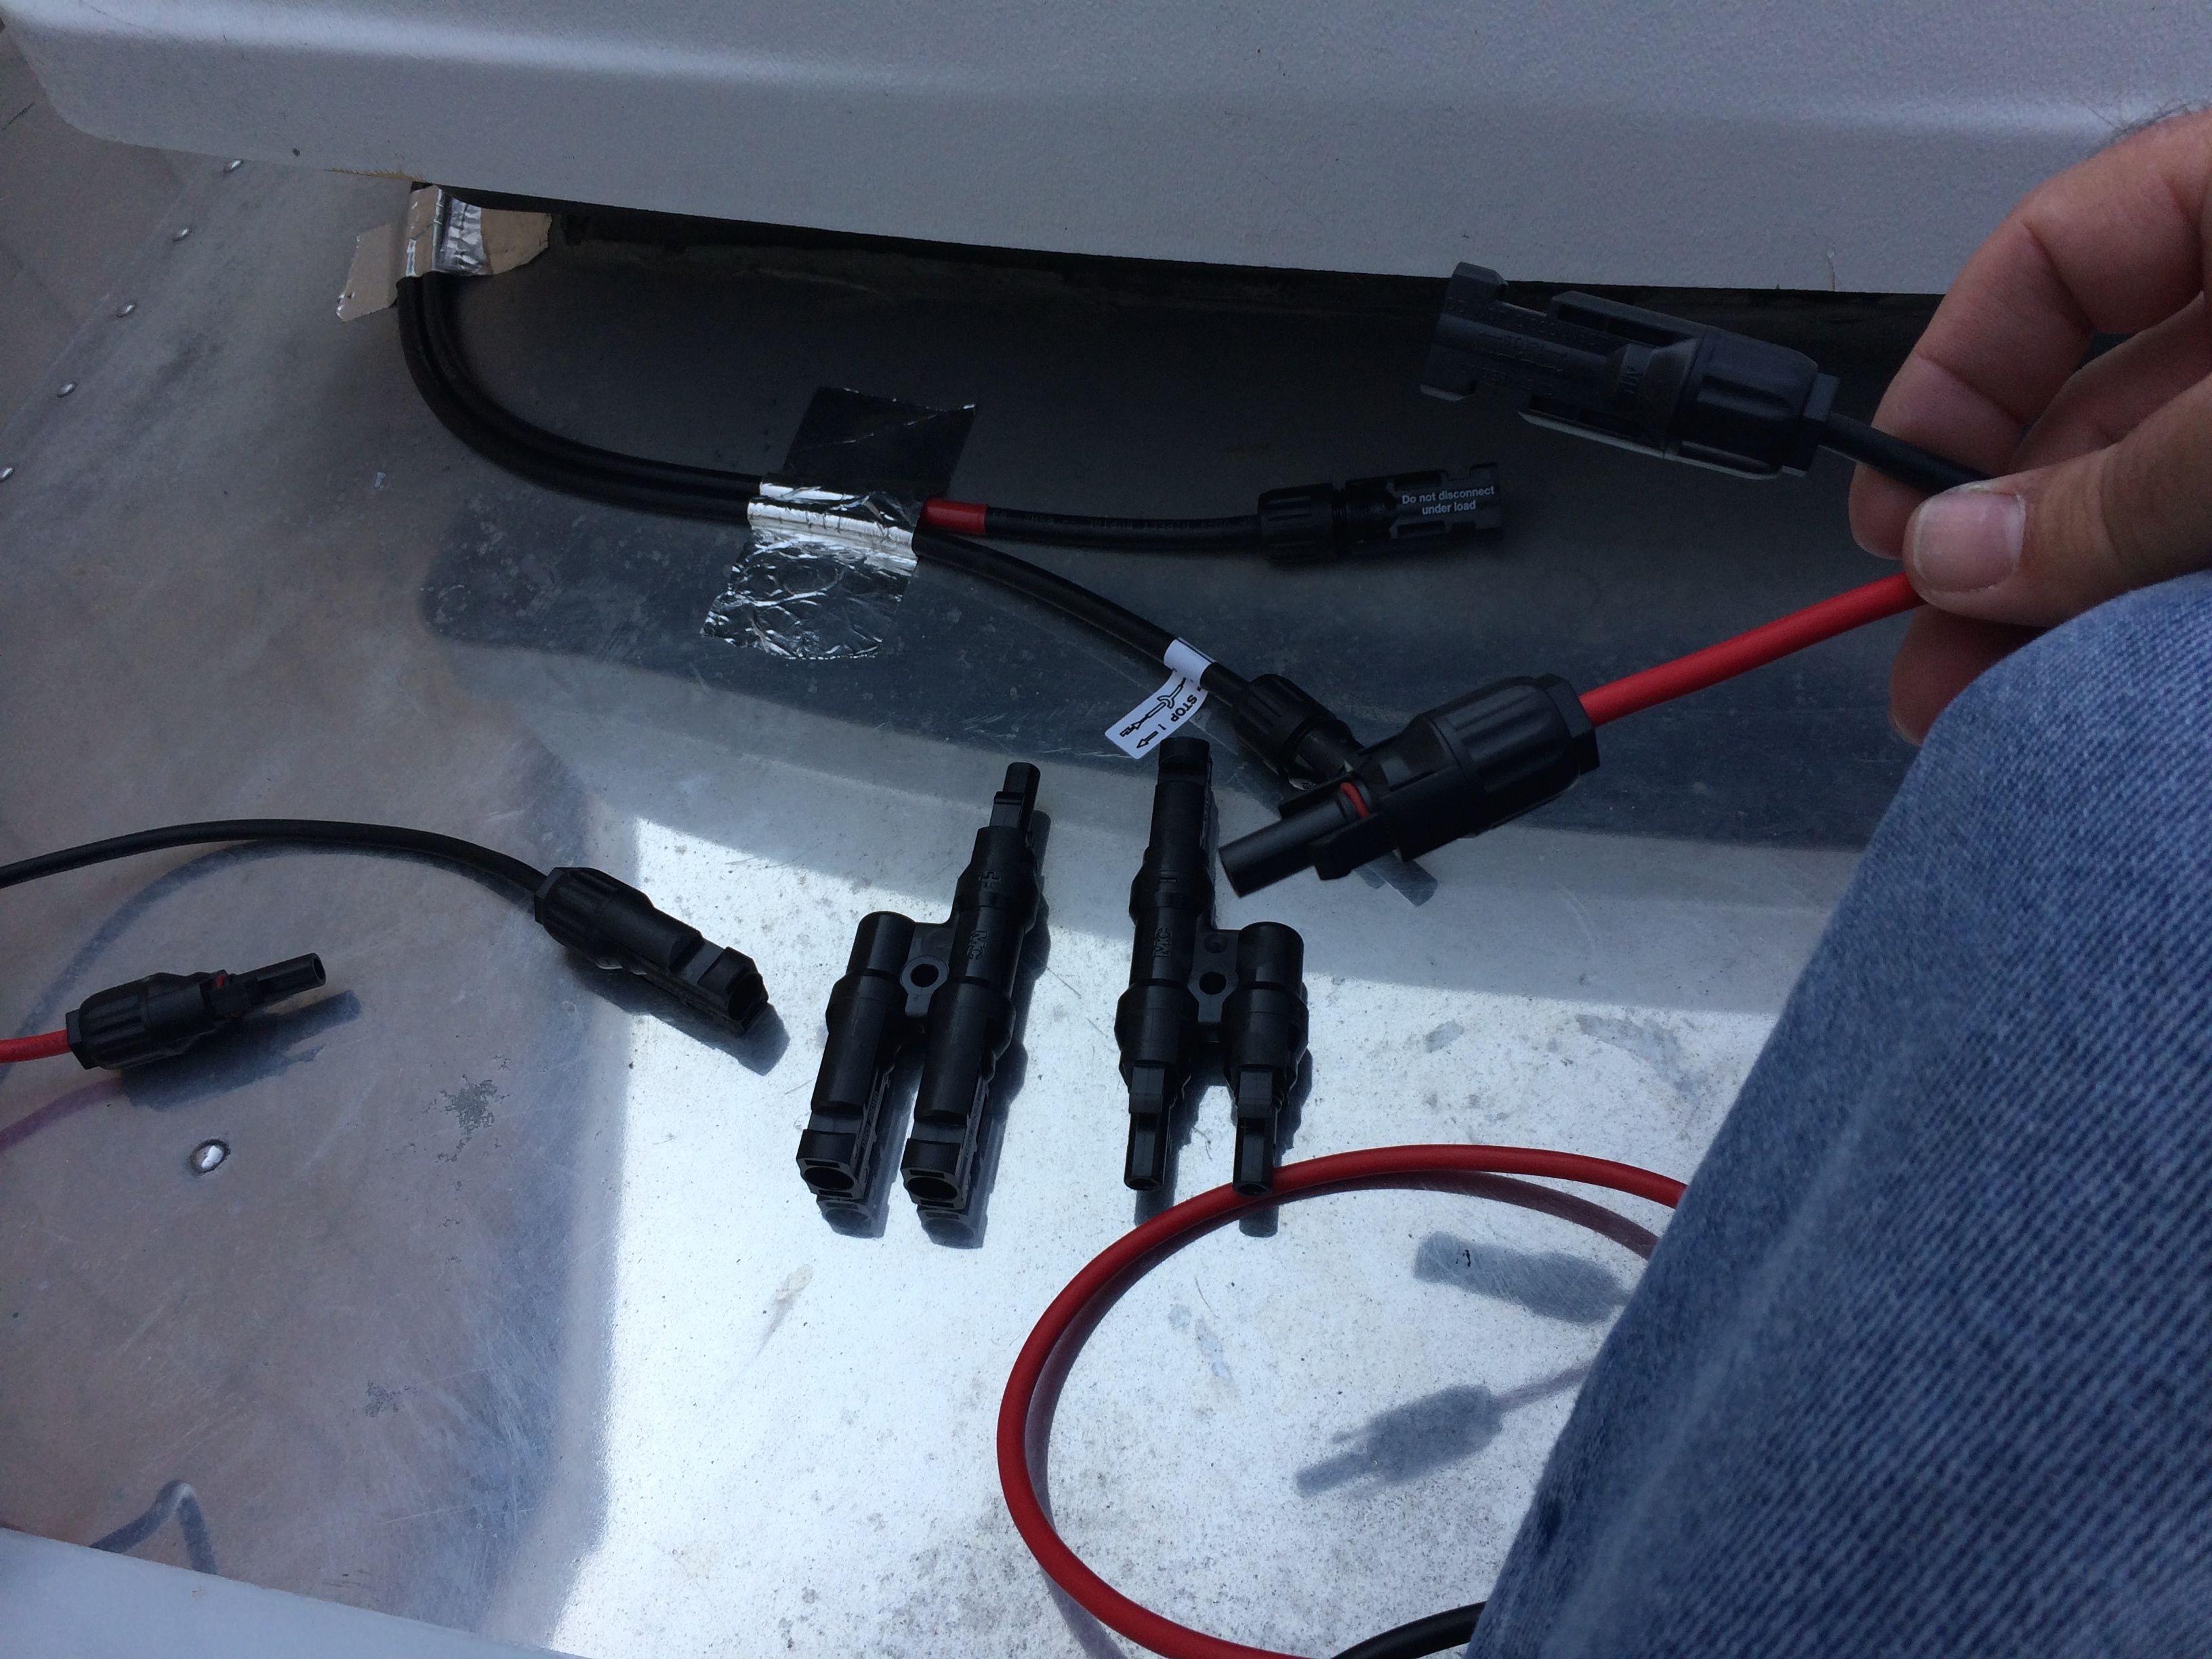

Both negative leads from the panels into one adapter
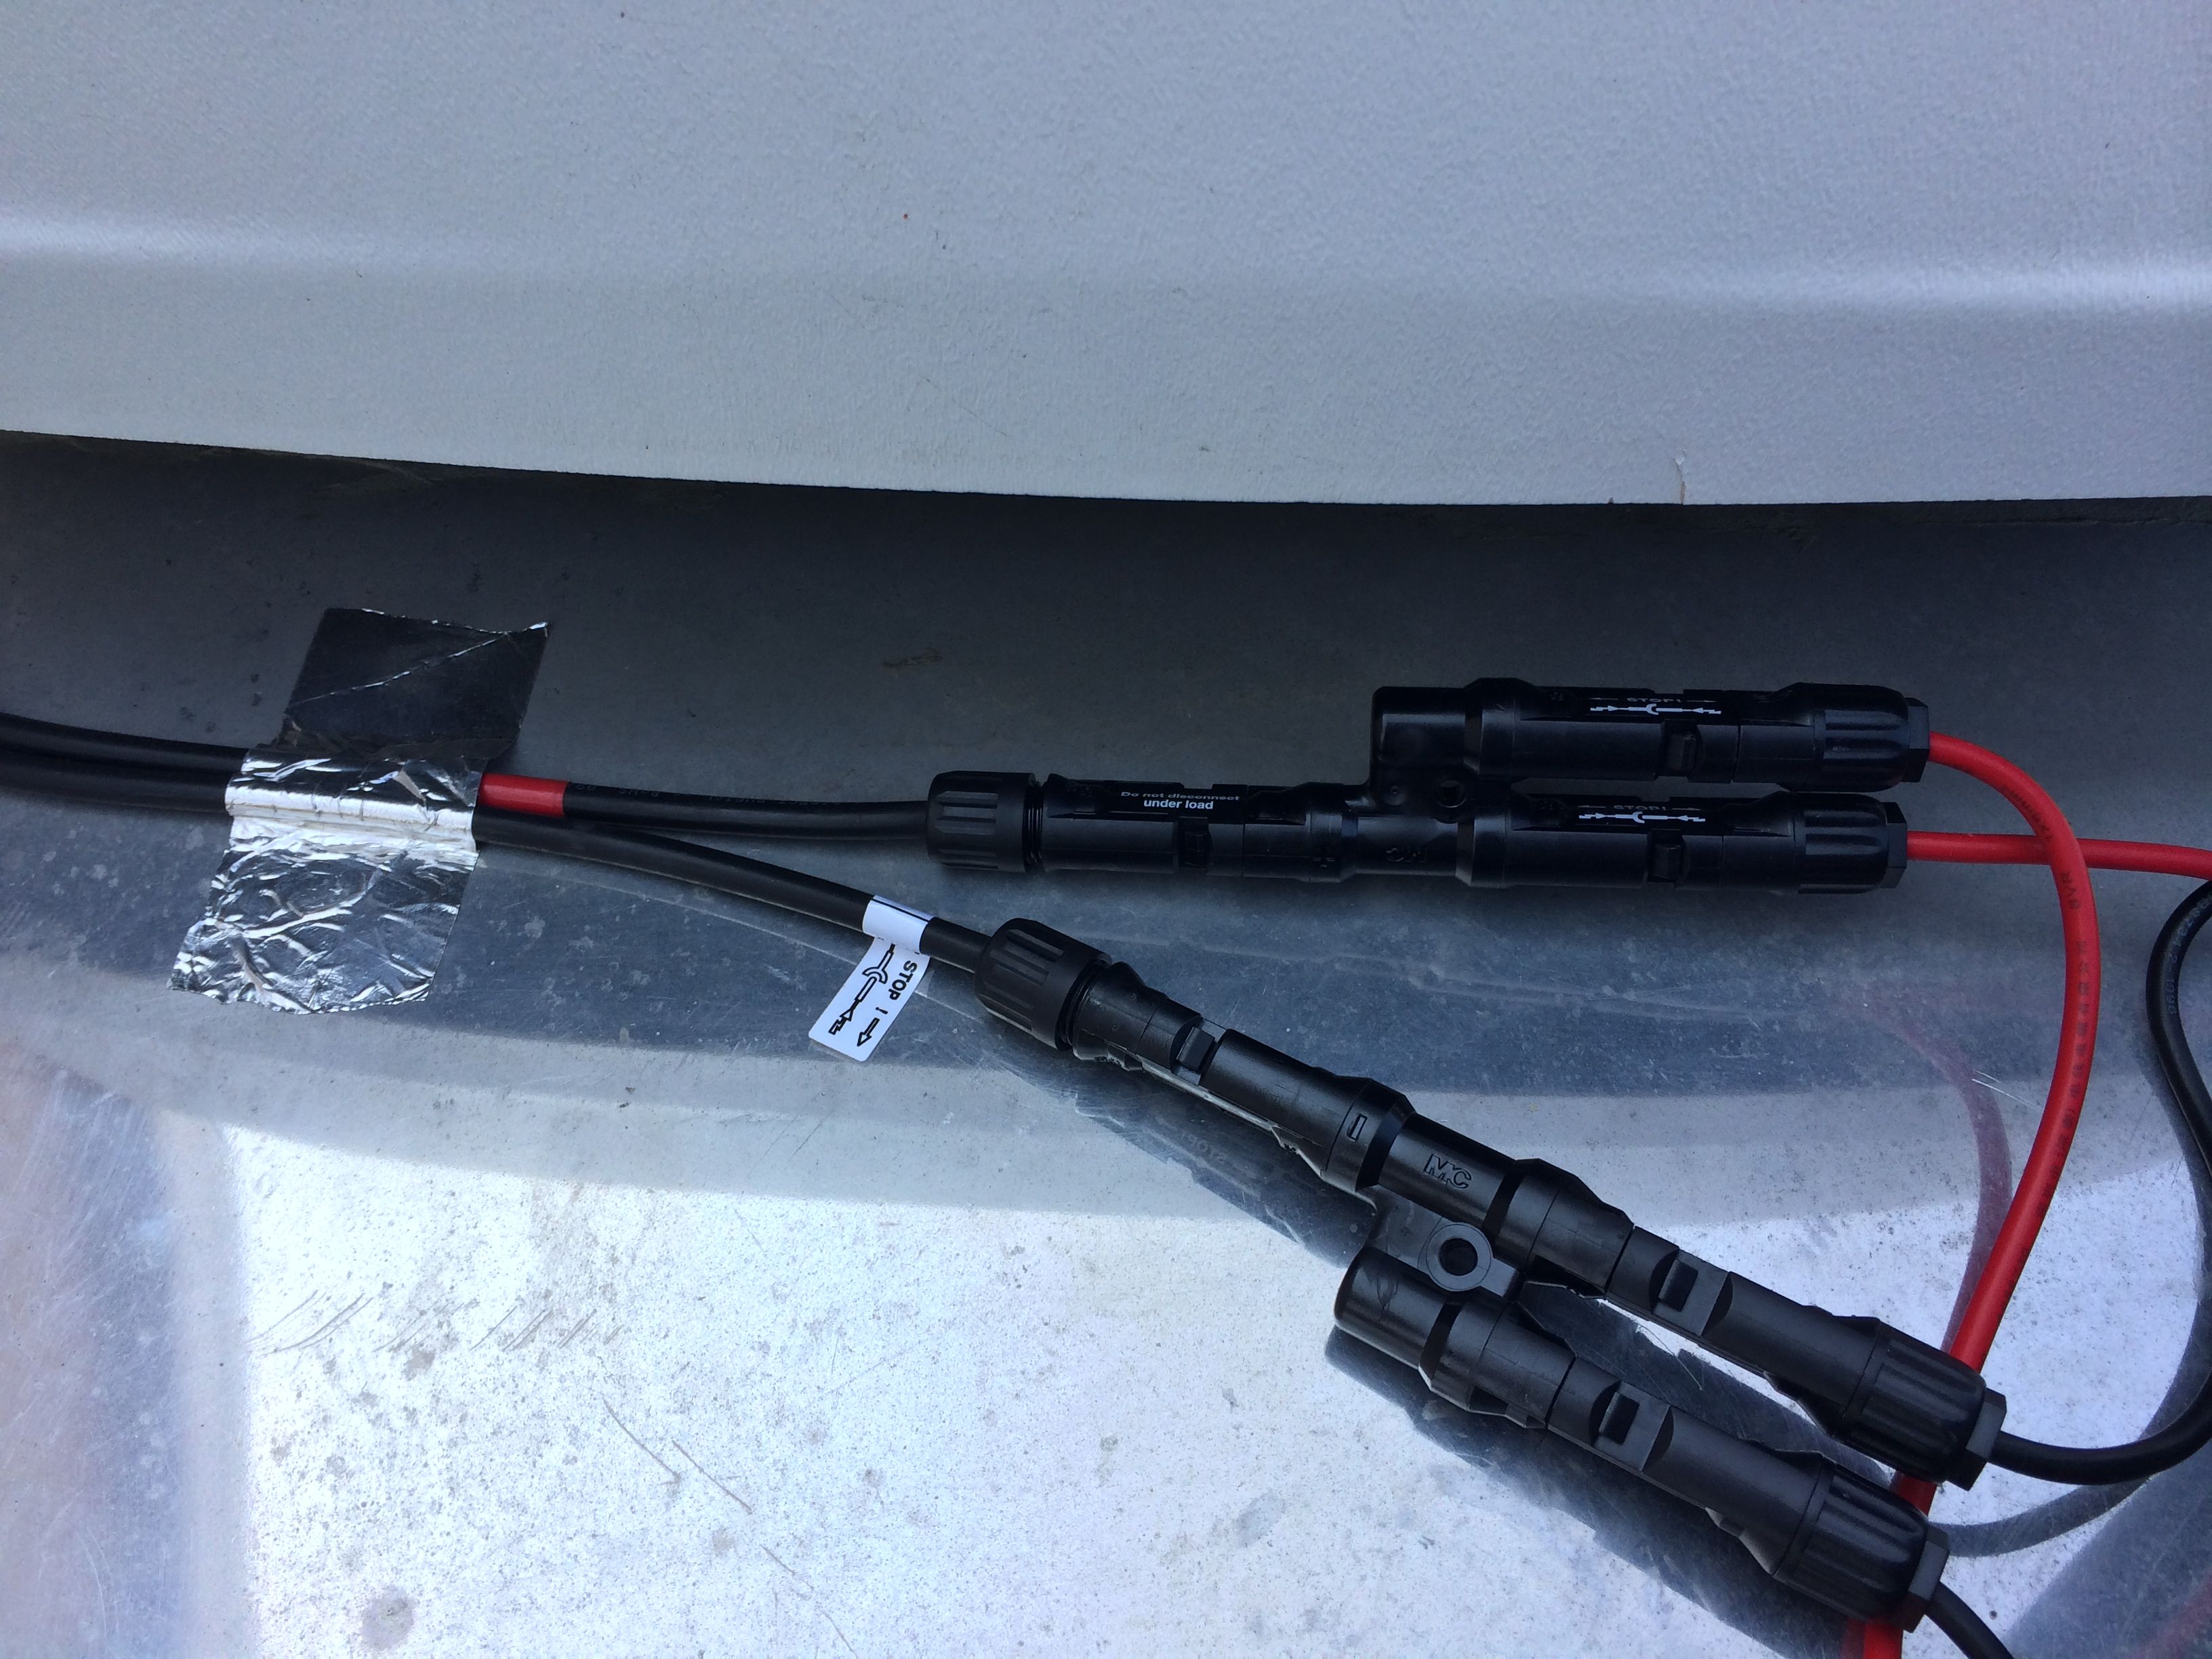
Both adapters wired into the cable that feeds the charge controller
That’s it for now until I get the MC4 cable and Sikaflex that I need. With these two panels I was able to easily pull in over 10 amps. The only hard part is that my battery is always charged now, so I have to turn on a bunch of stuff to get the solar to ramp up. 🙂 What a problem to have. 🙂
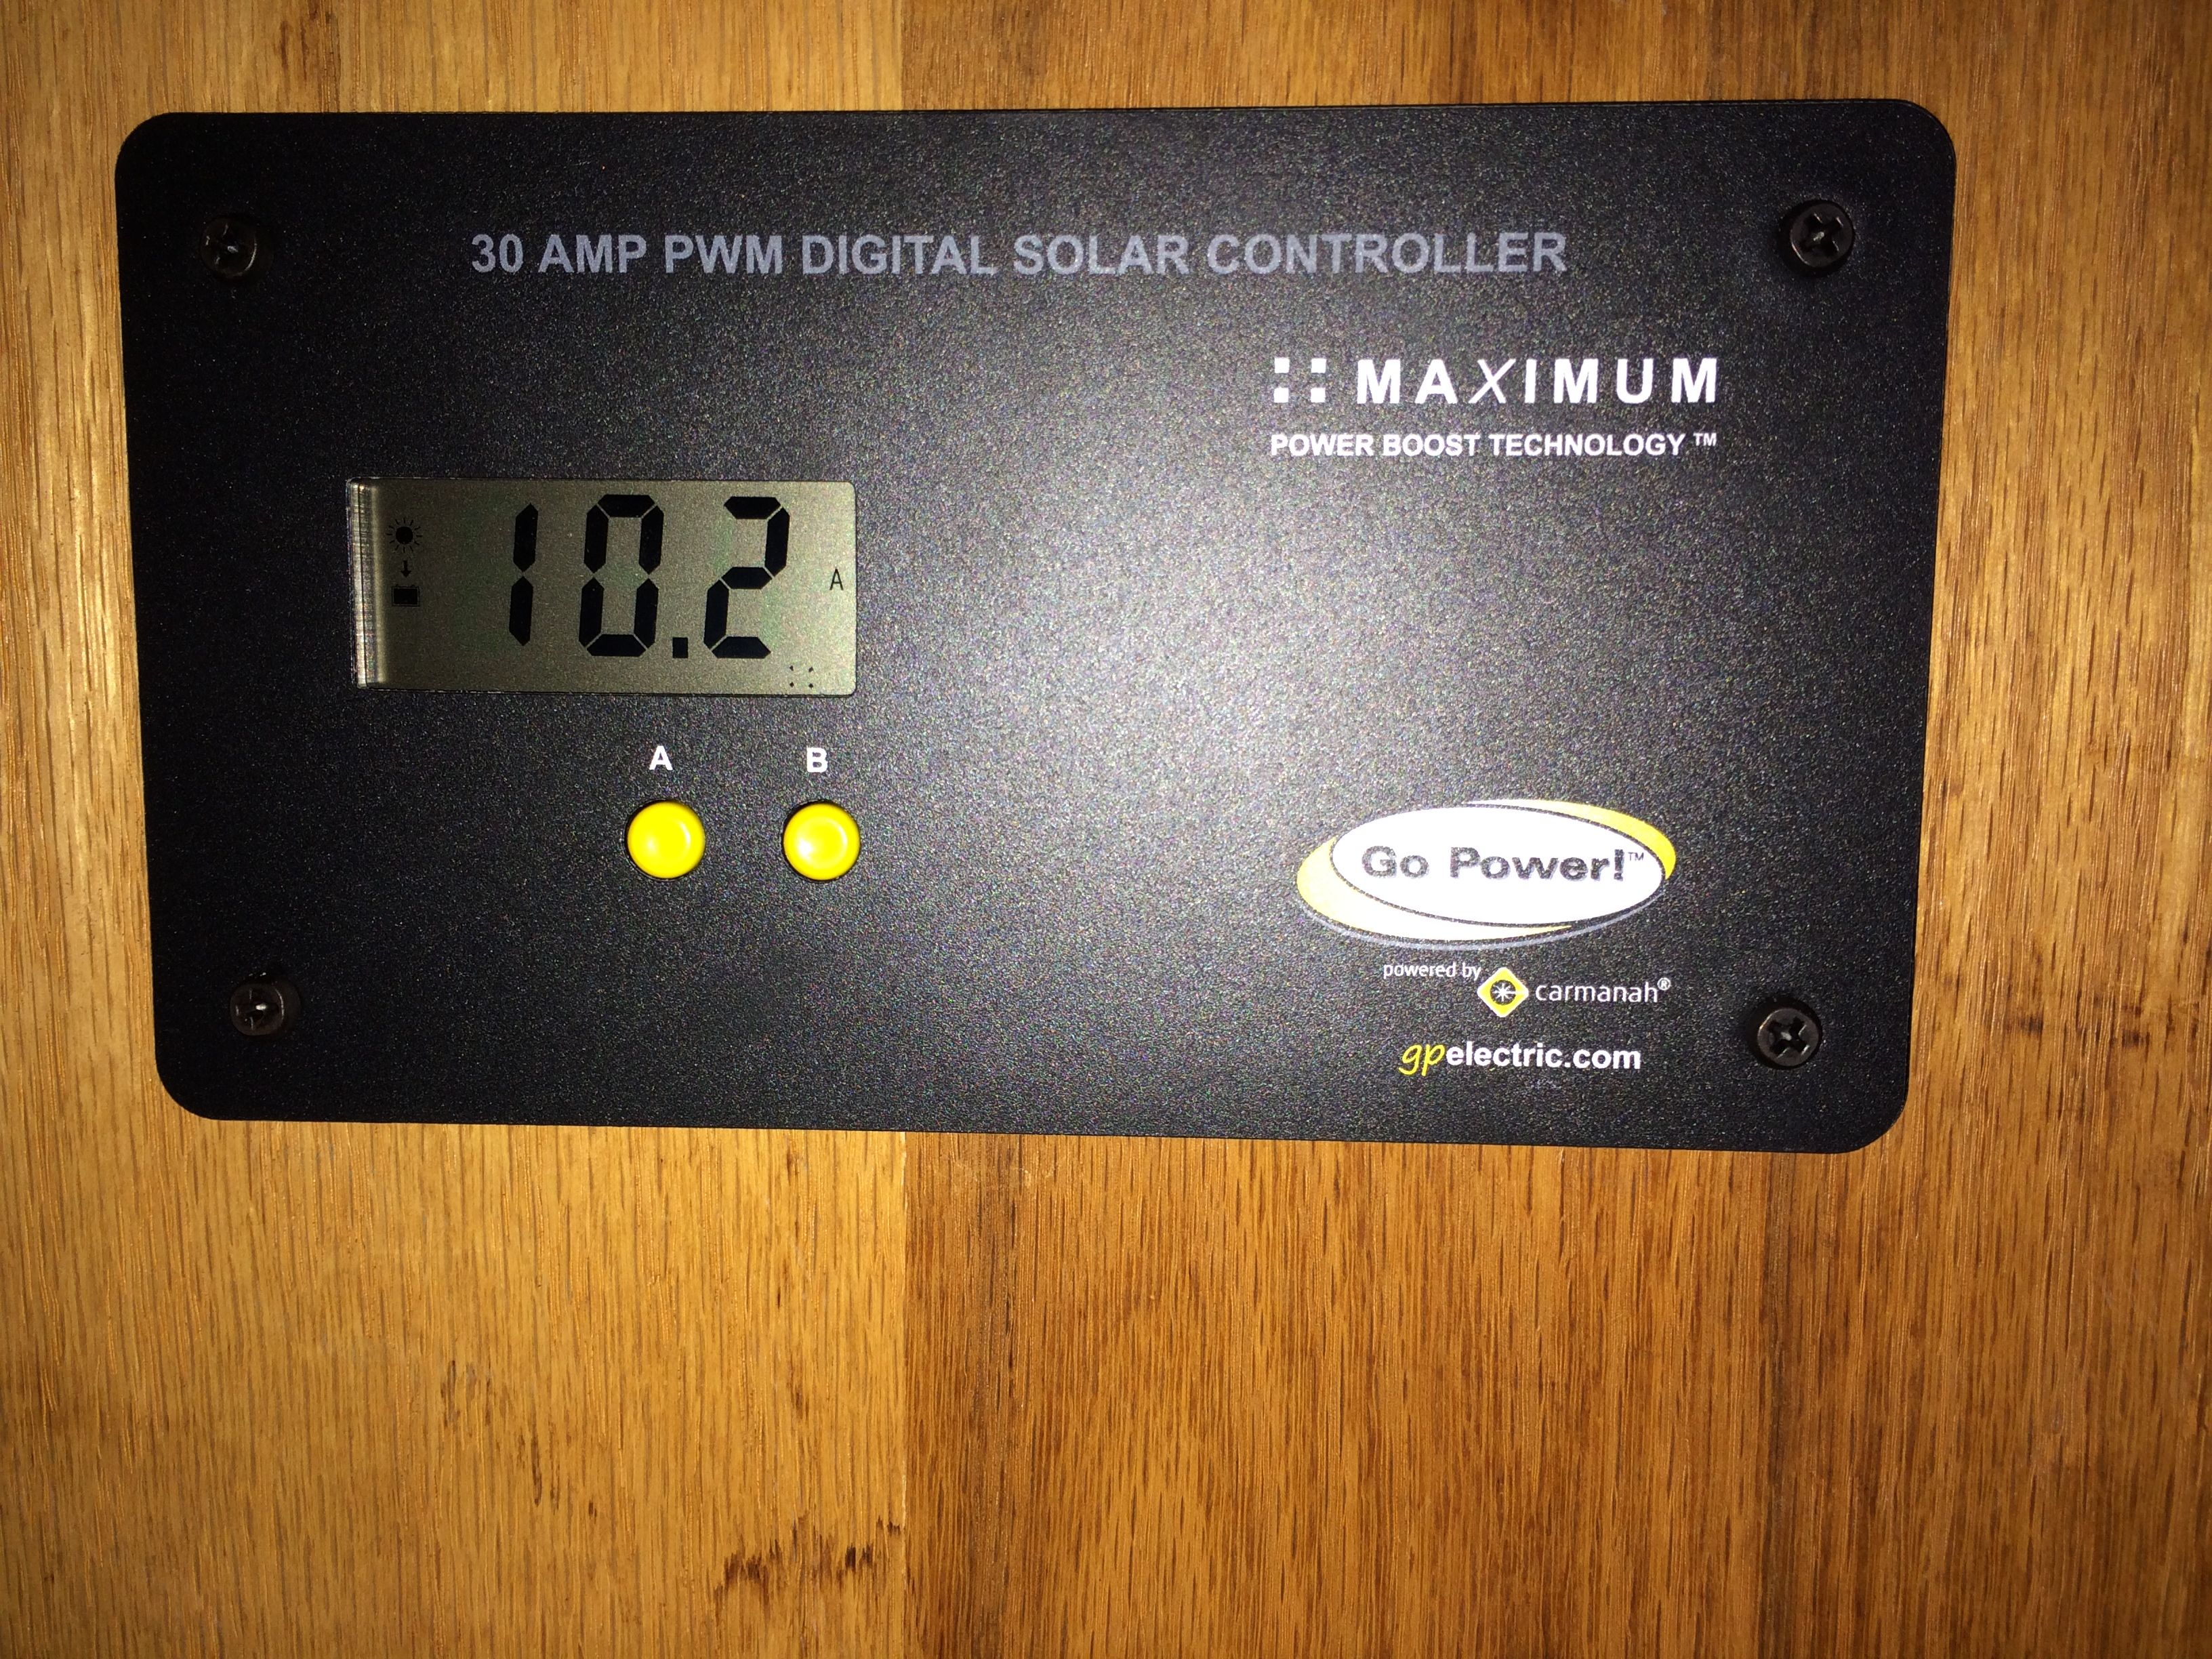
10amps from the rear two panels
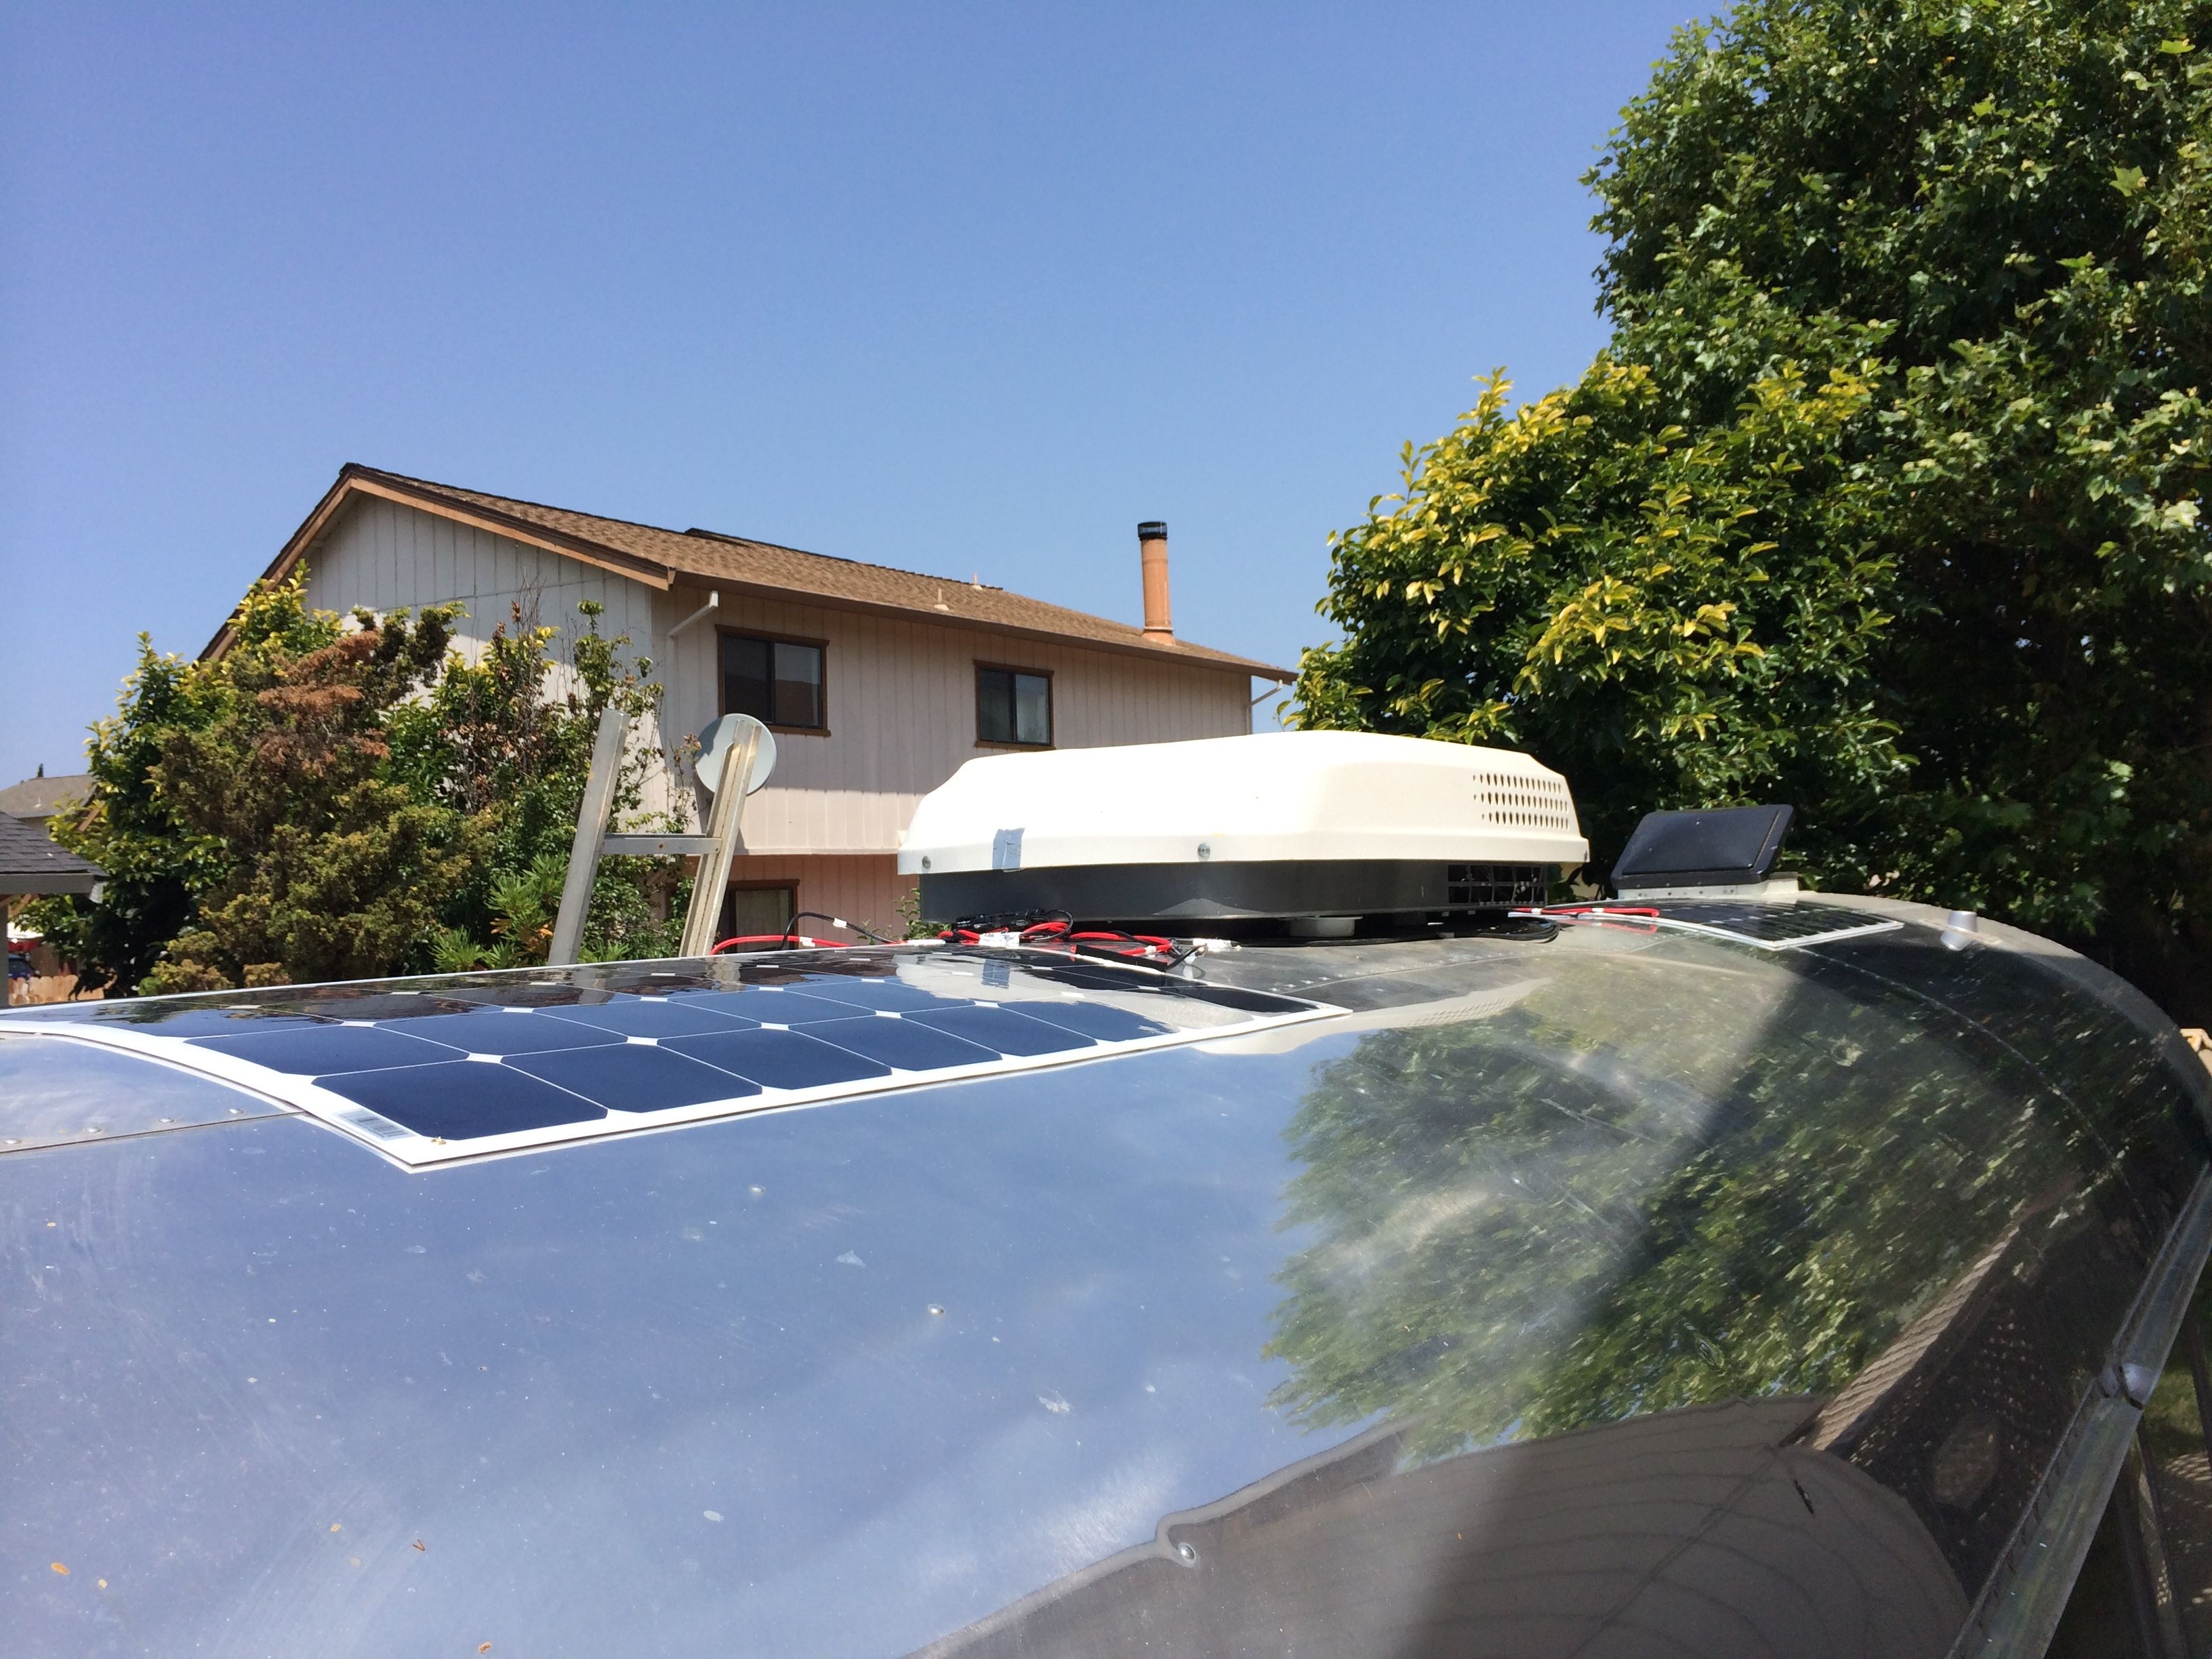
It’s hard to tell with the trailer parked next to my house, but it doesn’t look like you will notice the panels very much. I cheated on the centering a little bit by allow more to show on the street side than the curb side of the trailer. I just thought that when you’re camping, you don’t spend too much time on the back side of the trailer.
As long as it holds, I can tell you the 3M VHB tape is the way to go. Much easier to install than trying to mark and center rivnuts all over the place. It even beats just drilling screw holes since these mounts won’t cause any leaks. Time will tell, but from my research its commonly used on the aluminum/glass solar panels, and those are much heavier and are mounted with brackets. That’s right, only VHB tape and sikaflex on the brackets.
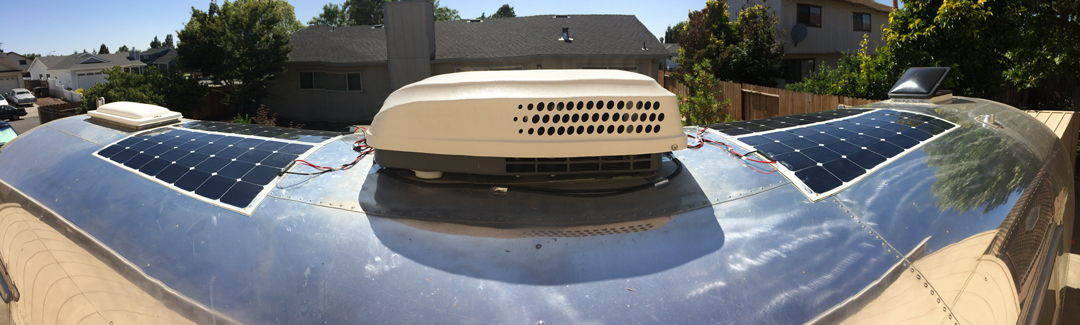
I’ll end with some more photos of the panels. They look great curved to the stylish roof of my Airstream!
Rear two panels

Front two panels
Overview shot

Low profile edge.
Go to part three of the install
Go to part one of the install
Here are the Amazon links to the flexible panels I used if you want to research them further.
1 – Go Power! (GP-FLEX-200) 200W Flexible Solar Kit with 30 Amp PWM Solar Controller
3 – Go Power! (GP-FLEX-100E) 100W Flexible Mono Crystalline Solar Expansion Kit