You may recall several posts back that my vent was leaking and caused some water damage on the closet wall inside the trailer. The leak was from several cracks in the plumbing system vent cover. These are reproductions made out of formed plastic. They’ve been on for about six years. I’m not sure why they cracked, Colin thinks it maybe because I installed them with rivets, putting too much pressure on them. This time I decided to install the with stainless pan head screws.
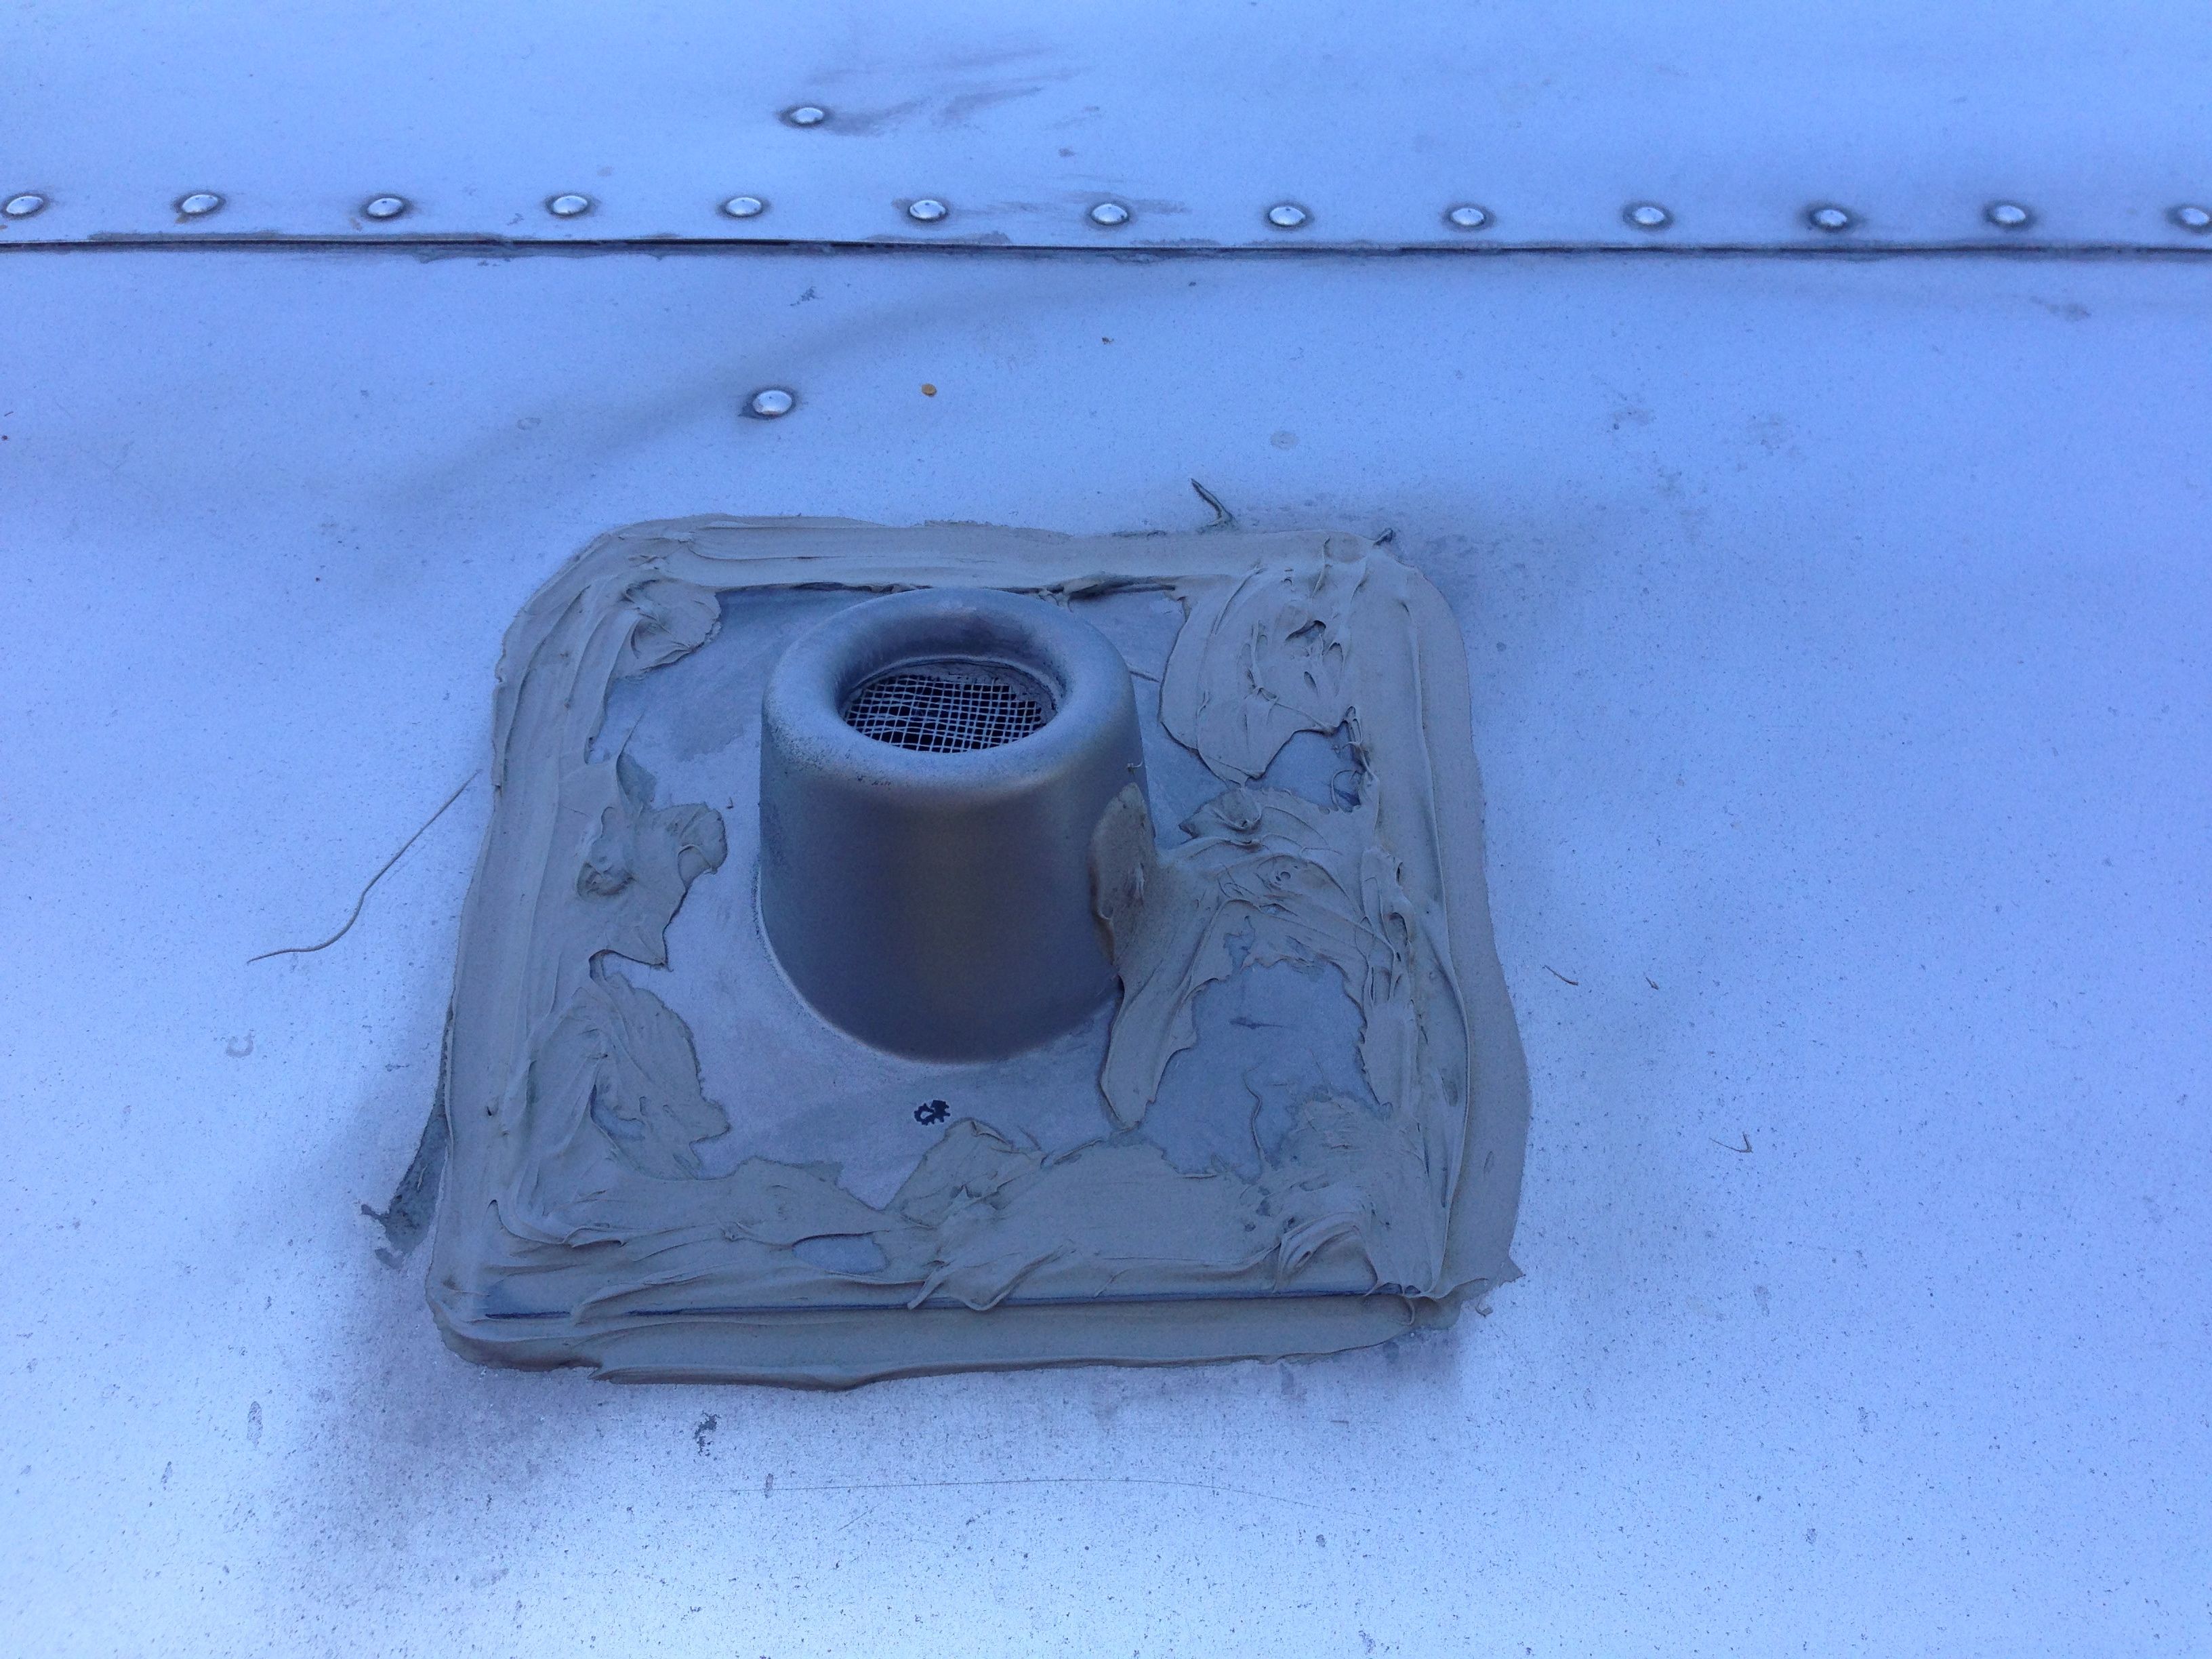
The vent covers were back ordered for quite a while so I loaded up the cracks with vulkem to stop the leak.
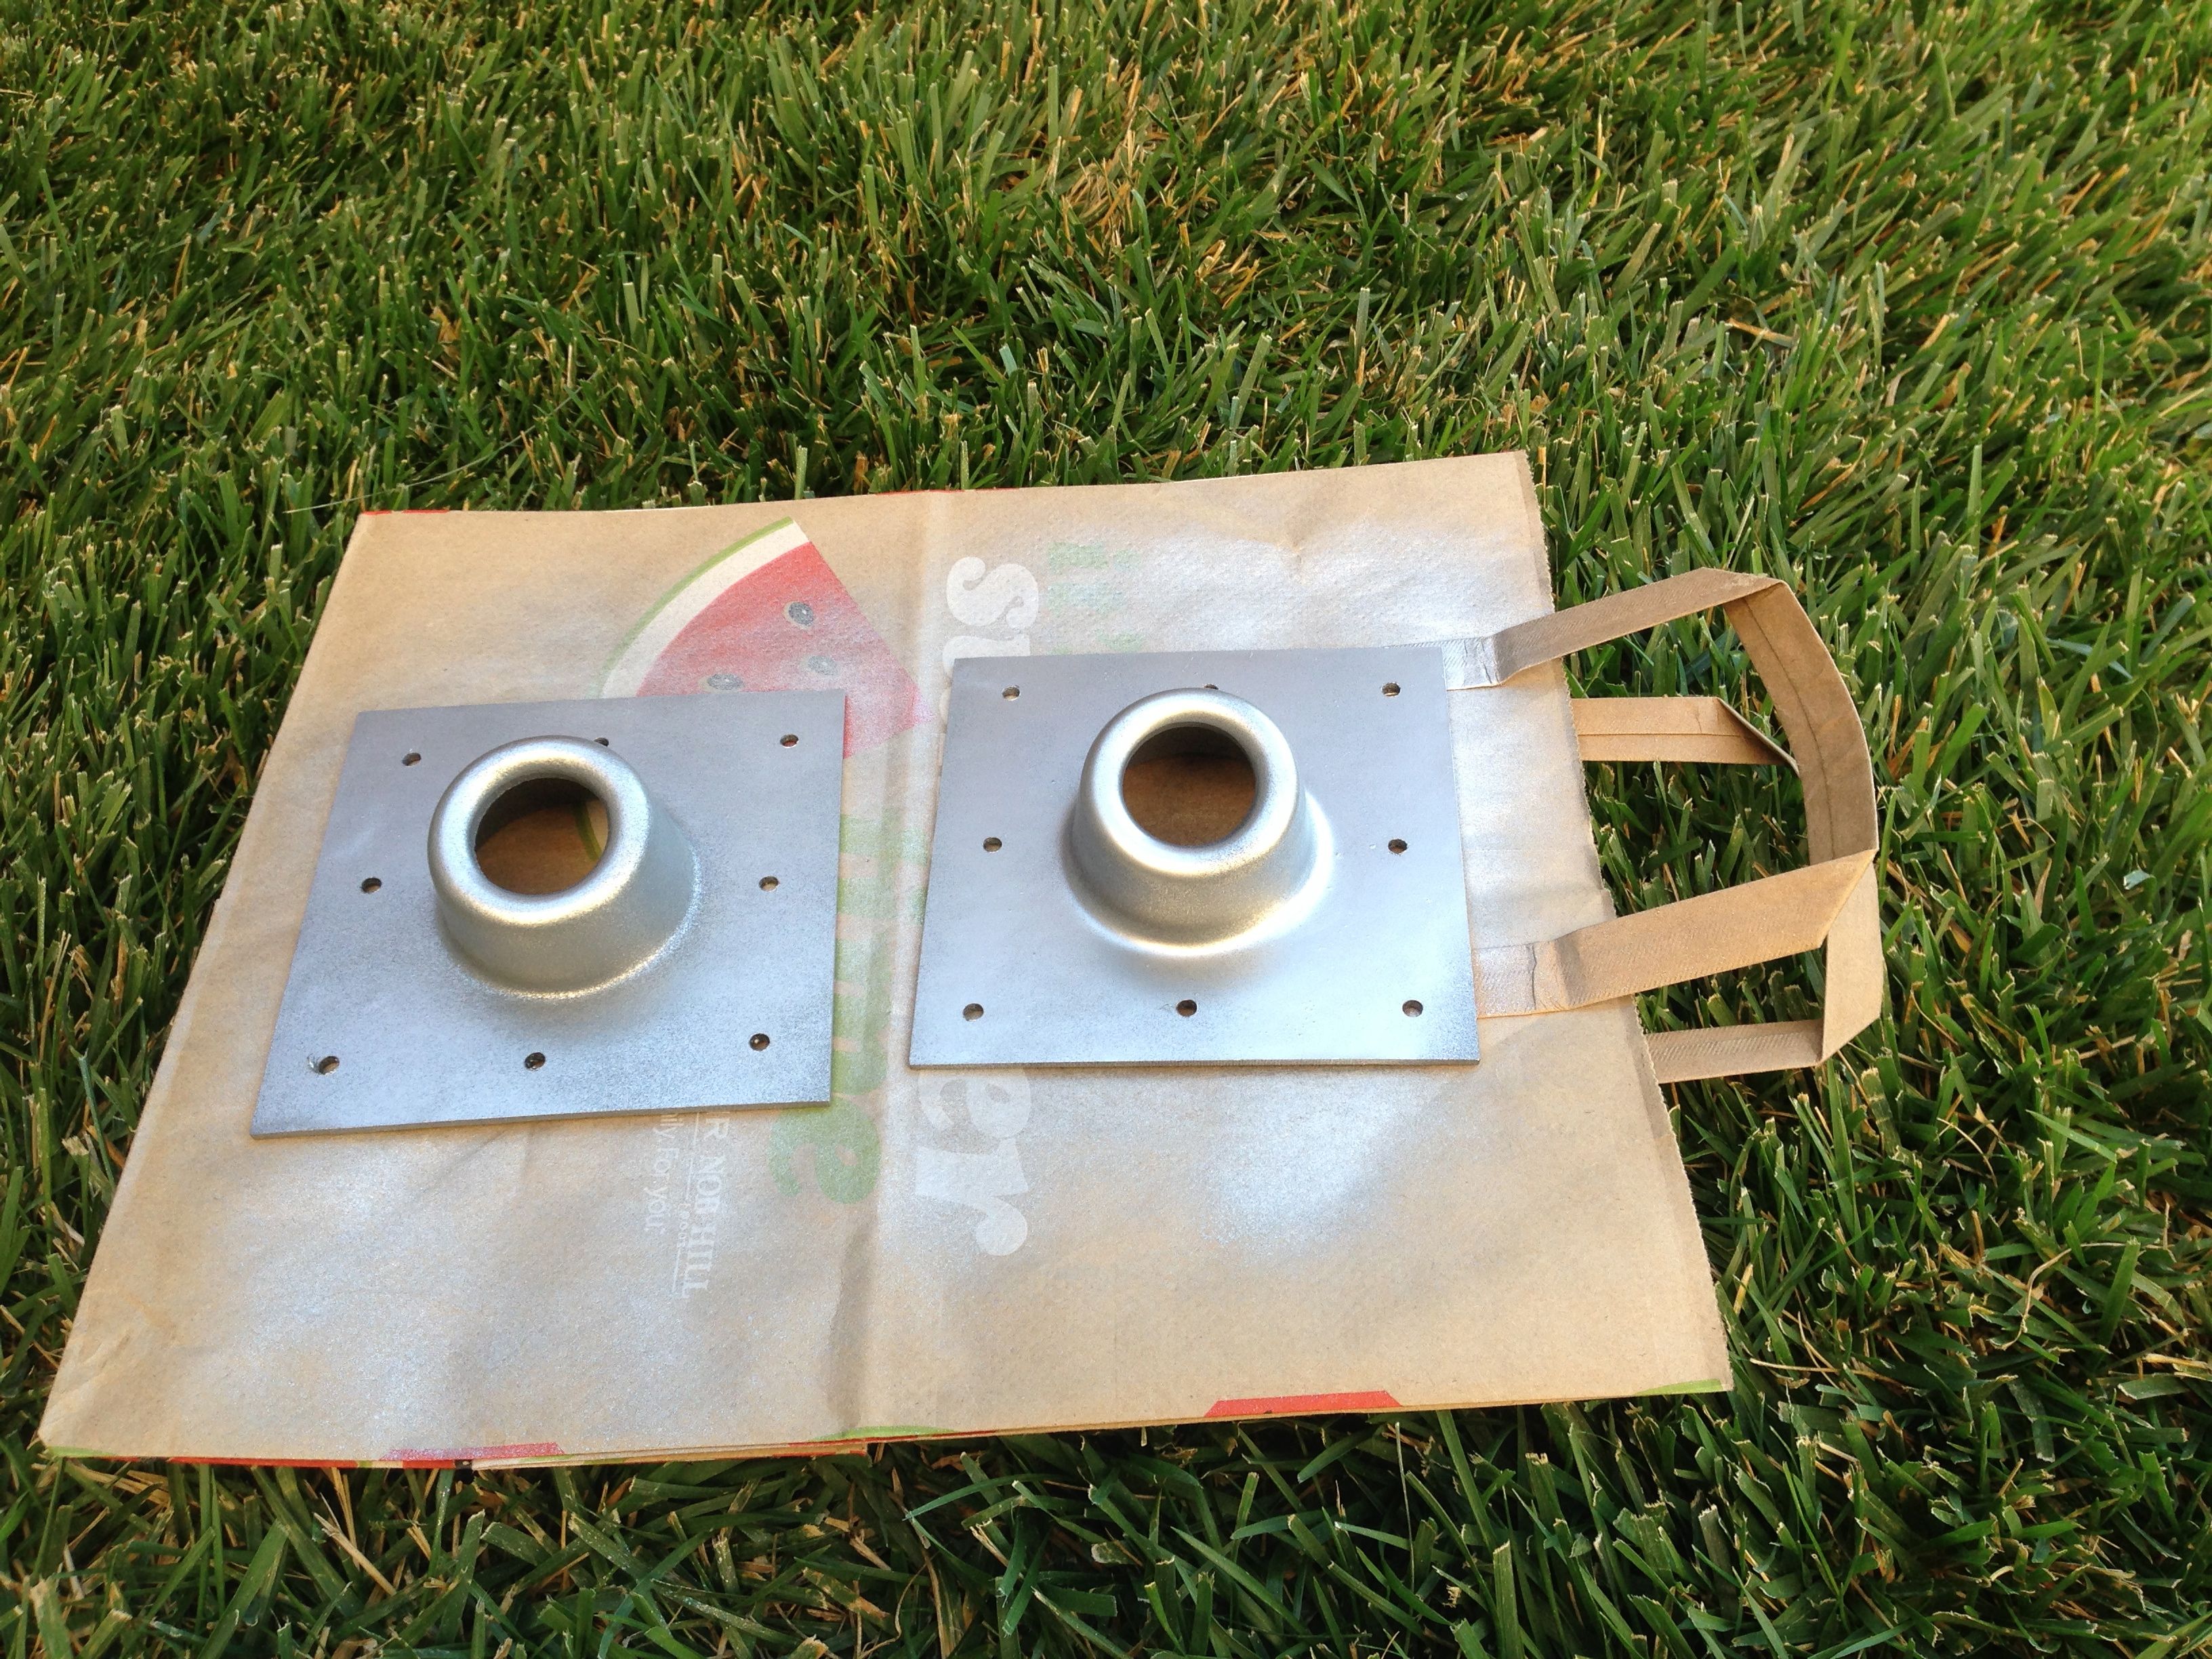
Finally the new vent covers showed up last week. They come primer gray, so I had to hit them with my trusty rustoleum silver.

I gathered up my supplies and went to work. You need new screen material, stainless screws, 1/8″ drill bit equipped drill, putty tape, and Vulkem for good measure.
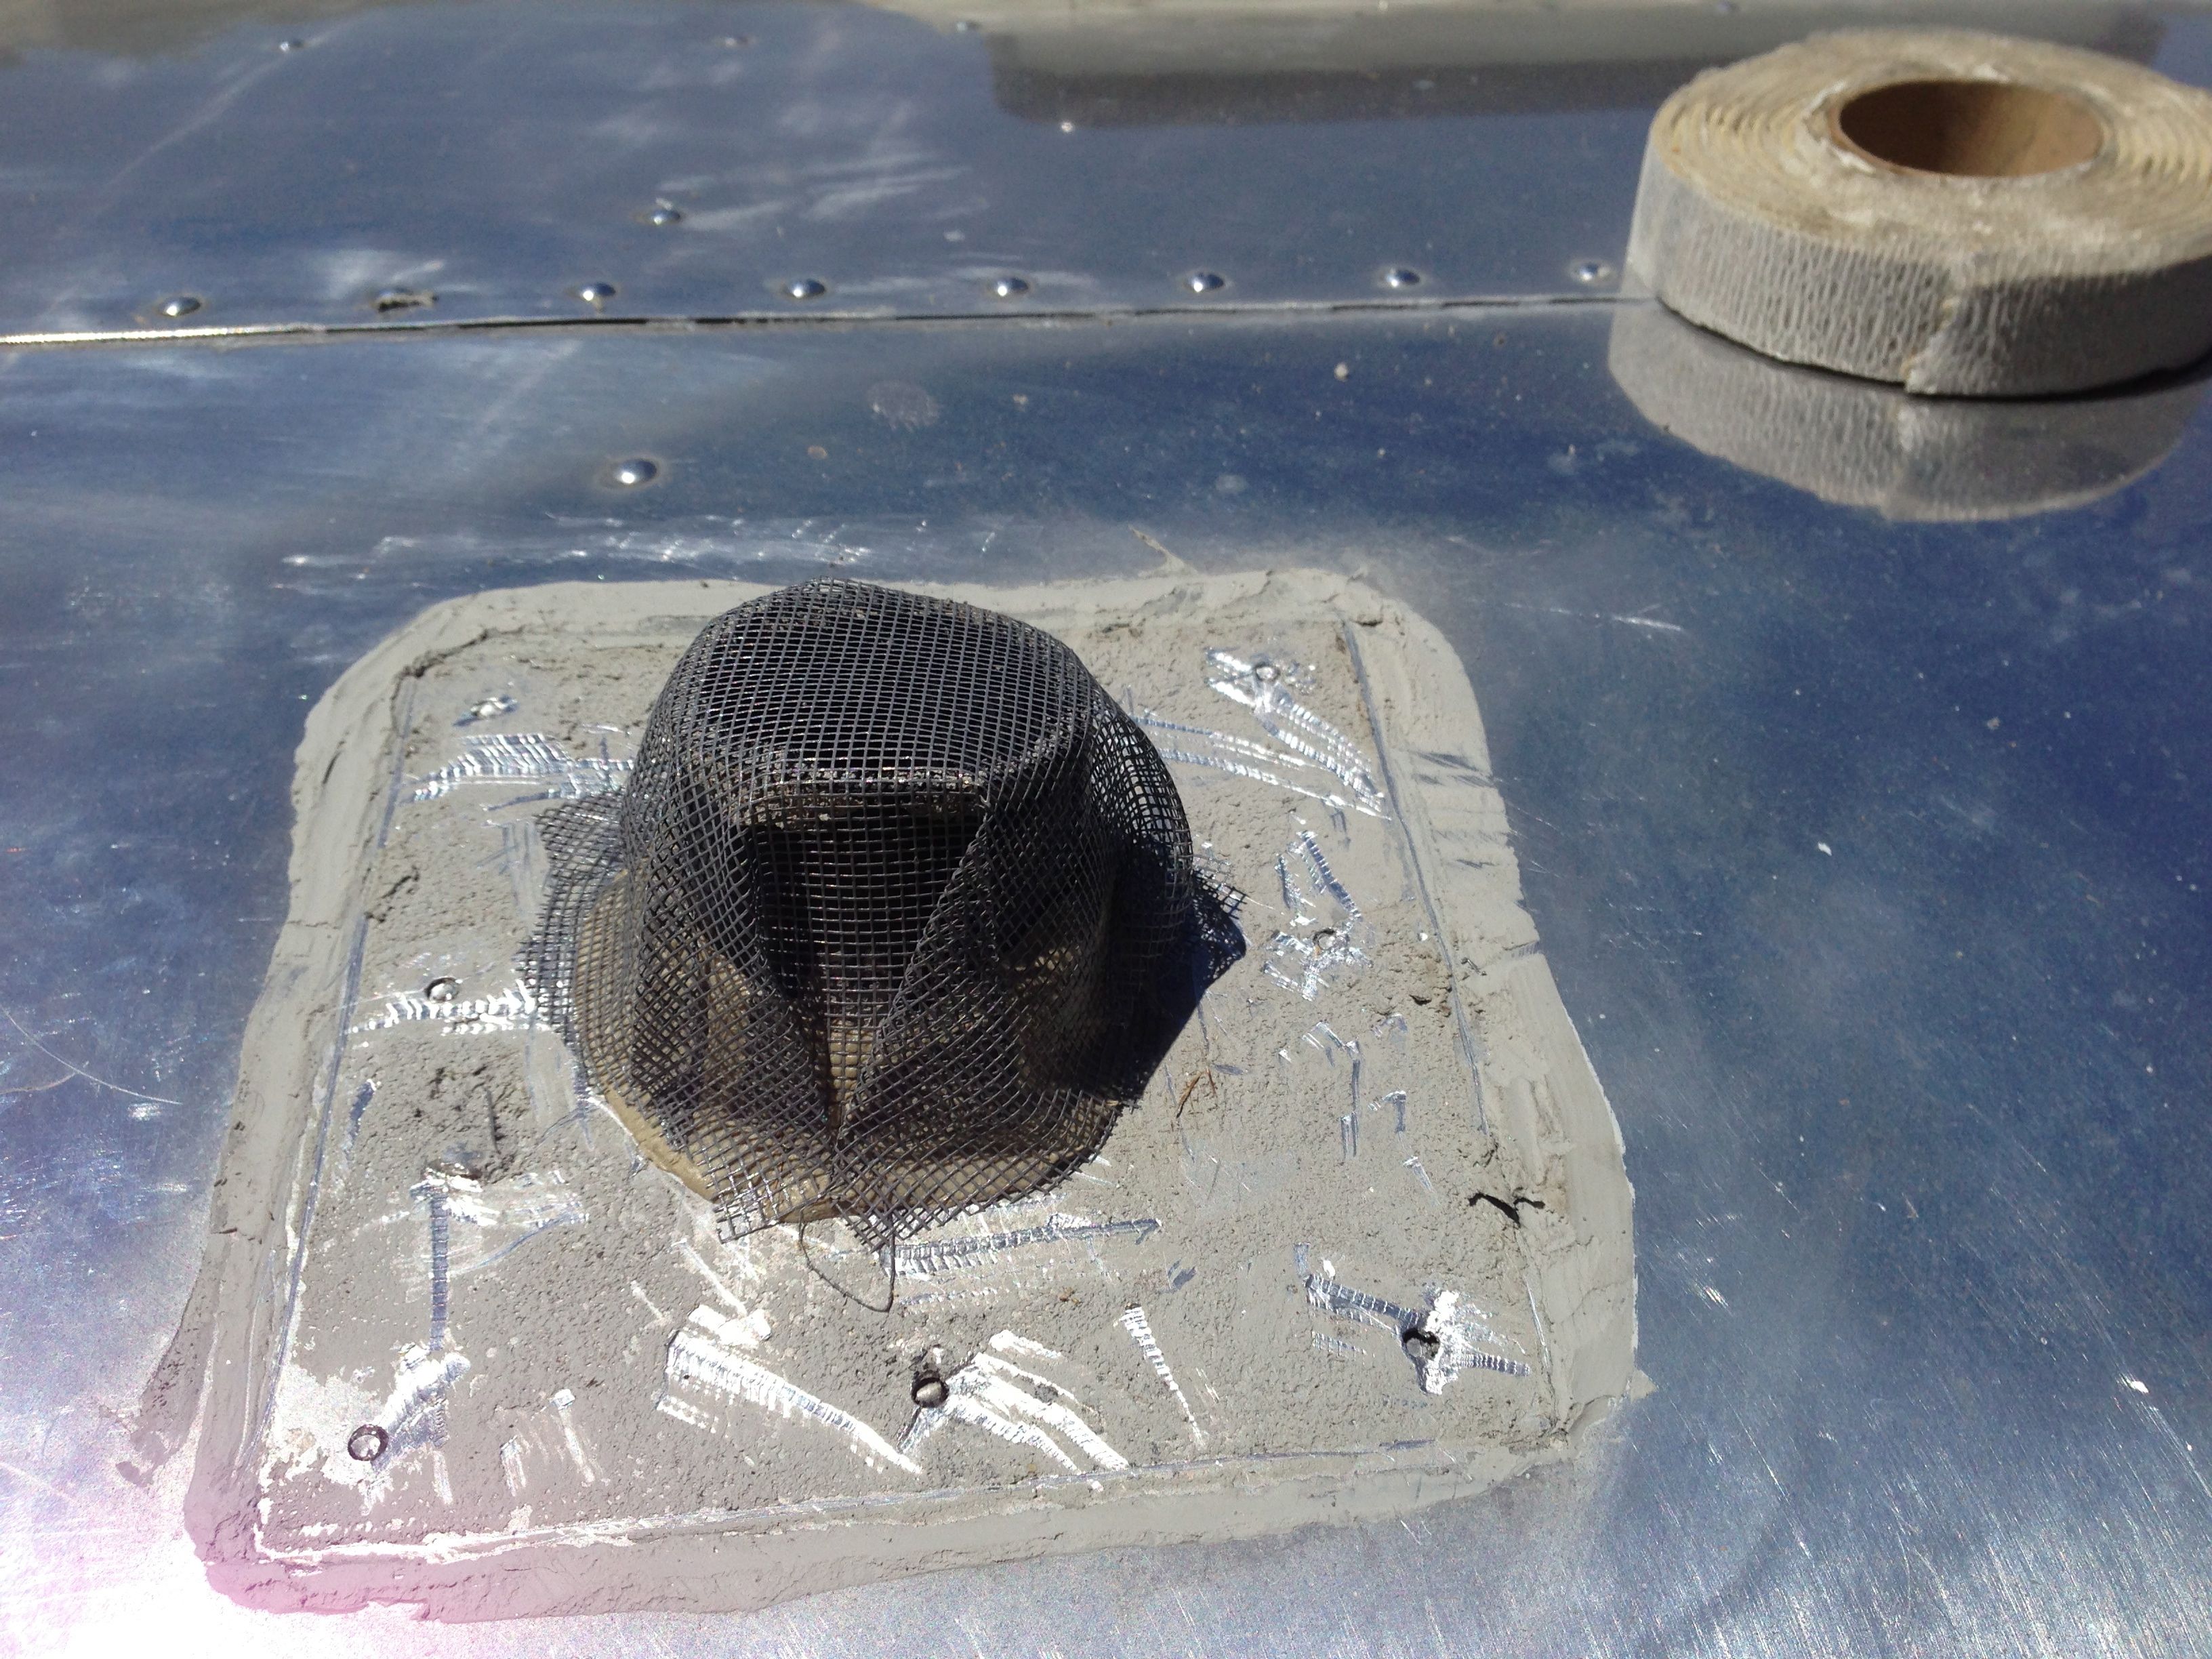
While the paint was drying I removed the old vents and cleaned up the area as best I could. Man they were tough to get off. Basically still glued on with the original Vulkem. Here it is prepped with a new screen. I decided to use putty tape around the pipe base and vent cover instead of Vulkem.
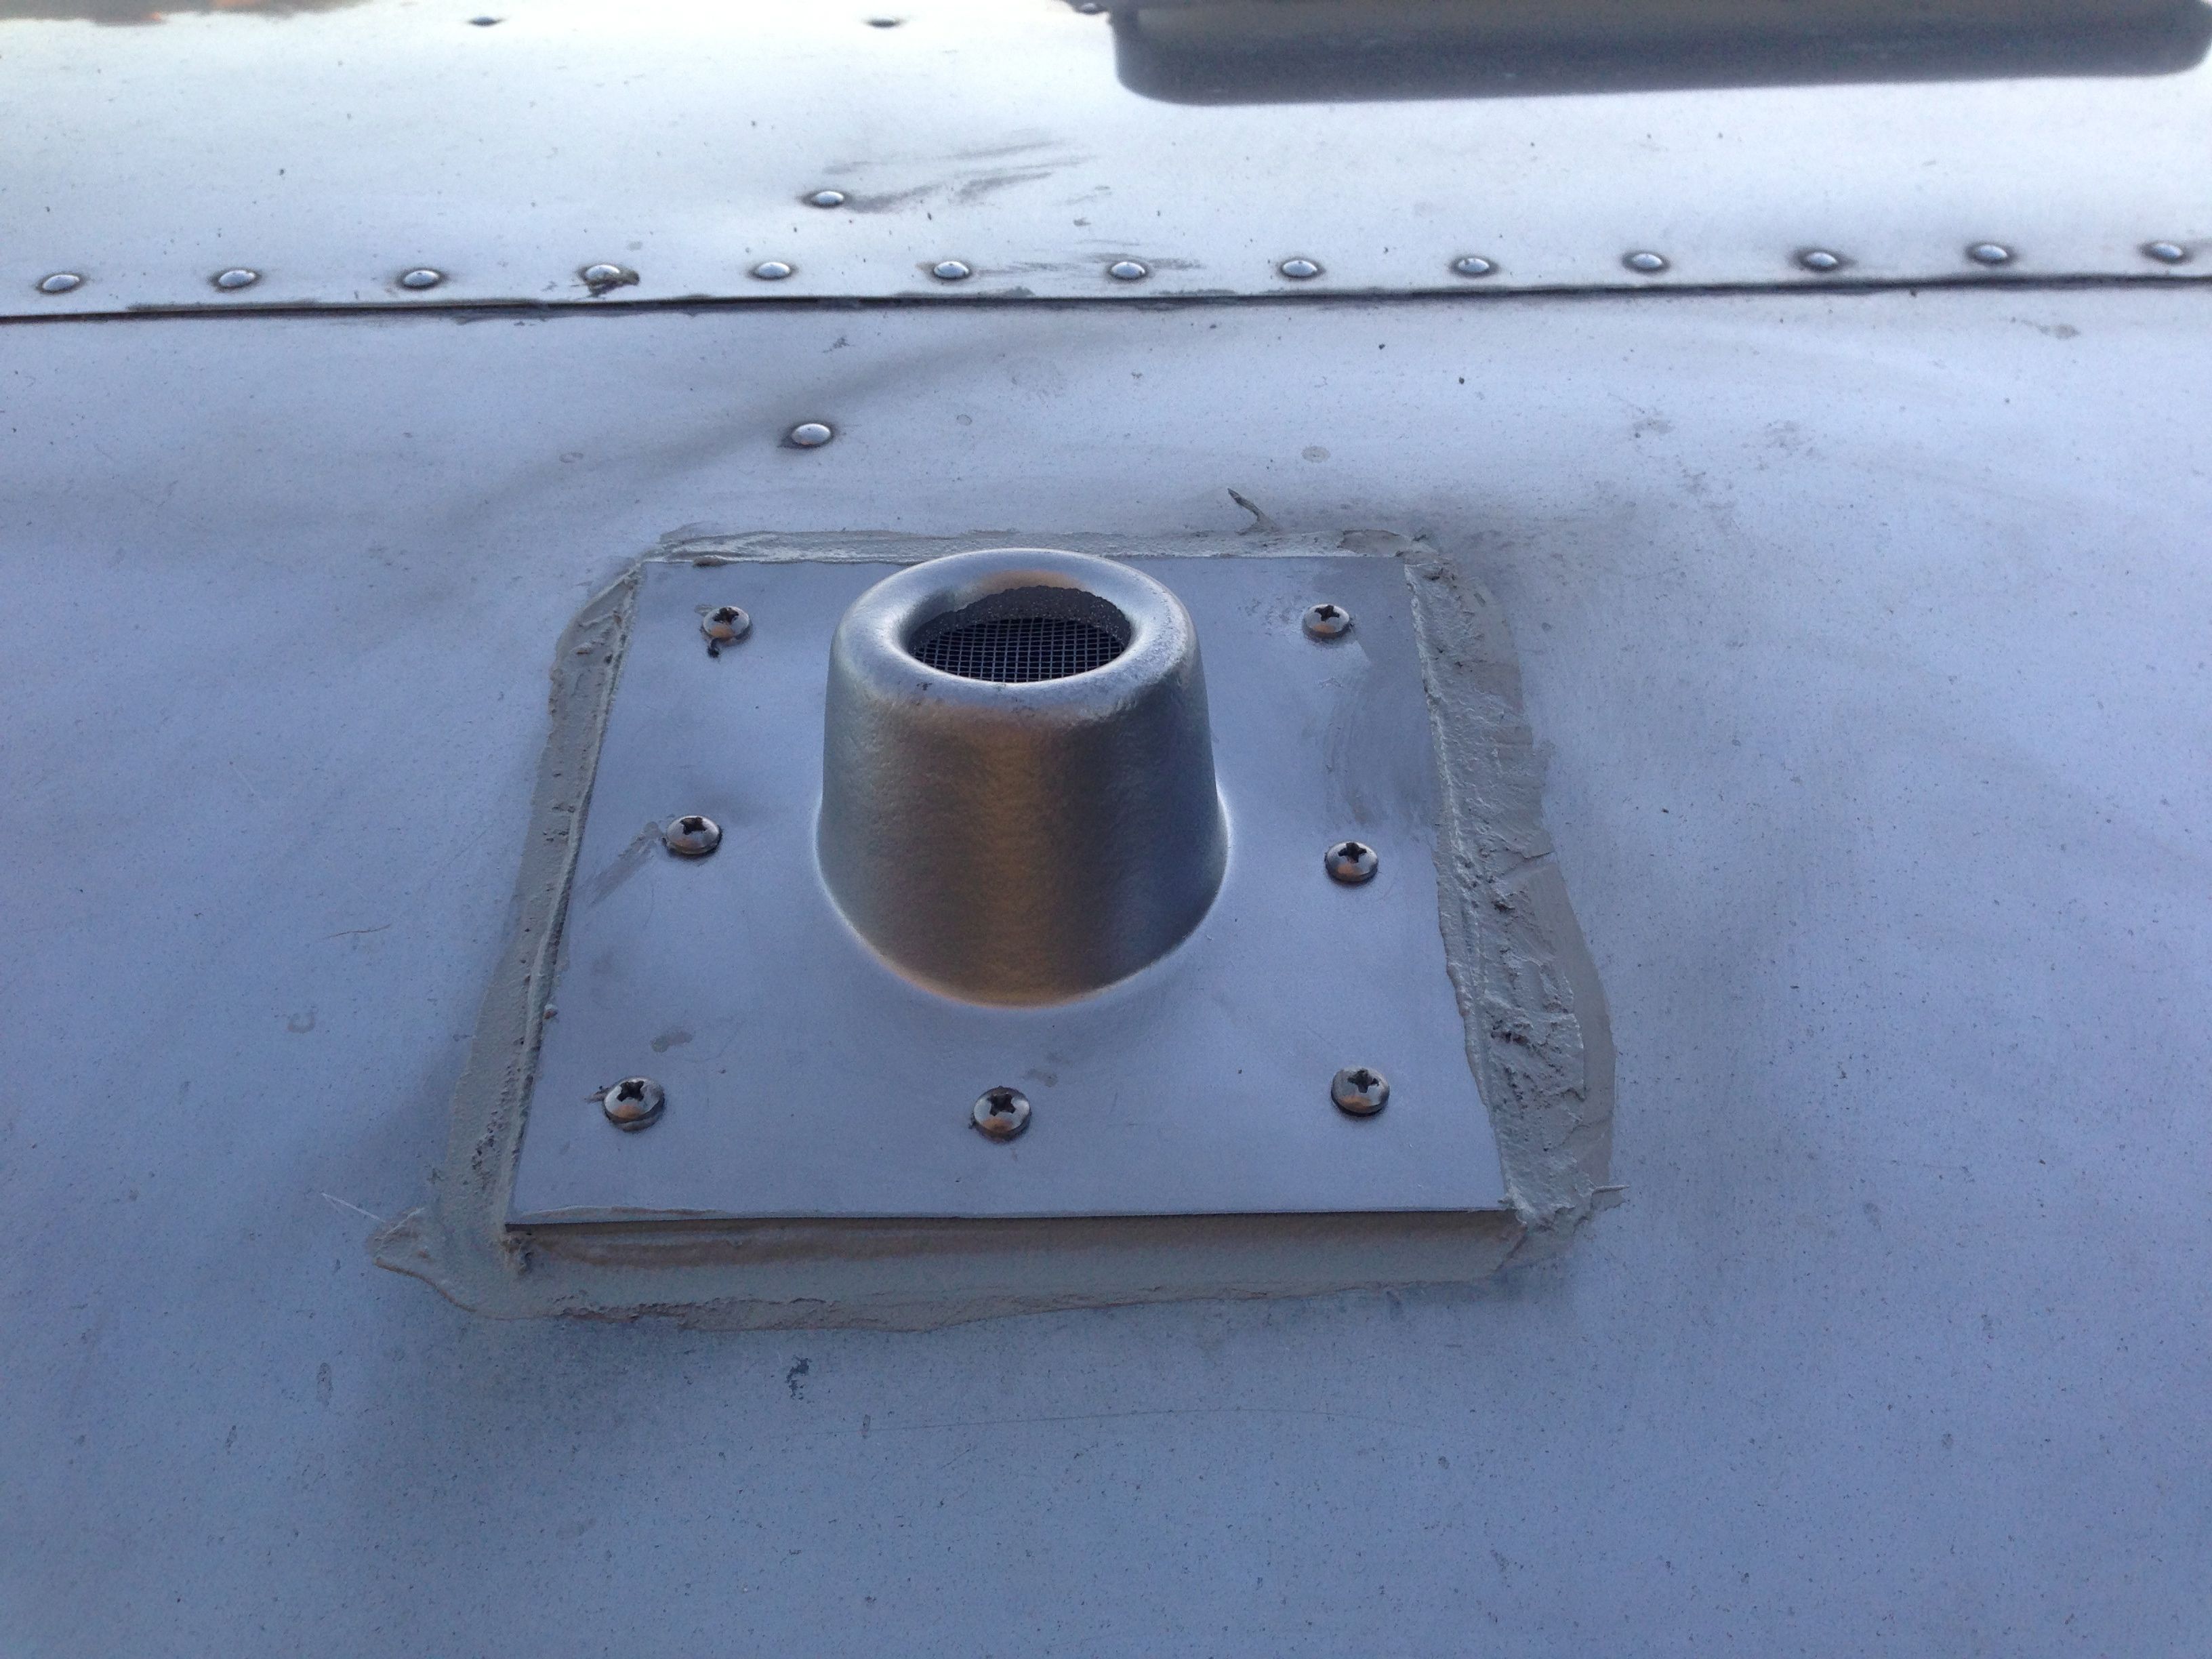
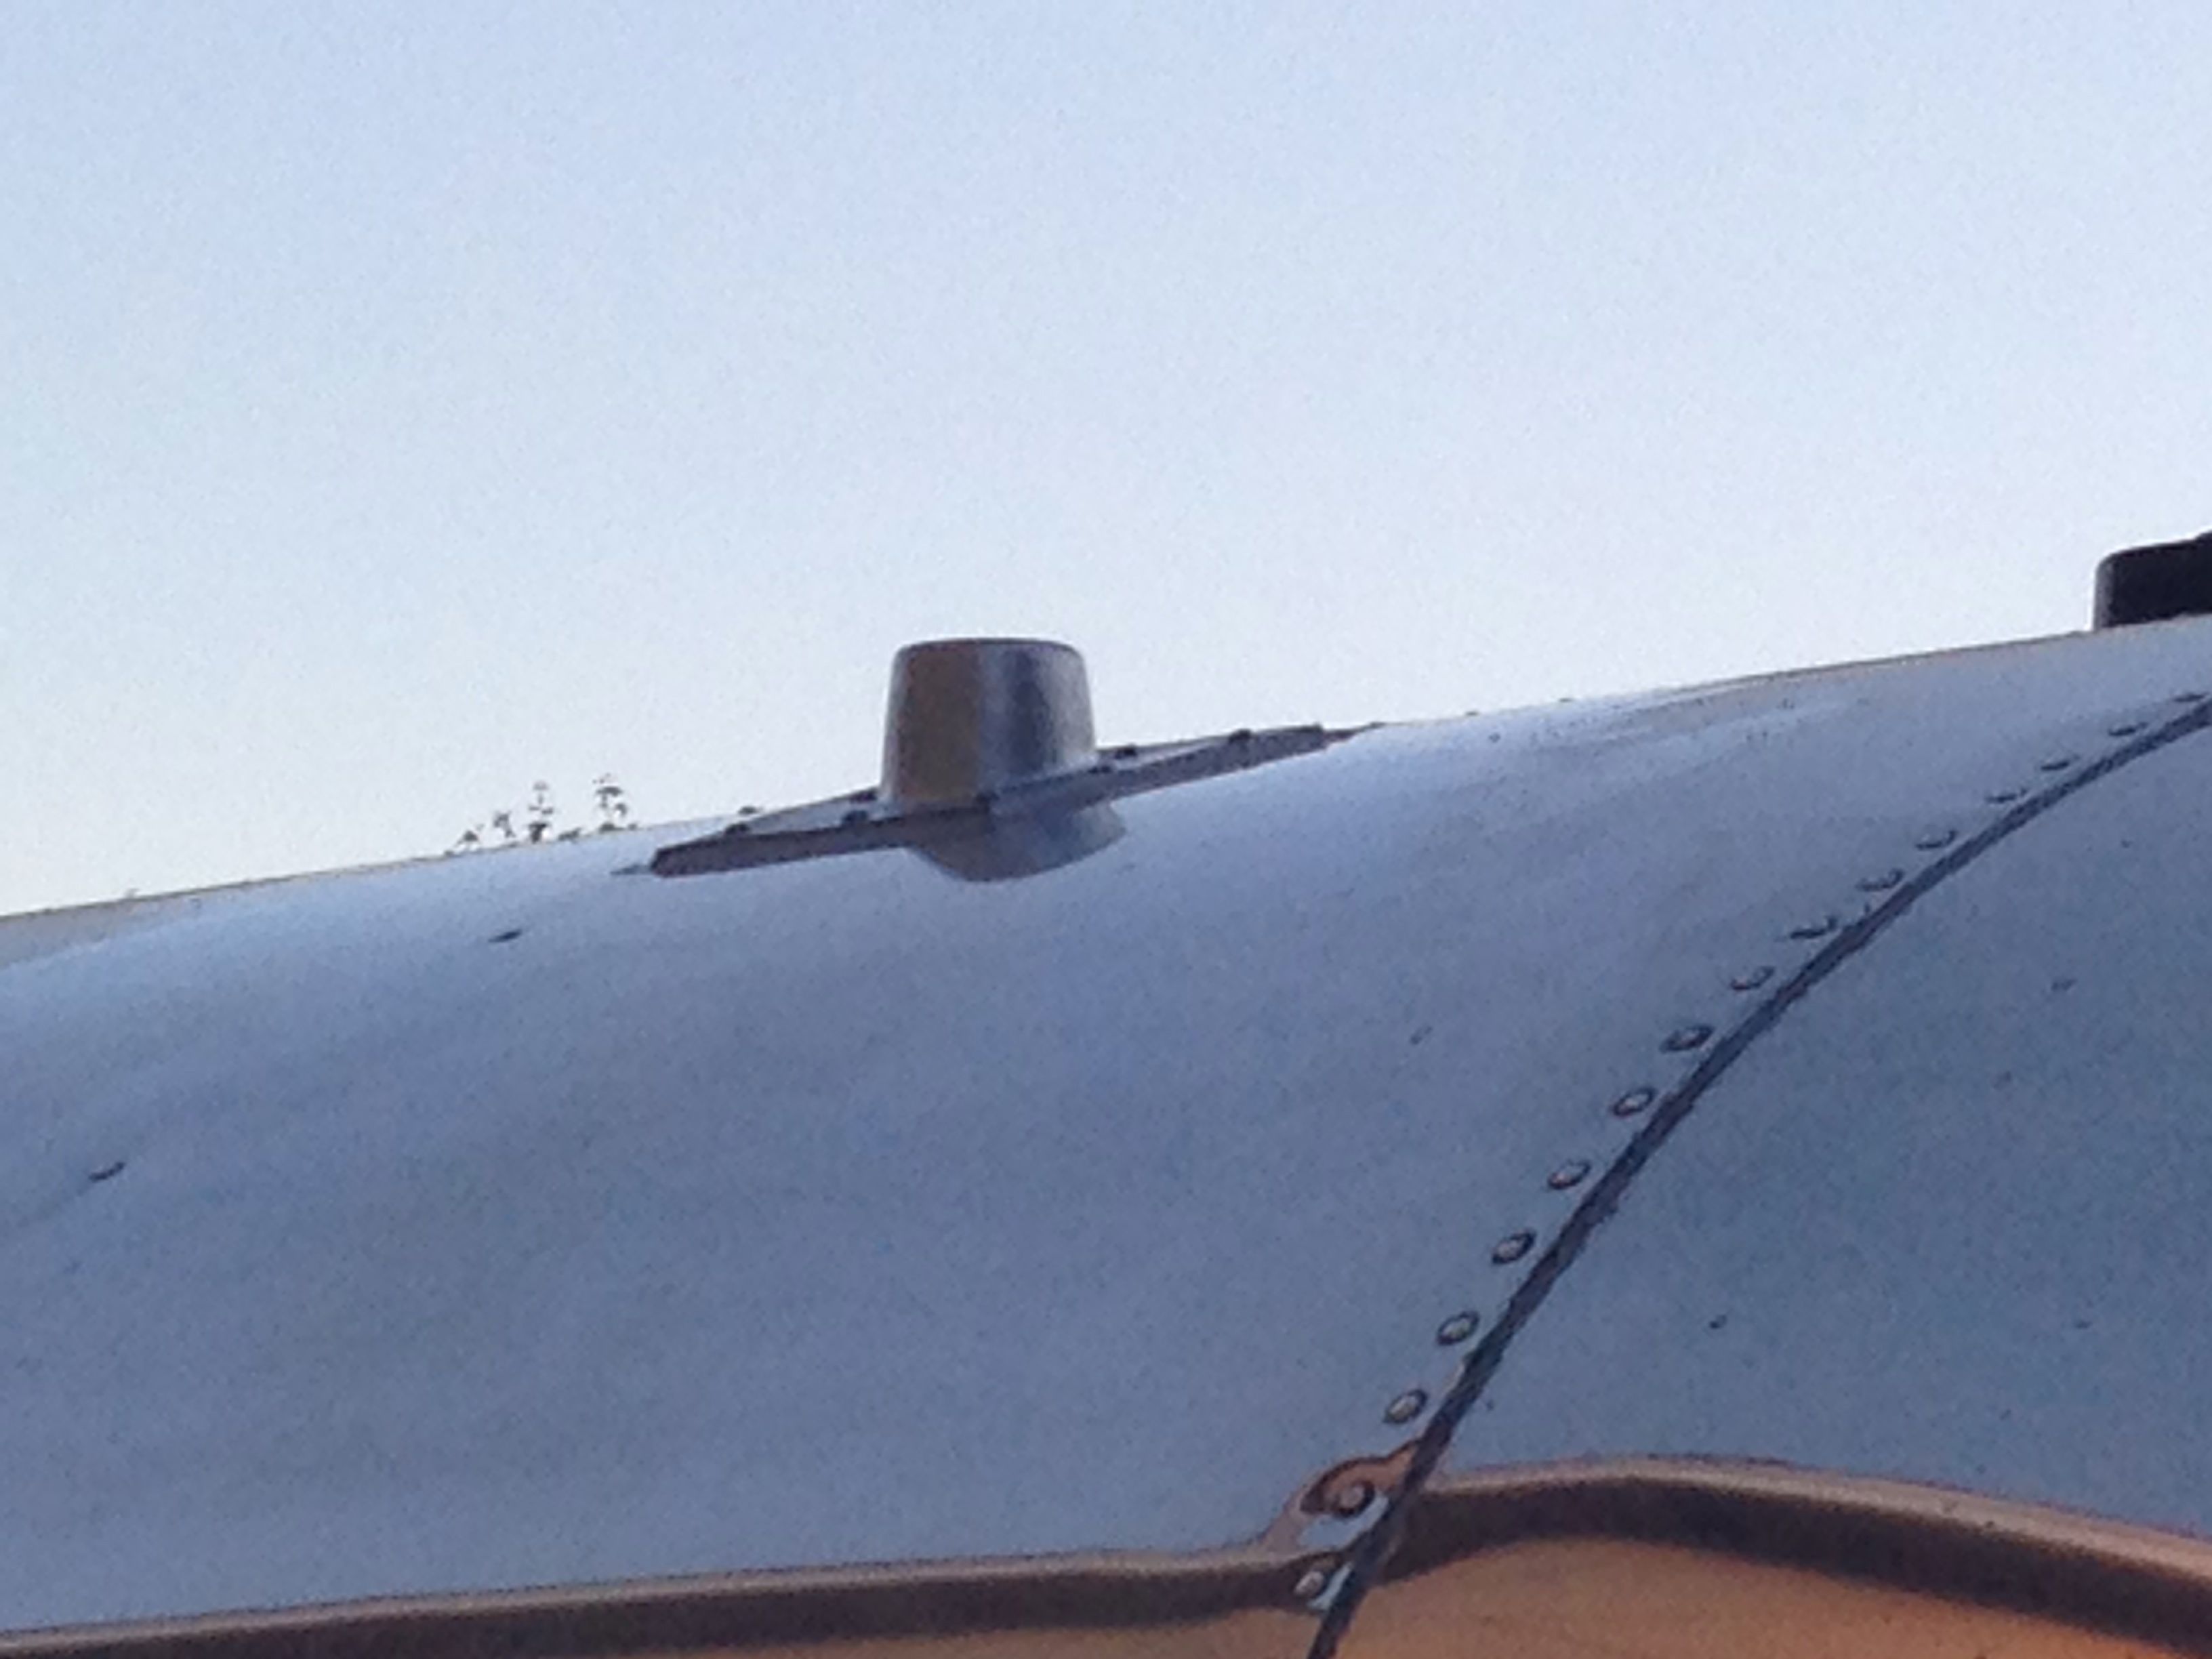
I did both black tank vent, and the grey tank vent. While they’re not pretty, at least they won’t leak!
————–
Bonus Tip!
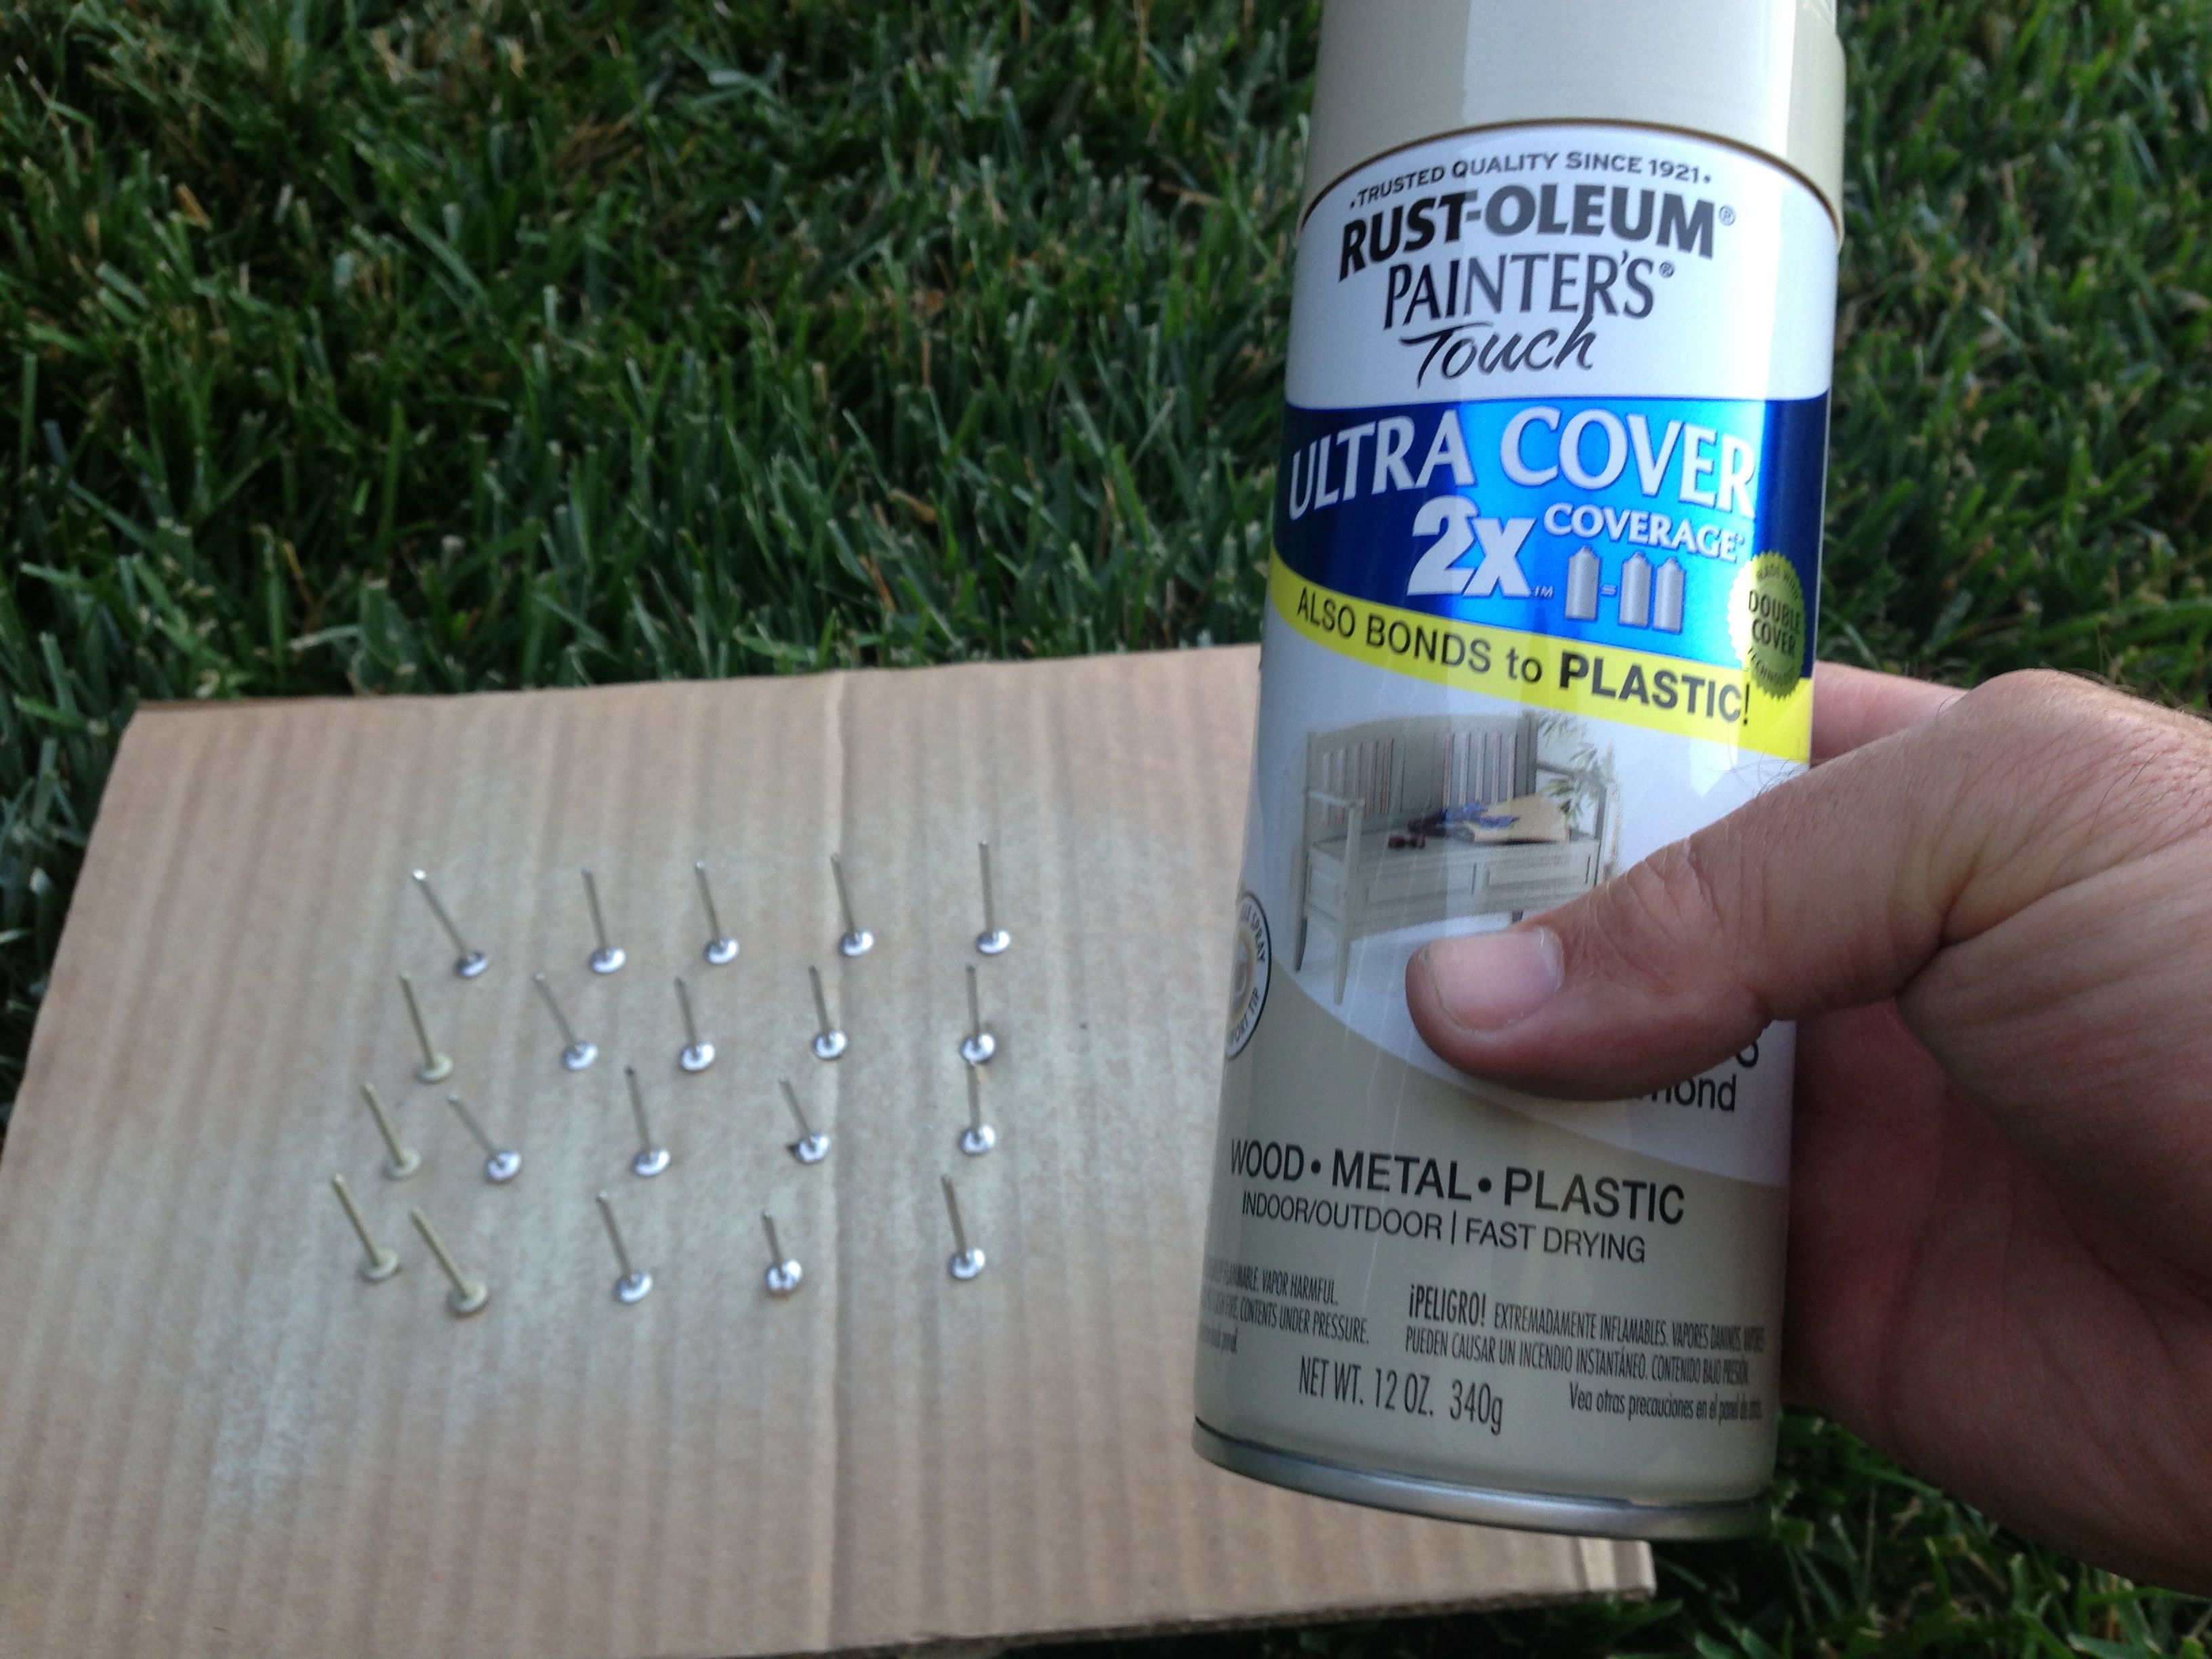
I have few popped rivets inside my zolatone-painted interior. To make the new rivets match up better, simply place them in some cardboard and hit them with some Almond spray paint. As you rivet them in the trailer, they blend in fairly well.