
Like most people these days we like to stay in touch with our email, Facebook updates, etc while camping. On our last camping trip we had no cell coverage so we had to rely on the campground’s wifi. Trusting the campground wifi is always a luck of the draw. Usually they have limited coverage. You have to be in the right site to get it to work. Or simply walk around outside until it works. Some of the worst ones advertise wifi but it only works “in the office”.
This time we were not so lucky. The wifi dropped constantly. The wifi would work, and then be gone. It was very frustrating. We had all these great photos of Yosemite and no way to share them.
I decided to start looking for a better solution. I know we could get a cellular modem device, but some campground’s don’t have cell coverage. Also a cell modem requires a monthly fee. I’m generally opposed to payments.
I decided to work on getting a stronger wifi signal inside my trailer. From my research I found there are two ways to accomplish this. The first requires a wireless access point with external antenna capability. You install an outside antenna on your trailer and run the antenna cable inside to your access point. The antennas generally need to be directional because there is a lot of signal loss in the cabling. This means you have to adjust your antenna each time you move your trailer The second method is to put the wireless device outside and run the network cabling into the trailer. This eliminates the radio losses over the wiring. The problem here is that you need a device that can standup to outside abuses. You don’t want to have to stick an expensive electronics device outside on top of your trailer that wasn’t built for it.
I stumbled across a product that seemed to take all of these considerations in their design, plus a few more that I hadn’t thought of. The product is called WifiRanger with RVBoost Mobile. I contacted the folks at WifiRanger about my wifi hard times and they offered to send me a unit to review for the show. It arrived lightning fast.
Here are the components.
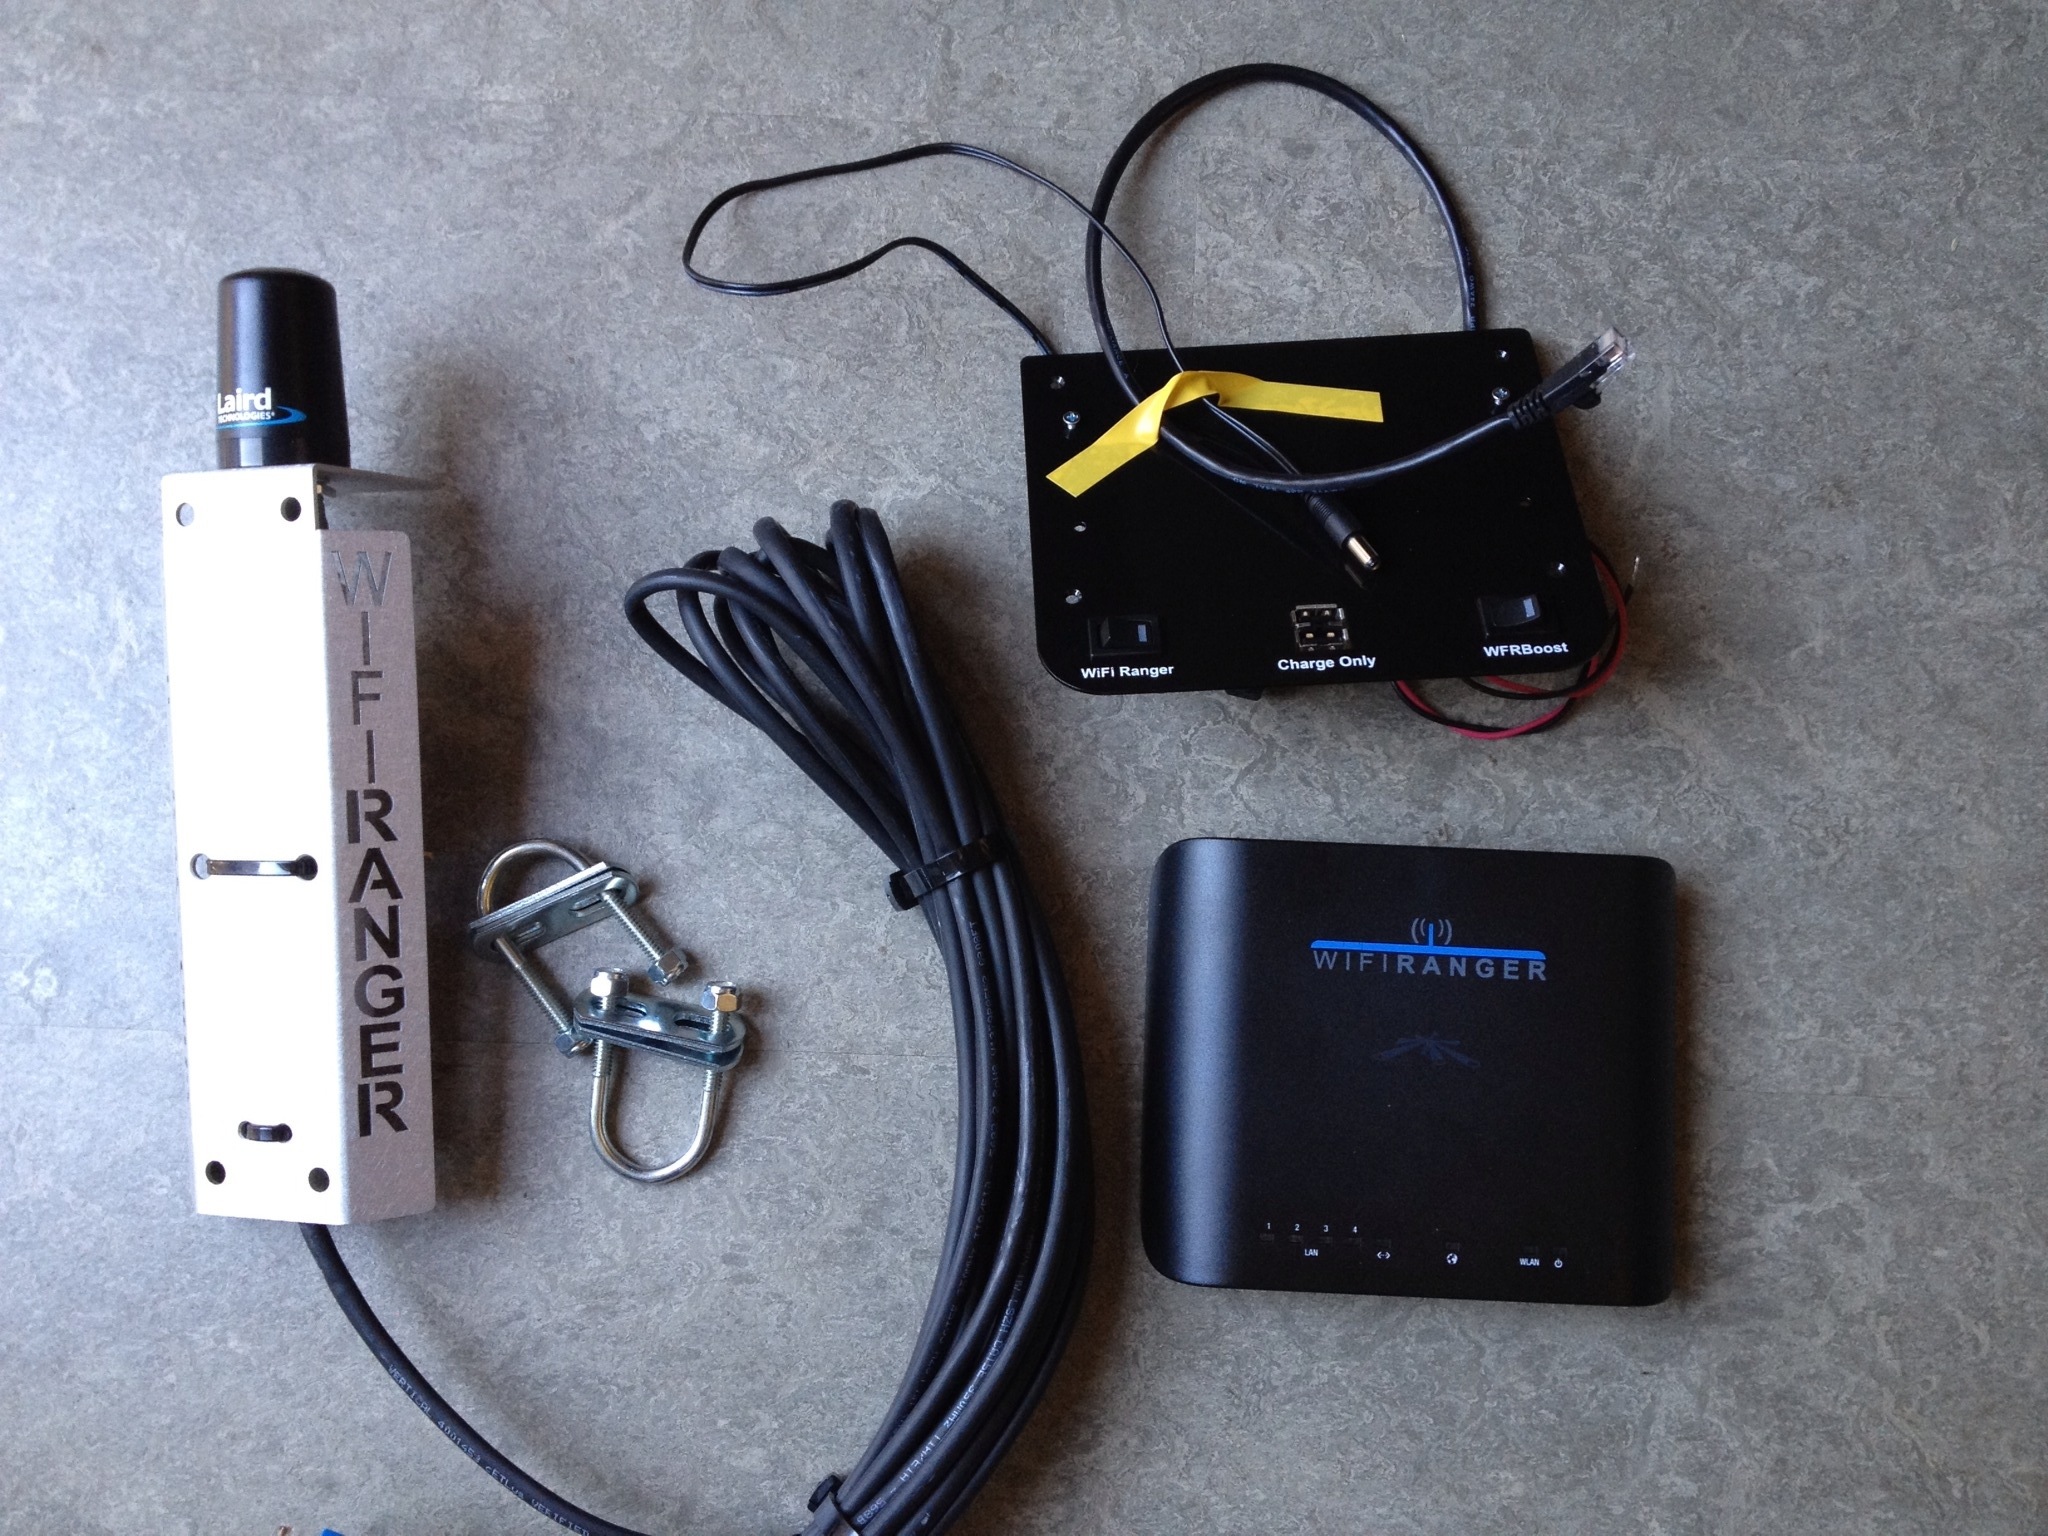
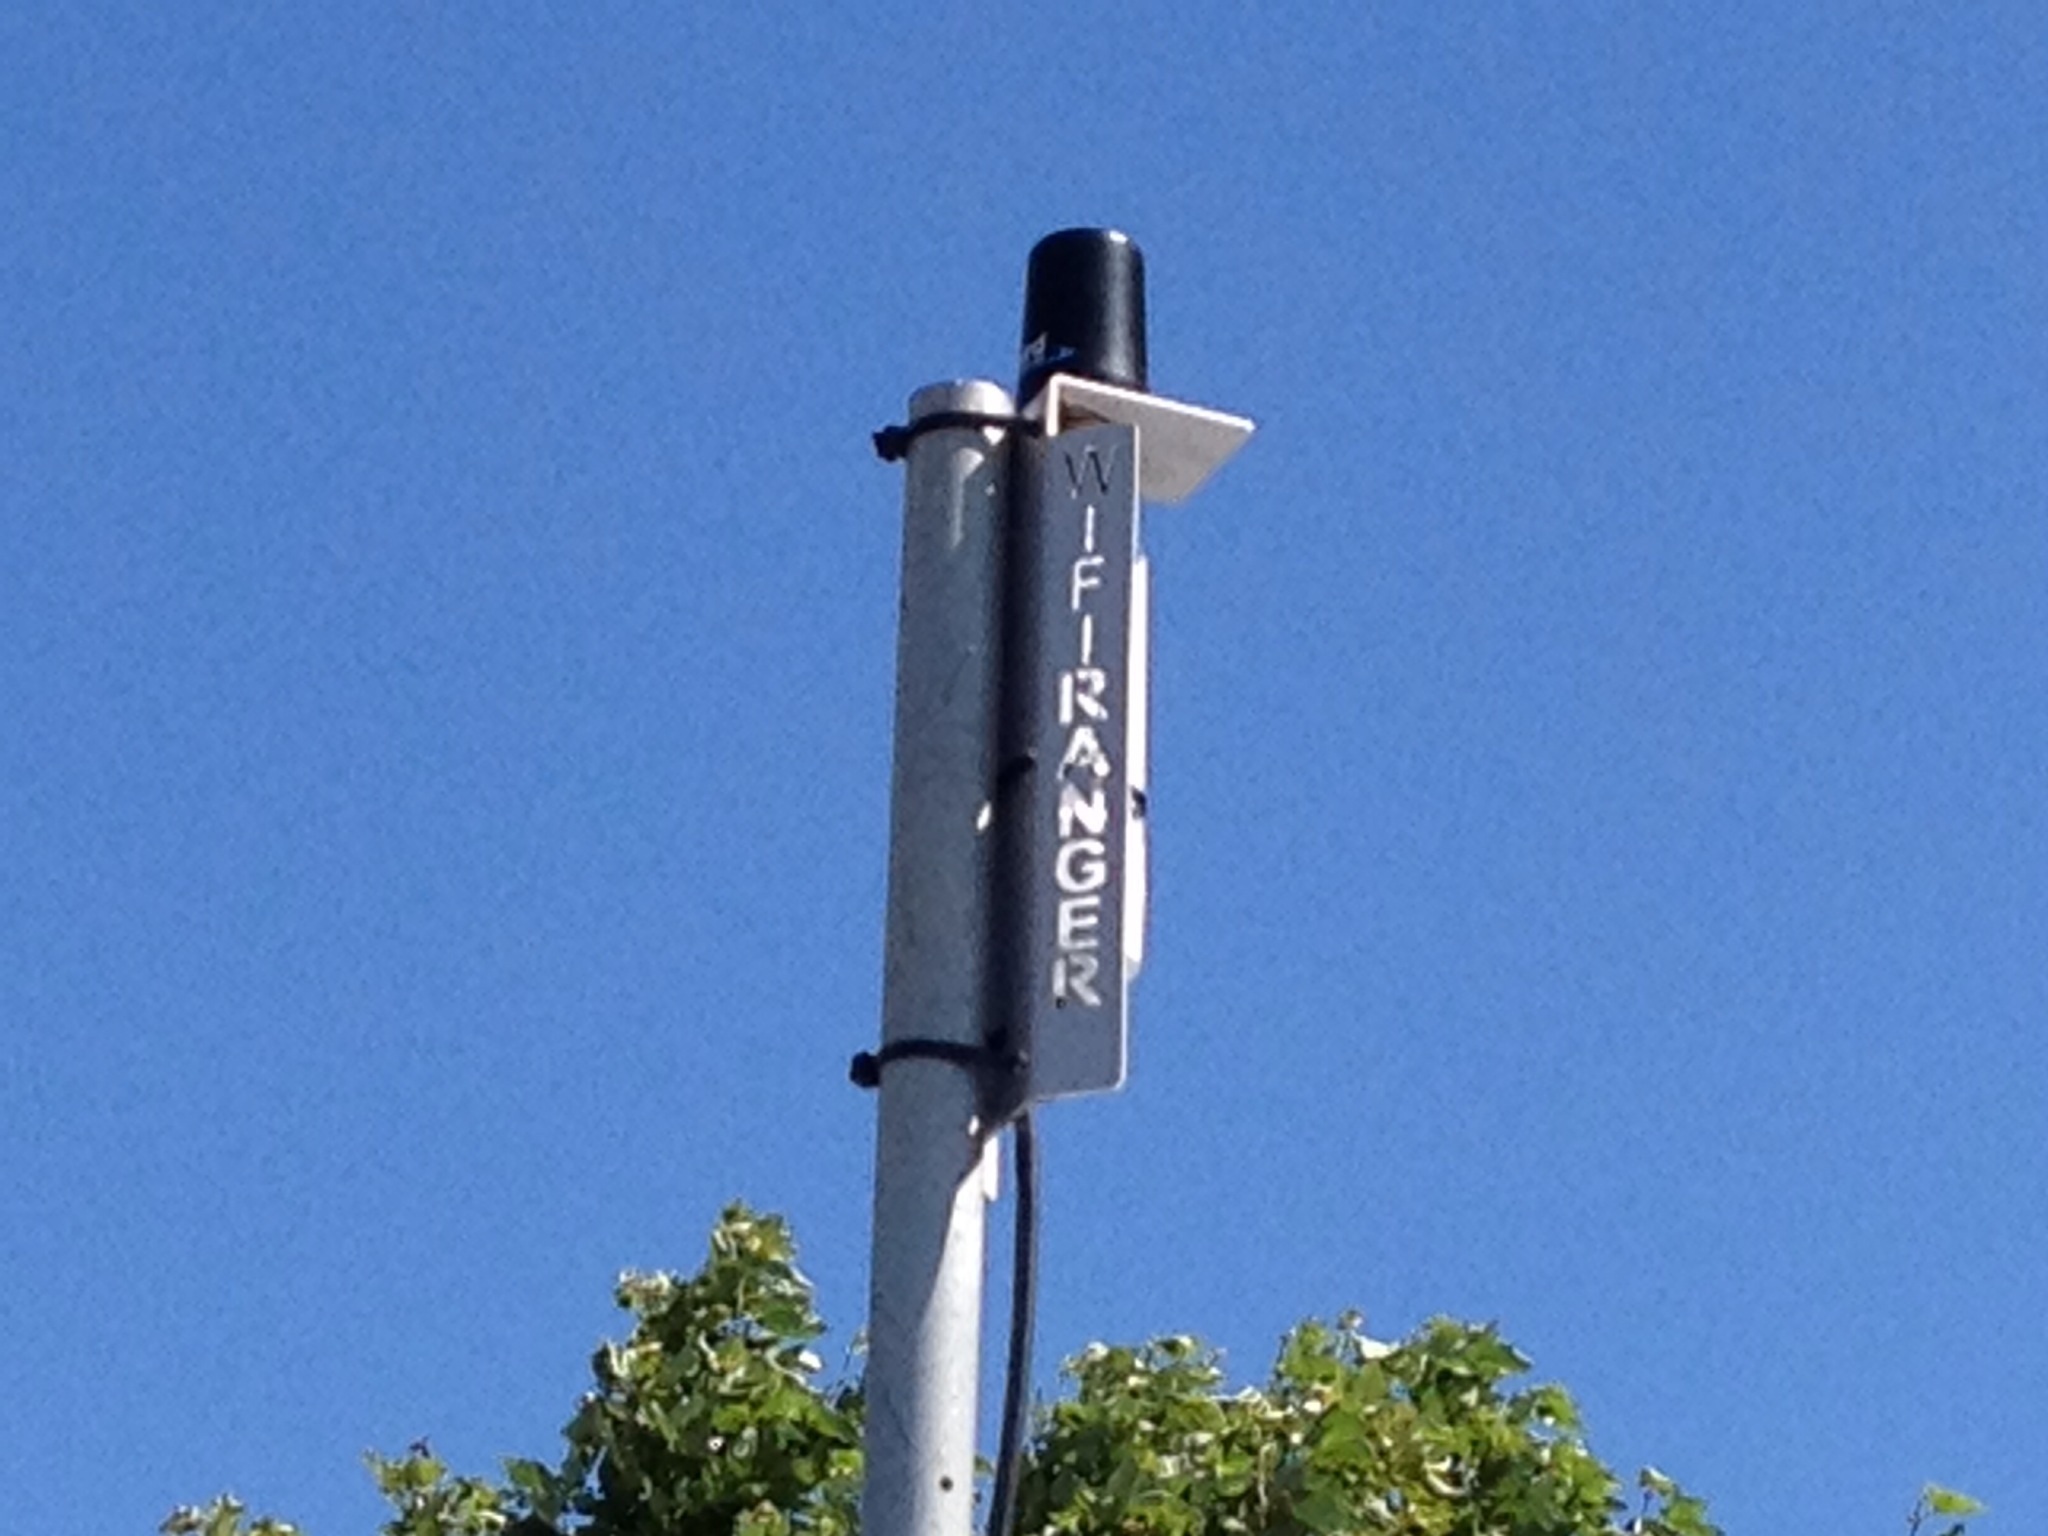
On the left is the WFRBoost antenna. It is built with a custom aluminum bracket made to be mounted to a mast or Wingaurd TV antenna. The idea behind this is the WFRBoost can bring in wifi signals from 1000m and send them down the network wiring to the next device, the Wifi Ranger.
The lower right shows the Wifi Ranger which is the heart of the system. The Ranger is a network router similar what you might use at home, but it has some extra features helpful to the nomad. The typical router can only share the Internet it is provided from another device hard wired to it. The Ranger can share the Internet that it receives from a wifi signal. This is the ‘killer app’ of the Ranger. The Ranger creates a separate network inside your trailer for all your laptops, phones, and pad devices. The Ranger then shares the Internet it receives from a wifi service like the campground, to the private network in your trailer. This is beneficial because the Ranger will have better capability of bringing in those outside signals, especially if the WFRBoost is used. Your computers, phones, etc., only need to connect to the Ranger’s private network inside your trailer, no more holding your phone to the window trying to send that email. Also the network engineer of your group can enjoy the vacation too because you no longer have to worry about changing network settings. Your personal devices always stay on the Ranger network, it handles the job of finding the Internet and bringing it you.
Above the Ranger in the photo is the optional mounting bracket. This bracket cleans up the install and provides power to the Ranger and the WFRBoost. There are also two USB ports for charging your phones or iPads.
The installation consists of mounting the Ranger and wiring 12vdc to it, mounting the WFRBoost antenna outside, and running the included weatherproof network cable inside the trailer. That last part is usually the hardest part. I’m guessing that a lot of people either follow an existing roof penetration like for the TV antenna, or run it down the refrigerator vent. However you do it, be sure to seal up any penetrations you make, including to the refrigerator chimney and the living area. I decided to install a waterproof network jack on my trailer. It will be here next week.
Lucky for me when I had my trailer apart I ran a cat5e network cable from my main electronics center on the curb side of the trailer to the street side. I never had the need for it in five years, but now I do. Always run extra wire! This cable will bring in the signals from the WFRBoost.
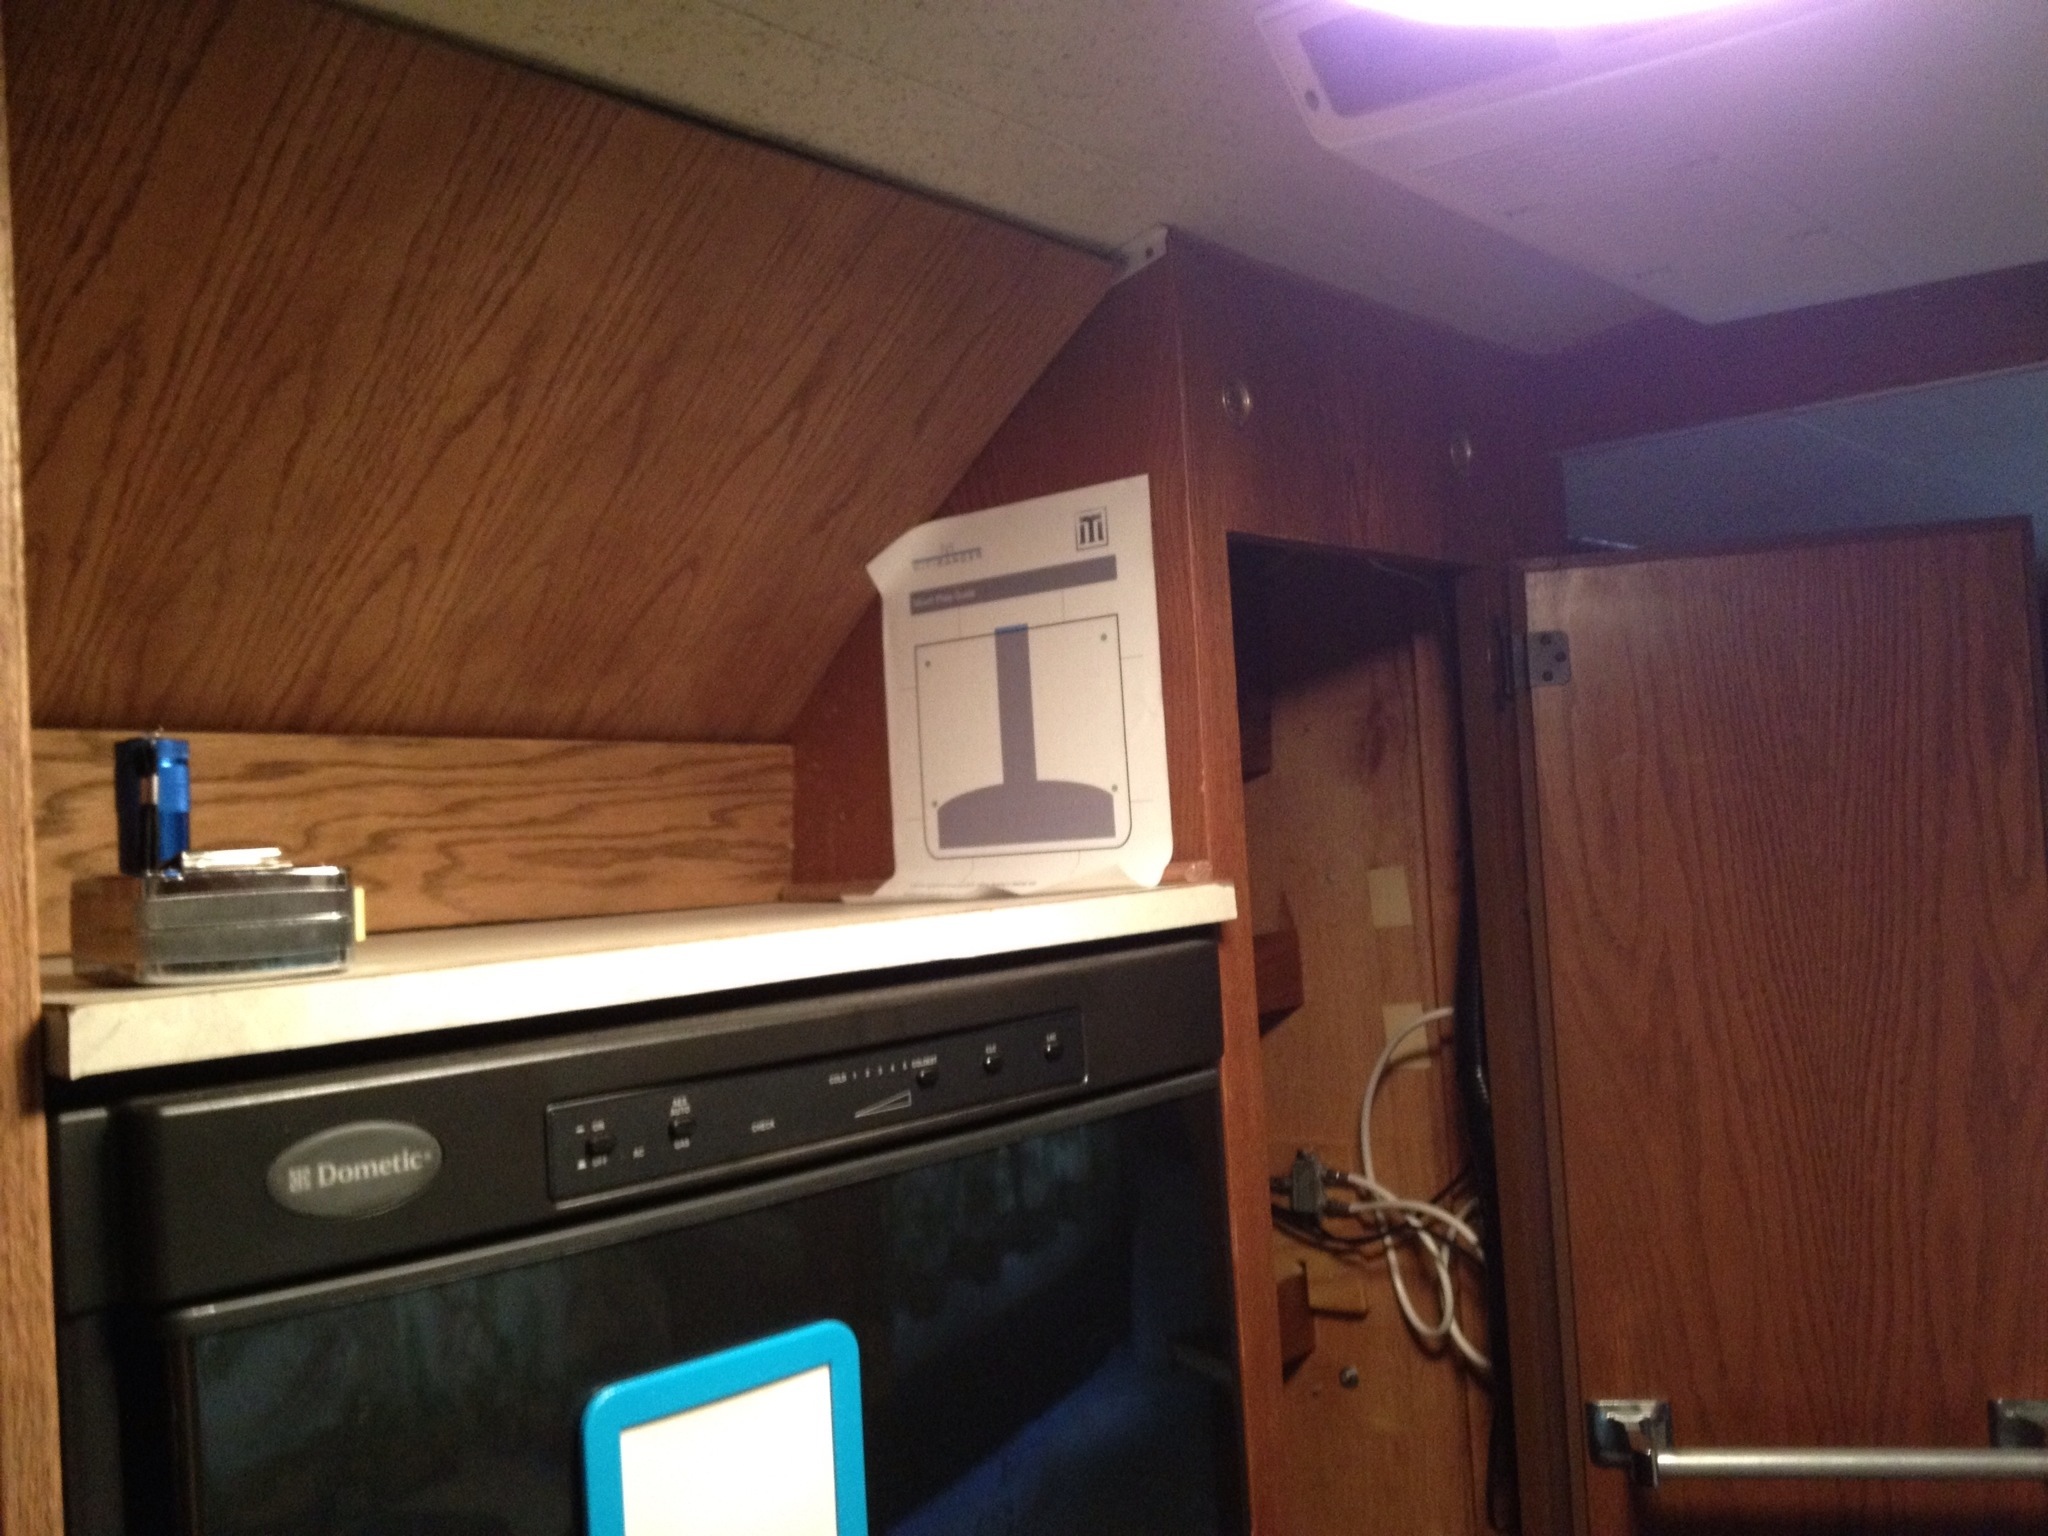
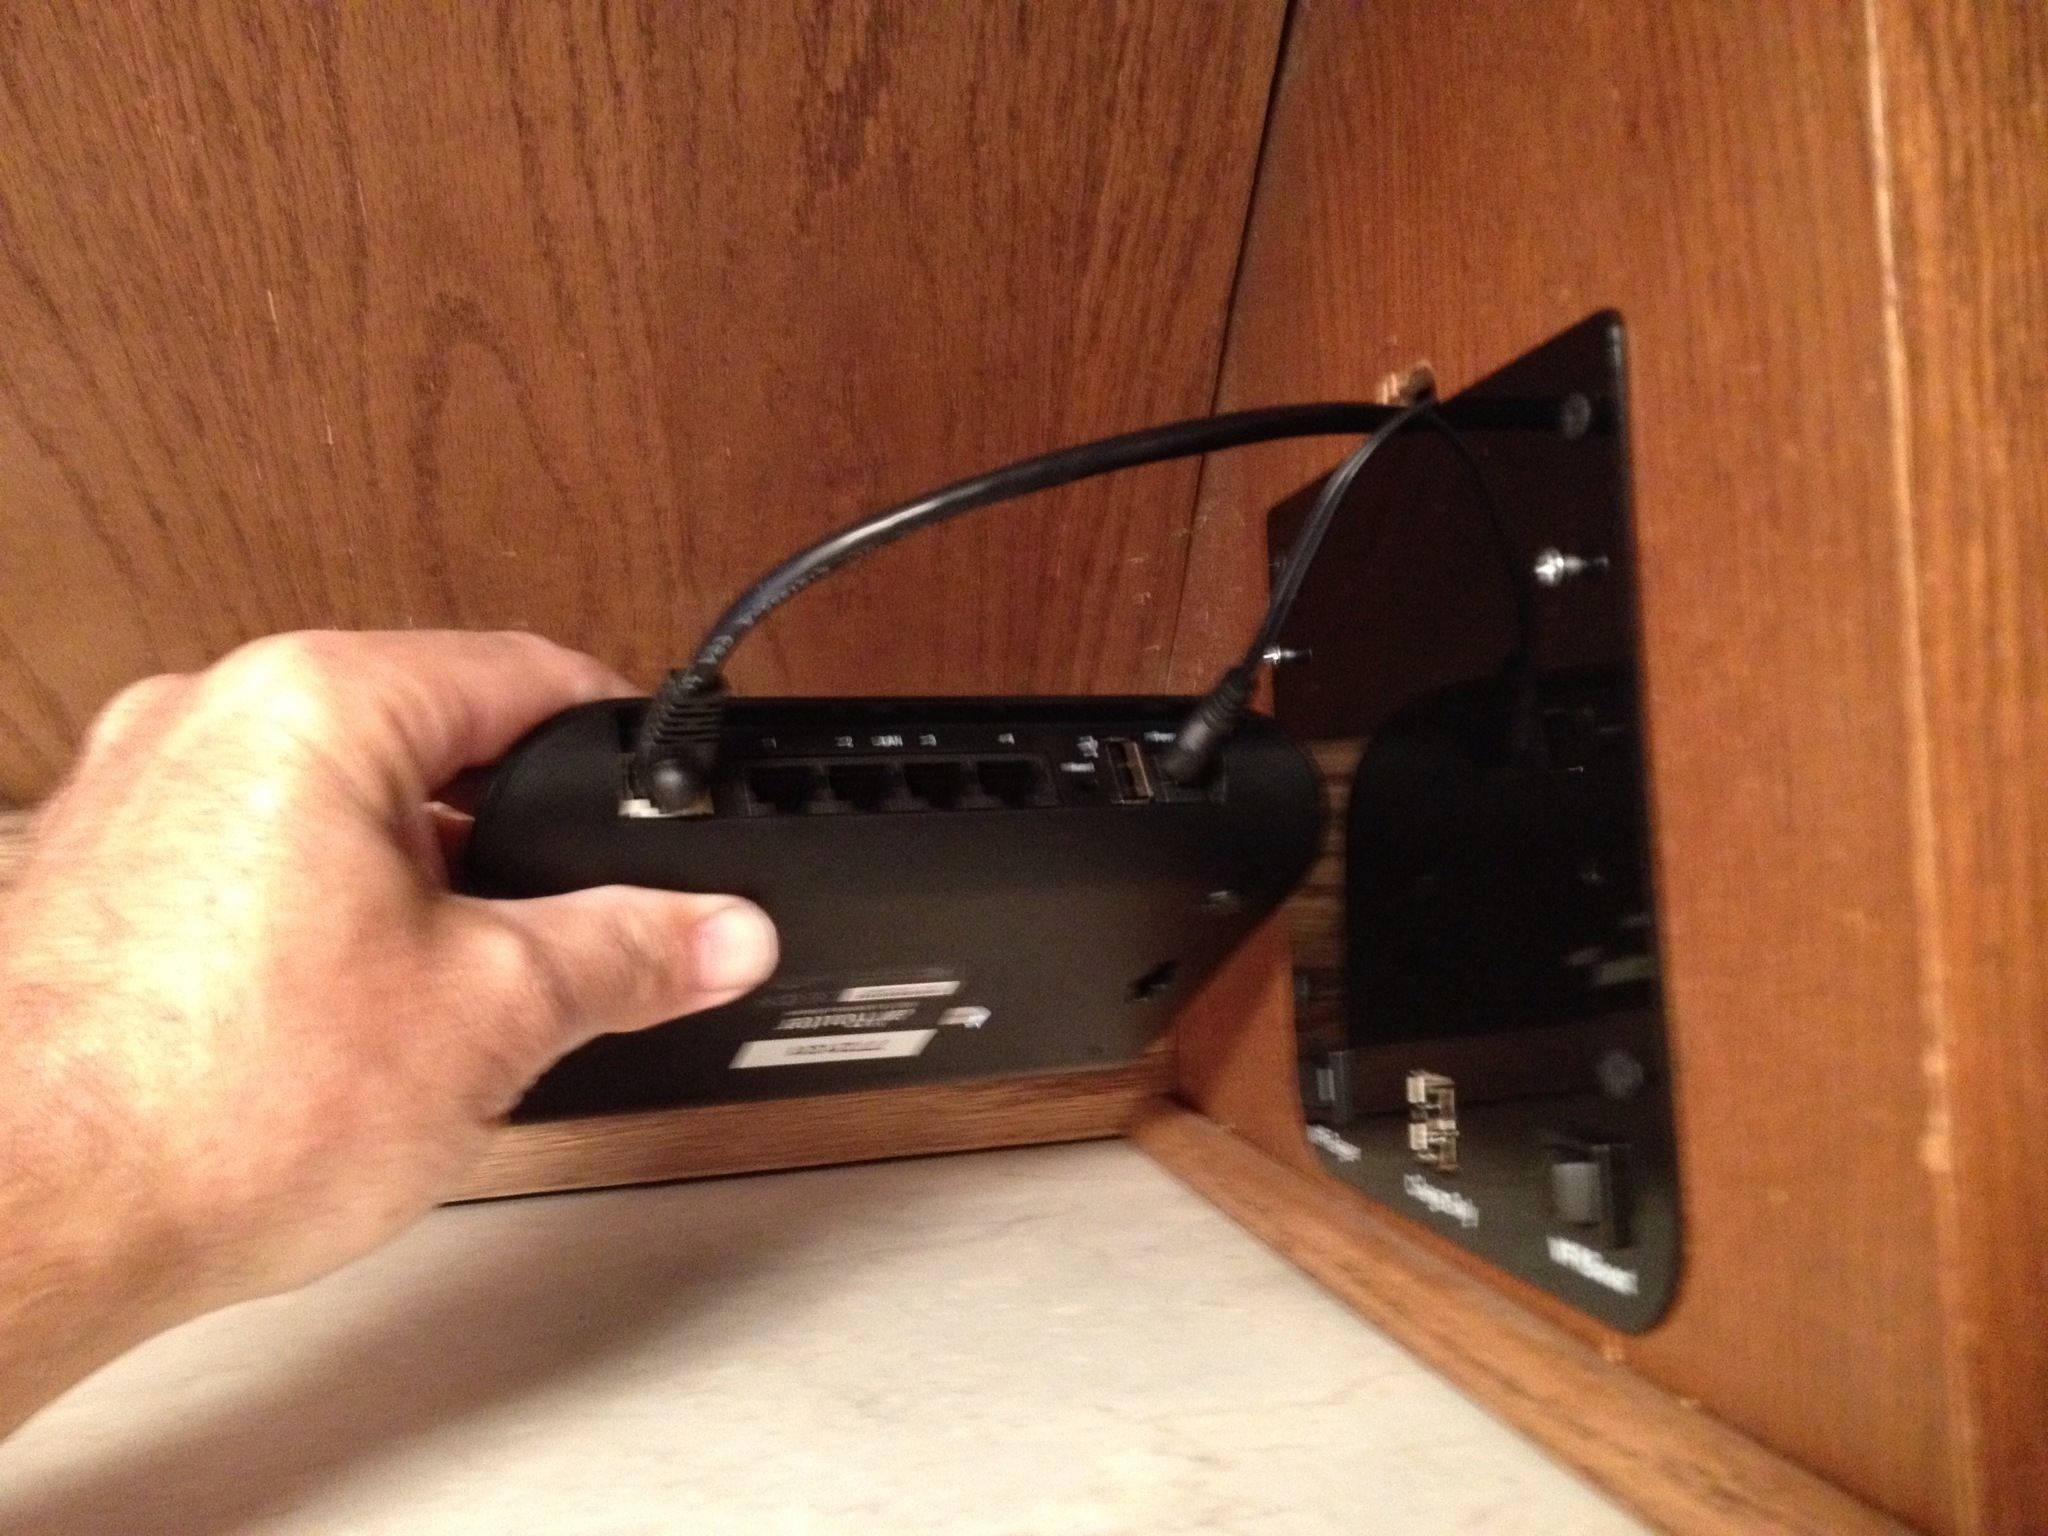
I decided to install WifiRanger on the panel next to my refrigerator. This spot was good because it was out of the way, had easy access to my wiring, and would make a convenient place to make use of the USB charging ports. I usually try to hide technology in my vintage trailer, but I decided the access to the charging ports was worth the trade off.
Using the optional mounting plate is quite the commitment because you have to make a few non standard holes in your mounting surface. The plate comes with a mounting template that you stick to the wall. I used a dremal tool to cut my holes. If you prefer not to make extra holes in your trailer, go with the standard kit.

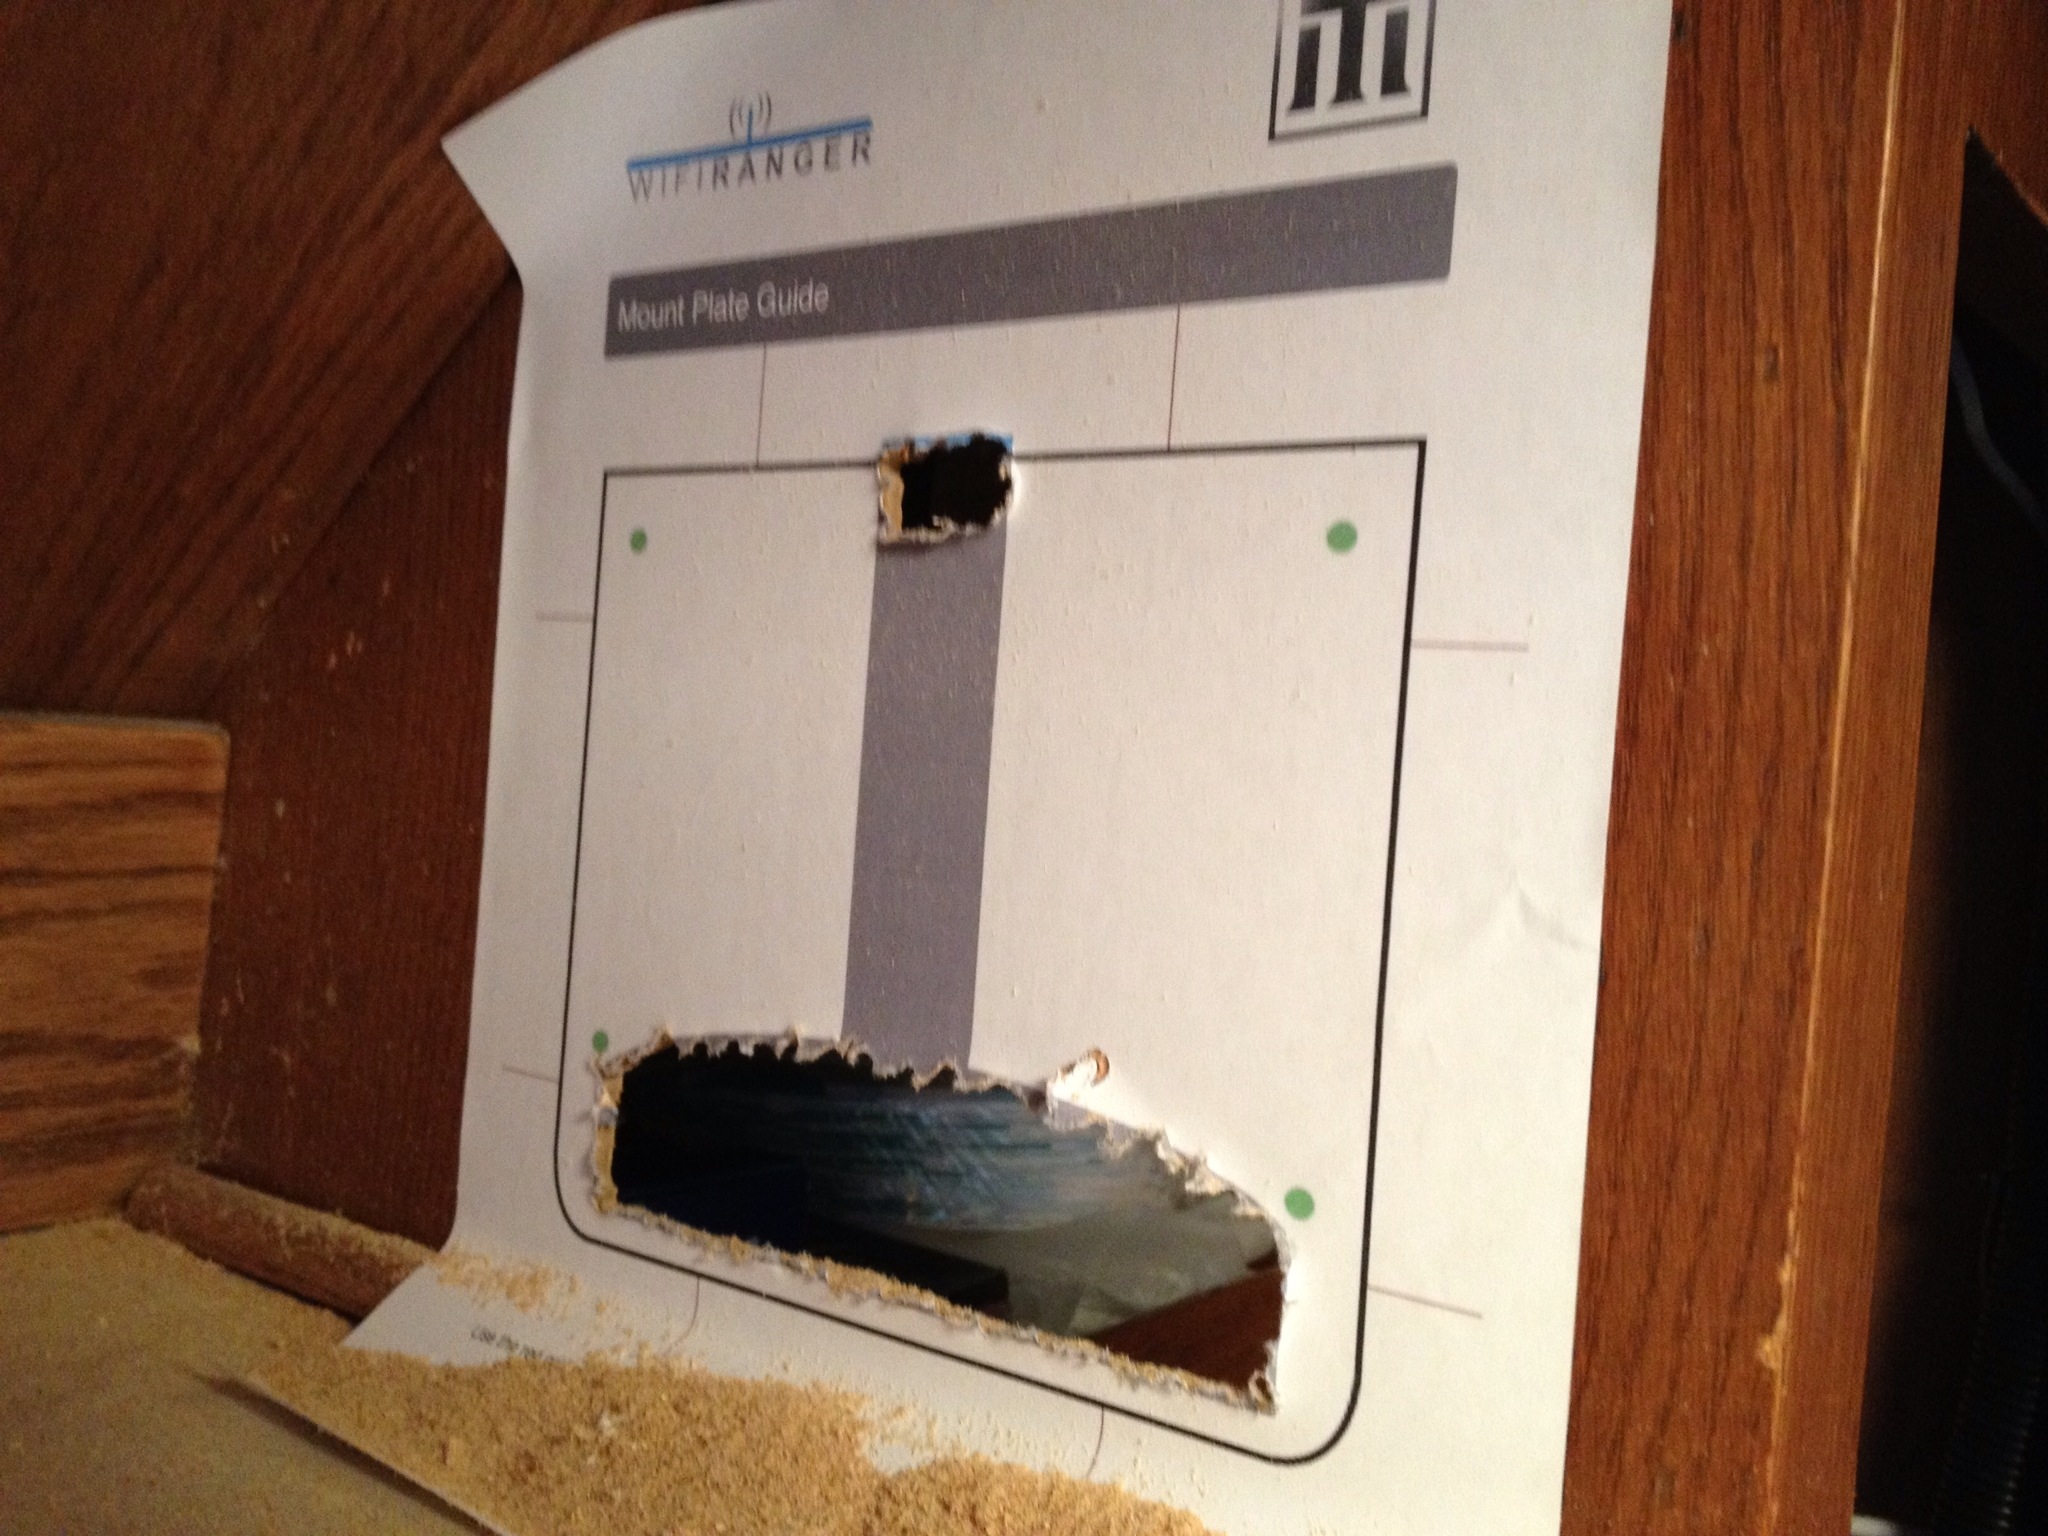
This mount is intended for places where the rear will not be seen. Mine will be seen on the inside of my pantry so I’ll have to build a cover of some kind to keep the electronics safe. It would be nice if something was provided to do this.
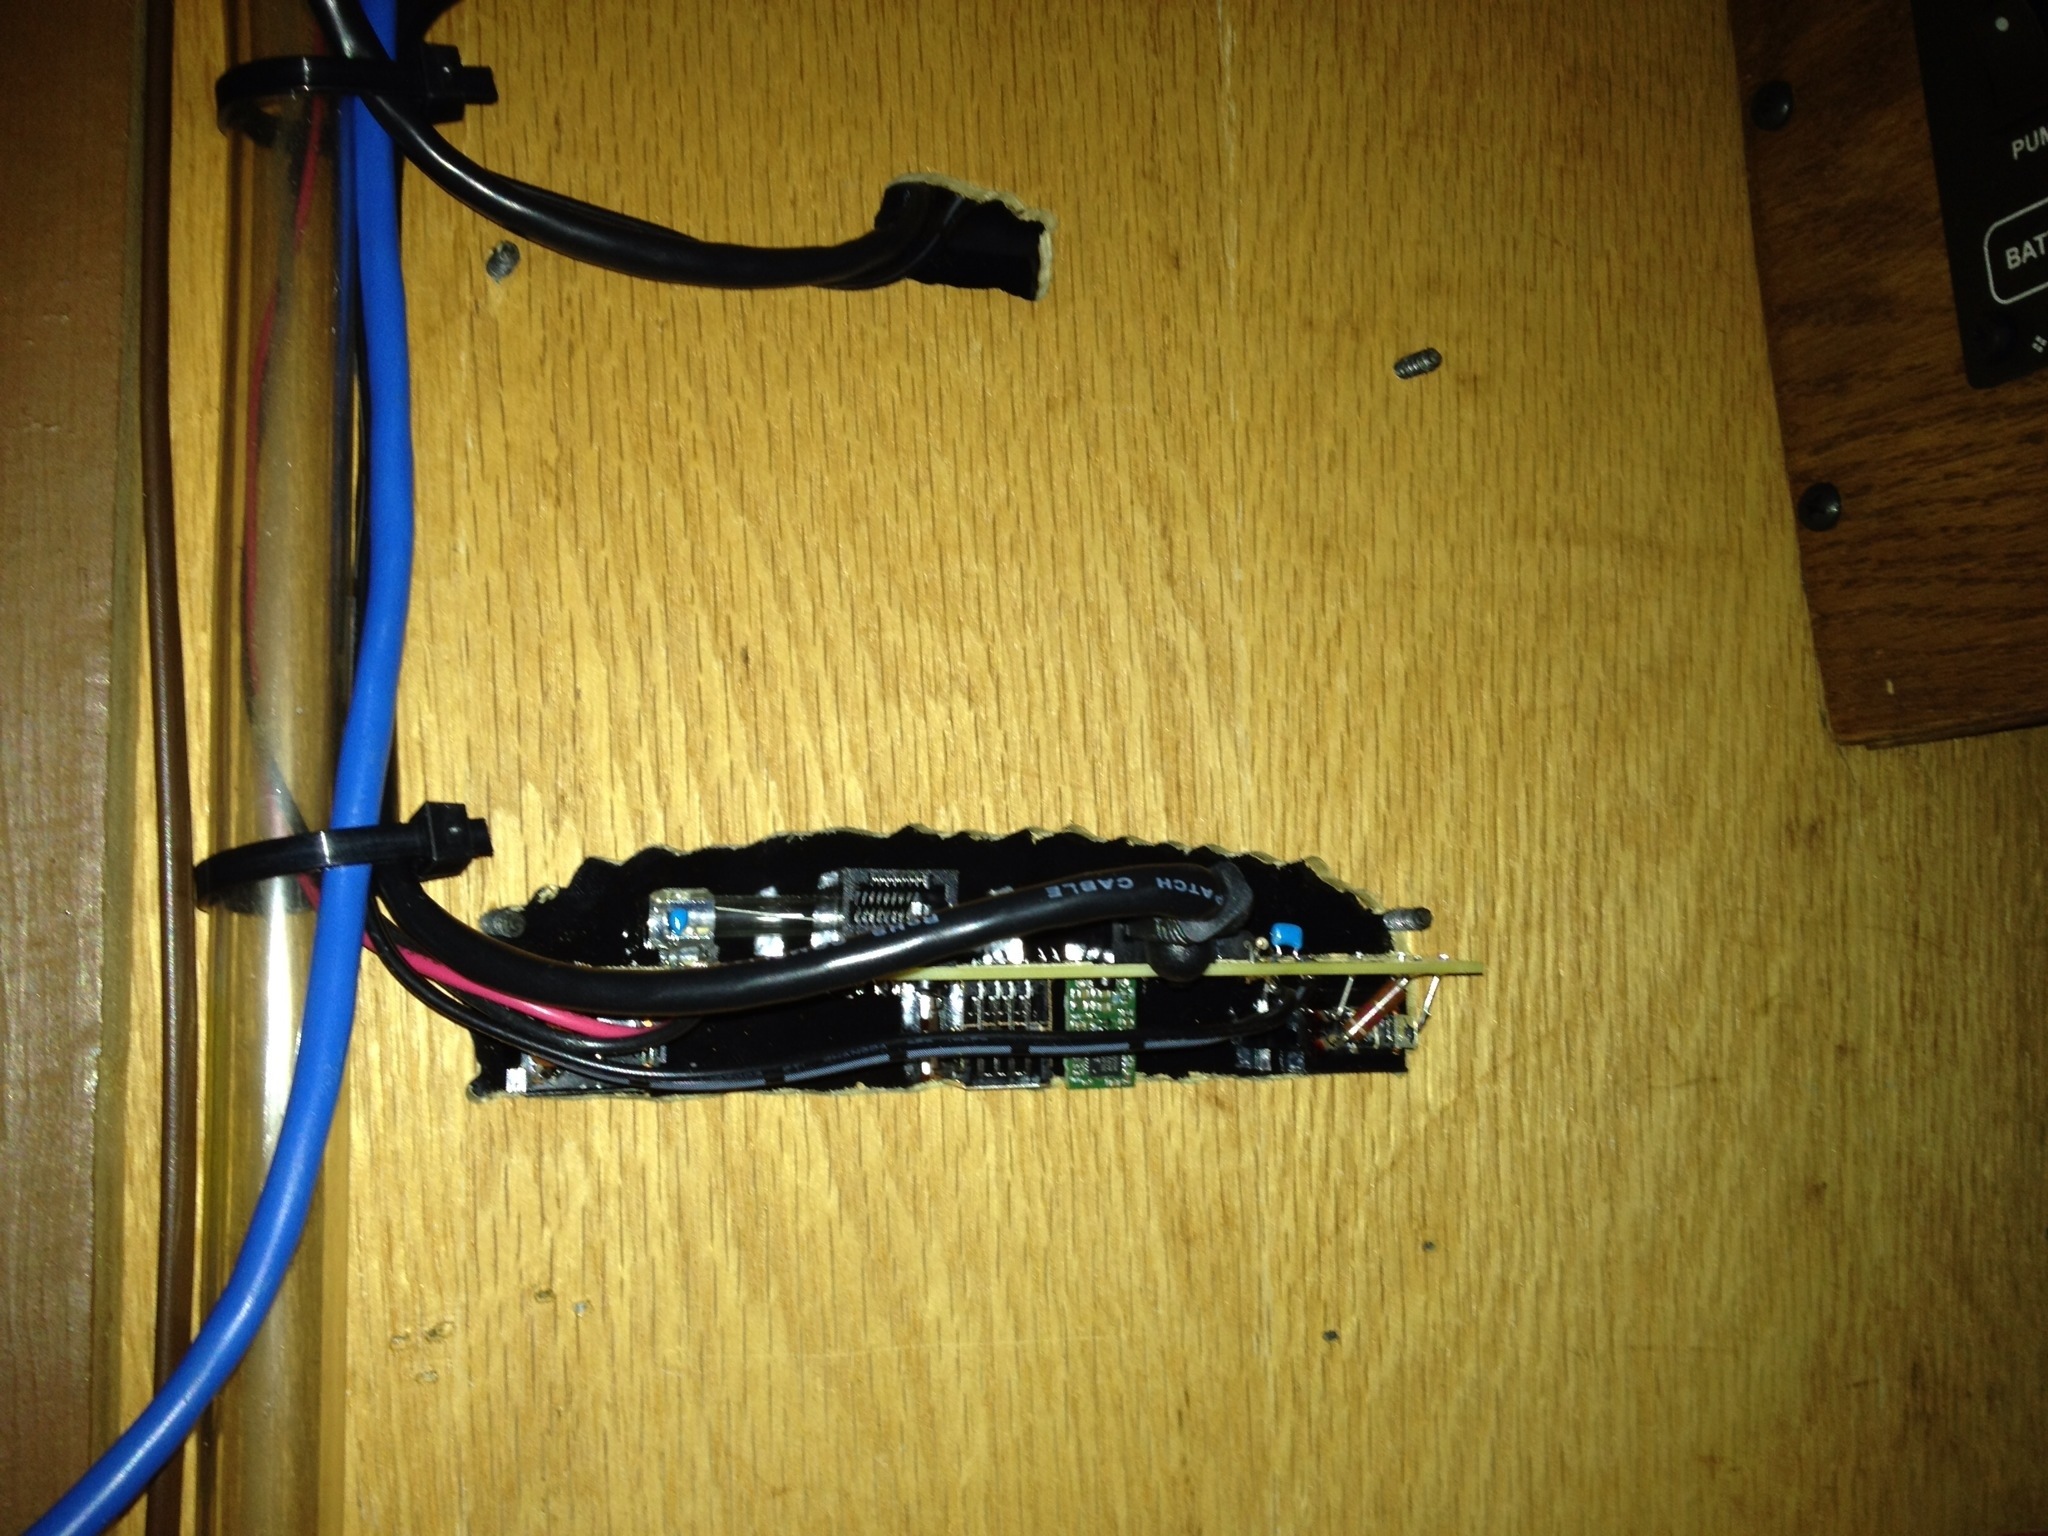
The blue cable is my spare network cable that will be used for my WFRBoost. The mount accommodates the Ranger with pre-installed screws. The shape of the Ranger does a good job of hiding the wiring hole.

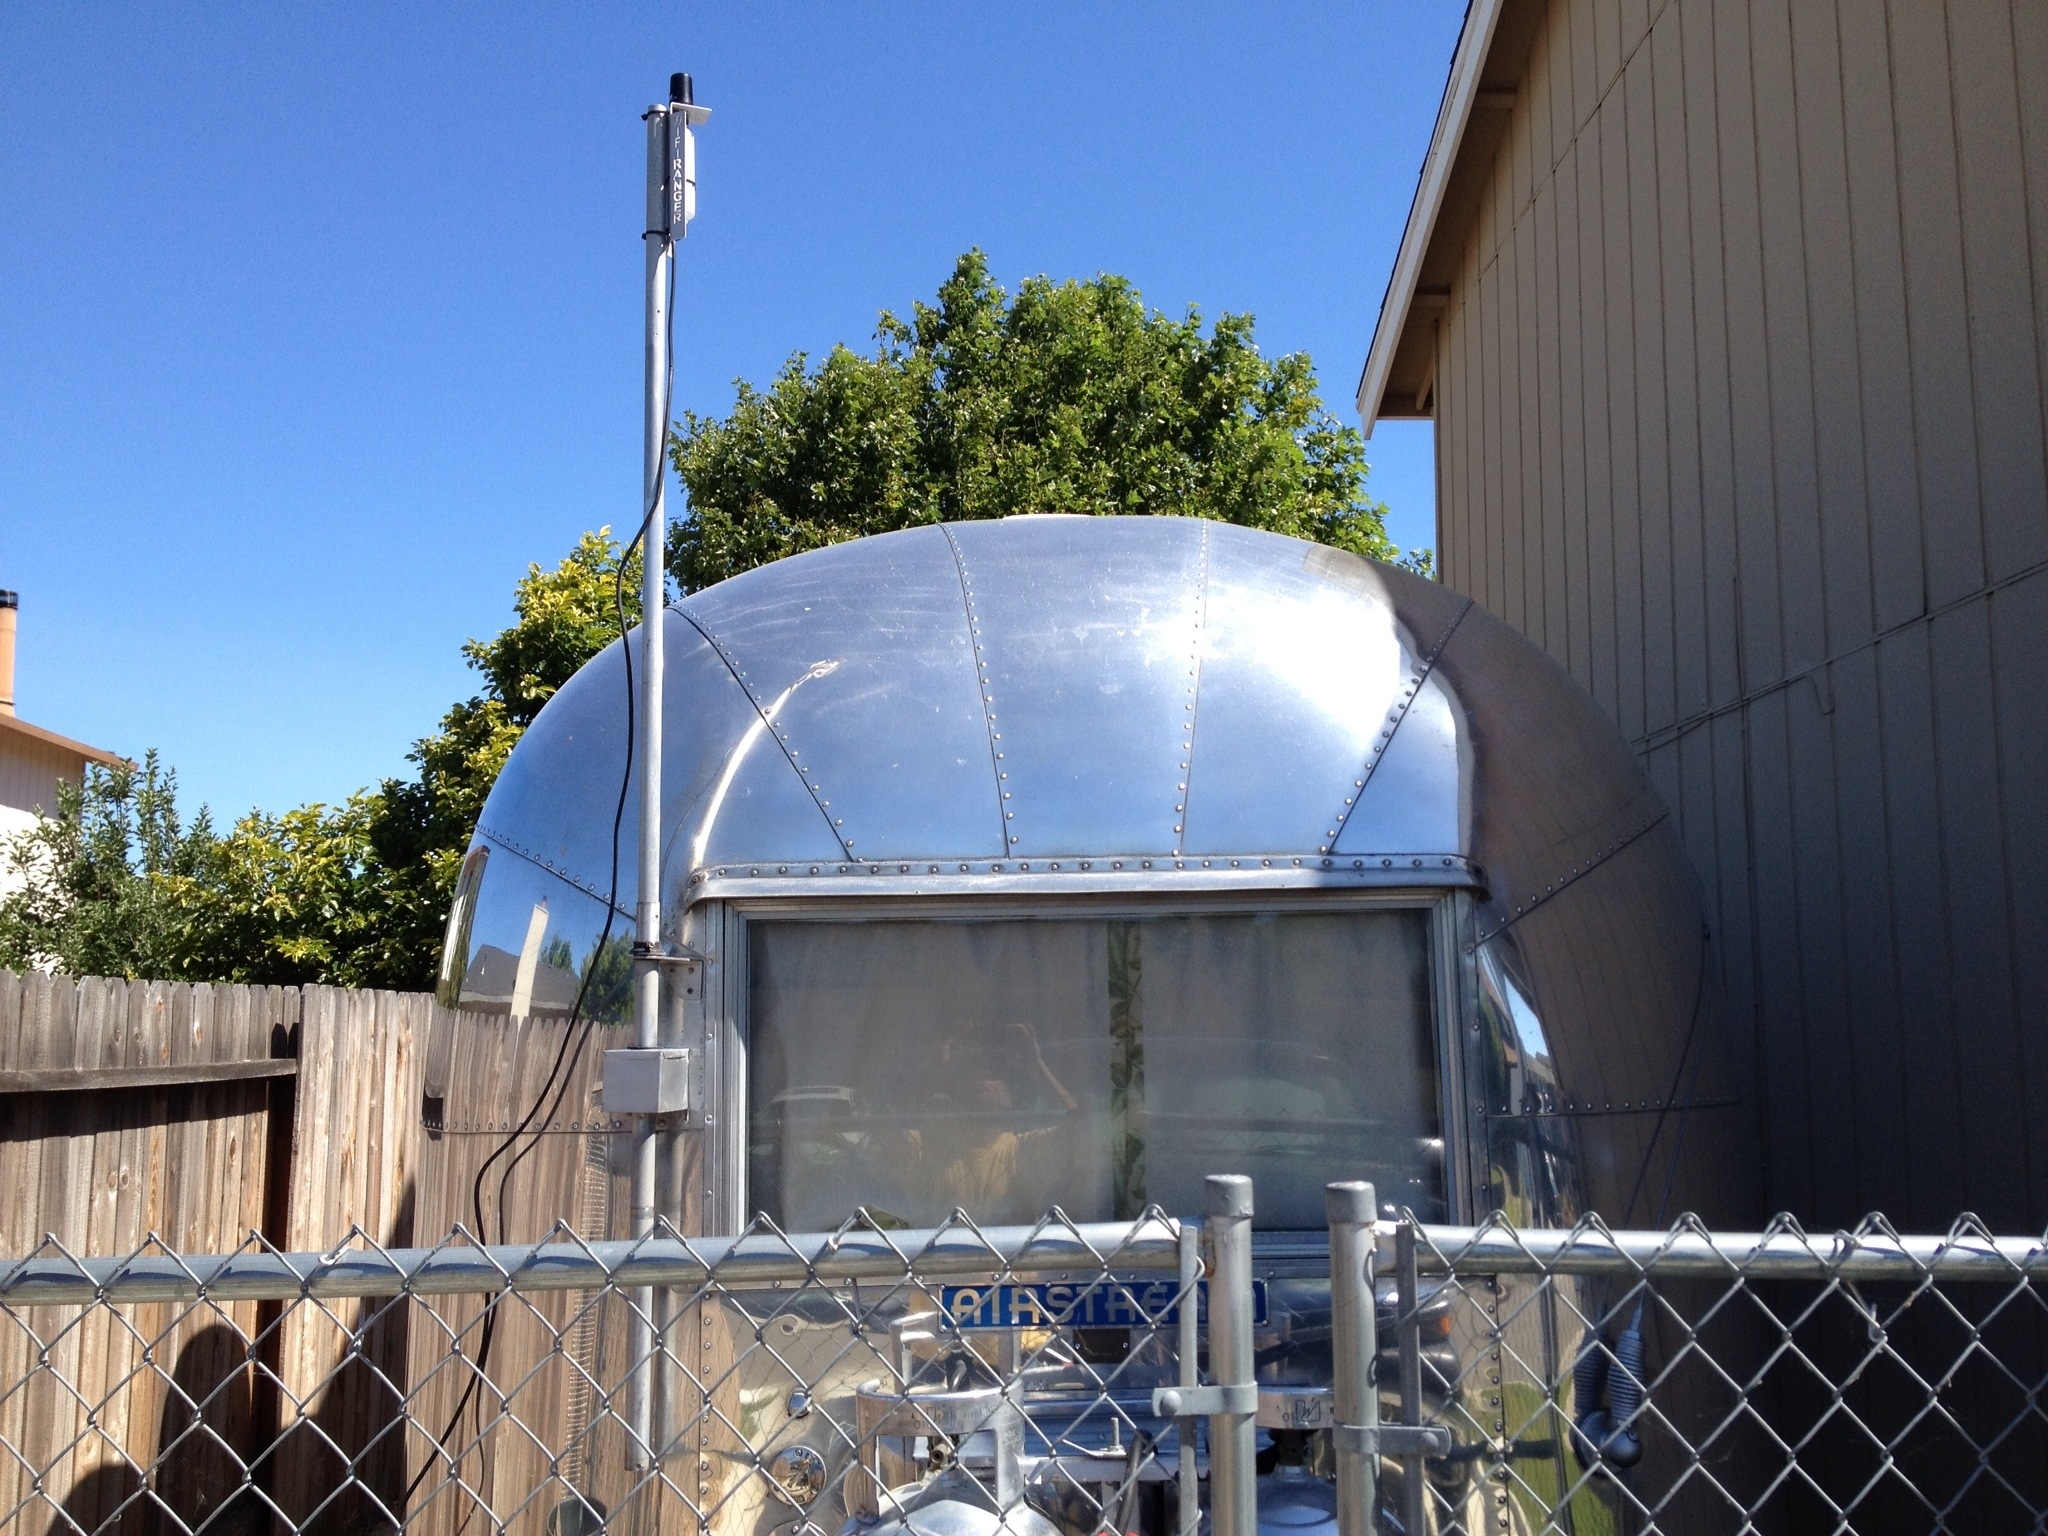
My vintage trailer still has the original TV antenna mast, complete with the working rotor dial. I’m going to make use of it by mounting the WFRBoost to it. My mast is telescoping so I can raise it higher than the trailer once setup at the campsite. Unfortunately the u-bolts included are 1″ and I need something slightly larger. The bracket for the boost also uses fixed holes for the 1″ u-bolt instead of slots. I’ll add this change to the list of my suggestions. For testing I used a nylon tie and attached it to the mast.
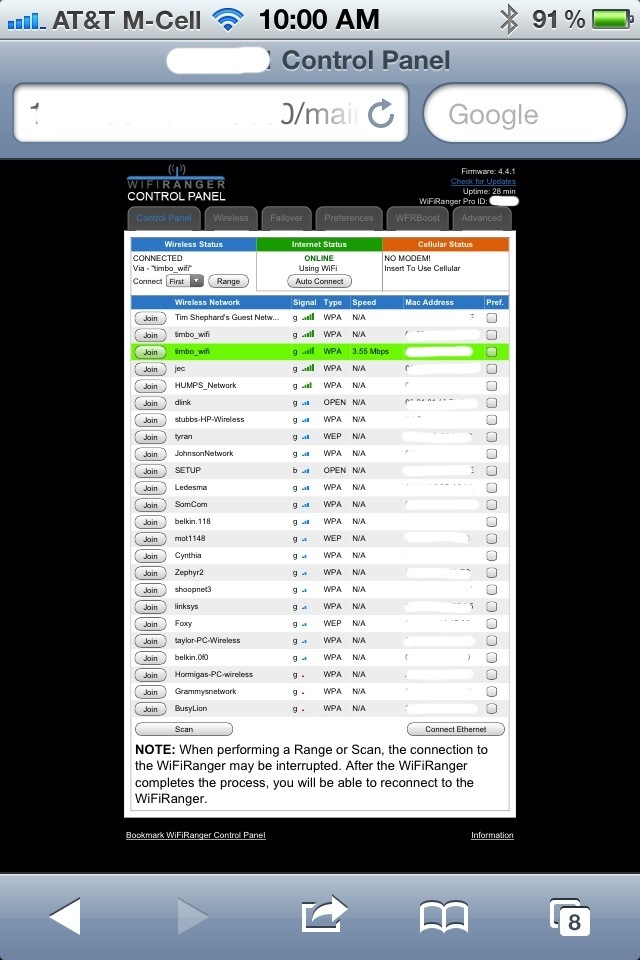
During the setup I created a VAP_wifi network in the Ranger. This will become the new private internal trailer network. Next I allowed the ranger to access my home network and shared the Internet to the newly created trailer network. It worked great. I now have internet being delivered by the Ranger inside my trailer. After going through the configuration, I noted that I could only pick up my home networks along with the new Ranger network on my phone inside my trailer.
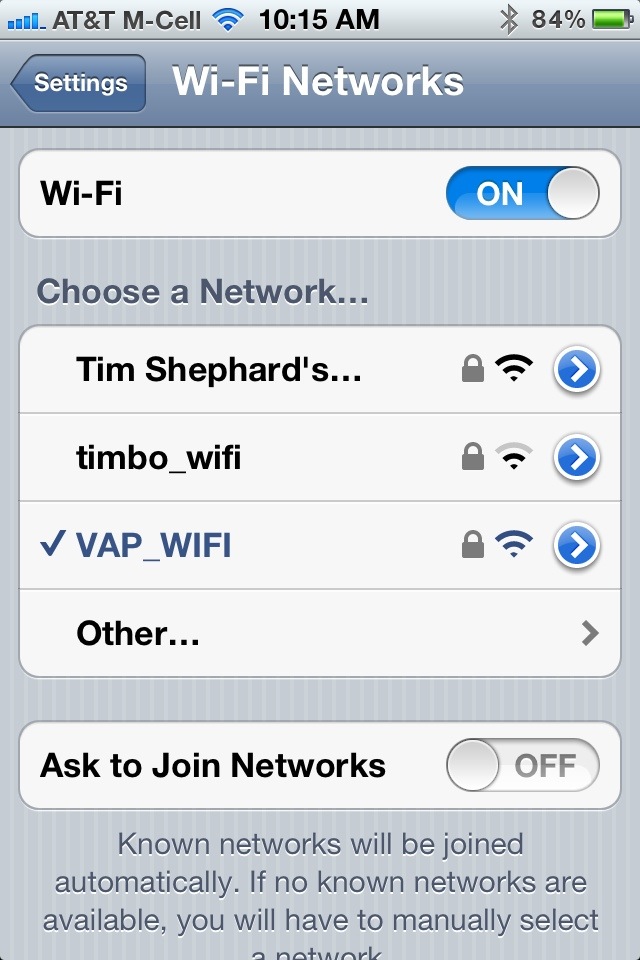
Once I activated the WFRBoost outside the trailer on the mast, I did a scan. The Ranger system was able to pull in 24 wifi networks from around my neighborhood.
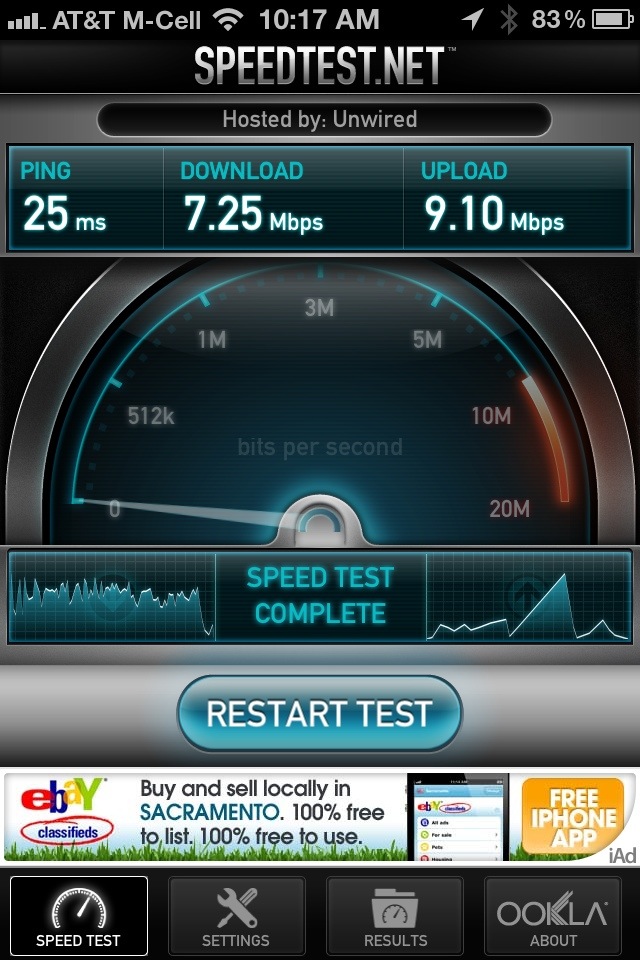
The system is working. It’s picking up networks external to the trailer and rebroadcasting them on a private internal trailer network. So far so good. I did some speed tests and it seems fine. One thing to note is my home uses all N networking with gigabit switches and routers and cable Internet access. It’s the fastest I can make it. While the WifiRanger itself is also an N network, the Boost portion is not. The reason is the Boost product is manufactured by a different company and it is only produced for the slower b/g networks. So you will get slower speeds going through the Boost than you will going direct. There is also some latency because of the processing of the Ranger between networks. I did see speeds of over 7Mbps through the WifiRanger, so it’s nothing to bat an eye at, not to mention the majority of campground networks are going to be b/g for compatibility.
Next post I hope will be the install of the weatherproof network jack on the Ambassador next week. Then I can’t wait to get some real world tests on this WifiRanger!
Hi Tim,
This is a really interesting project to me. We generally prefer to boondock in state parks so I don’t often have the luxury of tapping into campground wifi but it does come up every now and then. I presently use a Cradlepoint router that I plug my Verizon or AT&T cellular modem (USB) into and we create our own wifi network (along with a single-drive NAS and Popcorn Hour media storage and player device, all operating off of 12 volts along with a 12 volt TV).
There is occasion that we are near wifi so this could be good, as it appears to switch from wifi to the USB modem if you have it but not signal from the wifi.
Please keep us posted as to how this works out! Thanks for the post and of course, the VAP!
Aron
I’ll let you know how it works. We will be relying on it for four weeks. I have recently made an arrangement with Millenicom.com to test a 3G usb modem that works with the Ranger. The service is provided by Verizon. So we will be able to test the Ranger going from Wifi to cellular. I’m now debating on an external for the 3G service. I know it makes a big difference.
Pingback: WiFi in an Airstream: The Problems - Weaselmouth