There were of course no keys that came with the Ambassador when I bought it almost 2 years ago. I have since gotten all the keys working by buying new lock cylinders or have the local locksmith make a key when I brought him the lock.
I had one key still missing to the storage compartment toward the back on the curb side. It is installed such a way as you cannot remove it easily. Colin had suspected that the key to his access door on his ’59 Ambassador would work. I had since been bugging him for over a year to get a copy to try. At the CBR he brought a copy of his key, and I found anyone with a similar hatch and borrowed their keys to make copies. I tried from a ’58 – ’61. Spent about $11 on keys.
When I returned home to California, one of the first things I tried was the hatch keys. Not one of them worked! I was bummed.
After polishing the trailer since it was all hooked up, I decided to tow it to the locksmith and see if he could make a key from a 50 year old lock. He had a small scope much like the doctor uses to check your ears. He looked in the lock for a couple of minutes and came back with a key, after a couple of tries, it worked! He fine tuned the key and for $21 and fifteen minutes, I had a perfect key…. finally.
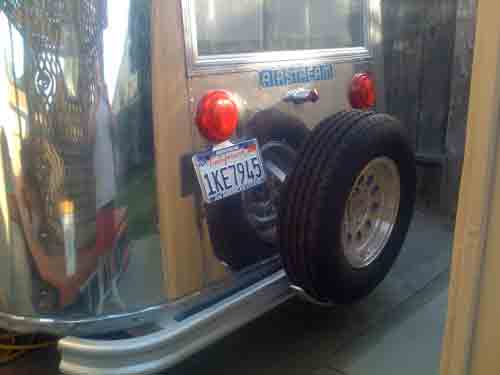
Todays project was another long awaited one. I have been carrying the spare tire in the bed of the truck. There is a spare tire carrier on the trailer. Its pretty much rusted to the rear bumper, they are one now. A lot of people are scared to put a tire on the rear and if they don’t know their floor and frame are solid they are probably should be. Since I repaired my rear floor and the rear frame, I decided to go ahead and use it. I have seen a lot of photos and videos of these old trailers carrying even two spare tires on the rear bumper on those around the World caravans, so I’m not too worried.
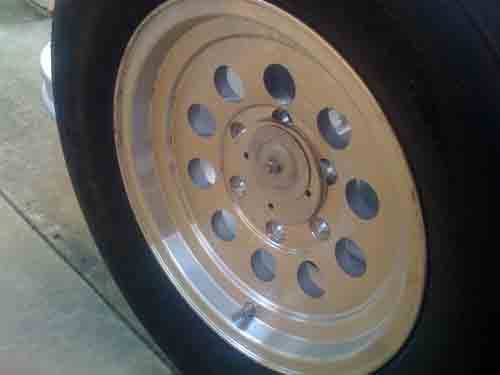
I was missing the parts to secure the rim to the mount. I ended up re-purposing a floor flange used in electrical plumbing parts. Here are some photos.

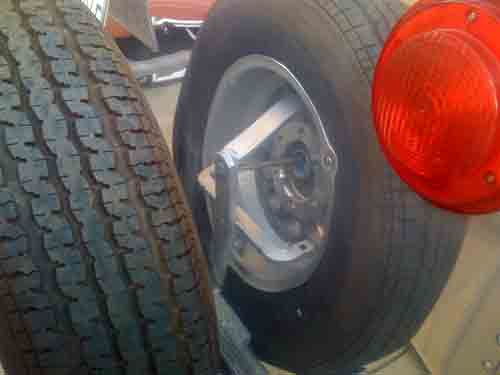
Here is a close up of how its secured to the carrier. Since the wheel is aluminum I cut a piece of cork to help keep the metal from marring the wheel.

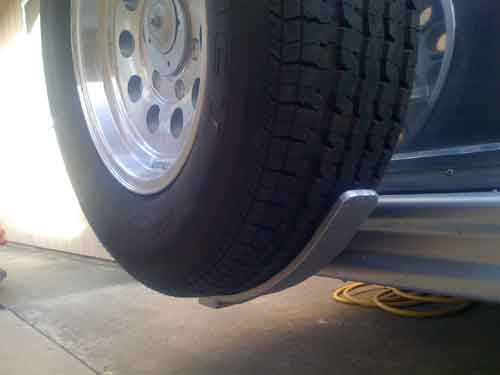
Some more close ups of the mount. The bottom bracket is actually supporting the tire weight. The nut is just keeping it from coming of the mount.

This last shot shows the rear view. There are two holes in the mount. I’m going to run a cable lock through them and the wheel to keep it secure.

