Decided to tackle the laminate problem again. I need to get this counter top done!
I went ahead and started from scratch. I got some more 5/8th plywood and got started. Here I have it square with the bulkhead wall but its way off on the back. So I used a compass to scribe it.
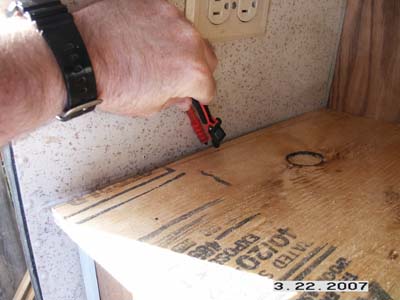
After I had that mark, which was just a slight angle, I cut it with the skill saw and it fit great.
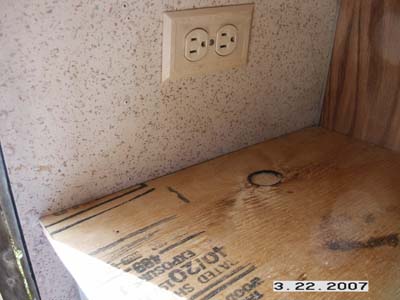
I decided on about an 1-1/4″ overhang. I added a 1/2″ x 3/4″ edge molding to give it some thickness. Here are some steps I did to help not have the same problem as before which was cutting into the edge laminte as I trimmed the top.
- Used the skill saw to cut the edges flush after I added the edge molding
- Sanded the laminate edges between each piece as it was applied
- Put double thickness of tape on the edges before trimming the top
- Moved the router quickly and in a back and forth maner
- Went wide on the corners and came back over them instead of hugging them close
- Sanded the edges with a sanding block
In any case the results were worth the effort. Who says 3rd time’s the charm…
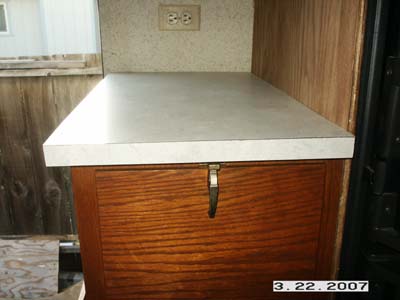
I had some extra time to add some oak molding to the edge of the bulkhead wall. You can compare this with the photo above. Turned out nice.
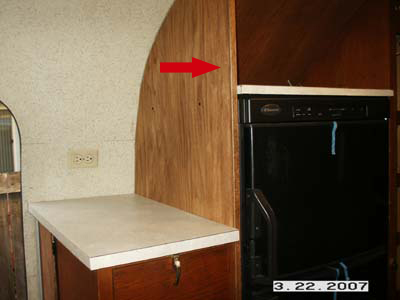
Next I put some trim on the bathroom vanity. Here are the before and after shots.
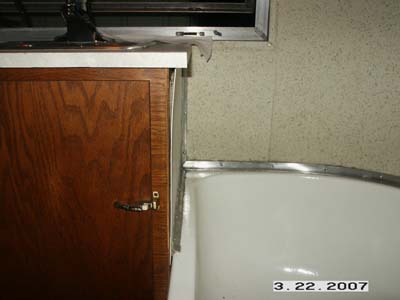
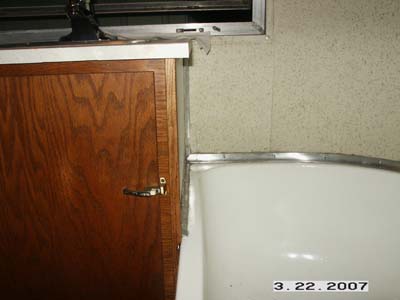
Not bad for an ameatur. Besides the router the only woodworking tools I have are a circular saw and the jig saw. It would be nice to have a table saw if I needed to make a straight cut. 🙂
Good thing it’s an Airstream.Â
