Today was all about working on the drains. The first stop was the getting the kitchen drain down into the grey tank. Note the rubber coupler at the tank inlet. This will hopefully allow for some flexing down the road.
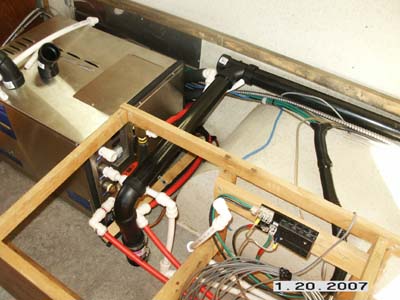
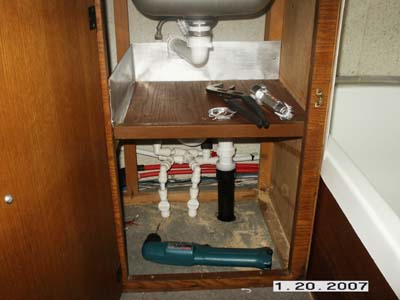
Next was finishing up the bathroom drain. First thing I did was secure the counter top. With that done, I hooked up the faucet suppy lines and the drain piping. Again the trap is down below against the wall. I drilled a hole through the floor so the sink drain can meet up with the tub drain on its way to the grey tank.
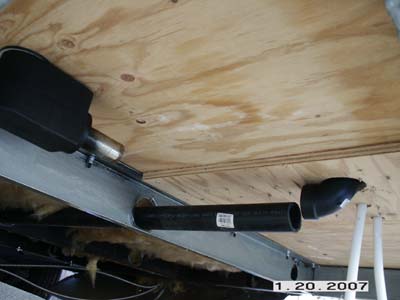
Under the trailer near the back which is under the bathroom you can see where the sink drain comes down to a 90 and the special tub drain/trap on the left. The ABS pipe running forward goes into the grey tank.
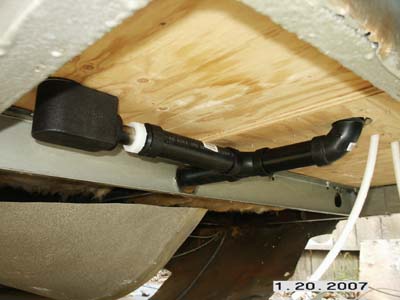
Here is the same shot with all the plumbing glued in. Note the two white pex lines are the rear hot and cold drains for winterizing.
Back at the grey tank you can see the ABS line connecting to it. Again via rubber couplers.
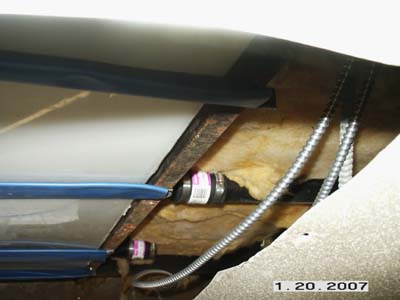
Next up was adding the vents for the black and grey tanks. These will run up through the closets on both sides of the trailer. So I had to drill some more holes in the trailer :-). Here is a hole going up through the street side closet.
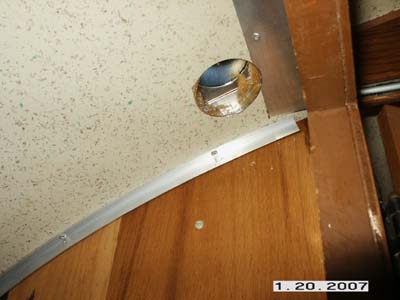
Next I had to size up the pipe to see how long it needed to be. Looks like a periscope! Humm…. not a bad idea.
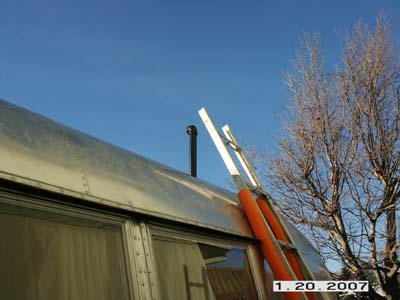
I cut it down to size so I could fit the vent cover that I purchased from Vintage Trailer Supply on it.Â
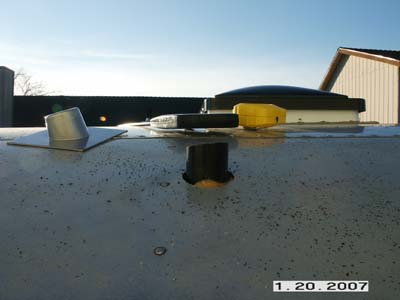
Next up was to use vulkem around the base and add a screen to keep the bugs out.
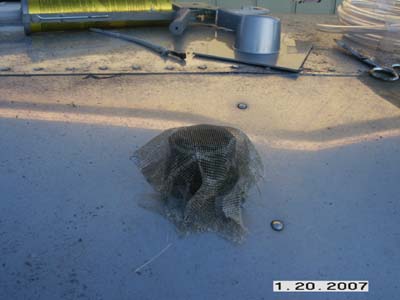
Add a little vulkem in the rim and base and rivet her on! Not too shabby.
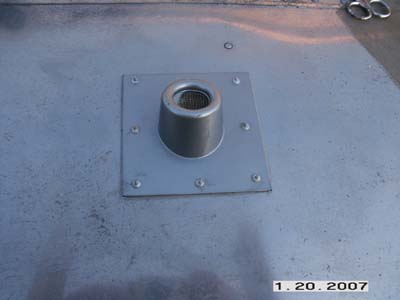
Here’s one final shot showing my twin stacks!
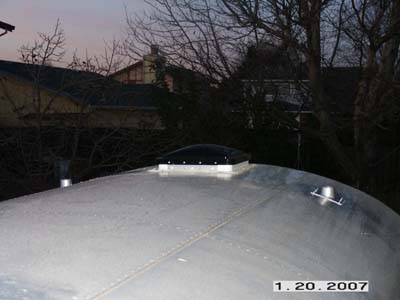
For some perspective, here is what it looks like from the ground.
 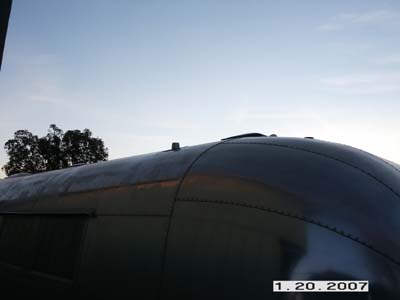
Just a few more connections on the inside to these vent pipes and the interrior plumbing will be done. Less the fresh water tank that is….Â
Â
