Monthly Archives: June 2012

Journey across the US not without problems

We are halfway on our journey across the US and back. We have run into a few issues with water leaks from Tropical Storm Debby, refrigerator being too warm, and dripping AC condensation.

Some items I was able to rectify easily. The dripping AC reduced dramatically whenever the trailer was level, the warm fridge needed to be set to a higher cool setting and the CLC button turned on. The CLC button is for high humidity weather which we started hitting after Texas. I also starting using my chimney vent exhaust fans. This brought the warm temps down to normal ranges.

The biggest problem was yet to come. Once we hit Florida we landed right in the middle of Tropical Storm Debby. The storm went on for days and let a good amount of water into my dining room window. The window needs to be removed and reseated with new bedding tape. This usually means replacing the glass as you generally have to break it to replace it. The rain stopped but I purchased some aluminum tape to tie me over if needed. Oh, yeah, that wasn’t the bigger problem.

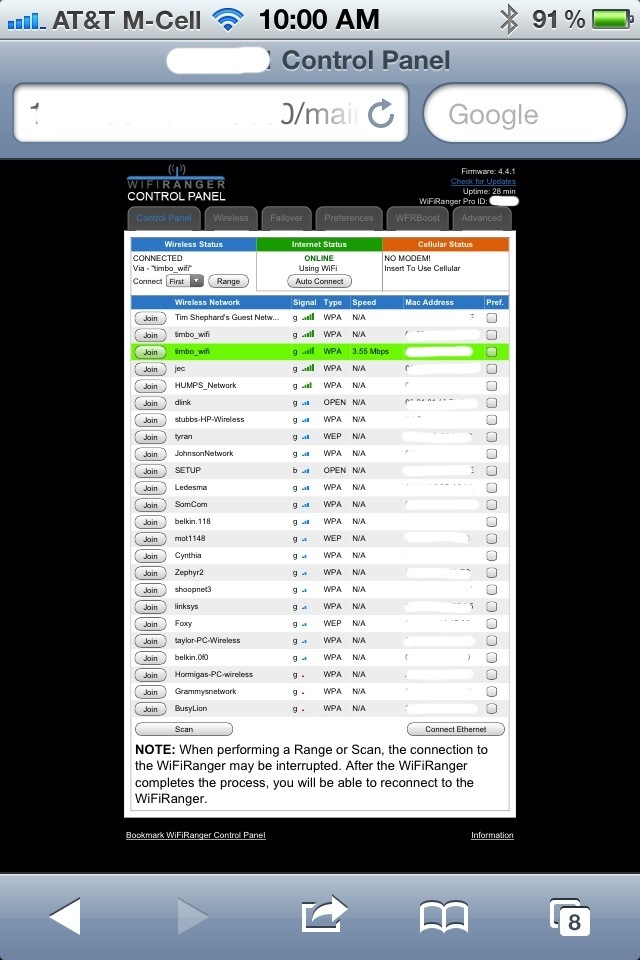
Just as the rains started to stop and the sun started to heat up, my A/C started having problems running. The lights would dim and the A/C would grumble. I checked the power at an outlet and found the voltage would drop to 96vac. I started suspecting the campground power. I was hoping anyway.

Disney was pretty good about it. They came out at 9pm and replaced the outlet and breaker. He pointed out some corrosion on my neutral pin and cleaned it up. Luck was not with me though. I still had the same problem, large voltage drop, A/C not starting. I started looking at my breaker box, and inlet plug and cable. I decided to get up early the next morning and head to a Camping World for a new 30amp line cord for the trailer. Well, $79 later I STILL had the same problem.

At this point I started suspecting my A/C was going out. Not good with over two weeks to go on our trip and being in central Florida in the summer. I was wishing Debby would come back. I was starting to look into back up plans like buying a $100 window A/C unit and propping it in the front window. I’m sure my fellow resort campers would love that. I decided to email a certified RV mechanic who has been very helpful with his knowledge to fellow Airstreamers. I explained my findings and all that I had done and told me it sounded like my start capacitor and PTCR were burnt. He also told me that Dometic makes a Hard Start repair kit for this that should be available and any RV parts store.

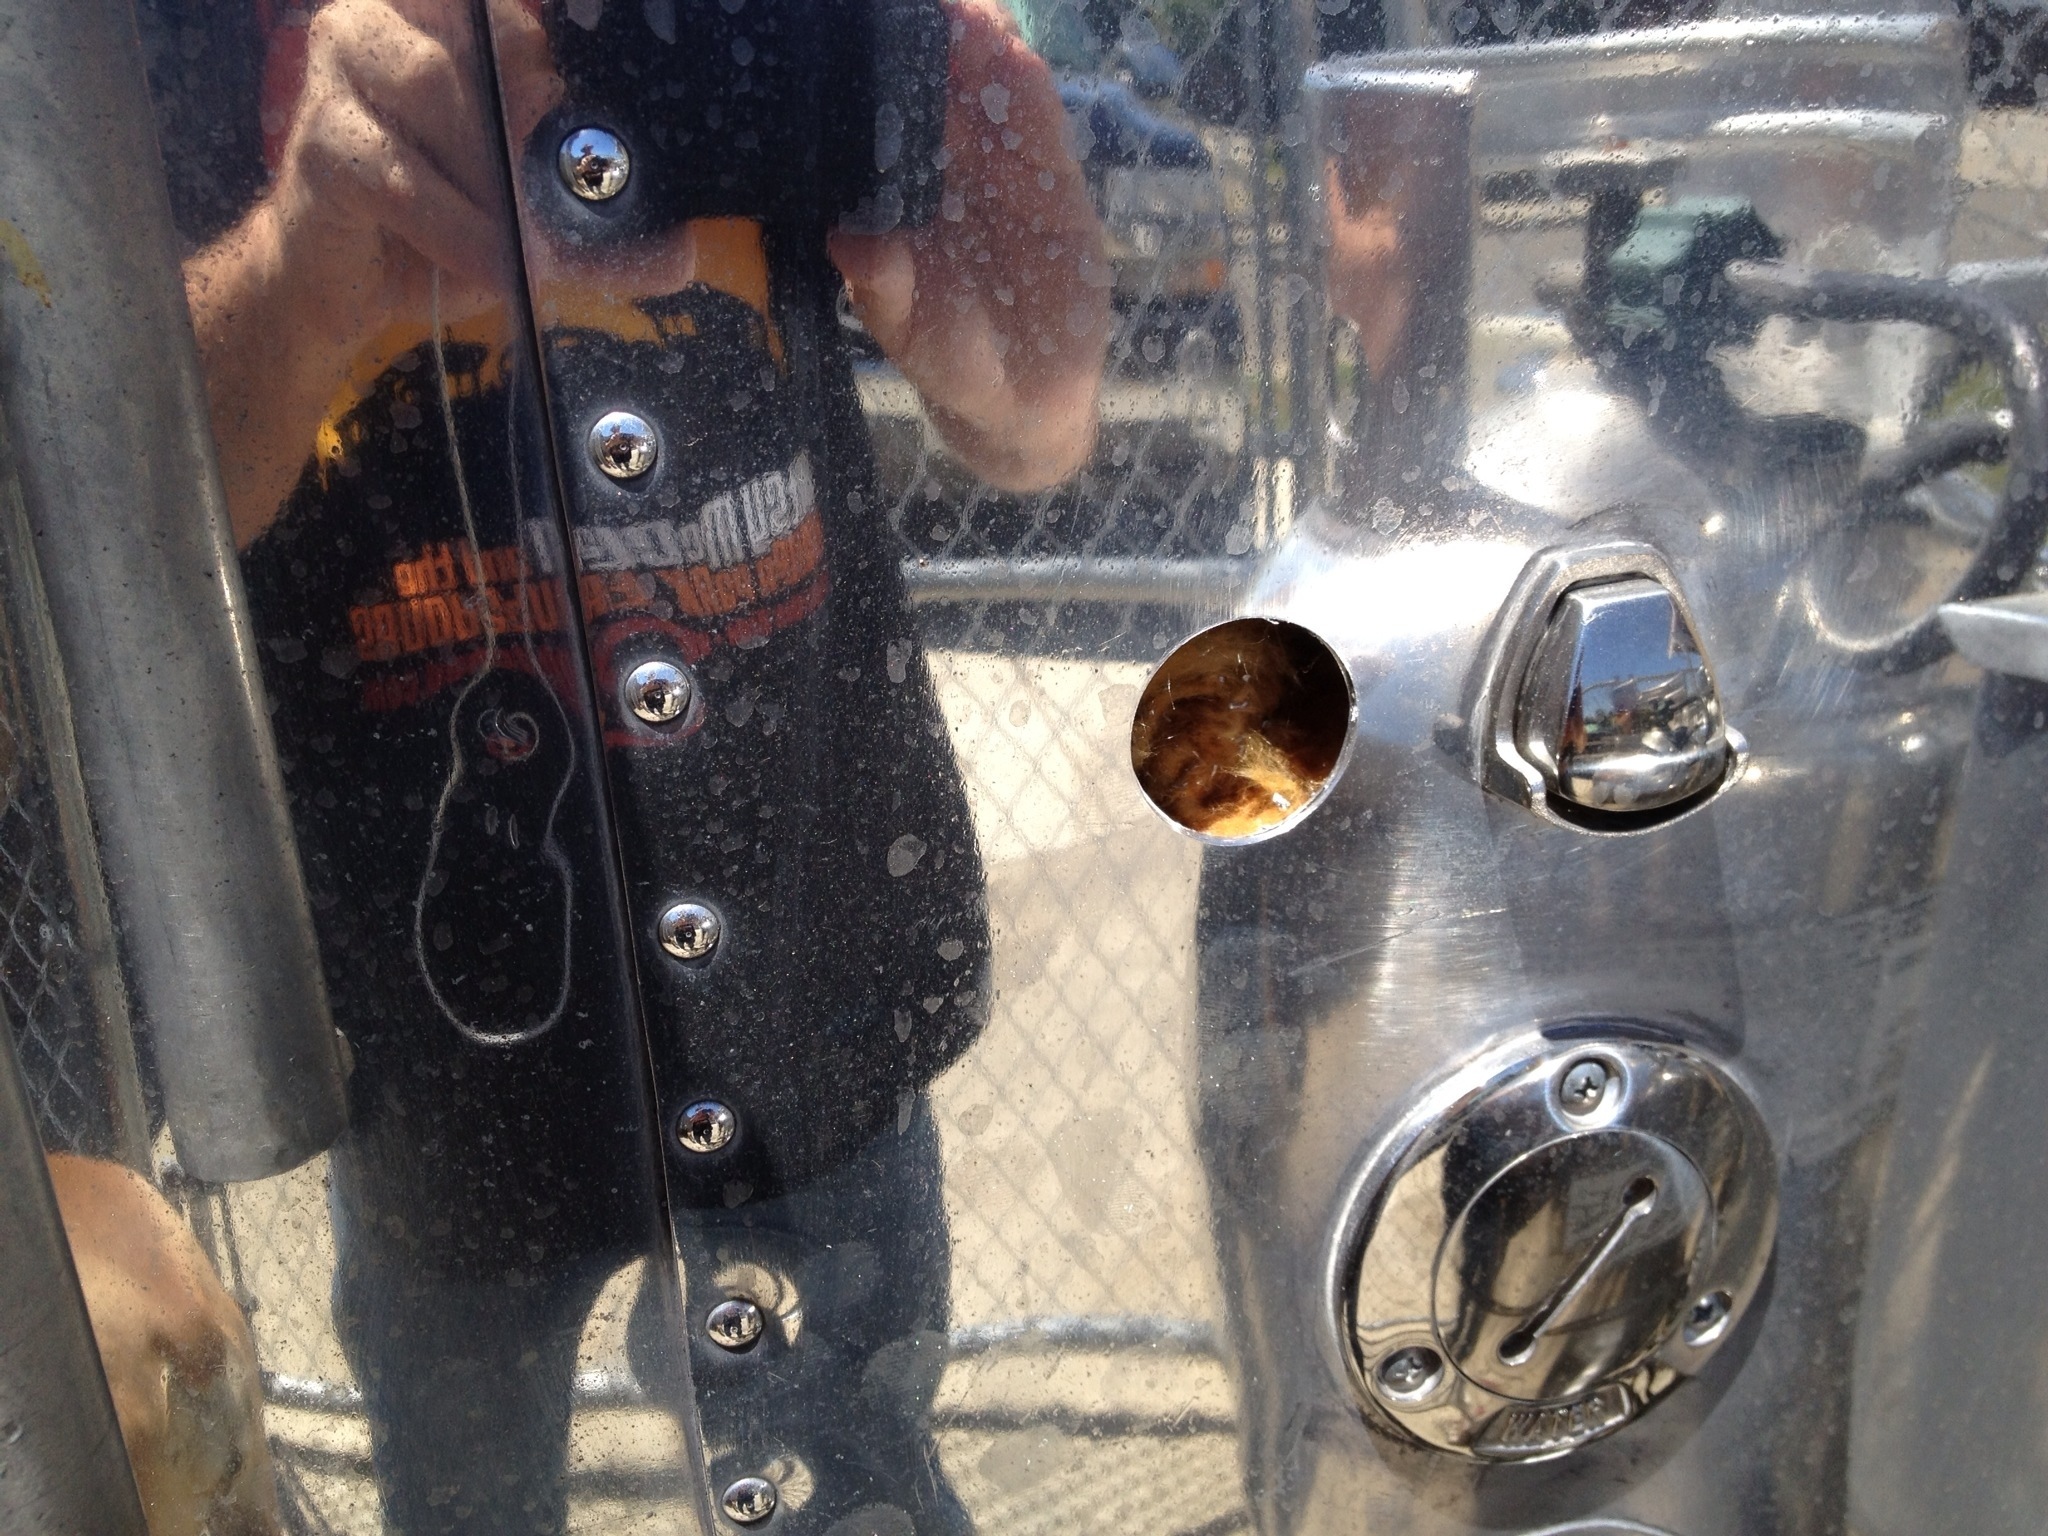
I decided to give it shot before the hillbilly fix. The next morning I laid my hands on the Hard Start Kit. The kit included a new capacitor a PTCR, some strapping material, screws, and some wire. I needed a drill, bits, and some basic hand tools. Didn’t quite have everything I would need, so off to Lowes. Back at the campground I had to get on top of the trailer. I really didn’t want to buy a ladder for this and haul it back to CA. So I parked my truck so close it was touching the side of the trailer, gently of course. I gathered my tools and stood on top of my truck, then climbed on to the Ambassador. I don’t recommend this by the way.

20120629-220649.jpg

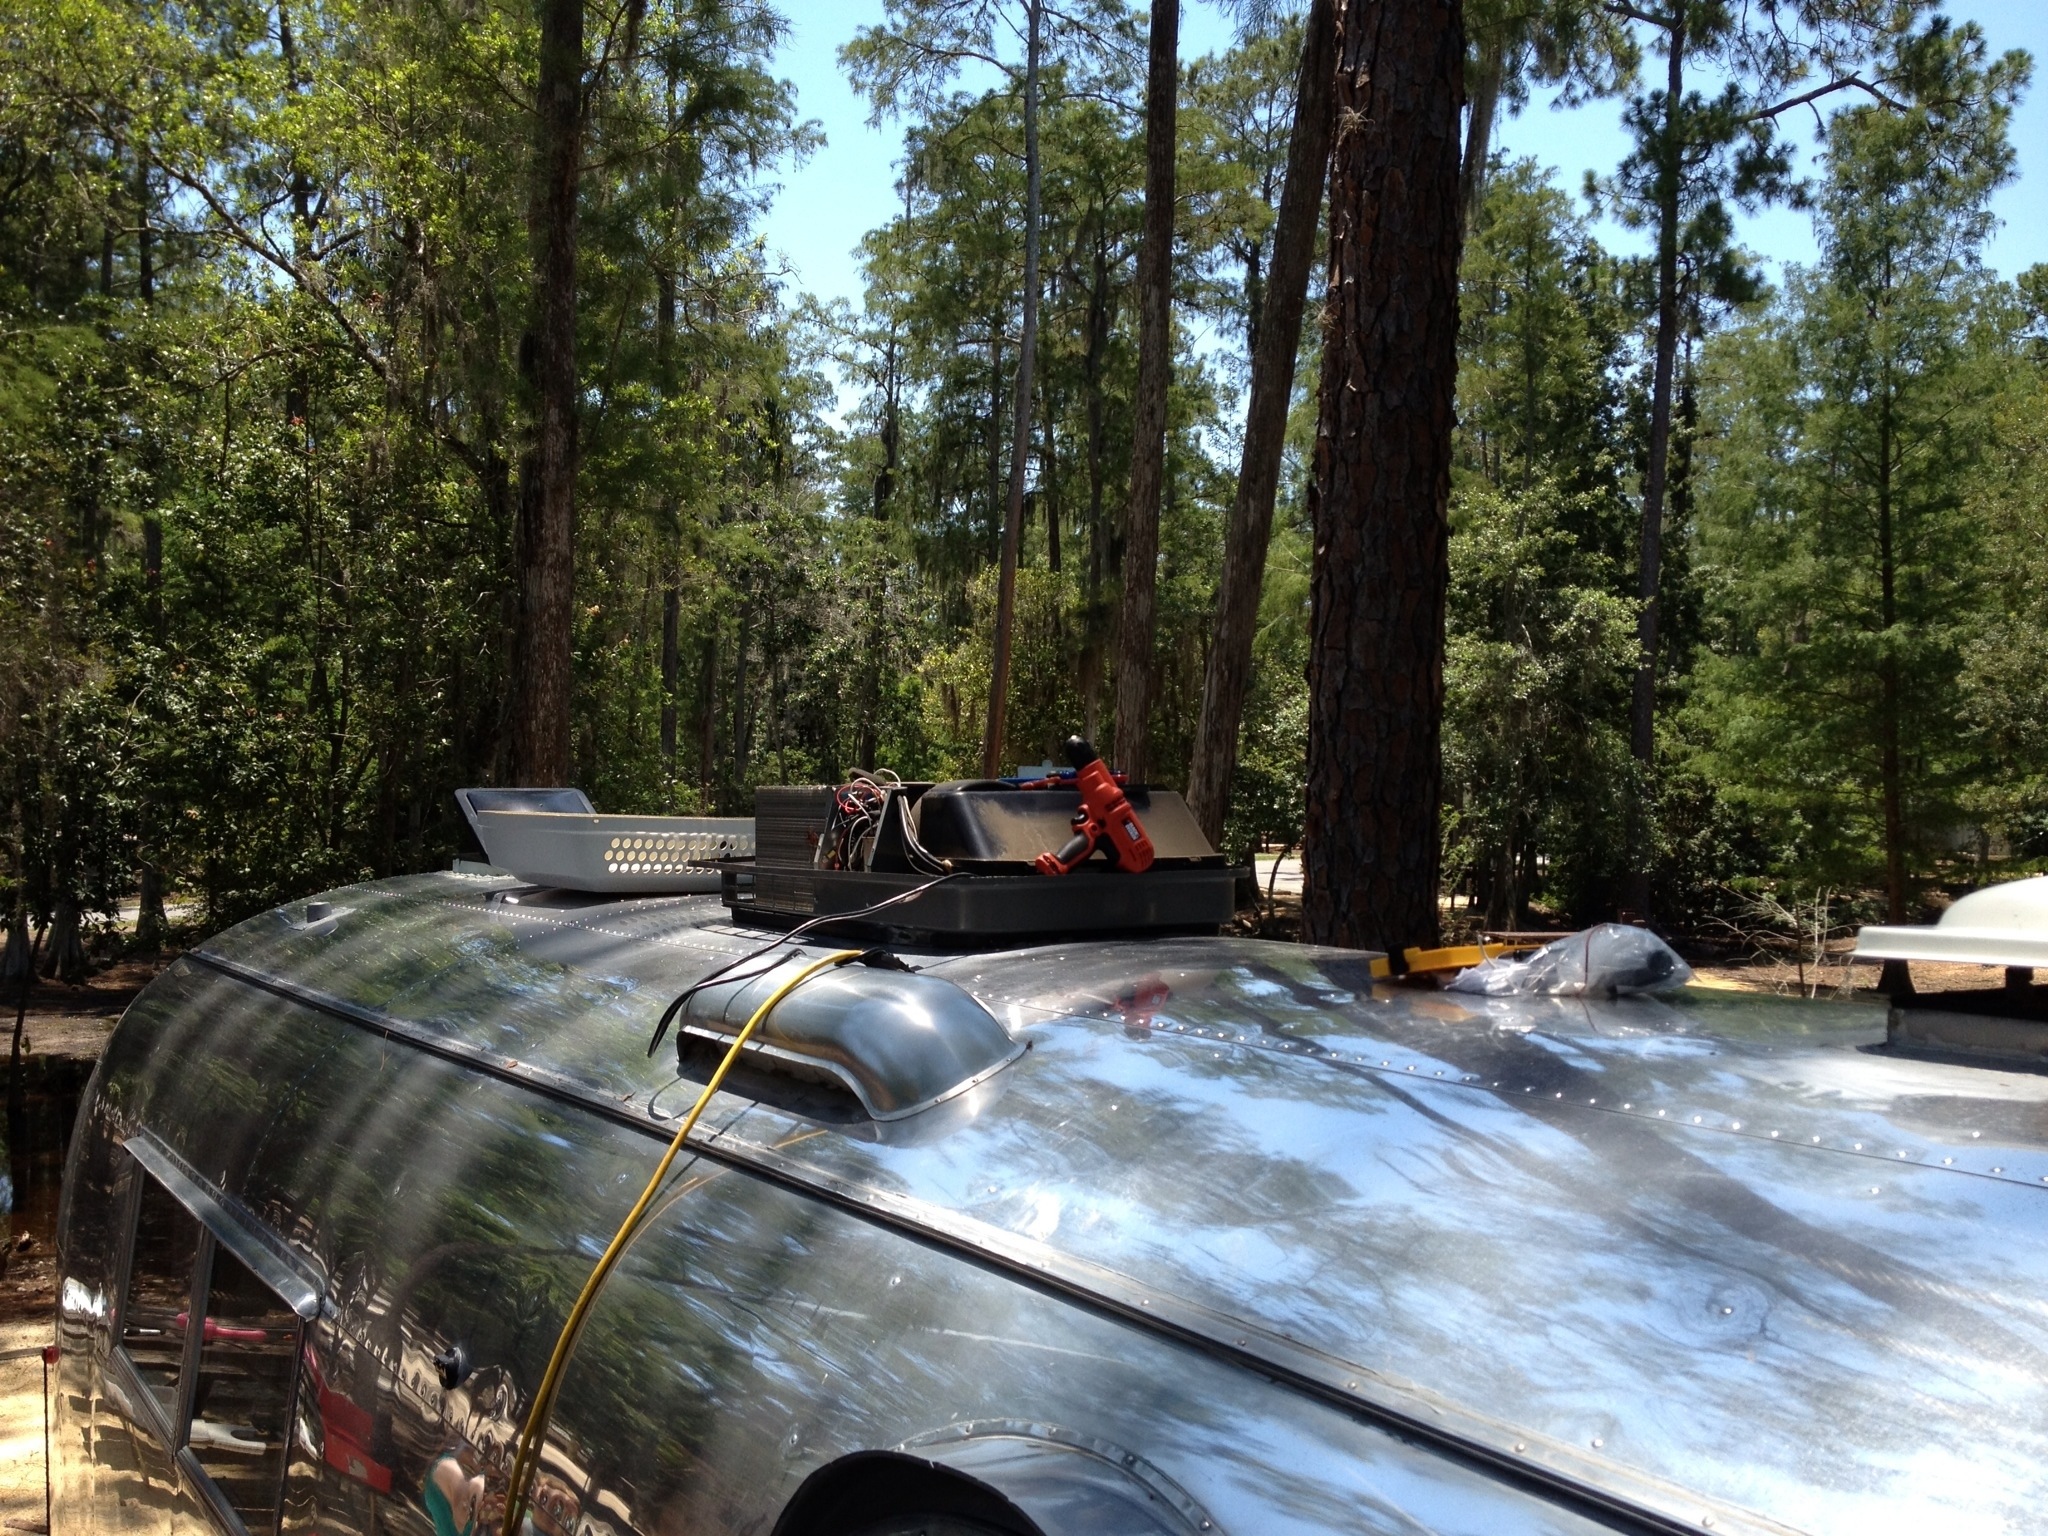
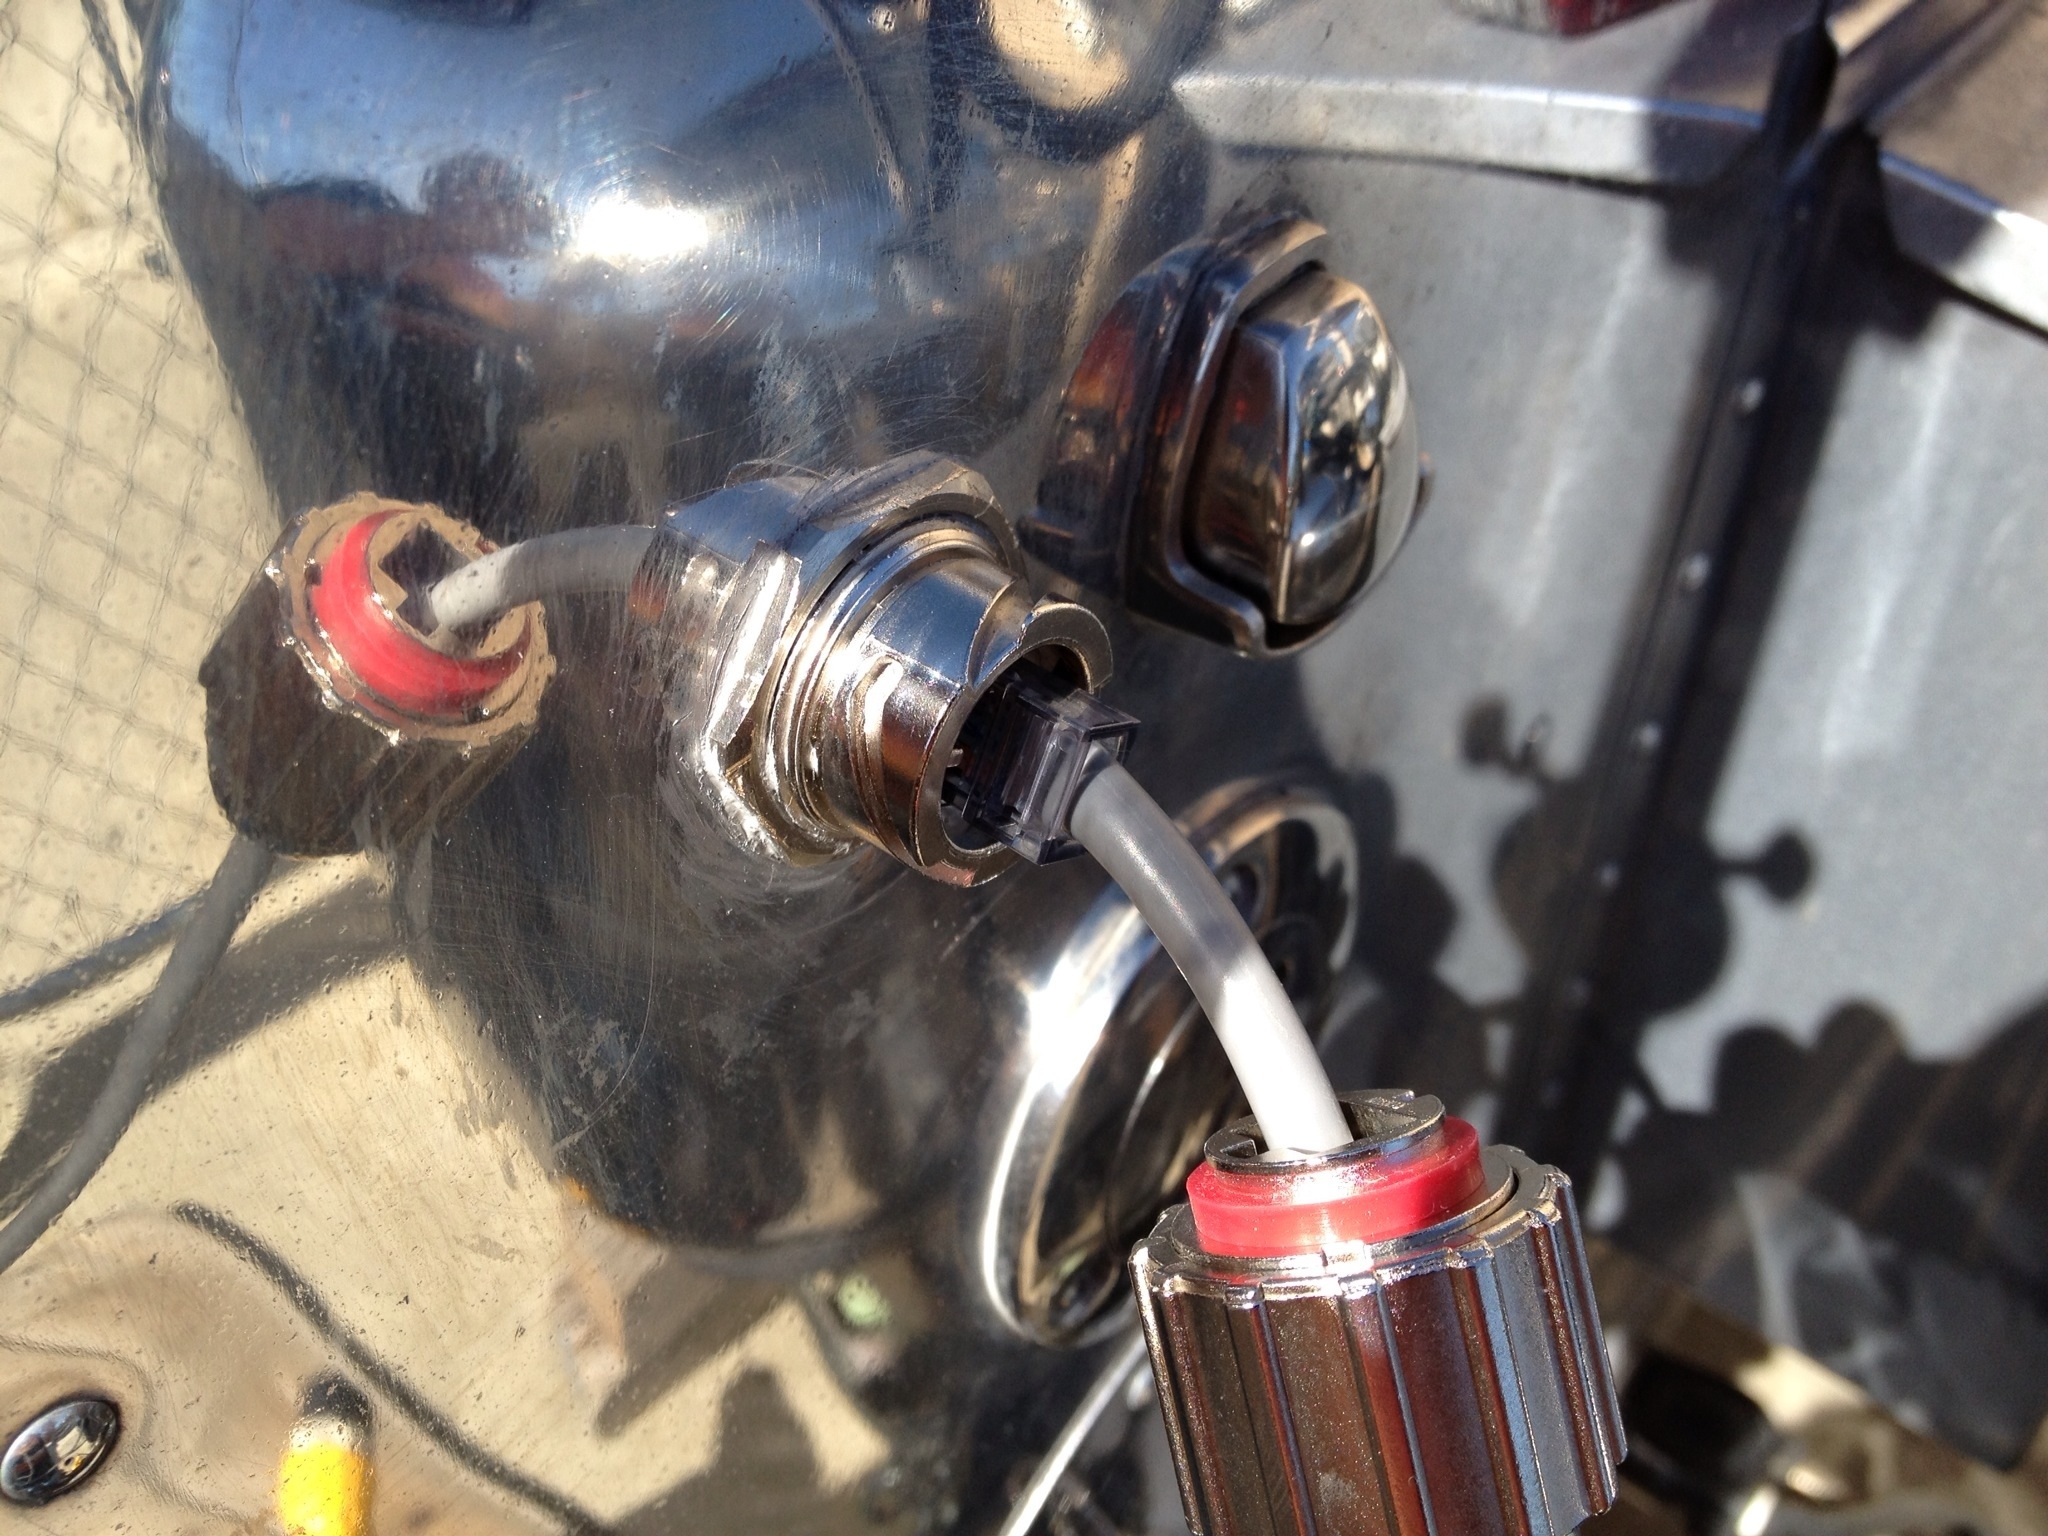
I followed the instructions closely since I don’t know anything about air conditioners. The instructions are pretty clear and easy to follow. Here is the area with the parts I needed to get access to. The start capacitor is in the very bottom, black with a metal strap holding it in.

20120629-221409.jpg

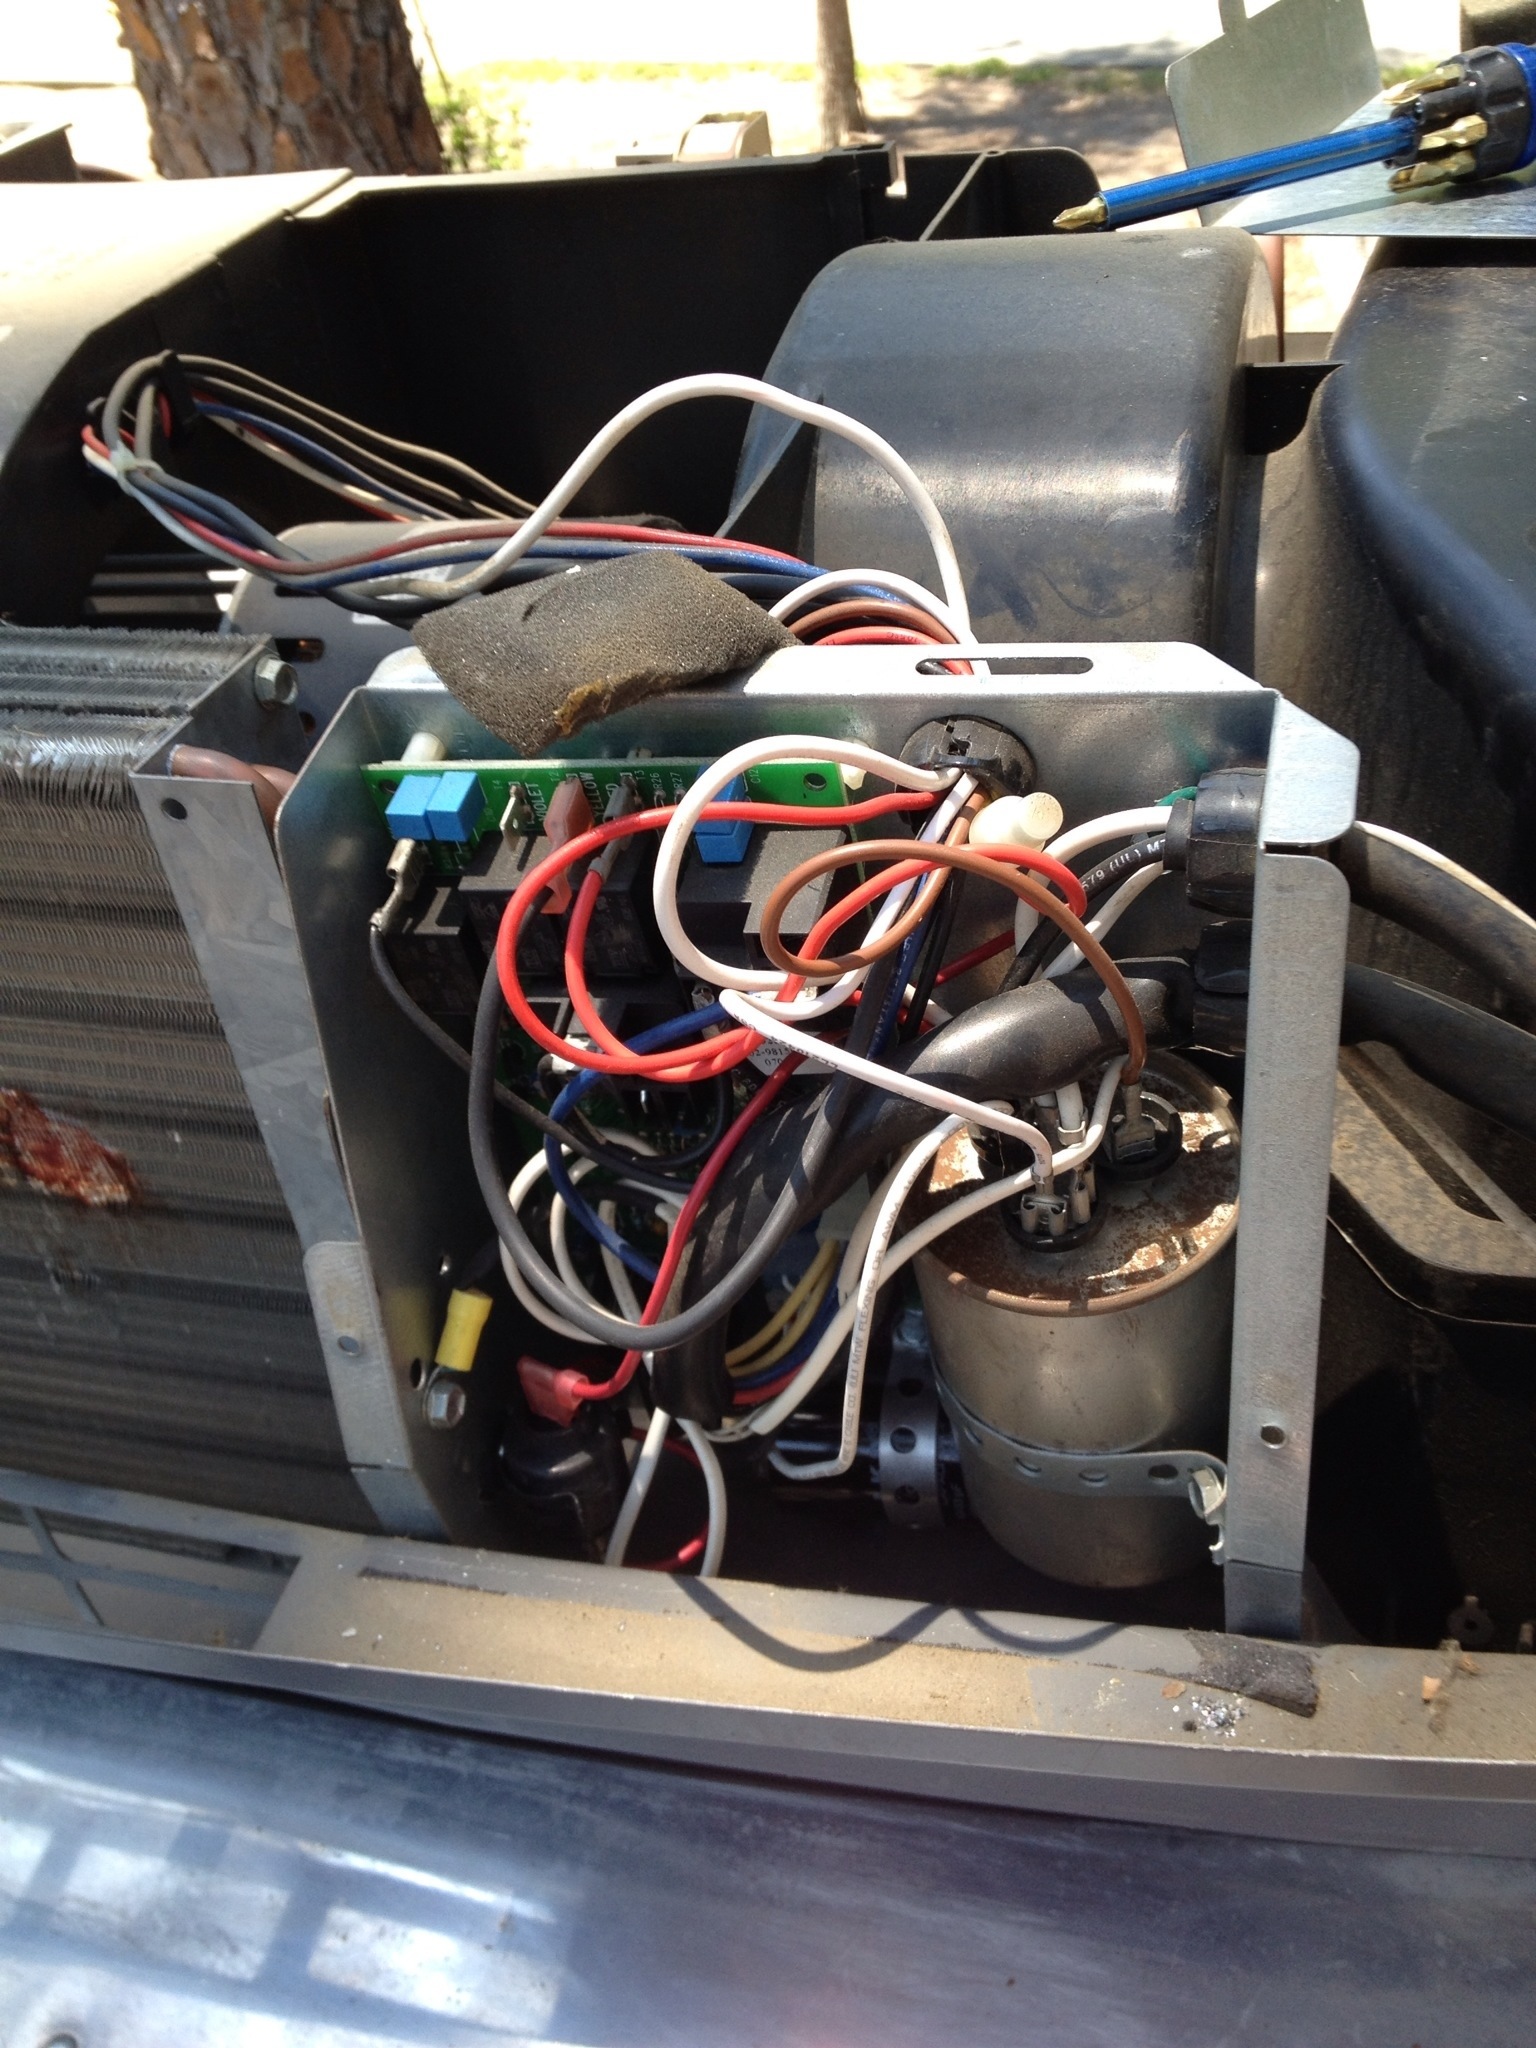
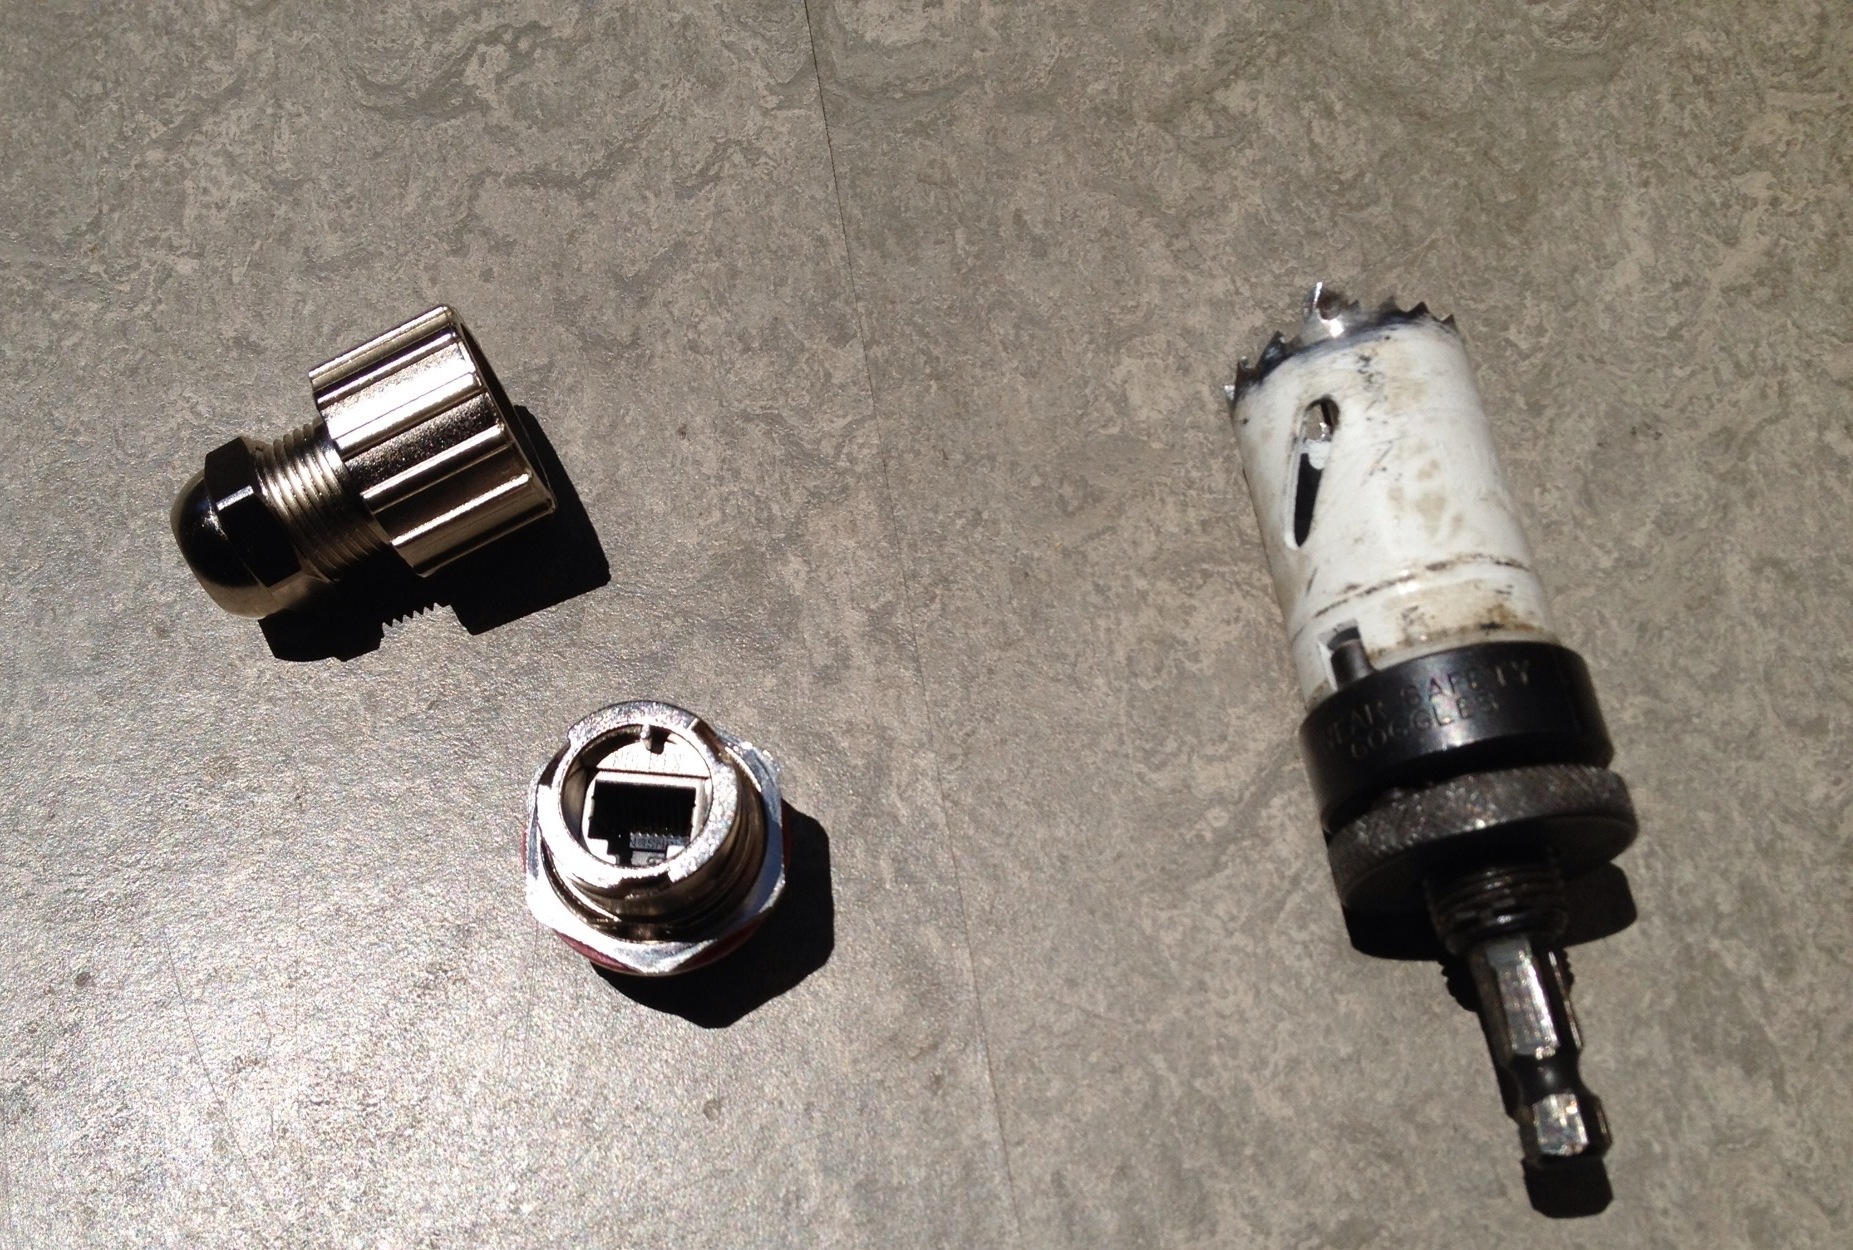
After I got this access cover off, I could smell the burnt electronics, that I had a slight whiff of inside the trailer. Once I pulled the old starting capacitor off, I could clearly see the burnt PTCR. The original PTCR was mounted right on the capacitor. The replacement parts had a separate PTCR which required a new mounting hole to be drilled.

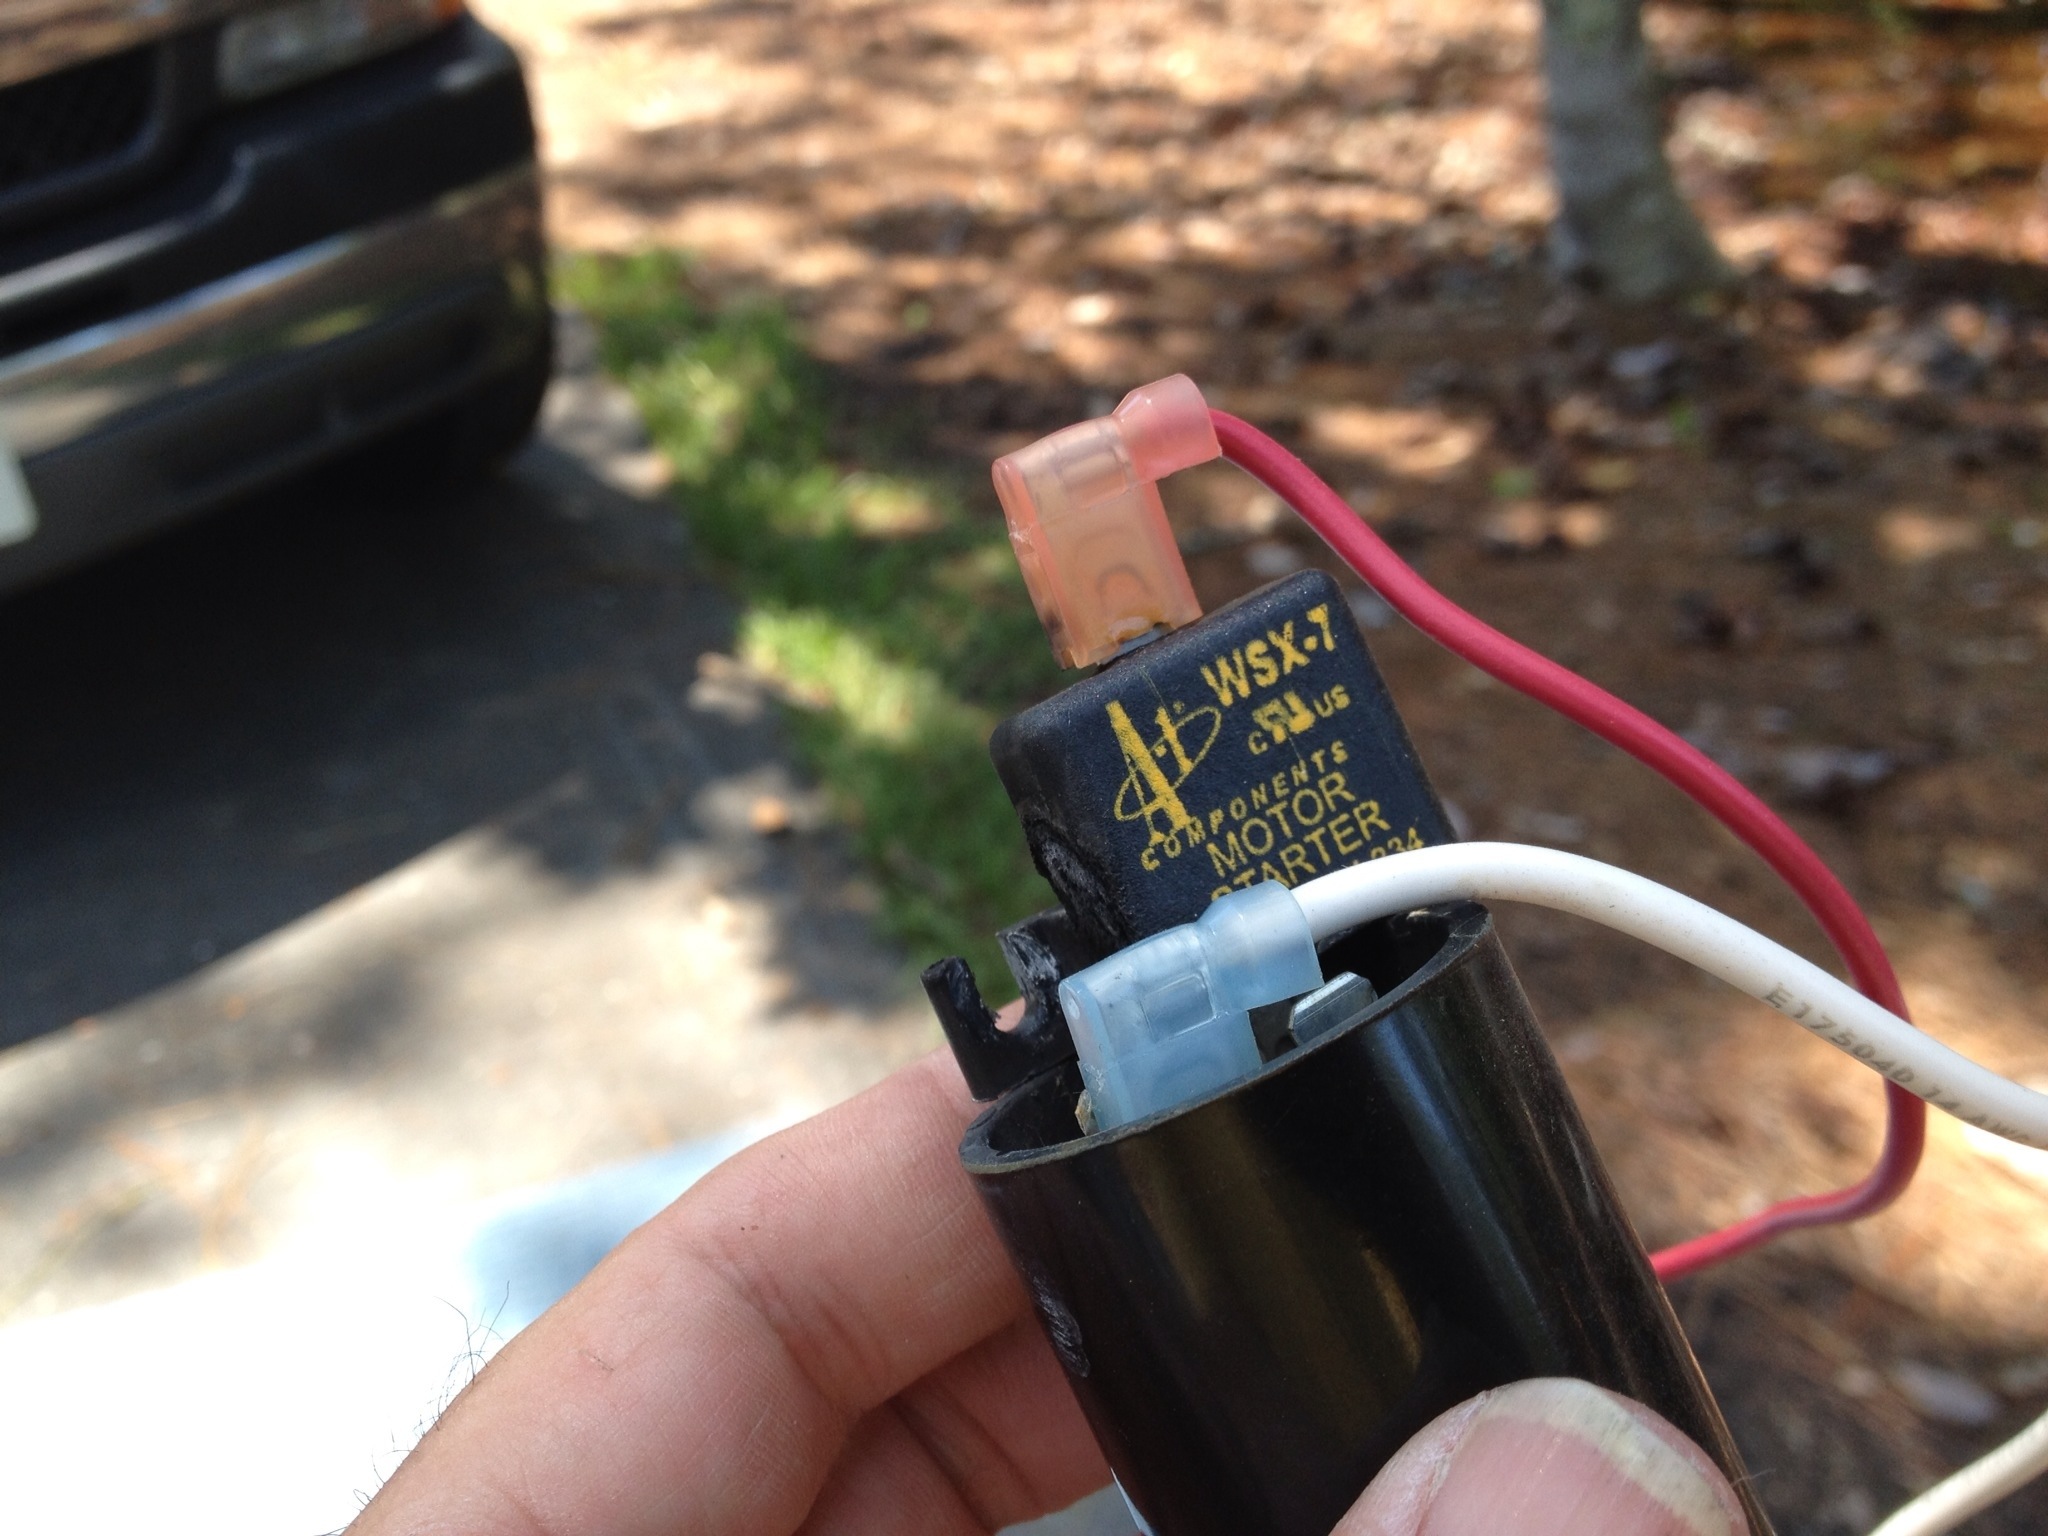
Here is the old burnt one.

20120629-222200.jpg

After mounting and wiring everything as per the instructions, I fired it up with my voltmeter ready to take a reading. Since its a heatpump it takes three minutes to start once it’s turned on. When your waiting, that’s the longest three minutes ever. I had a reading of about 116vac, when the compressor kicked it, the voltage dropped to about 112vac, and kept humming along! Seconds later cold air was blowing! Success!

I would not recommend this field repair to anyone, but I really needed a working A/C in Florida now. It’s hot and humid here and we have some pretty hot states to travel through to get back to CA. Hopefully with the improved parts, it will last for years to come.

Facebooktwitterredditpinterestlinkedinmailby feather

Installing the 3G antenna

As I mentioned on episode 163, 3GStore.com donated a 3G/4G antenna for our trip. They included the adapter cables that I would need as well.

Ideally you would mount this outside. But I really didn’t have enough time to do that properly. Also I don’t know that a cell service is something that I will be using for the long term.

Here is a photo the the USB modem and adapter cable.

20120615-170934.jpg

3GStore.com also sends some cable to be able to mount the antenna outside. That cable adapts into the round fitting shown above.

The antenna is about 10″ tall. About the diameter of a soda can.

20120615-171748.jpg

I “mounted” the USB modem with industrial Velcro. I drilled a small hole into the upper cabinet where I mounted the antenna.

20120615-172723.jpg

So here it is in the cabinet. It would be better to cut the antenna cable to length, but I’ll have to run with this for now. It should be better than the antenna built into the modem.

20120615-173010.jpg

Facebooktwitterredditpinterestlinkedinmailby feather

Millenicom donated a 3G Aircard

The Millenicom folks have graciously donated a cellular aircard for our cross country trip. The service is the 3G Advanced Plan which uses Verizon as the provider. Millenicom is a reseller of data service from a number of providers. They offer increased data caps, no contracts, and you can stop and start service as needed. Seems perfect for the RVer. Check them out.

Millenicom 3G USB Air Card

I’ll be reviewing the device and service after we return. I picked this specific one because it has been tested with the WifiRanger. I would have rather had a 4G card but they did not have one tested for the WifiRanger and I didn’t have the time to do it myself.

Facebooktwitterredditpinterestlinkedinmailby feather

Mounting the WFRBoost

As I mentioned in the previous post, I ordered a waterproof RJ45 plug to mount on the outside of the trailer. Of course you don’t have to do that. You can find another way into the trailer with the wire like the refrigerator vent, cable TV line, etc.

I’m not super happy with the jack I found. It’s zinc coated and not stainless like my water fill and vent that I mounted it next to. It does have a water proof cover for the network wire while it’s plugged in, so that is nice.

20120608-205533.jpg

Left is the cable cover, center is the feed through jack, and of course a hole saw :-). On of the things I don’t like about the jack is that the nut is on the outside of the trailer, I think it should be on the inside wall. I know, picky picky. Not shown is a water proof cover that I also purchased in case I end up pulling the antenna off for some reason. I just bought it all at the same time because if I decided I need the cover a few years from now, what do you suppose the chances are of me finding it then?

Drill away. I decided to mount it next to the fresh water tank vent. I had already run the network cable inside the trailer.

20120608-210138.jpg

I decided not to use the supplied rubber gasket. I just used some good ol vulkem instead. This shot includes how the water proof cable cover attaches and secures onto the jack with a quick twist lock.

20120608-210423.jpg
20120608-213043.jpg
Inside shot.

20120608-211452.jpg

Next on to the WFRBoost itself. It comes pre-wired with a high quality outside rated network cable. I had to remove the cable since I was going to use a much shorter one. I also needed to have a cable a little more pliable so that it could extend and contract in my telescoping mast. I did use an outside rated cable and reused the weather putty tape that WifiRanger installs on the WFRBoost connection. This keeps any moisture out. I wanted a nice transition from the mast to the boost. One that protected the cable when raised and lowered and kept the cable in control. This is what I came up with.

20120608-211046.jpg

20120608-211124.jpg

I basically did something very similar at the bottom, only I secured with screws.

20120608-211249.jpg

So here is the final result. I can lower the mast for travel, and extend it when at a campground for better coverage. The network cable stays inside the mast. I did put somewhat of a coil into the cable before securing inside the mast. I’m not sure the long term viability of this solution with network wiring, time will tell. I’m sure most of the time, I won’t even need to extend the mast, but I can if I need to.

20120608-212926.jpg

20120608-212940.jpg

Facebooktwitterredditpinterestlinkedinmailby feather

The WifiRanger

Like most people these days we like to stay in touch with our email, Facebook updates, etc while camping. On our last camping trip we had no cell coverage so we had to rely on the campground’s wifi. Trusting the campground wifi is always a luck of the draw. Usually they have limited coverage. You have to be in the right site to get it to work. Or simply walk around outside until it works. Some of the worst ones advertise wifi but it only works “in the office”.

This time we were not so lucky. The wifi dropped constantly. The wifi would work, and then be gone. It was very frustrating. We had all these great photos of Yosemite and no way to share them.

I decided to start looking for a better solution. I know we could get a cellular modem device, but some campground’s don’t have cell coverage. Also a cell modem requires a monthly fee. I’m generally opposed to payments.

I decided to work on getting a stronger wifi signal inside my trailer. From my research I found there are two ways to accomplish this. The first requires a wireless access point with external antenna capability. You install an outside antenna on your trailer and run the antenna cable inside to your access point. The antennas generally need to be directional because there is a lot of signal loss in the cabling. This means you have to adjust your antenna each time you move your trailer The second method is to put the wireless device outside and run the network cabling into the trailer. This eliminates the radio losses over the wiring. The problem here is that you need a device that can standup to outside abuses. You don’t want to have to stick an expensive electronics device outside on top of your trailer that wasn’t built for it.

I stumbled across a product that seemed to take all of these considerations in their design, plus a few more that I hadn’t thought of. The product is called WifiRanger with RVBoost Mobile. I contacted the folks at WifiRanger about my wifi hard times and they offered to send me a unit to review for the show. It arrived lightning fast.

Here are the components.

20120602-210430.jpg

On the left is the WFRBoost antenna. It is built with a custom aluminum bracket made to be mounted to a mast or Wingaurd TV antenna. The idea behind this is the WFRBoost can bring in wifi signals from 1000m and send them down the network wiring to the next device, the Wifi Ranger.

The lower right shows the Wifi Ranger which is the heart of the system. The Ranger is a network router similar what you might use at home, but it has some extra features helpful to the nomad. The typical router can only share the Internet it is provided from another device hard wired to it. The Ranger can share the Internet that it receives from a wifi signal. This is the ‘killer app’ of the Ranger. The Ranger creates a separate network inside your trailer for all your laptops, phones, and pad devices. The Ranger then shares the Internet it receives from a wifi service like the campground, to the private network in your trailer. This is beneficial because the Ranger will have better capability of bringing in those outside signals, especially if the WFRBoost is used. Your computers, phones, etc., only need to connect to the Ranger’s private network inside your trailer, no more holding your phone to the window trying to send that email. Also the network engineer of your group can enjoy the vacation too because you no longer have to worry about changing network settings. Your personal devices always stay on the Ranger network, it handles the job of finding the Internet and bringing it you.

Above the Ranger in the photo is the optional mounting bracket. This bracket cleans up the install and provides power to the Ranger and the WFRBoost. There are also two USB ports for charging your phones or iPads.

The installation consists of mounting the Ranger and wiring 12vdc to it, mounting the WFRBoost antenna outside, and running the included weatherproof network cable inside the trailer. That last part is usually the hardest part. I’m guessing that a lot of people either follow an existing roof penetration like for the TV antenna, or run it down the refrigerator vent. However you do it, be sure to seal up any penetrations you make, including to the refrigerator chimney and the living area. I decided to install a waterproof network jack on my trailer. It will be here next week.

Lucky for me when I had my trailer apart I ran a cat5e network cable from my main electronics center on the curb side of the trailer to the street side. I never had the need for it in five years, but now I do. Always run extra wire! This cable will bring in the signals from the WFRBoost.

I decided to install WifiRanger on the panel next to my refrigerator. This spot was good because it was out of the way, had easy access to my wiring, and would make a convenient place to make use of the USB charging ports. I usually try to hide technology in my vintage trailer, but I decided the access to the charging ports was worth the trade off.

Using the optional mounting plate is quite the commitment because you have to make a few non standard holes in your mounting surface. The plate comes with a mounting template that you stick to the wall. I used a dremal tool to cut my holes. If you prefer not to make extra holes in your trailer, go with the standard kit.

20120602-215231.jpg

20120602-215337.jpg

20120602-215313.jpg

This mount is intended for places where the rear will not be seen. Mine will be seen on the inside of my pantry so I’ll have to build a cover of some kind to keep the electronics safe. It would be nice if something was provided to do this.

20120602-220115.jpg

The blue cable is my spare network cable that will be used for my WFRBoost. The mount accommodates the Ranger with pre-installed screws. The shape of the Ranger does a good job of hiding the wiring hole.

20120602-220442.jpg

20120602-220547.jpg

My vintage trailer still has the original TV antenna mast, complete with the working rotor dial. I’m going to make use of it by mounting the WFRBoost to it. My mast is telescoping so I can raise it higher than the trailer once setup at the campsite. Unfortunately the u-bolts included are 1″ and I need something slightly larger. The bracket for the boost also uses fixed holes for the 1″ u-bolt instead of slots. I’ll add this change to the list of my suggestions. For testing I used a nylon tie and attached it to the mast.

20120602-221320.jpg

20120602-221343.jpg

During the setup I created a VAP_wifi network in the Ranger. This will become the new private internal trailer network. Next I allowed the ranger to access my home network and shared the Internet to the newly created trailer network. It worked great. I now have internet being delivered by the Ranger inside my trailer. After going through the configuration, I noted that I could only pick up my home networks along with the new Ranger network on my phone inside my trailer.

20120602-221541.jpg

Once I activated the WFRBoost outside the trailer on the mast, I did a scan. The Ranger system was able to pull in 24 wifi networks from around my neighborhood.

20120602-230132.jpg

The system is working. It’s picking up networks external to the trailer and rebroadcasting them on a private internal trailer network. So far so good. I did some speed tests and it seems fine. One thing to note is my home uses all N networking with gigabit switches and routers and cable Internet access. It’s the fastest I can make it. While the WifiRanger itself is also an N network, the Boost portion is not. The reason is the Boost product is manufactured by a different company and it is only produced for the slower b/g networks. So you will get slower speeds going through the Boost than you will going direct. There is also some latency because of the processing of the Ranger between networks. I did see speeds of over 7Mbps through the WifiRanger, so it’s nothing to bat an eye at, not to mention the majority of campground networks are going to be b/g for compatibility.

20120602-230407.jpg

Next post I hope will be the install of the weatherproof network jack on the Ambassador next week. Then I can’t wait to get some real world tests on this WifiRanger!

Facebooktwitterredditpinterestlinkedinmailby feather