Author Archives: Tim

Owning an Airstream will change your life.

Airstream RV will change your life

June 28, 2013|By JULIANNE G. CRANE, Motor Matters

Owning an Airstream will change your life.

“It adopts you into a family of fellow trailerites whose love of aluminum shares a common bond,” says Tim Shephard, host of the popular The Vintage Airstream Podcast (thevap.com). “It’s like joining a culture.”

Individuals who commit to refurbishing a decades-old Airstream are paying homage to an American icon and often say they dream of simpler times from a lost era. “They remember seeing Airstreams in their childhood many years ago,” says Shephard, “and, owning one, no matter the age or condition, seems to satisfy a calling from within.”

Shephard’s recently published how-to memoir, “Restoring a Dream: My Journey Restoring a Vintage Airstream” (restoringadream.com), offers a unique twist on a classic trailer restoration tale. Along the way, he reveals his personal transformation from tent camping in the California redwoods to rebuilding two classic vintage Airstreams.

“I did not really camp as a child,” recalls Shephard. “After I was married, a friend of mine asked my wife and I to go camping with them. They were in a popup trailer and we were in a tent.” That helped jump-start us into camping and wanting a trailer.”

In 2001, Shephard and his wife, Debra, decided to purchase and restore a 23-foot 1971 Safari Airstream. They did not want to spend a lot of money buying a new trailer because they were not sure if they would enjoy the RV lifestyle. It turned out that the family, including three children, loved camping and the outdoors.

After four years, they sold their 23-foot Safari and found a larger 28-foot 1960 Ambassador Airstream on e-Bay. And as it turned out, the Ambassador needed a lot of work. Over the next year, Shephard spent a minimum of 15 hours a week, using most weeknights and Saturdays to complete the renovation.

“Like similar restoration projects in vintage cars, or antique furniture, it is purely a labor of love,” says Shephard. “Our final monetary tally of $33,000 cannot convey the amount of satisfaction gained from restoring a vintage time capsule and breathing life back into a piece of history that our family treasures. The fact that I did the restoration work myself means that I can continue to maintain and upgrade the Airstream.”

In “Restoring a Dream” Shephard shares valuable information on the four steps — Choosing, Inspecting, Recovering, Restoring — he followed in transforming an Airstream nightmare into a classic icon.

“Choosing” covers how to avoid the “Polished Turd,” searching by era, where to find an Airstream, and what it should it cost. “Airstream has been in business for nearly 80 years, there are many trailers out there from which to choose, so narrow your search by era,” advises Shephard. “The early 1960s called to me. It included real wood interiors, minimum custom parts and a strong monocoque exterior.”

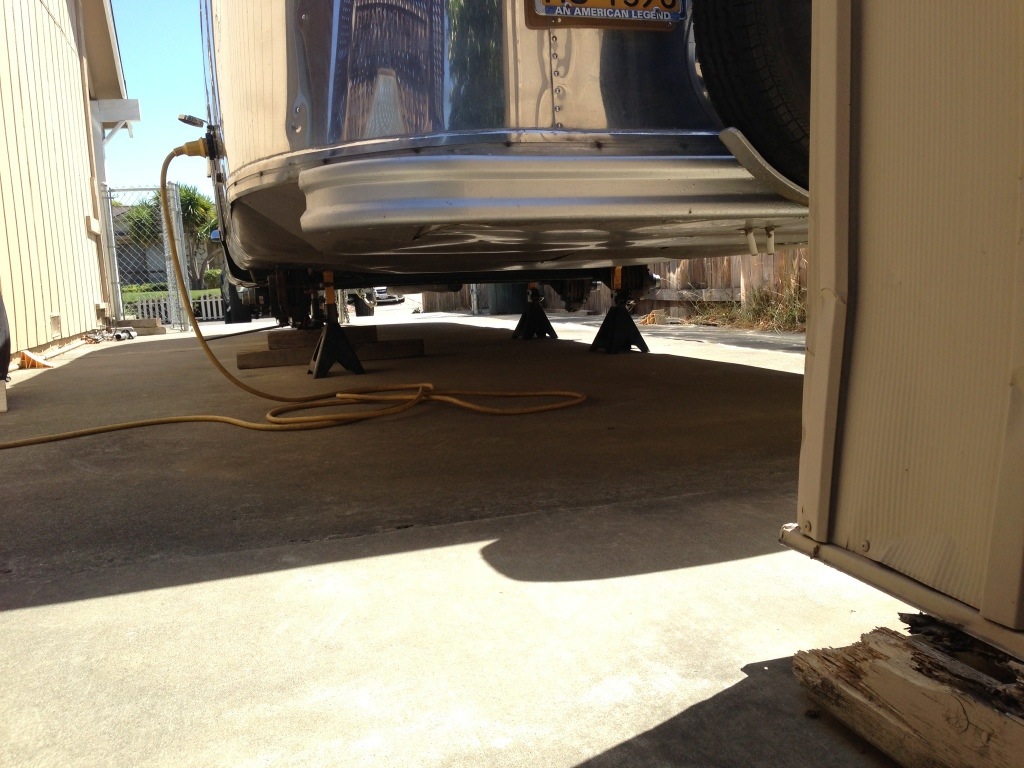
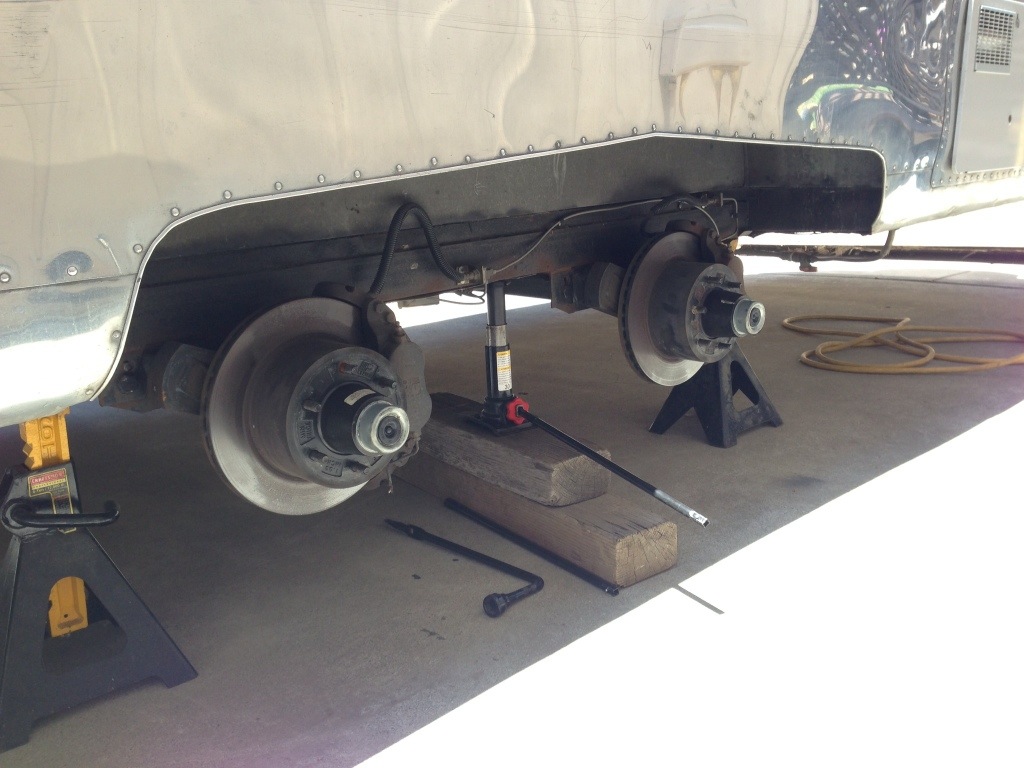
“Inspecting” goes over evaluating skin condition, assessing appliances, and learning about axles. “It is important to understand exactly the extent to which you are getting involved,” says Shephard. With his 1960 Ambassador, he knew that he would be doing a full restoration. “In my case, it was all about attitude,” he says. “Knowing from the start that I was going to be doing whatever is needed saved a lot of heartache.”

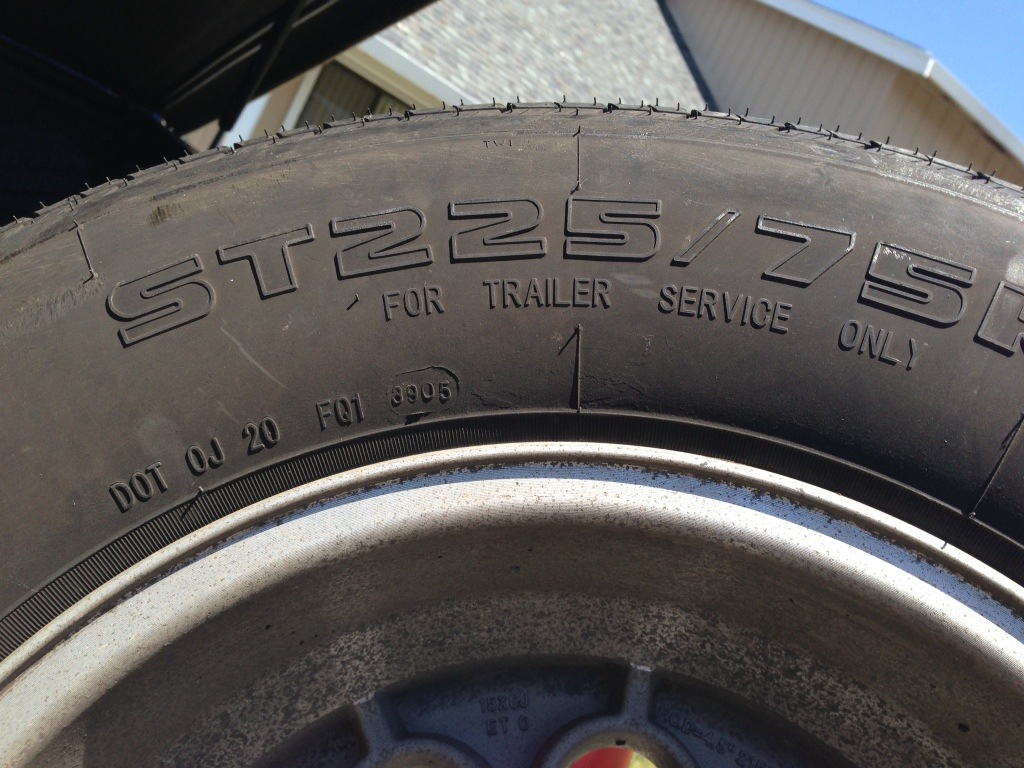
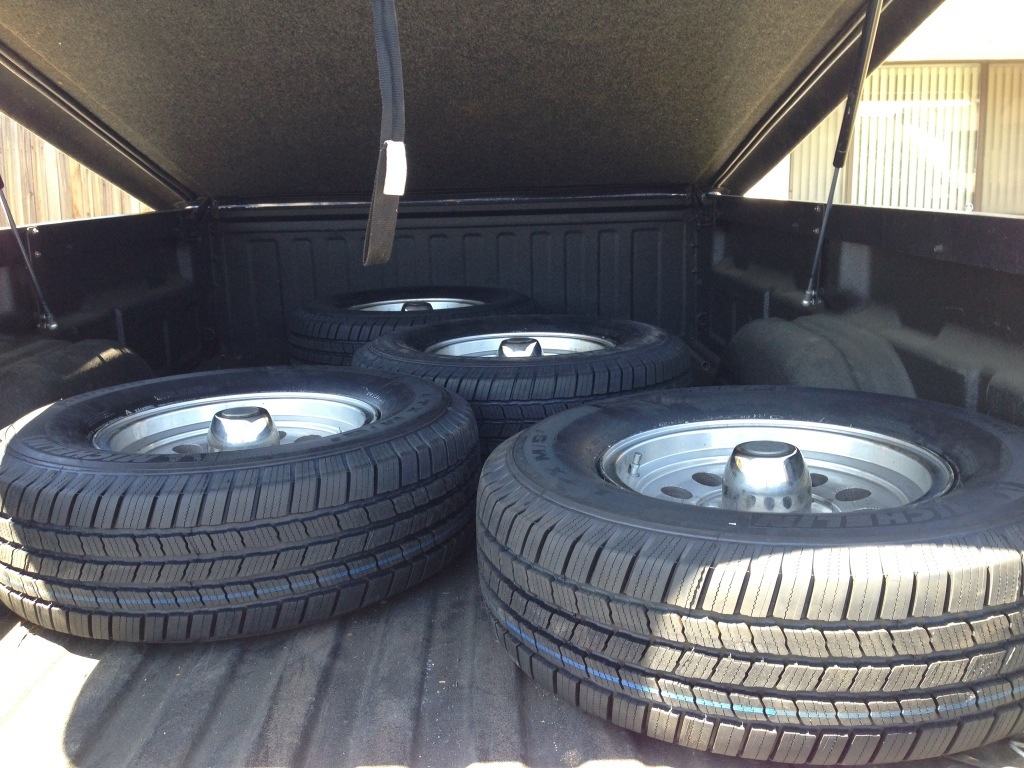
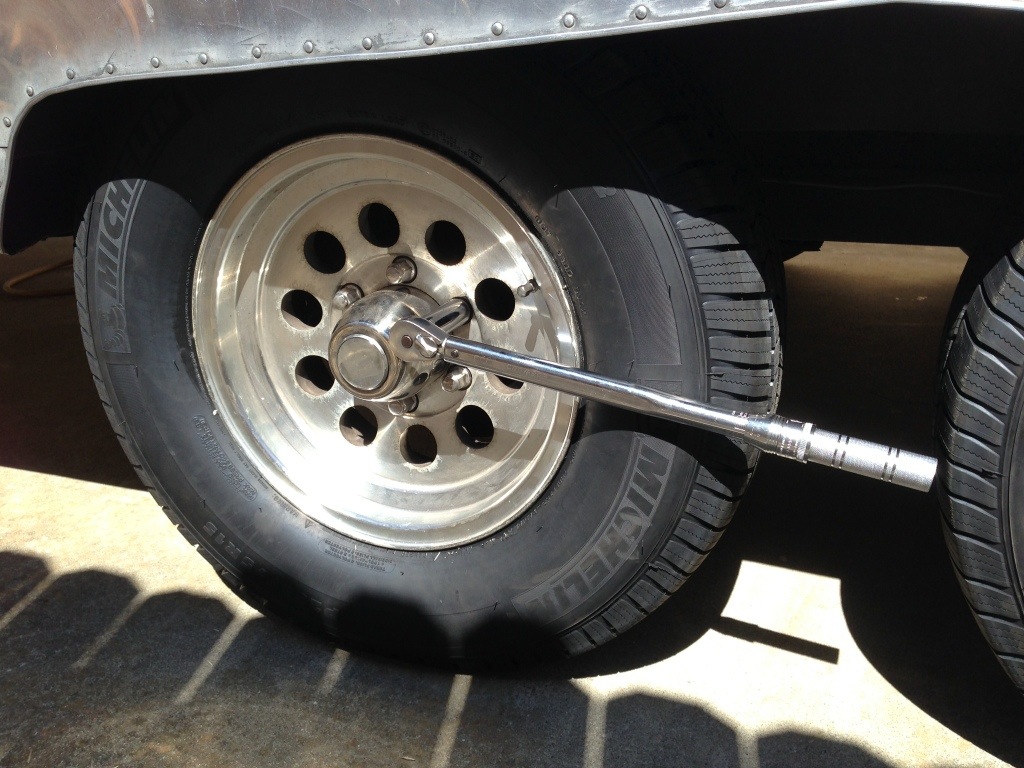
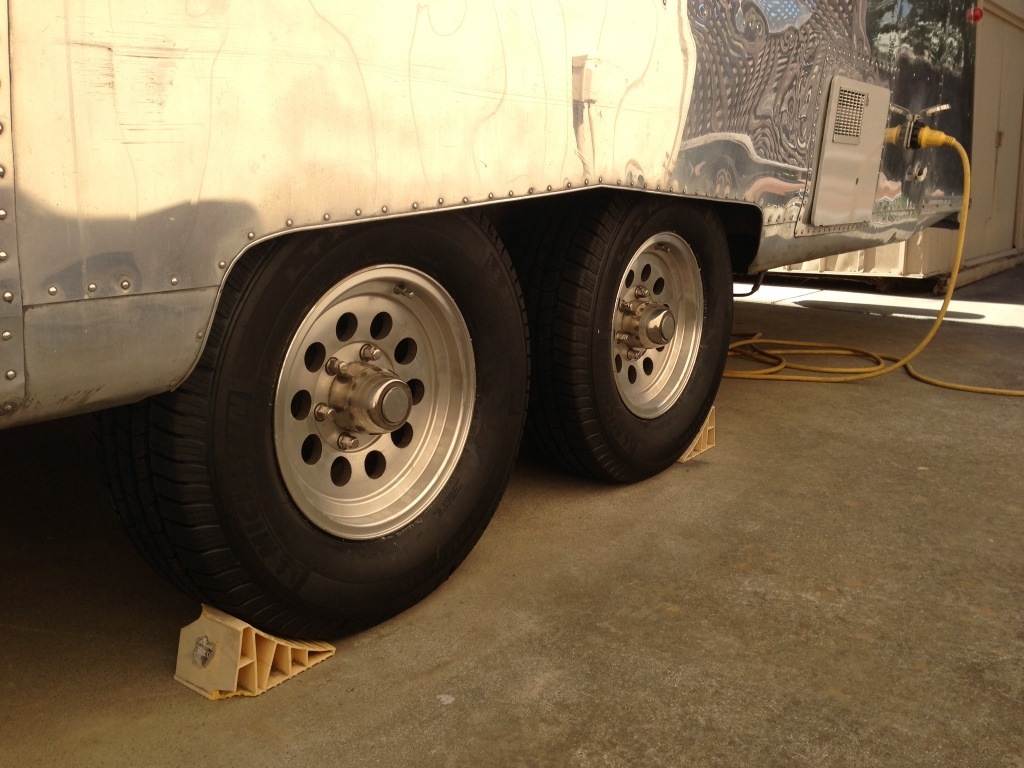
“Recovering” talks about prepping for the pick up and getting it roadworthy. “Bringing the trailer home safely is the biggest first step on your restoration journey,” says Shephard. His 1960 Airstream was 2,400 miles from home when he found it on eBay, therefore he went prepared with four new tires. Once there, he had the brakes and lights checked. “It’s important to have all the safety components working.”

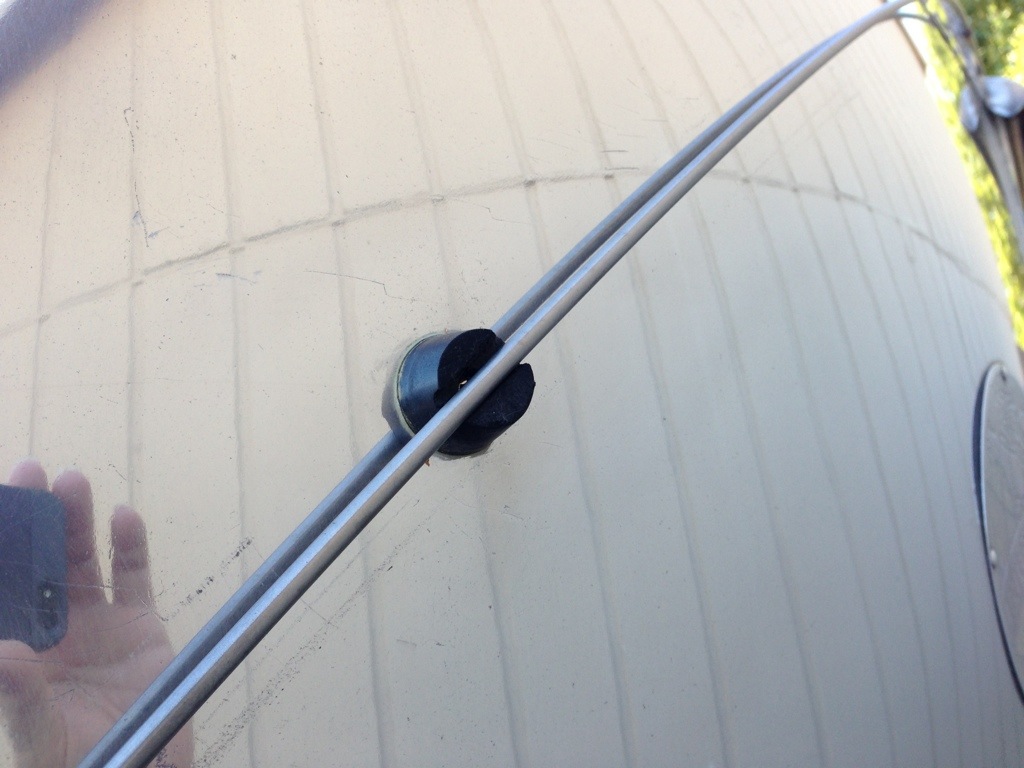
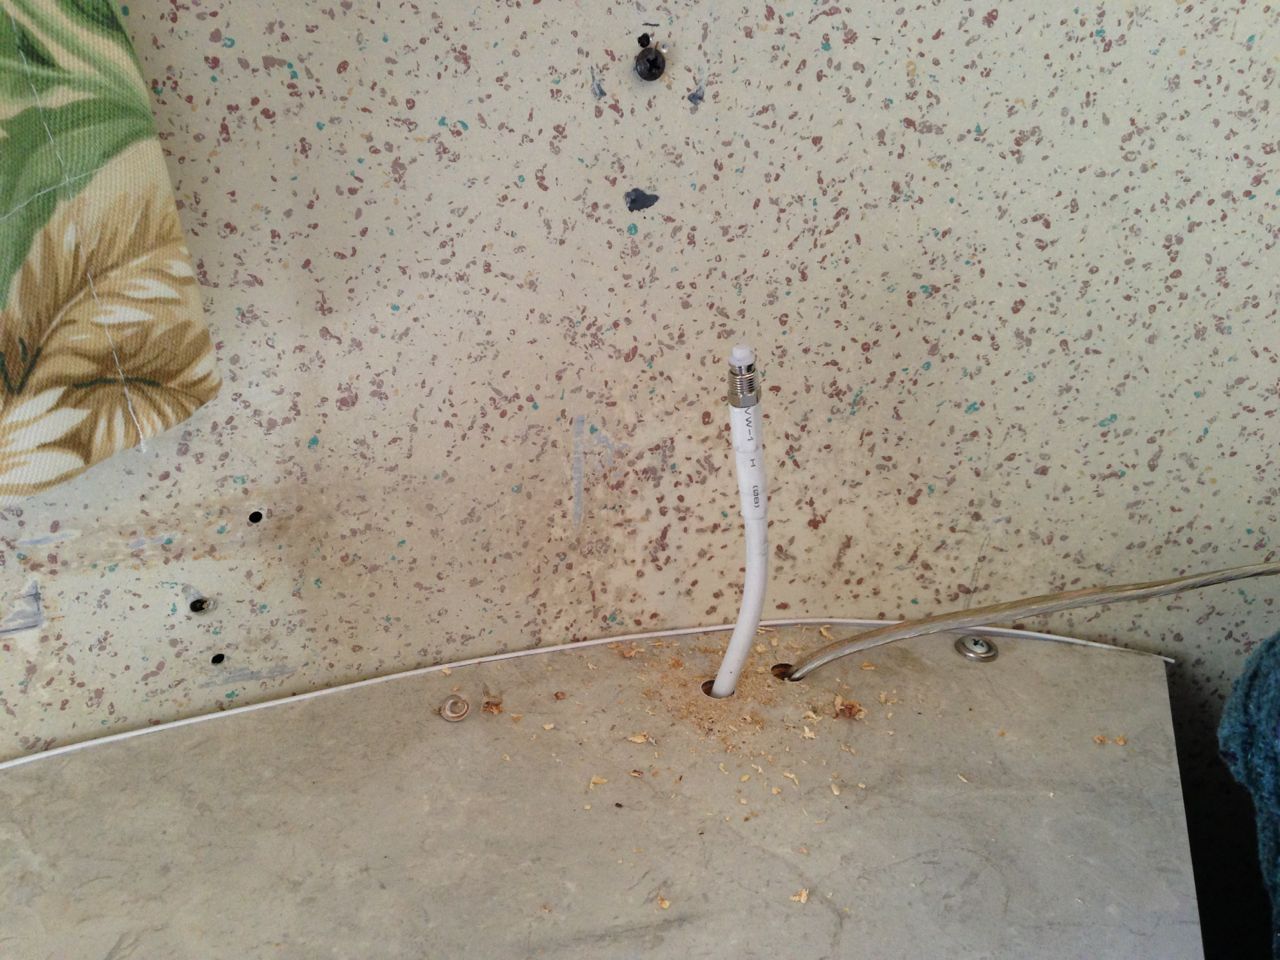
“Restoring” deals with such topics as planning, common problems, frame issues, weatherproofing, wiring and woodwork, plumbing and tanks, replacing appliances, and how to polish. “With the Airstream design, a solid frame, subfloor and shell means you will have a strong foundation for years to come,” says Shephard.

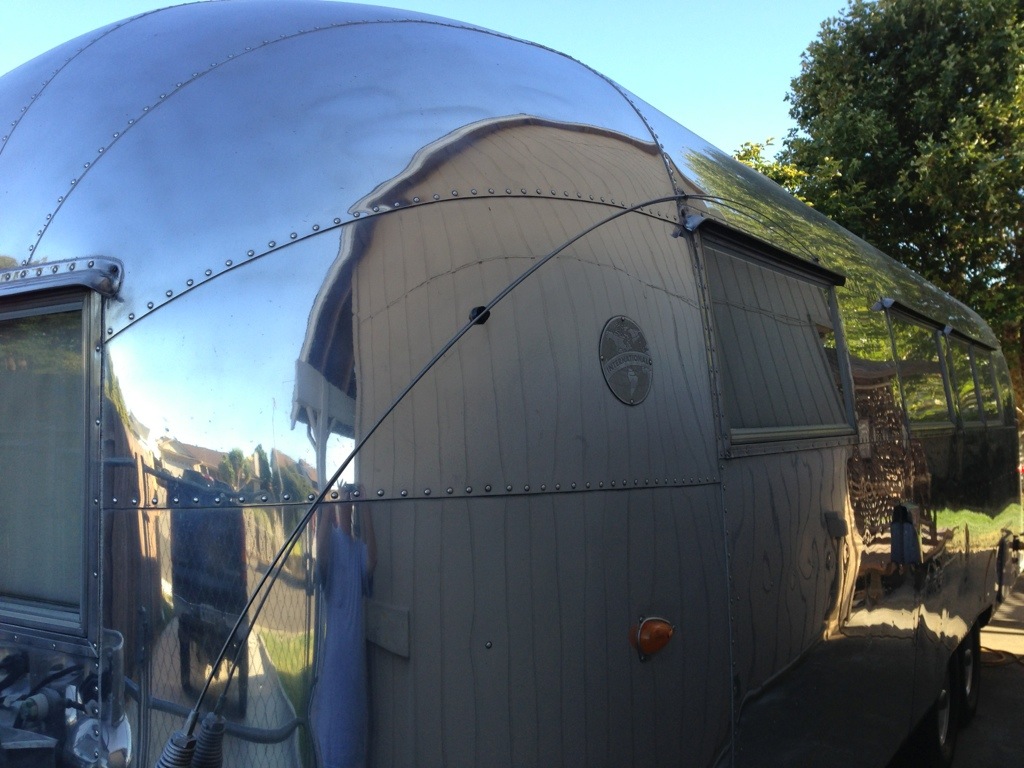
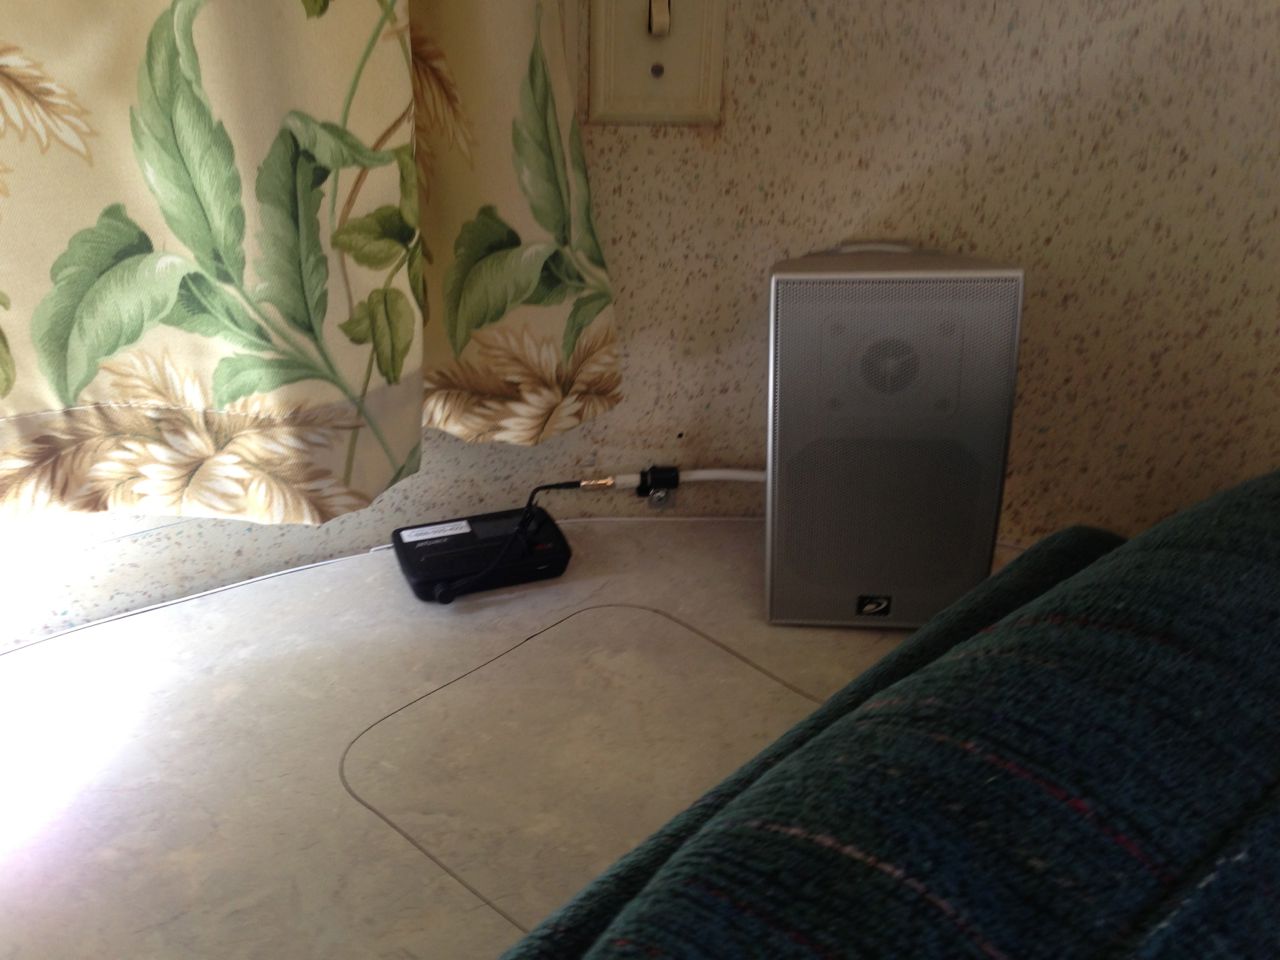
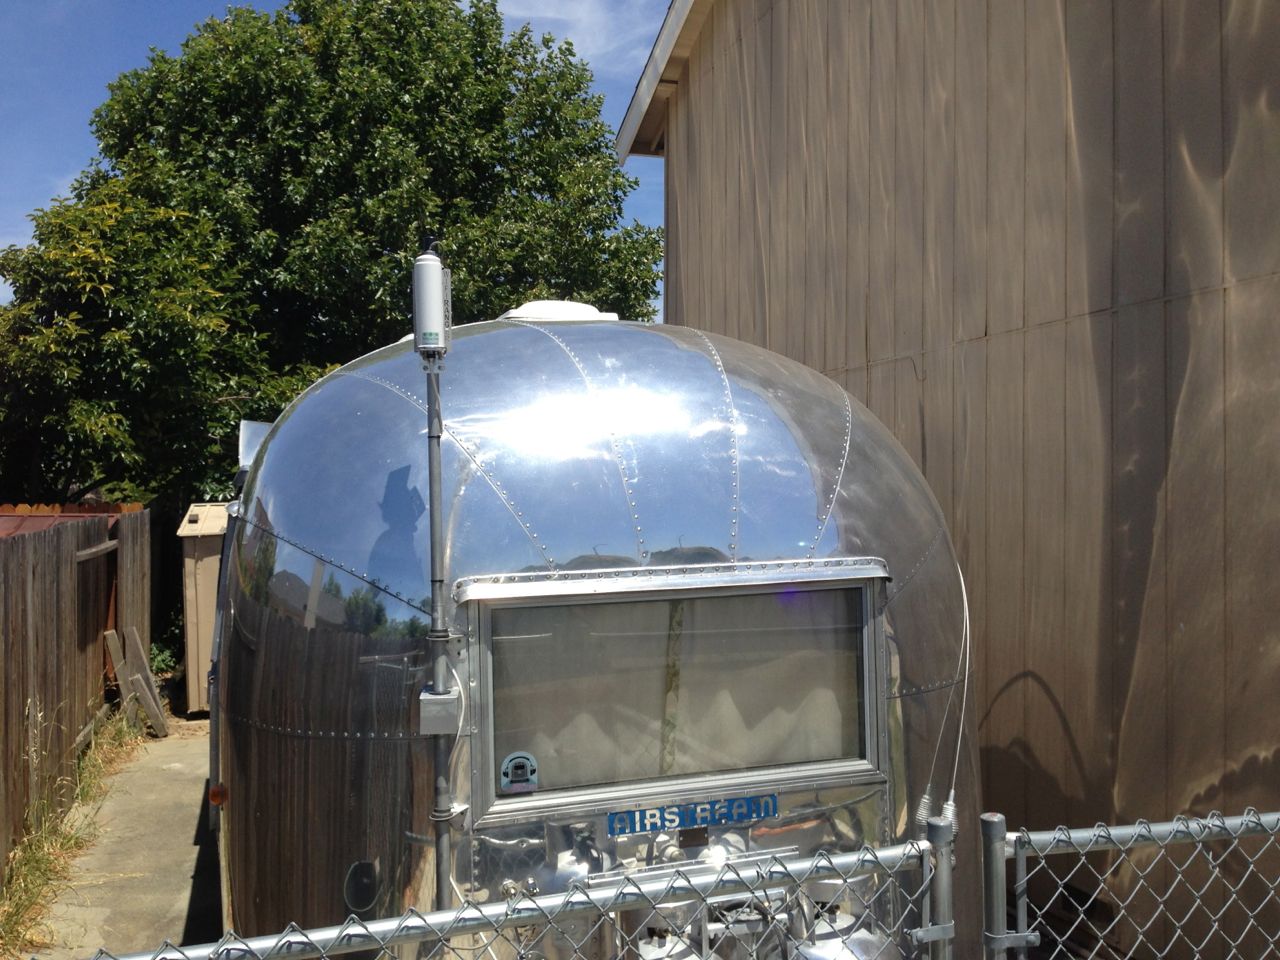
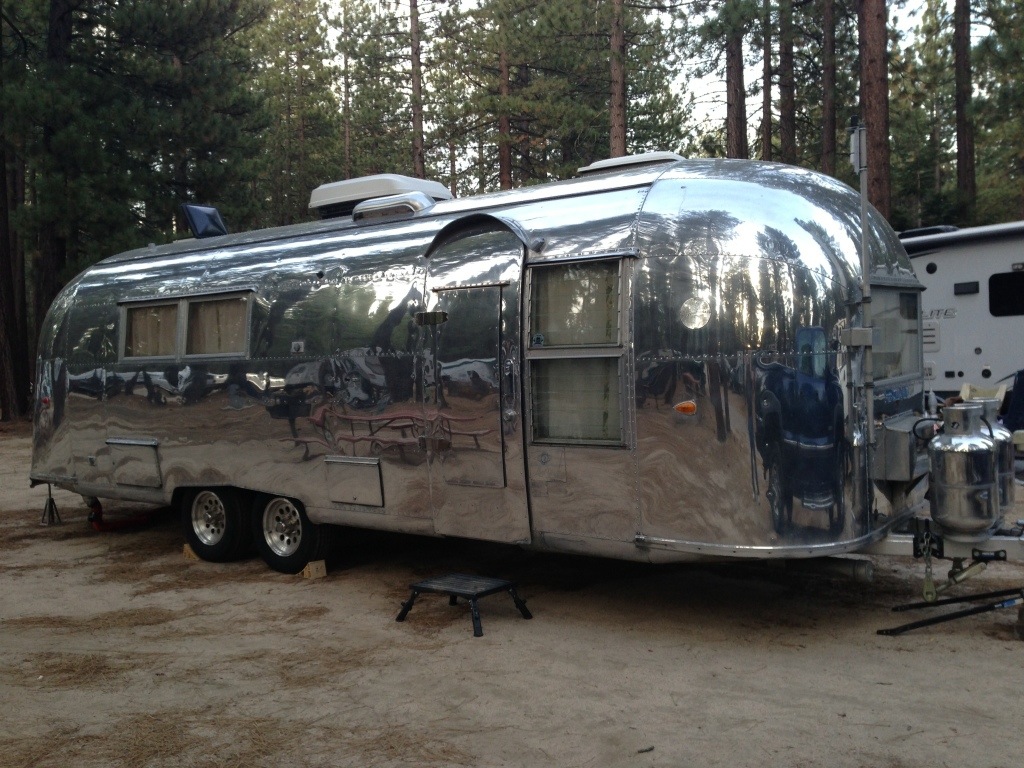
Once structural repairs are complete, “it is time to start with the fun stuff.” He installed new marmoleum flooring, appliances and soft goods. Lighting fixtures were restored and holding tanks were upgraded and replaced. The trailer is in better shape now than when it rolled off the assembly line 53 years ago.

“When people see our highly polished 1960 Airstream,” says Shephard, “they can’t help but smile. It may bring out a childhood memory or a sense of freedom the trailer symbolizes. Whatever it is, we always get friendly honks and thumbs-up while driving the highways of America.”

original article

Facebooktwitterredditpinterestlinkedinmailby feather

Antenna standoff

My 1960 Ambassador has a shortwave radio antenna as an original option. During my restoration I rewired it for use on my am/fm stereo. That’s worked extremely well.

There is a small clip that holds the antenna down during travel and a standoff that keeps the whip from rubbing the trailer. The clip is still good because it’s made of aluminum. The standoff wasn’t much more than a deteriorated nub that finally broke completely. I decided to try and come up with a fix.

In the local home center’s special item drawer I found some thick rubber plugs. I was able to trim one down a bit and carve a notch to hold the whip.

Looks ok and does the job. Hope it lasts a few years.

20130623-063317.jpg

20130623-063330.jpg

Facebooktwitterredditpinterestlinkedinmailby feather

Ambassador Gets New Shoes!

I’ve been thinking for a couple of years now that I should replace the Ambassador’s tires. As I mentioned in my book, Restoring a Dream, I purchased my tires before I even picked up the trailer. The rule of thumb is to replace trailer tires every five years, regardless of how they look.

I kept thinking it had been five years, as it turned out it was much longer. The trailer tires Les Schwab sold me were ST225/75 R15’s made in Beijing China.

20130607-185247.jpg

If you look closely, you can see the four digit date code 3905. This represents the 39th week of 2005. That would make them about eight years old!

20130607-185640.jpg

I started researching tires and found that a lot of people have problems with trailer tires made in China. Even Goodyear Marathons have been getting a bad rap online, primarily the versions made in China. It’s so bad, that these China-made tires have been nicknamed “China Bombs”. The name refers to the fact that they literally explode going down the road and take out a good section of trailer with it. Now is it because the tire is at fault, or is it improper maintenance? Has the tire been overloaded, under-inflated? We may never know, but the ones built in China seem to get the brunt of complaints.

The only ST (the designator for Special Trailer) tire people seem to be happy with are the Thailand-made Maxxis 8008 tire. To my knowledge there are no US made ST tires. The Maxxis seem to be hard to find, but most shops can special order them. One common complaint on any of the ST-built tires is that they are rated for their loads at 65MPH. A lot of people tow at that speed, so they are basically running the tire at the max limit consistently. In general, the common theme regarding ST tires are that they are built to less quality standards then automobile tires. This is causing many people to move to a light truck or LT tire, away from the Special Trailer altogether.

Personally, I never had any problems with my “China Bombs”. I never had a flat or blowout of any kind. No tread separation or even any sidewall cracking. That’s probably why I kept putting off replacing them. I was diligent about checking the tire pressure and lug nut torque over the years. Once I removed them, I looked them over carefully and found some slight cracks between the treads.

20130607-192919.jpg

So now I’m stuck. I need new tires, but certainly don’t want “China Bombs”. I could go with the Maxxis brand, but then there is the 65MPH and overall build quality issues. So I decided to call Colin. It turned out he had just purchased new tires for his 59 Ambassador. Colin went with Michelin LTX M/S2 tires. These are a light truck cross over, which means Michelin recommends them for pickups and SUVs. They do not specifically recommend them for trailers.

Besides the build quality, there is the difference of load-rating. My “China Bombs” had a load-rating of D, which to the best of my knowledge is around 2500 lbs. The Michelins are rated for 2183 lbs at 50 psi according to Tire Rack. Now remember, our vintage trailers are only 4000-5000lbs, so the 2183 rating is more than we need. Most trailers weigh a lot more than that, so watch this specification carefully. There are a lot of people who switch to a 16 inch wheel just to get higher load-rated LT tires options.

I decided on the Michelin tires. I can’t say that it was a good move yet, check back in about five years. I do know that I’m certainly not the first to switch to a LT tire and won’t be the last either. Please don’t take this post as a recommendation from me or Colin. I’m just stating what I’ve found from my last 24 hours of research. So do your own research. If you have a problem with your tires, I don’t think saying, “That a guy on the Internet, who did 24 hours of research, said they’d be OK”, is a proper defense!

On with the swap. I decided to take the wheels off instead of towing the trailer to the shop. I just figured it would be easier in the end. I propped the trailer up on jack stands which is always an eerie thing to me.

20130607-195114.jpg

20130607-195125.jpg

I did tell them at the shop that I wanted to see the date code. The newest tires were 5112, which is the 51st week of 2012. Pretty new I figured, only six months old. I also paid to have them balanced, yes even though it’s only a trailer.

Here’s my new shiny Ambassador shoes!

20130607-195537.jpg

My aluminum wheels are spec’d to tighten the lug nuts to 100ft/lbs. I have a torque wrench I keep just for this purpose. I also recheck the torque after driving about 50 miles.

20130607-195902.jpg

Of course it turned out to be 98F outside today, not the best day to do this work, but now it’s done! Nice new tires ready for the road!

20130607-200029.jpg

Oh ya, by the way, the Michelin’s were made in Canada.

20130607-202142.jpg

Facebooktwitterredditpinterestlinkedinmailby feather

4G LTE Upgrade

Last year the 3G Store gave me a 3G/4G Antenna to review. At the time I was just about to leave for our trip to Florida, so I hadn’t been able to properly install it. I was talking with Colin and had just completed installing one on his original TV mast. I thought that was a great idea. I had already installed my Wifi Ranger there so it was going to be crowded.

4G Ant

Ideally the 4G antenna should be installed at the very top so the mast itself doesn’t block the signal to the antenna, but I already had the Ranger there, so I had to make a trade off. The nice thing about these original masts is that they telescope and rotate with a built-in rotor inside the trailer. So if I need to, I can rotate the mast to get a better signal.

Here is a photo with the mast extended.

IMG_2351

The easy part was mounting the antenna, the hard part was running the wire inside to my Millenicom MyFi. The Millenicom service is great for RVers because its non-contract, uses Verizon’s network, and has high data plans. My Ambassador and Colin’s originally had a battery in the front of the trailer inside a small aluminum battery box. Inside the box there are the original battery wires running through to the interior wall. Since I abandoned that wiring long ago, I made use of the wiring path for my coax cabling. The added bonus is the extra cabling can stay inside the battery box so it’s available when telescoping the mast.

IMG_2352

IMG_2353

It was a simple matter to drill a hole inside to access the wire. Added a grommet and I was on my way to a better LTE signal.

IMG_2355

I drilled another hole behind my speaker to bring the cable up through the counter to conceal it.

IMG_2342

Here is the MyFi inside the aluminum trailer without the antenna connected. You can see I’m getting 36% RSSI (Received Signal Strength Indicator), the higher the better.

IMG_2366

Here are the speed test results. Not too hot. I guess I live in a Verizon dead zone.

IMG_2346

Here is a photo with the external 4G antenna connected. You can see I gained some RSSI.

IMG_2364

Now the speed test. It has improved quite a bit. Still not really LTE speeds, but I live in a dead zone. The take away is that the signal went from not usable to very usable. This should be a big improvement on the road.

IMG_2345

Ready to hit the road for summer vacation!

IMG_2356

IMG_2361

Facebooktwitterredditpinterestlinkedinmailby feather

Memorial weekend trip!

20130527-171724.jpg

Fun camping trip at South Lake Tahoe in our 1960 Airstream!

20130527-171822.jpg

We rented a few bikes, including a tandem built for two!

20130527-171912.jpg

20130527-171923.jpg

Had a good time cruising the local beaches on our bikes. Tahoe has excellent bike trails for the family.

20130527-172051.jpg

Nice view on Rainbow Trail. If you go far enough down the bike trail, you can see an underwater view of the rainbow trout.

There is so much to see and do in South Lake Tahoe!

Facebooktwitterredditpinterestlinkedinmailby feather

Swift Hitch Review

Swift Hitch sent Colin and I a couple review units for their backup hitch system. We talked about them on Episode 185, be sure to check that out for our in-depth review.

Swift Hitch System

The Swift Hitch System consists of a battery operated monitor and a camera with a magnetic mount. The SH02 version has a battery that will last 10 hours. The idea is simple enough. You place the camera on the back of your tow vehicle and back up right to your coupler watching the wireless monitor inside your vehicle. It works great and even has IR lighting for night viewing.

Camera and monitor

Check the video for a full review and visit www.swifthitch.com for more info!

Facebooktwitterredditpinterestlinkedinmailby feather