Author Archives: Tim

Let’s call her *Patches*

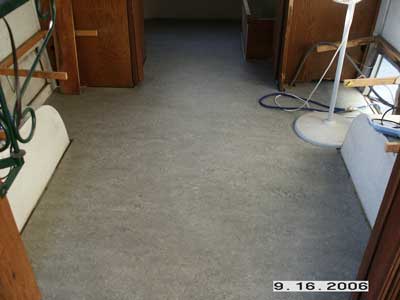
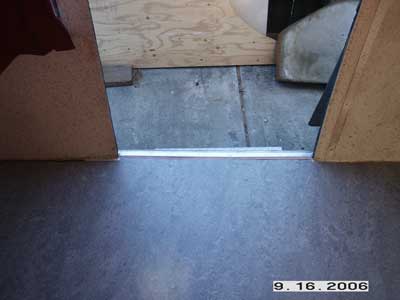
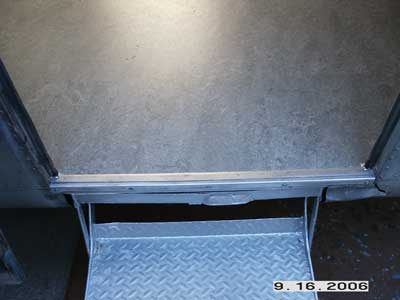
The Ambassador has several non VAP approved exterior openings.

I removed the 110vAC water heater and the original furnace.  These both left rather large openings.  I plan on replacing these with a combo unit from Precision Temp, an Ambasador contributor.

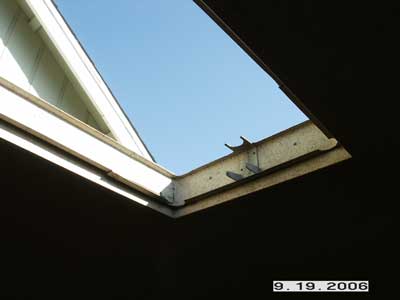
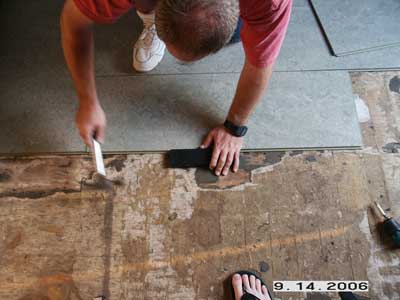
I also removed the original black tank vent on the roof because it was attached to a rubber hose in the wall that was rotted.  It also would not work with a modern toilet.  The original vent for the black tank came from the base of the toilet.

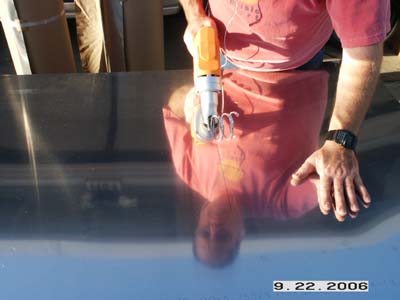
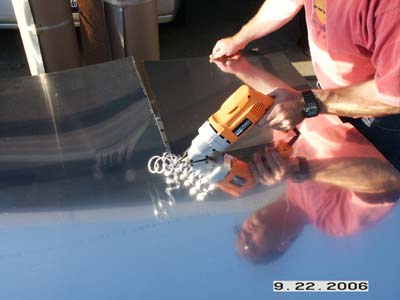
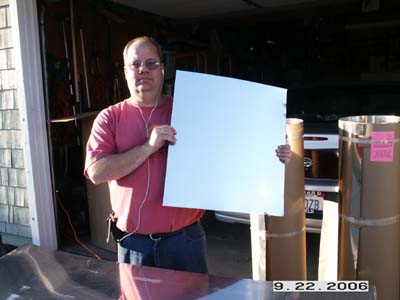
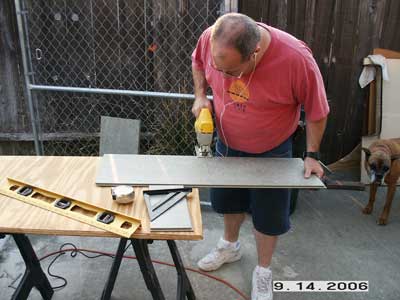
So I spent the day making panels to cover these areas with Alclad Aluminum contributed by Air Parts Inc.

I used my Harbor Freight electric shear to cut it.  Worked great!

One panel down, several to go!

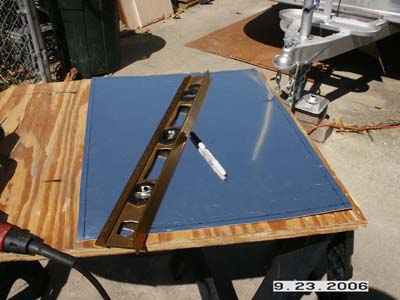
Next I had to mark and drill rivet holes in the panels.  I measured .5 inch from the edge then 1.5 inch spacing all around.

Ready to install panels.  One problem.  I only had enough rivets to install one panel!

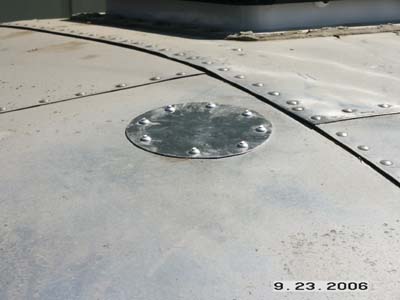
The old black vent location.  Should be leak free now!  This was the only patch I had enough rivets to install.  Need to fire my inventory guy.

Anyone got a rivet shaver for rent?!?!

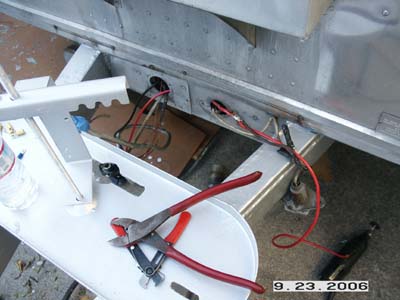
Since I ran out of rivets, I went on to a different project alltogether.  I needed to change out the trailers 6-pin wiring socket.  The old one was rusted up.  I also wanted to modernize it by adding a battery charge line, and get connections for a power hitch jack and the emergentcy breakaway switch.

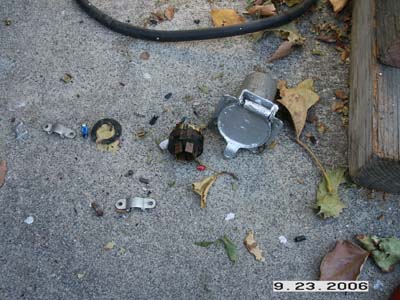
Here is the original rusted 6-way socket that was on the trailer.  Notice the poor attempt to paint it to make it *pass* 😉

The left hole held the 6-way socket.  The right one is a 4-pin socket.  This is how the trailer was originally.  When the cable was setup it would tie into both sockets.  The 6-pin for brakes, running lights, brake lights, etc…, the right 4-pin was for a charge circuit only.  So your cable coming from your tow vehicle had to split into two connections at the trailer end if you wanted to charge a trailer battery.

I re-wired the original 6-way socket, with a modern 7-way, to supply charging power as well.  The 7-way socket adds a center pin which is normaly used for backup lights.  Back-up lights are not available on my Ambassador. :-(  In addtion to wiring the new socket, I routed, out of the belly pan, a power wire for a future jack, and the brake wire for a new brake away switch that I ordered from Vintage Trailer Supply.

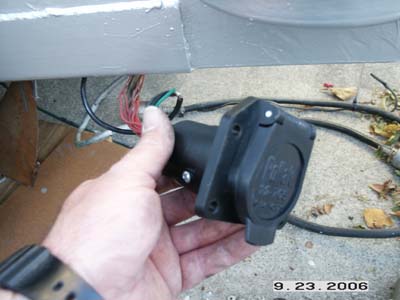
Close up of new 7-way socket.

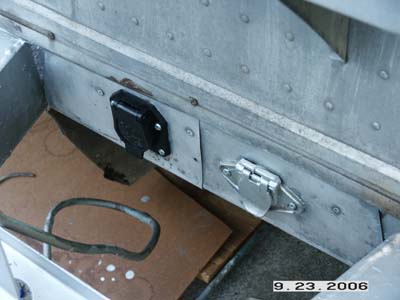
Job done!.  With the rewiring I did, I will only need to use the 7-way socket for everything I need.  The right 4-pin socket will now be available for an alternate charging plug, like from a generator, or a 12vdc power point to power 12vdc stuff outside the trailer.

Facebooktwitterredditpinterestlinkedinmailby feather

Thunder Dome

Actually an Astradome, but that’s what my son keeps calling it.

When I purchased the trailer there was no vent cover over this large hole.  It only had a garbage can lid held on with a brick.  On the drive home three months ago I had taped plastic over the hole so it could make the 2500 mile journey home.

Colin from GSM Vehicles contributed an Astradome for theVAP’s project trailer.  GSM manufactures the Astradomes and distributes them through Vintage Trailer Supply, another contributor to the project trailer.

These new Astradomes are a very high quality reproduction of the original Astradomes with some fine upgrades.  They are gel-coated fiberglass with metal inserts where the bolts go through for the lifters.  These metal inserts add strength where its needed most.

It’s not as simple a project as you might expect.  You have to remove your old lifters and make sure they are operational or repair them as needed.  Then you have to drill three mounting holes per lifter and attach with a stainless steal bolt and nylon acron nut.  I used #6 for mine.  It seemed to be a good size.  Then you have to add your own weatherstrip as well.

Here is the opening with the lifters removed.  There is a trick to removing the lifters.  Where it swivels on the lower part of the mount is where it comes apart.  Simply gently pry a screwdriver in the slot next to the pin and it will come loose.  Thanks to the guys at Airstream Forums for that tip.

I got some peel and stick all purpose weatherstrip.  But I decided to also use the 3M Super Weatherstrip Adhesive for a more permanate fix.  I also scraped off the old gasket material on top of the trailer opening and replaced it as well.

Astradome all prepped and ready to go.  Like I said it was a little more work than I thought.  I ended up lubing the lifters and painting the mounting points as they had rusted.  Then lining up and drilling the six holes for the lifters, sealing the bolts with silicone, and of course adding the gasket.  Turned out pretty good, eh?

There it is.  All installed!  Notice the gasket on both the Astradome and the top of the vent opening.  I get a nice seal this way.  I also hit the seals with silicone spray as well.  While I was up there I topped it off by sealing the vent/roof seams with Vulkem sealant.  I want no leaks from my vents!

Facebooktwitterredditpinterestlinkedinmailby feather

Light cover replacement ….still looking

When I picked up my trailer and towed it for an hour or so, the glass light cover fell and broke 🙁 . 

This first photo shows how it should look. 

My buddy Rob sent me this great replacement.  It’s not quite the same but it will work in a pinch.  If you have a exact replacement available, send me a note.  Then I can get Rob’s back to him! 😉

Thanks Rob!

Facebooktwitterredditpinterestlinkedinmailby feather

The floor is done! …well mostly

First off, here is the photo I promised on the threshold.  I had to add a 3/8″ peice to bring it up  level so I could add the metal trim.

Here are some photos of the mostly finished work.  I have of course all the trim to add to hide the expansion gap.  Also more caulking to do to keep the water off the floor.

Yes, that’s a tub in my living room!  You mean you don’t have one in your living room? 😉


I like the way the threshold turned out.  Nice and simple.

Yes, I even added new flooring to the bottom off all the cabinets.  Turned out pretty well.

I know there is a lot of worry about adding too much weight with floating floors.  I weighed a new box and kept a count of how much I used.  I also weighed the scraps and subtracted that from the total.  So my new floor weighs 275 lbs.  Too much?  I doubt it.  I also removed a heavy furnace, oven, water heater. 

I will be adding back in a combo water heater/furnace unit so that will save some weight.  I will not be putting back an oven.

We should talk in detail about this on theVAP Episode 29.  Check it out…

Facebooktwitterredditpinterestlinkedinmailby feather

Couple of more hours on the floor….

Today after work I got a chance to lay some more flooring down.  Had some problems getting started as there was a bump in the floor where I already laid it.  After some investigation I found one of the plastic spacers fell under the floor!  Had to remove a few planks to get to it.  Now all is well.

Biggest twist today was figuring out the door threshold.  It originally had a peice of angle metal going over the edge of the floor then down the side.  Since this is laminate flooring it is 3/8″ higher than the previous tile floor.  So I had to improvise a bit and add a 3/8″ peice of wood for a spacer to raise the threshold and tie it in even with the flooring.  Unfortunately I did not get a good photo of it.  I’ll add one later.

I made some pretty good progress.  After looking closely at the photos, perhaps I should invest in some rogaine 😉

The all purpose jig saw!  I’m using a laminate blade…

Plastic tapping block that came in a floating floor install kit.  I’d recommend getting the tapping block from the manufacture of the flooring, but I could not locate one 🙁

This photo is a little washed out from the flash.  But you can see how far I got.  If you look closely that’s the door opening to the right.

Facebooktwitterredditpinterestlinkedinmailby feather

Marmoleum Click! Installation begins

Even though it was over 100 degrees in the trailer, I decided to at least get the new flooring install started. 

Next month we loose daylight savings time and it will start to be dark by the time I get home from work.  So either I work in the heat now, or the dark later!

Installation started a little rough.  I had installed click together type of flooring before, but had forgotten the techniques.  It took me a little bit to get back into the groove.  Now things are going pretty well and it should go in a lot easier.

The flooring is Marmoelum Click!, which is a laminate flooring that has 2mm of Marmoleum on the top.  Very nice quality material.  Quite heavy as well.  I’ll have to weigh a box so I can estimate how much weight its adding to the trailer.

The trailer is pretty well gutted so the flooring should go up underneath the cabinets and beds. 

Here are a couple of photos.

Getting started

Good progress!

 Marmoleum Click! 


Facebooktwitterredditpinterestlinkedinmailby feather

Yet another Airstream Blog!

I’ve decided to blog the restoration of theVAP’s 1960 Ambassador restoration.

Although we talk about the restoration on the Podcast, and update the site with photos, I thought I add more detailed content here as the items are addressed on the trailer.

So I hope you enjoy yet another Airstream Blog!

Facebooktwitterredditpinterestlinkedinmailby feather