Author Archives: Tim

A little here and a little bit there…

Didn’t have a lot of time lately to work on the trailer.  A few family obligations came first.

I did get a couple of hours in today and actually got some needed stuff acomplished.

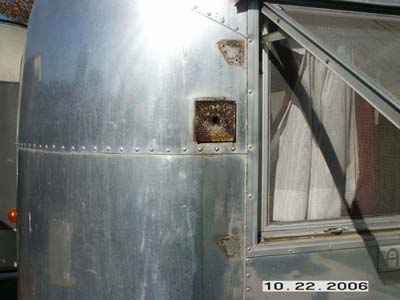
First off I went back to installing the new AC outlets.  The holes that Airstream originally made barely fit the outlets they used.  I of course had slightly larger ones so each hole, six in all, had to be modified.  Trusty dremal on the job.  Can’t restore an Airstream without one!

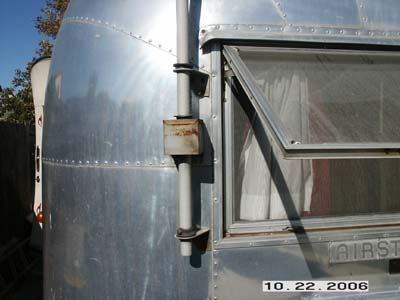
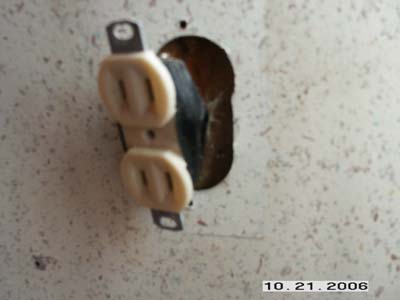
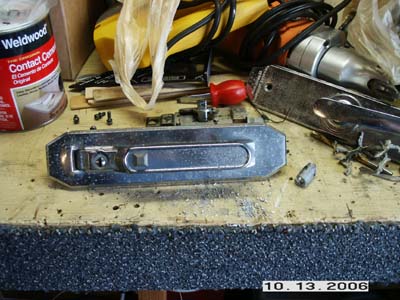
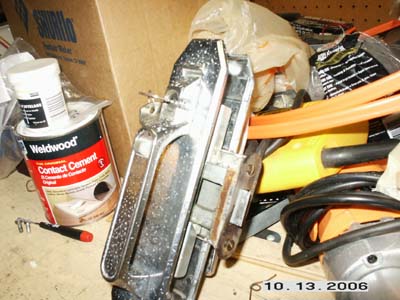
Here is a original outlet removed.

pict0038a.jpg

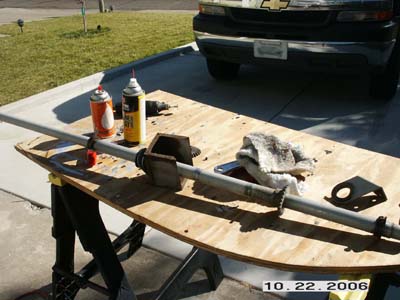
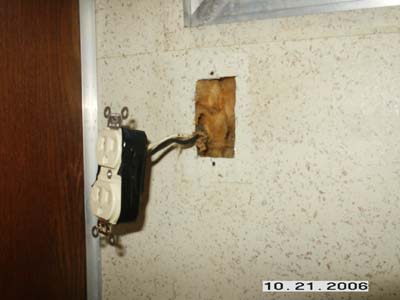
And here is the new outlet ready to go into the modified opening.

pict0040b.jpg

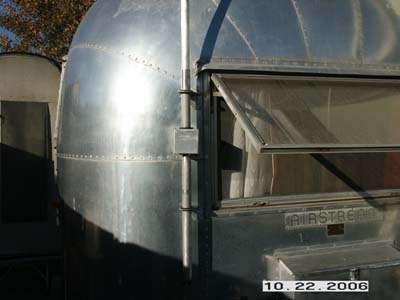
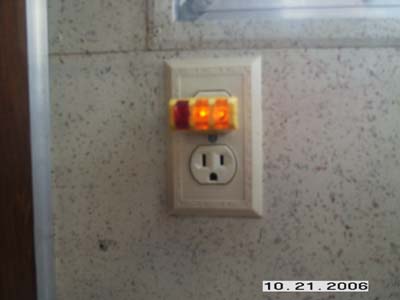
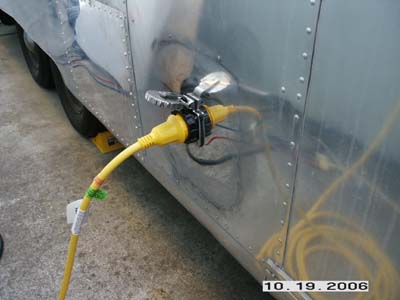
And at last the test with power.  The two orange lights mean everythings OK! 🙂

pict0043c.jpg

Just multiply all of that time six, and it takes up a lot of your time!

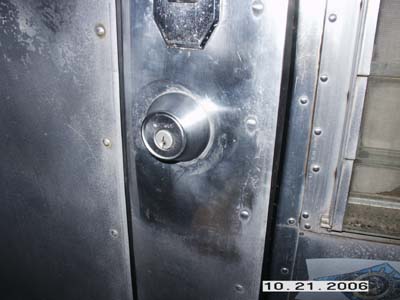
After putting in the new gasket on the door, the deadbolt did not work at all.  It actually never worked pefectly, but it was usable.  I wanted a smooth operation.  I did not want the door to have to be pulled in or pushed tight for the bolt to operate.

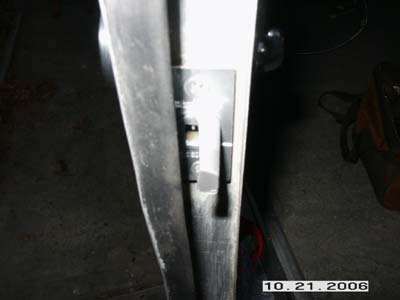
The fix was to trim off more of the bolt.  Of course mine was a hollow deatbolt 🙁 so that made it interesting trimming it down.  But its still pretty beefy and will do the job, which is to keep the door from popping open while towing!

pict0050h.jpg

pict0048g.jpg

My mother is now a contributor to the trailer restoration! :-)  I wonder if she has a logo to add to the Contributor’s Banner? 😉

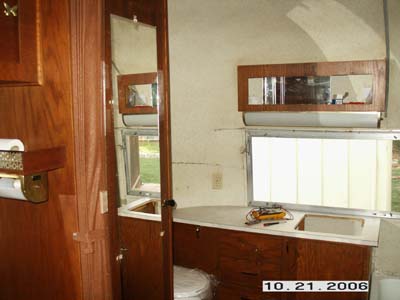
She saw that we needed a new mirror and had a couple of extras and brought one by.  Fits perfect!  Thanks mom!

pict0046e.jpg

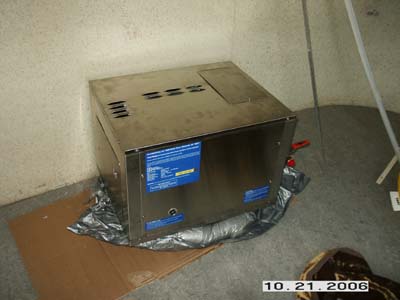
And lastly, the TwinTemp has finally made it into the trailer.  It’s just sitting there waiting for its turn.  Which should be real soon.  I need to get it mounted and the logistics of all its support componets figured out.

pict0047f.jpg

Well, thats it.  Like I said, not much time in, but it was good to get a few things done.


Facebooktwitterredditpinterestlinkedinmailby feather

Let there be light!

I made a trip to Marinco and got my inlet swapped out.  So I took a couple of minutes and got it installed.

pict0157a.jpg

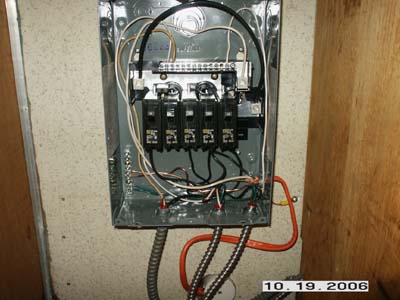
So here it is wired into the new circuit panel.  The orange lead is the 10 gauge wire from the new power inlet.  It feeds the 30 amp breaker on the left.  I also grounded the box to the trailer as well. 

pict0158b.jpg

And there was light!  That’s 110vac light 😉

pict0160c.jpg

I also purchased all new outlets that are the three prong varity.  My ground connection will be via the trailer aluminum.  But I tried to replace one real quick and as it turns out my replacement outlets are larger than the orginal so the holes will have to be enlarged slightly. 🙁

Nothing easy about vintage….

Facebooktwitterredditpinterestlinkedinmailby feather

Small step closer….

Nothing big today really.  A few small things.  Anything helps really since there is so much to do 😉

I replaced all the tear drop marker lights, and re-installed the door lock.  I also installed a new door catch and latch on the front battery box.

However, simply as this sounds it was far from simple.  The reason is I wanted to polish behind all of these items before I installed them.  Any the very bad news is my trailer has clearcoat on it.  Which means it has to be stripped off before it can be polished.

Not only does it have clearcoat but it appears to be much tougher than the clearcoat on my old ’71 Safari.  I’m using Bix stripper, and it took about four applications to get a head start.  I need something much tougher on this trailer.

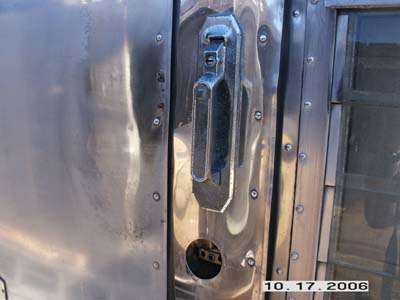
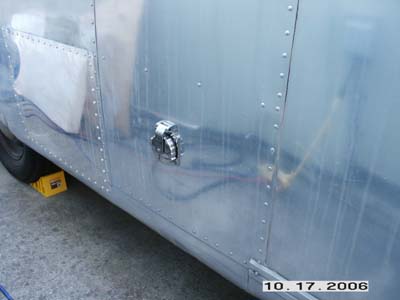
Here are some shots of the work.  Here is the re-installed door lock.  I still need to do something with the deadbolt.  Since I put the door gasket on it does not lock.  I may need to get a new one and trim down the bolt.

pict0144c.jpg

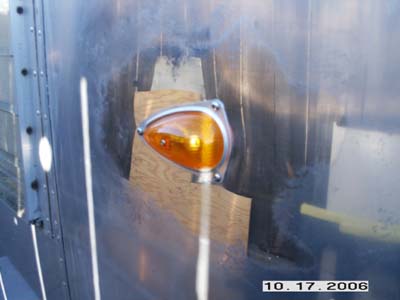
And one of the tear drop marker lights.

pict0154d.jpg

Not bad.  It was just a once over with the compounder.  That clearcoat was a killer though.  I do not look forward to polishing this trailer!!

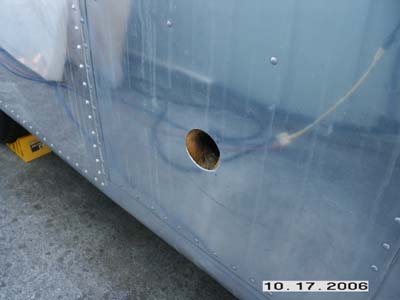
Next up was drilling the 2-3/4″ hole in the side of the trailer for the new Marinco 30 amp power inlet.  I moved the breaker box to the streetside so it will be closer to the utilities in the campgrounds.  I also wanted to update my power cable and power inlet at the same time.  So I had to drill a rather large hole for the inlet.  Not a fun job! 🙂

First I had to pay an obscene amount for the hole saw and arbor.  Then using my big drill I went for it.  All I can say is use a variable speed drill and go slow.  Real slow!  It has a habit of jumping on you and aluminum scratches easily!

Here is a shot of my newest hole.  It is right behind the streetside closet and comes in just under the new breaker box.

pict0138a.jpg

I dry fitted the Marinco to see how it looked.

pict0139b.jpg

Not bad.  One slight problem with the Marinco inlet.  It is supposed to lock in the open position with a nice positive *click*.  Well mine seems pretty wimpy.  If you slighly bump it it falls closed.  I called Marinco and they said it sounds like it has a problem.

Turns out they are not too far from me, so I’m going to head over and have them swap it out.  I think it will be faster than trying to mail it back where I got it.

After I get it back , should just be a matter of a few minutes to have power in the trailer again! 🙂

Now for a real bummer :-(.  I took off the lock to the fridge hatch door and took it to a locksmith.  I had to have him reverse enginner a key for it.  Which he did for $17 and provided me with two keys.  I though great.  Now I should be able to open the other storage door on the curbside.  I thought they would be the same key.

Guess what?  They are not the same!! 🙁 :-(.  And to top it off, that lockset is behind the inside wall.  So it’s likely I will have to remove the inner wall to remove the lock to replace or have it keyed.

Why would they make these different?!?!?!!  Either they are nuts, or one of the locks was changed in the last 46 years.

Nothing about vintage is easy… except the ability to spend money on it. 🙁


Facebooktwitterredditpinterestlinkedinmailby feather

More bathroom work…

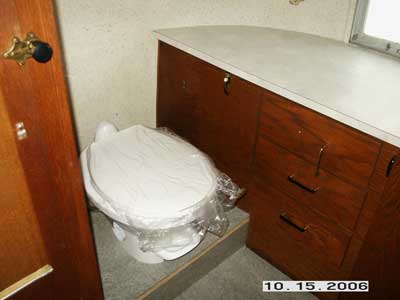
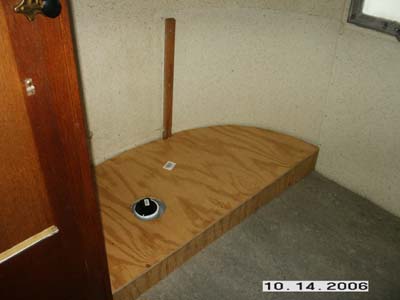
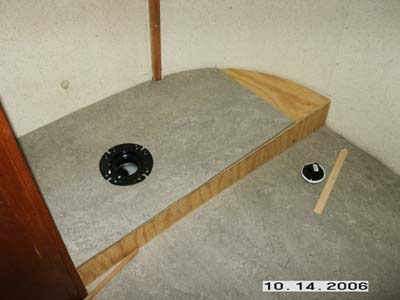
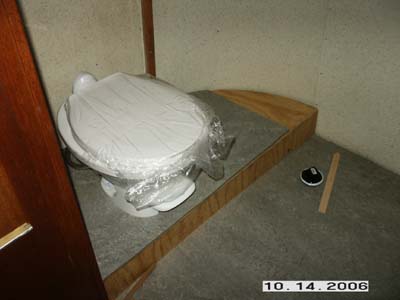
I got to put a few hours in on the bathroom today.  I was able to get the new riser for the toilet completed and screwed down.  It’s very solid.  Still needs to be trimed out.

The toilet is not mounted yet, just sitting in place.  On my riser I carried it all the way to the wall inside the cabinet.  On the original design, the riser stopped at the vanity, so when you opened the little clothes hamper door, you saw the top of the tank.   Now you don’t, you just see nice flooring.

toilet_riser.jpg

I had to modify the bottom of the vanity a little to meet my new dimensions.  Turned out pretty good.  I have not secured the vanity yet because I need to run the plumbing supply lines behind the tub and I’m considering putting a TwinTemp heating vent in the base of the vanity.  So I want to be able to pull it in and out for more modifications as needed.

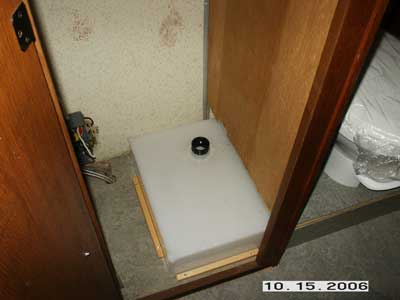
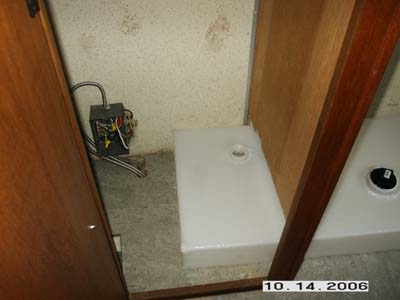
Here is a shot of the black tank where it ends up in the closet.  I added some 1″ boards there to help keep the tank from shifting.   At some point I’ll have to run that 1.5″ vent line up the side of the closet and out the roof.  And I’ll box in the tank as well.

black_tank_closet.jpg

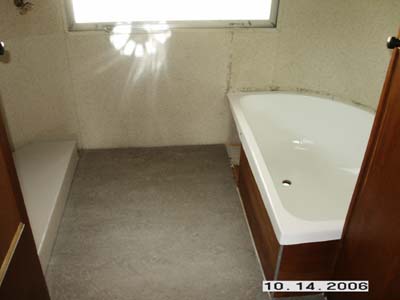
Here is a full shot of the bathroom for some perspective.  It’s coming together nicely.

bath.jpg

Well, that’s it for this weekend.  Time sure goes by too fast ;-).

Facebooktwitterredditpinterestlinkedinmailby feather

Bathroom goes back in

I got a good start on the bathroom assembly.  I had to take a 4 hour break from trailer work in the middle of the day.  So that set me back a little.

I ended up getting the tub installed.  I wanted to try this to see if I can fish pex piping behind it after it was in. I was able to no problem.  I’ll need to fish a hot and cold line and also two pex heater lines as I am going to install a heater vent in the vanity.

Here is a photo of the tub.  I have not put the trim in yet.  Need to polish it up first.  Also waiting to install a new shower wall covering.  The old green wallpaper is not going to cut it.  I’ll have to research this a bit.

tub_installed.jpg

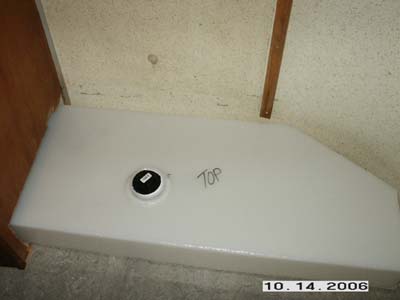
I also installed the new larger black tank.  I had to cut an opening in the base of the closet bulkhead.  I ended up using a dremal tool for it.  Worked great.

Here’s a photo of the tank in the closet.  I’ll be building a box around it.  Also visible is the vent opening on the tank.  This will run up inside the closet and out through the rooftop.

tank_closet_cut.jpg

Here is another shot of it.

tank_installed.jpg

Now its time to make the wooden enclosure.  This is all just dry fitted for now.  Nothing is screwed down yet.

tank_cover.jpg

tank_with_flange.jpg

tank_with_toilet.jpg

Everything seems like a good fit so far.  I have nice toilet height.  On my ’71 the toilet was so high my feet would almost dangle.  Never liked that!

Need to cut a few more flooring peices to finish it off, then take it all apart and screw and glue it.  Then it will be on to the vanity.

Until next time…..

Facebooktwitterredditpinterestlinkedinmailby feather

Under lock and key

Not much happening.

I did pick up some PEX, and putty tape to get things ready to put the bathroom back together.  I really don’t know when I’ll be able to get started with that though.

My new power inlet from Marinco showed up today so I can install that to get power back to the trailer.  I still have a few outlets to run.  The TwinTemp needs a switched outlet, so I have to work that into the mix as soon as I locate a suitable place to install it.

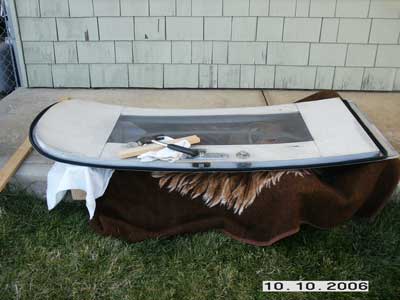
Anyway, I did manage to get one thing done without mucking it up too much.  I pulled the main door lock off.  It’s an L-77 and as most of these vintage trailers it was missing all the keys.  How does that happen?  Anyway, I got a new lock cylindar and keys from Vintage Trailer Supply.

I managed to drill out the old cylindar and install the new one w/o too much trouble.  As I disassembled it, there was a broken spring and a couple of ball barrings jumped out.  Figured out where they went, but the spring is bad.  Seems to work fine w/o it.  I may try and track one down at the local locksmith.

Here’s a couple of photos.

lock.jpg

lock1.jpg

lock2.jpg

Any ideas how to improve the finish on this thing?

That’s it for now.  Tomorrow is Saturday so I hope to get a lot of something done.  It really doesn’t matter what because there is so much to do, anything is an improvment 😉

Facebooktwitterredditpinterestlinkedinmailby feather

Not enough time…

Things that should be quick are sometimes the slowest.  All-Rite suggested testing the tanks for leaks before installing them.  Sounds like a good suggestion.

But somehow between testing the two tanks and refinishing the vanity, all my time was gone for the night….

I’m trying to get enough things ready to install the bathroom asap.  So testing the black tank is a step closer.

Here it is with no leaks!

tank_test2.jpg

And the grey tank.  No leaks either 😉

tank_test.jpg

It emptied ok I guess.  Of course it did leave a few gallons in when done because of the drain location.  When I mount it I think I’ll try to raise the opposing end a half inch or so to help it drain more.

tanktest1.jpg

And lastly the bathroom vanity with its cleaned up finish.

vanity_refinish.jpg

Like I said, not much done.  Time goes by too qucikly.  I see why these restorations take a long long time. 


Facebooktwitterredditpinterestlinkedinmailby feather

The new tanks arrived…

The new black and grey tank showed up while I was hammering on the door 🙂

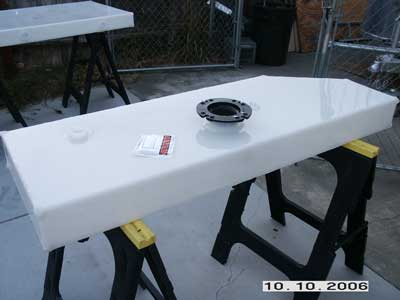
They came by Fedx merely packaged in bubble wrap.  Here is the slightly enlarged from original black tank.

black_tank_new.jpg 

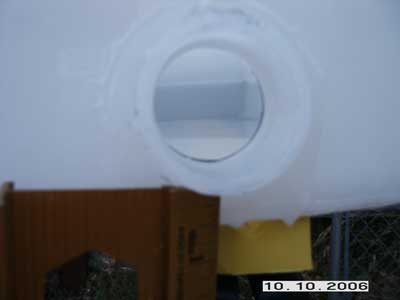
They look pretty sturdy and built to my specs, except one thing…  On the grey tank, I specified the drain to be 1/8″ from the bottom edge.  It showed up as 5/8″  Which might not seem like much but if you consider every 1/8″ below the drain oulet that cannot come out is around 1 gallon.  So now my 27 gallon tank has turned into a 22 gallon.

grey_tank_new_drain.jpg

From the looks of it, the way the drain outlets are installed, it probably cannot be put on any lower.  So, I’ll have to live with it.  If I just had the drain outlet come out the bottom, the drain line would have been below the belly pan and I don’t want that.

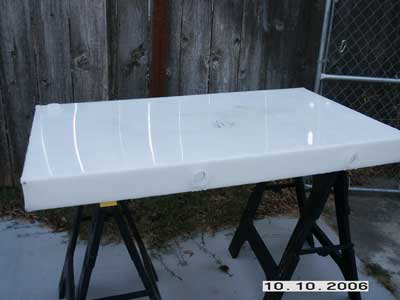
Here is the rest of the grey tank.

grey_tank_new.jpg

Well, thats all I had time for today.  Spent a couple of hours beating the door in vain.  Need a sure fire solution!  My time is running out.  Daylight savings is going away 🙁


Facebooktwitterredditpinterestlinkedinmailby feather

Beating the door into submission….

After replacing the main door gasket it was painfully clear this door had sprung open at least once while under way.

This causes the door to loose its shape and it won’t seal correctly to keep the weather out. 

I was told to use a 2×4 in the door jam and push on the door until it regained its former shape.  But alas, it was not to be 🙁

Another idea I was given was to take the door off and lay it over varying degrees of stacked 2x4s and use the hammer as a persuader.  Still no joy 🙁

door_beating.jpg

Still looking for the right solution….

Facebooktwitterredditpinterestlinkedinmailby feather

Finishing the vanity countertop

Got a little time in on the vanity today.  It’s getting dark too early now.  Soon there will be no light left when I get home from work. 🙁

I had to get a 3/8″ trim peice to add to the counter top edge to give it some thickness.

I used the trusty electric shears to cut the laminate.  Boy was that a lot easier than the jig saw I used before.  Much easier.

bath_fomrica.jpg

That standard supplies needed.  Contact cement, and a J roller.

bath_formica1.jpg

After brushing on the cement to both the wood an the laminate, there is a trick to use to position it.  If the cement touches each other that’s it, stuck for good!  The usual idea is to place dowels across the top of the counter after the cement dries, then lay the laminate on the dowels and adjust its position over the counter.  Then using the J Roller, you start at one end rolling the laminate down and remove one dowel at a time as you make your way across.  I do the same thing, but with paint sticks.  Paint sticks are free 😉

bath_formica3.jpg

Here is the old top for reference.  Funny, it seemed OK when I took it out of the trailer, except for being dirty and faded.  But after the weekend outside in the Sun, the laminate has peeled back.  It was probably on its way out.

bath_formica6.jpg

And the new top after using my router with a flush trim bit.  First time I used it.  A little tip is to do the edges first and the top last.  That way there is no edge to snag anything on the top of the counter edge.  It just has to do with the way its trimed.

Here is the final top with the sink in place.

bath_formica5.jpg

Notice how dark it got 🙁 Had to quit for the night.

And here it is just sitting on top of the vanity.

bath_formcia7.jpg

Well, that’s it for today. 

More to come….

Facebooktwitterredditpinterestlinkedinmailby feather