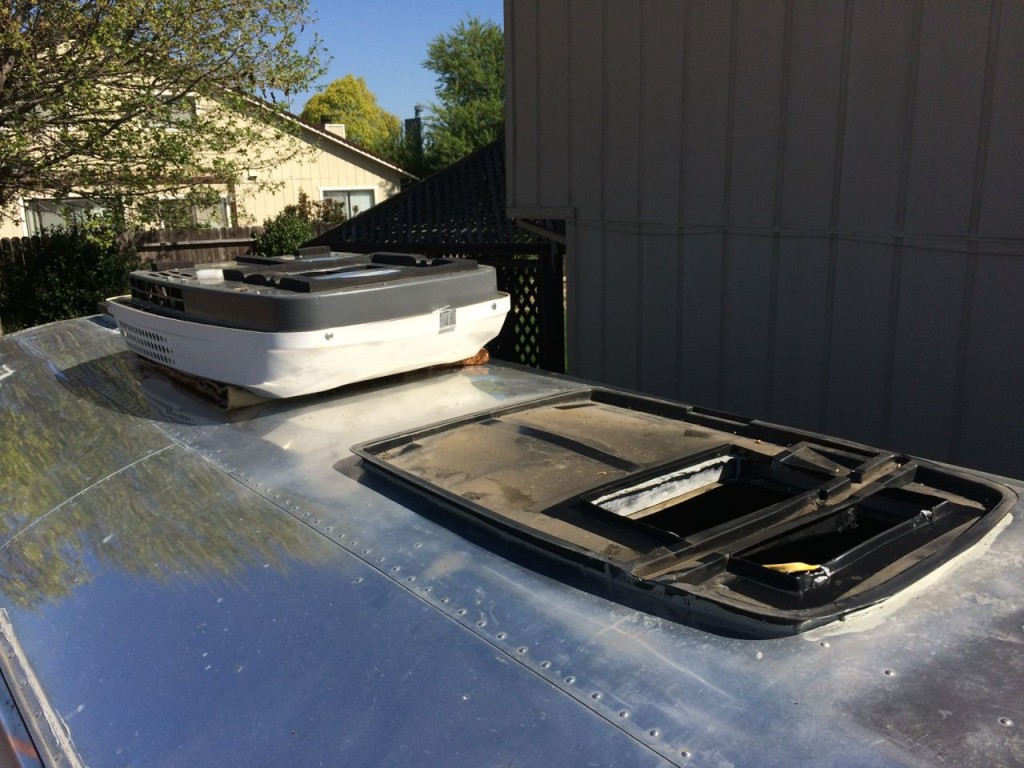
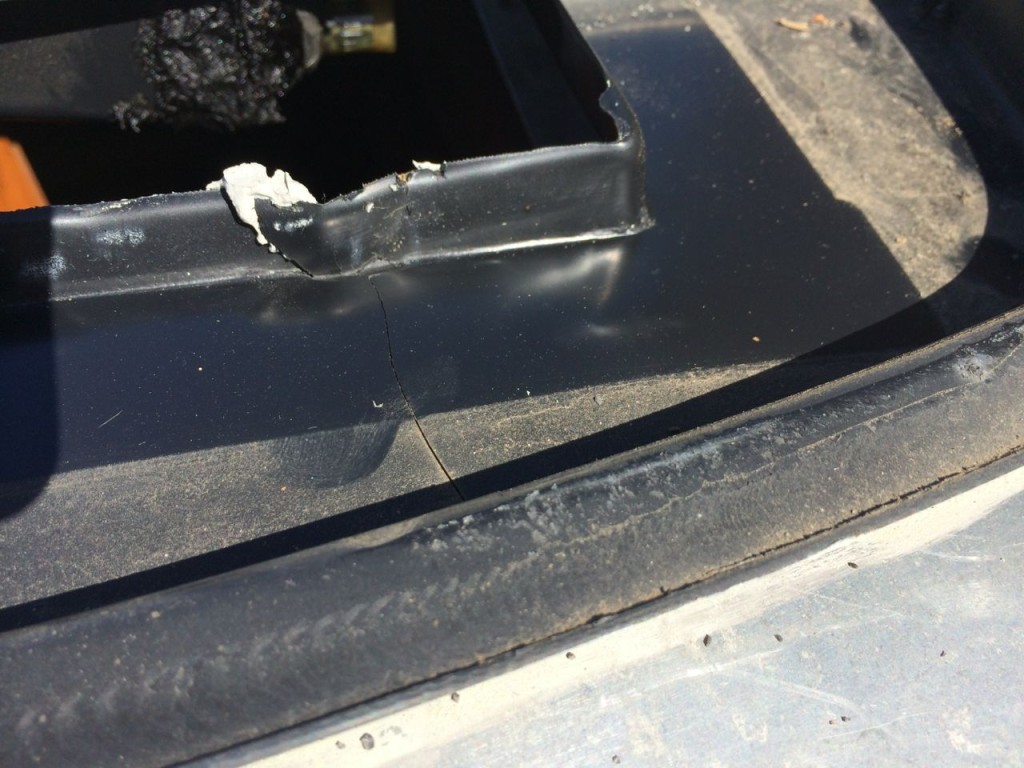
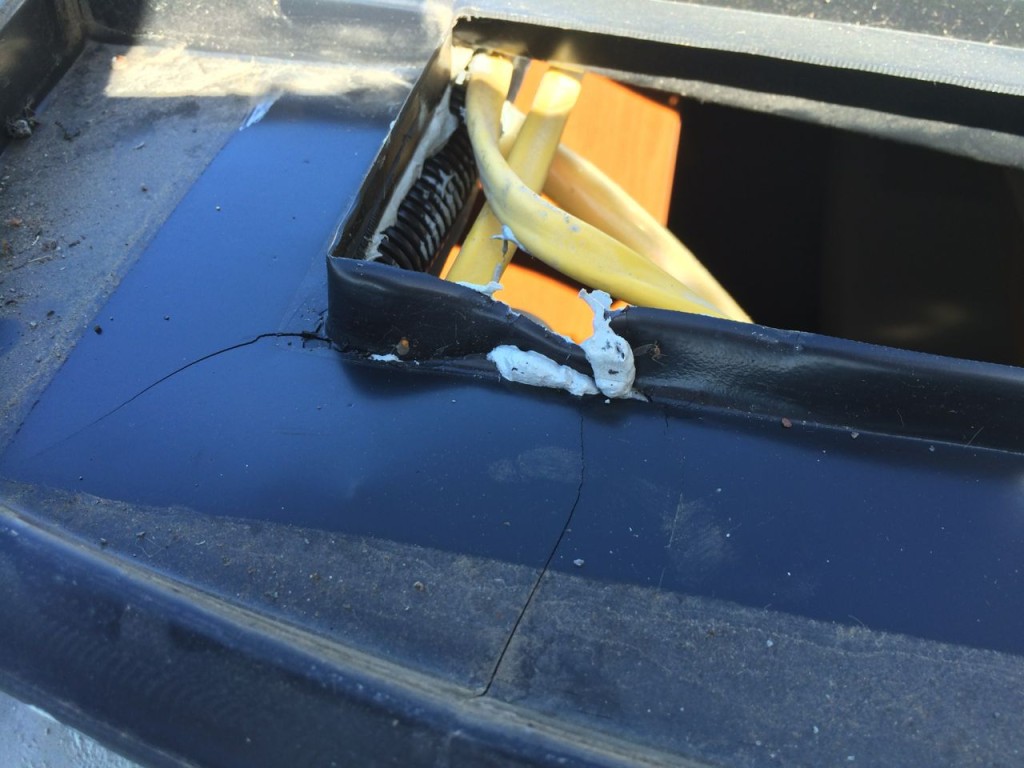
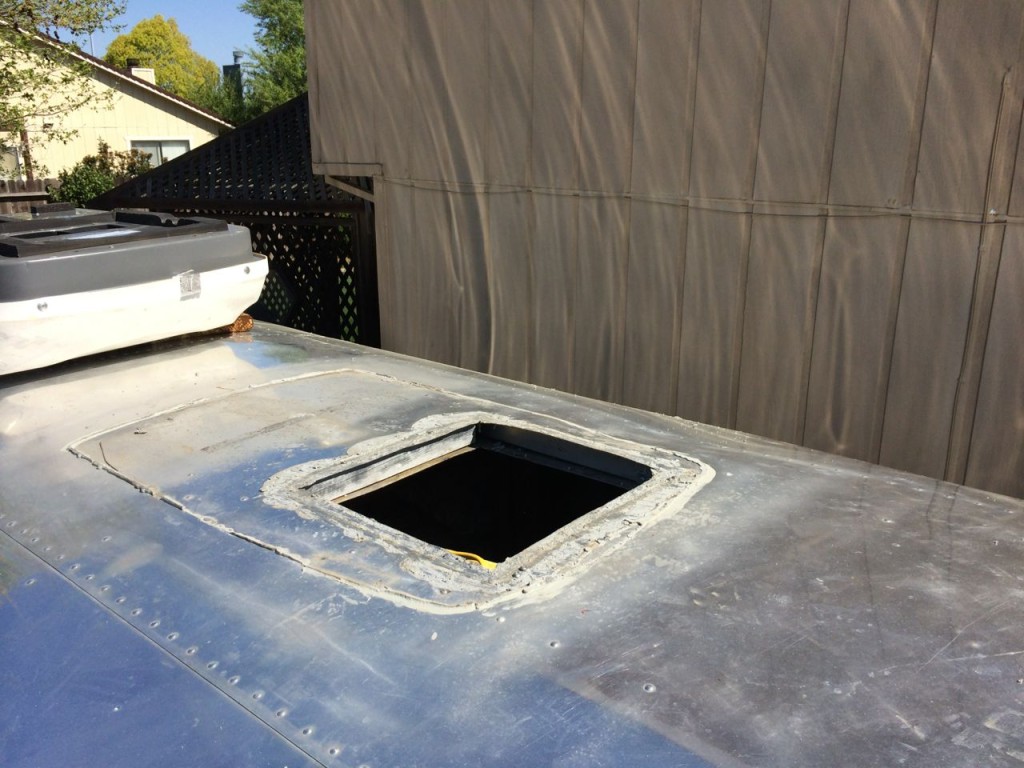
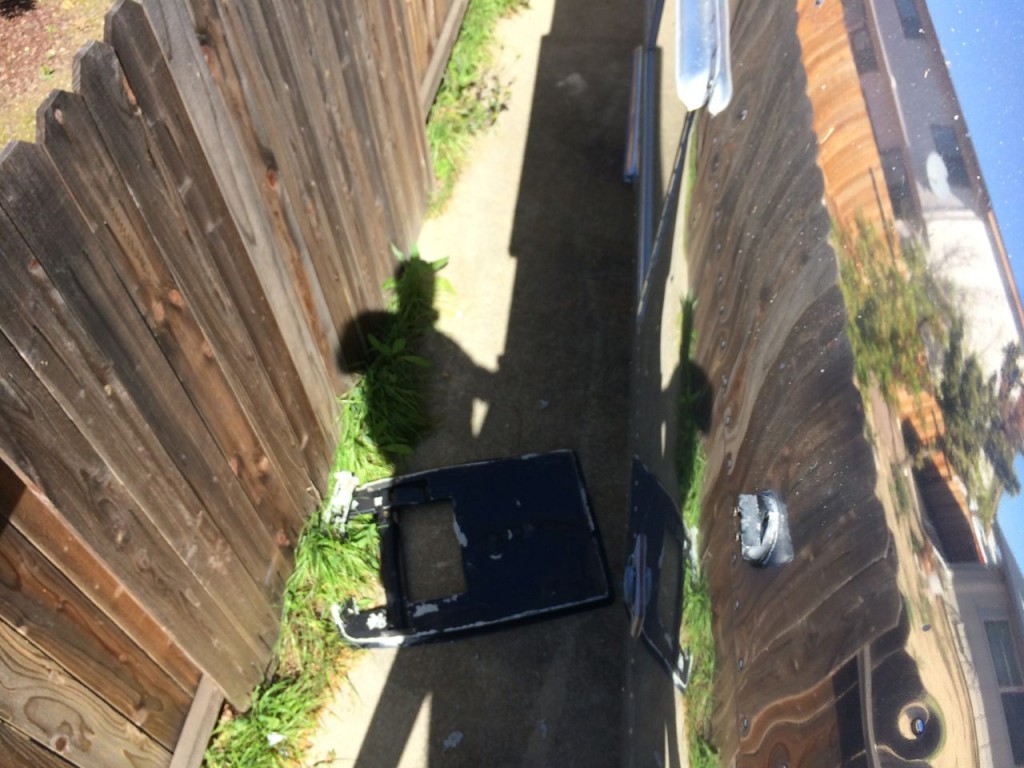
I think I mentioned on the show that my air conditioner drain pan was cracked. The cracks caused the trailer to leak when it rained. At first I thought that I overtightened the a/c mount and cracked it. Now I’m not so sure. I think it’s a combination of over tightening and age. When I removed the a/c, I found even more cracks on the pan.
This just proves trying to seal the cracks that you can only see from the inside would be useless. (Yes I tried it 😉 )
Dometic makes a new drain pan that is really just two small cups that you mount right at the a/c drain points. This system seems to be much more robust. To do any kind of drain pan replacement, you have to completely remove the a/c. That means you will need a helper to maneuver the unit.
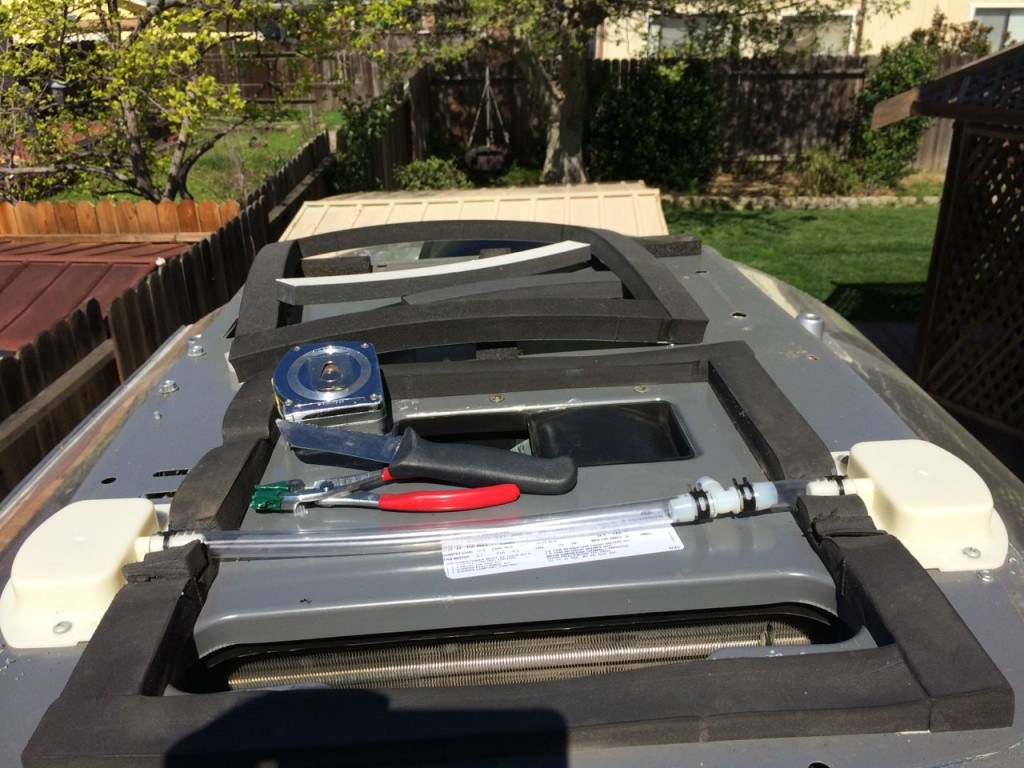
The new drain pan system consists of two cups, connecting tube with a tee, and new gasket material.
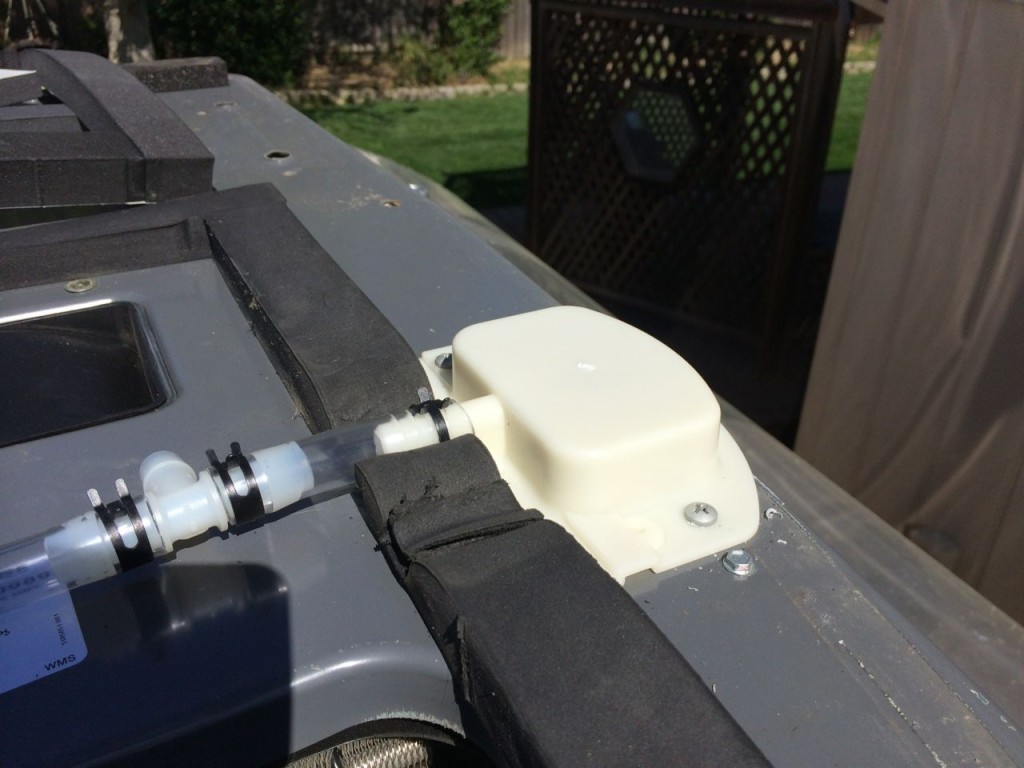
To install the drain pan you line up the cups according to the diagram in the instructions. The drain line passes through the original gasket to the opposite side, so you need to cut out some of the gasket to allow the drain tubes to pass. Using the included self-tapping screws, you mount the drain cups and seal around where the tube passes through the gasket. You do not seal where the cups mount because it can act as a back-up drain path if the main tube is plugged.
In the photo you will also notice a new 14″ gasket that gets placed over the original, doubling its thickness. This is necessary because of the drain cups. Quite interesting really.
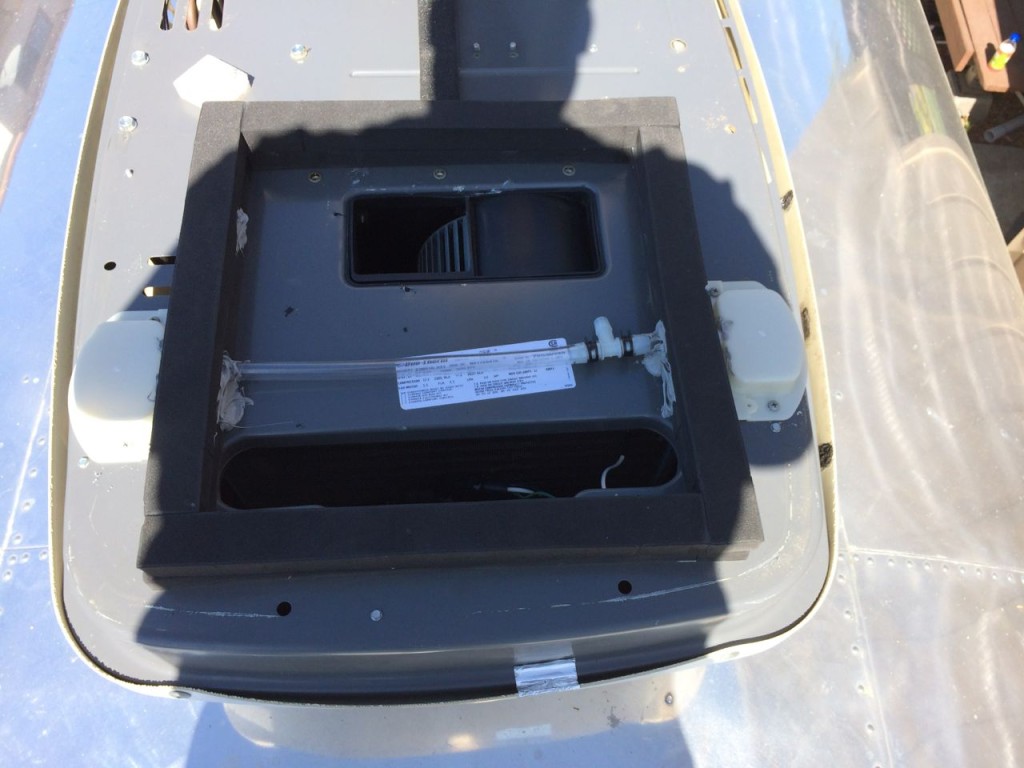
Here is the completed installation of the drain pan. There are also two gasket strips, 16″ and 10″ that adhere to the rear of the a/c. These are provided to even out the mounting of the a/c.
You should be able to tell what time I completed the installation by how my shadow is cast on the a/c. 🙂
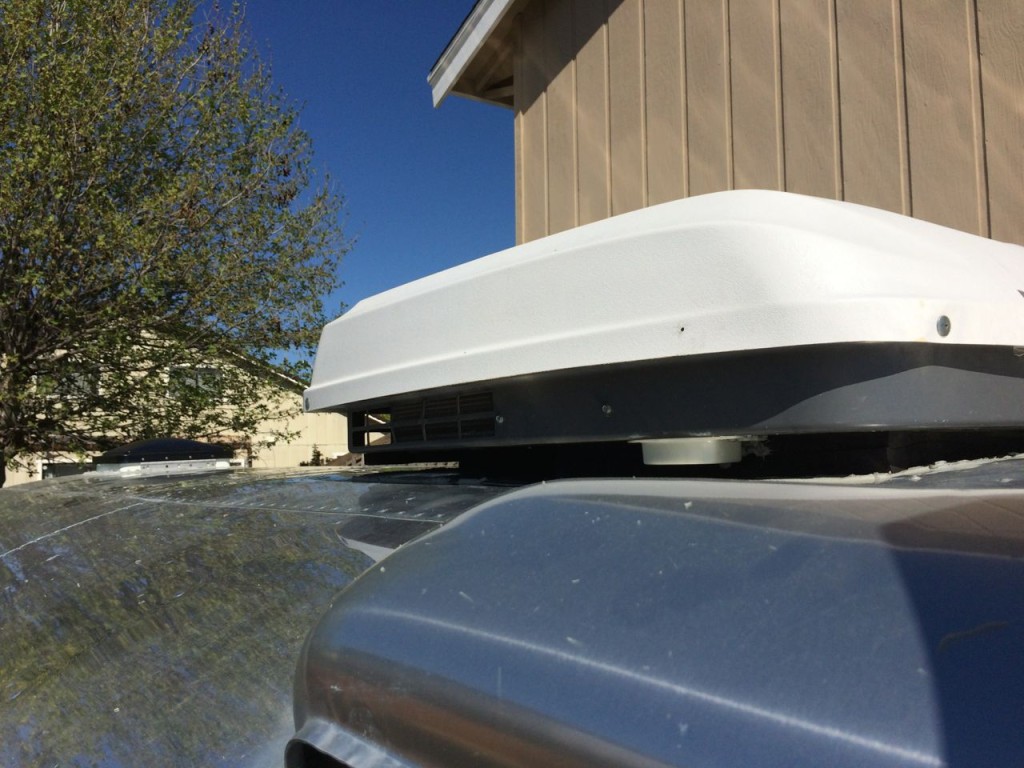
Here is the a/c mounted. You can see it sitting taller because of the new gaskets. Also noticed the white drain cup clearly visible. Now you know how to tell if a trailer your looking at has a drain pan.
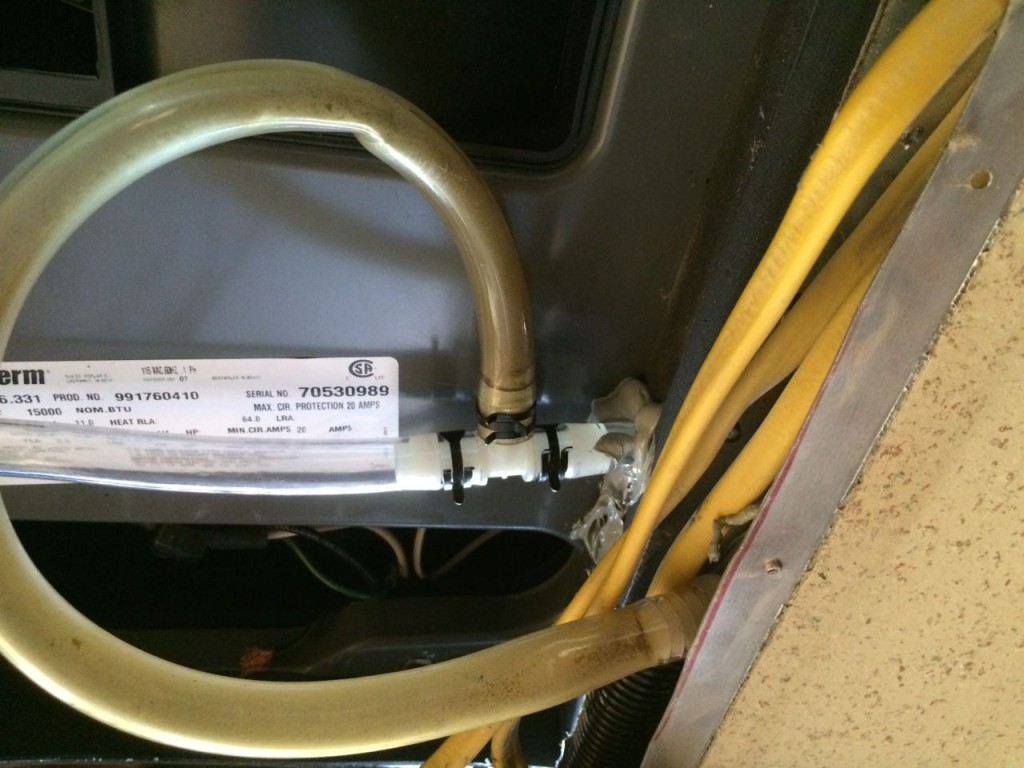
Here is the drain connection inside the trailer. I installed this tube during my renovation. It travels from the a/c opening inside the ceiling and exits through my pantry to below the trailer. The drain pan system fits a 1/2″ ID tube, which is what I had installed already. That was nice.
Overall it was a lot of work. Took about three hours. You have to disconnect all the wiring which includes the AC electrical circuit, 12vdc, comfort control wiring, and thermostat wiring. You also have to lift the 100+ lb a/c and flip it upside down to work on it.
I never really liked the original drain pan. It seemed brittle to me. I always had a problem with it leaking because of an original seam that was never sealed from the factory. I just found that last year.
These new cups are very sturdy plastic, and the simplistic nature makes me think they will last a while. I ran the a/c for a while, but it never produced enough condensation to check the drain. I’ll have to wait for more humidity.
Overall I’m pleased with the upgrade and glad that I didn’t have to install the same kind of drain pan. I’ll be checking it for leaks when it rains, but I feel pretty good with the results.
My a/c is actually a Dometic 15kbtu heat pump model 630516.331. The new pan for this model is called a Drain System with a part number of 3107688.016. It works on many different models.

