Monthly Archives: July 2013

Hard-wired backup camera

Not exactly RV related, but I thought you might find it interesting. I recently installed a new radio in my truck that allows for a hardwired backup camera. A lot of new cars and trucks come with these installed, but my poor 2001 Silverado was born too early to enjoy these options.

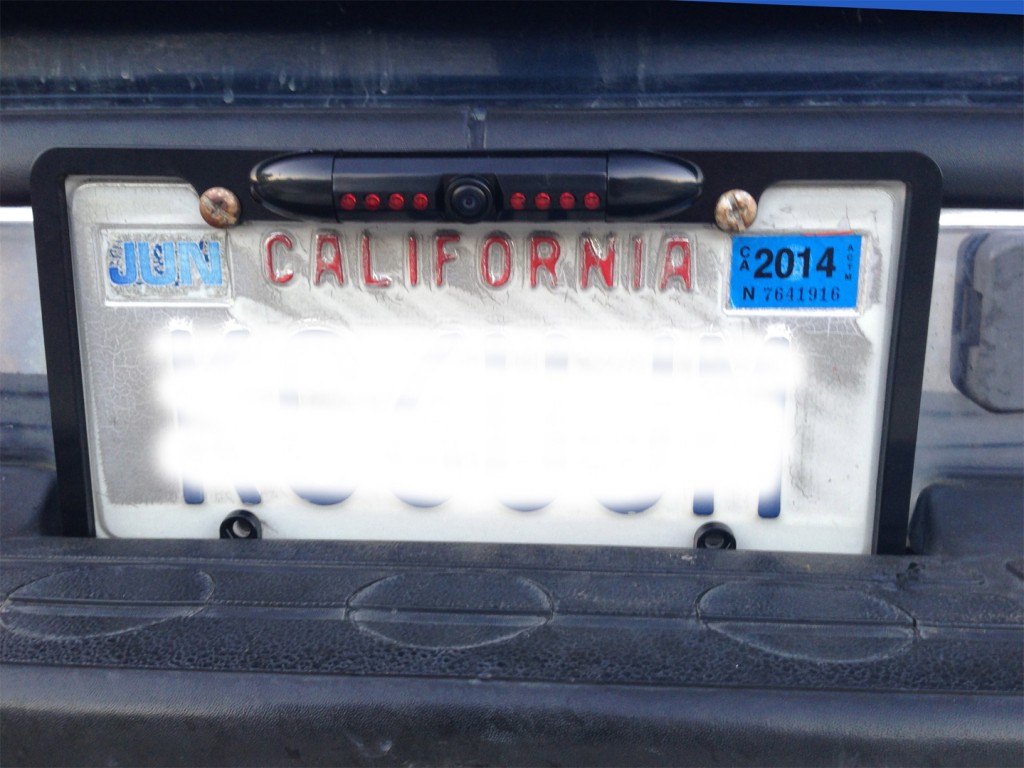
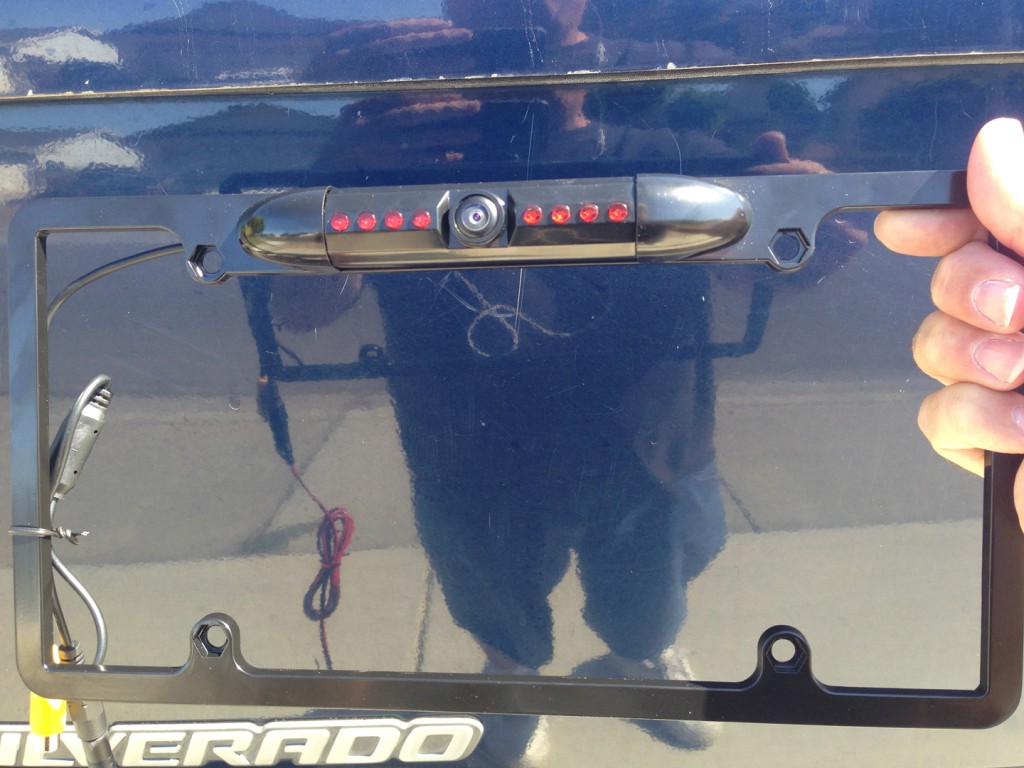
After installing the new radio, a JVC KW-AV61BT, I started my looking for an aftermarket backup camera. I found one that is mounted to a license plate frame. It’s pretty nice construction, all metal, infrared LED’s, and an adjustable camera angle.

cameraframe

The kit comes with the waterproof camera, and a 20′ RCA video cable to connect to your monitor/radio. You’re supposed to power the camera from your backup lights so the camera powers up when you go into reverse. I had a slight issue with that because my radio has a button to view the camera whenever you want. So if it was only powered up via the backup lamps, that feature would not work. So I decided to power the radio with the ignition. Whenever the car is running, power is applied to the camera. So I had to run a another wire from inside the cab to the rear of the truck.

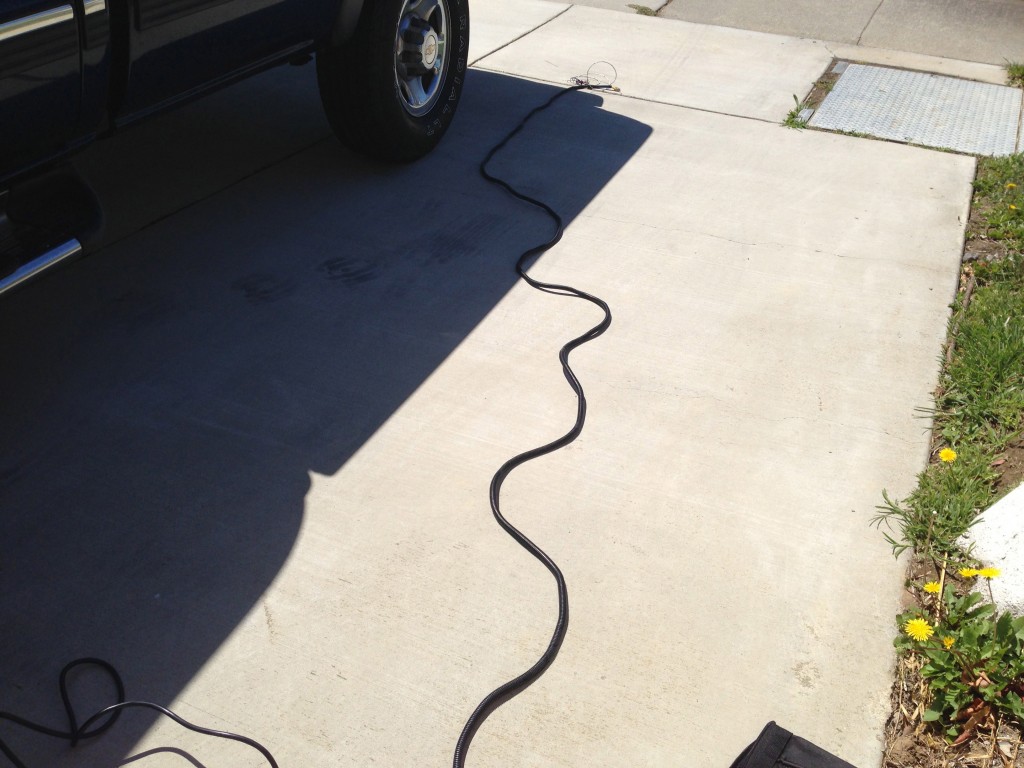
There was one final wire needed. The radio uses the reverse lamp power to switch to the camera to the screen when you go into reverse automatically. So I needed to run this third wire as well. I ended up making a small wiring harness and put it inside split-loom.

wiring

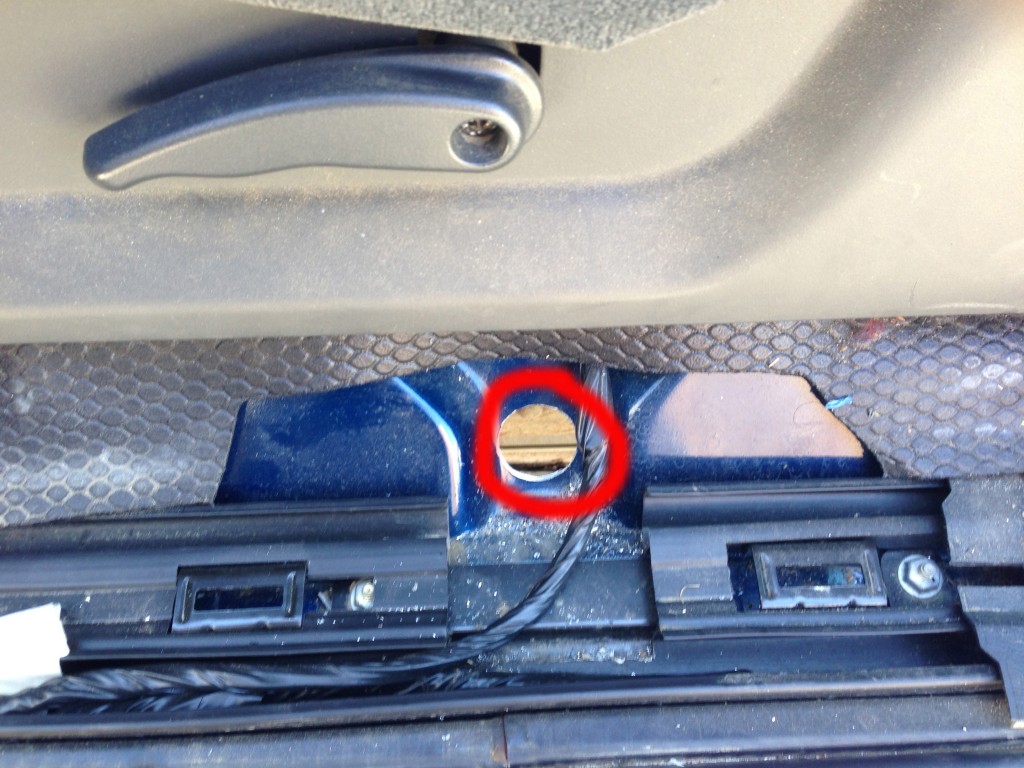
After crawling under the truck and securing the harness, I needed a way to get the wires inside the truck cab. I removed the trim at the door and found a good place to drill a hole for the wires. I secured them with a rubber grommet.

hole

The wiring to the radio was straight forward. I just needed to hookup the video-in from the camera and the rear-trigger from the backup lights. Finished with wiring the power to the ignition via small in-line fuse.

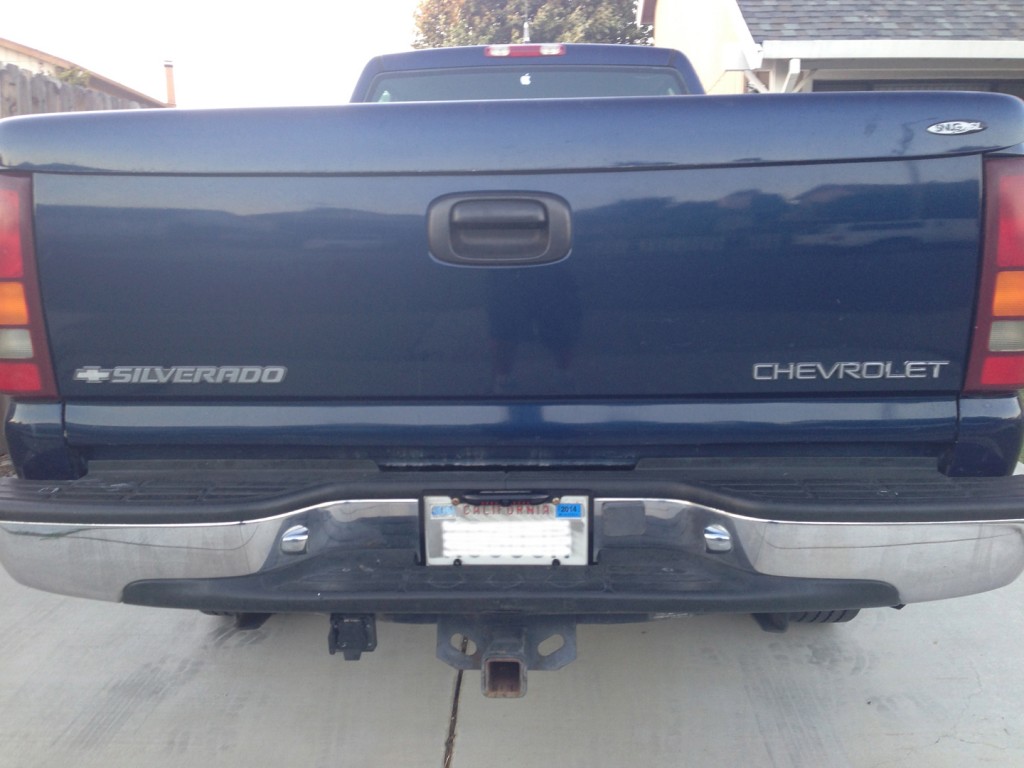
Here are a couple of photos of the camera mounted.

rear

closeup

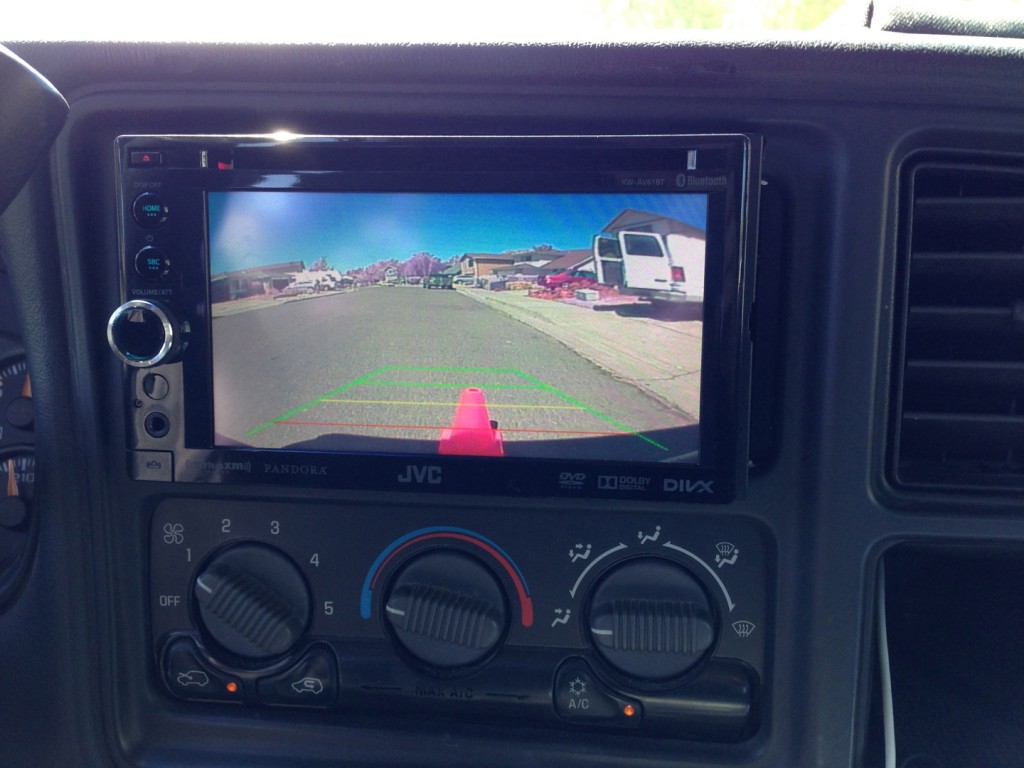
Here is how the the radio looks with the camera view. The camera puts the red, yellow, green line overlays. You can adjust the camera angle up or down to get the red line adjusted to your preference. I actually lowered it a little more after this photo. I like to see the bumper in the view.

radio

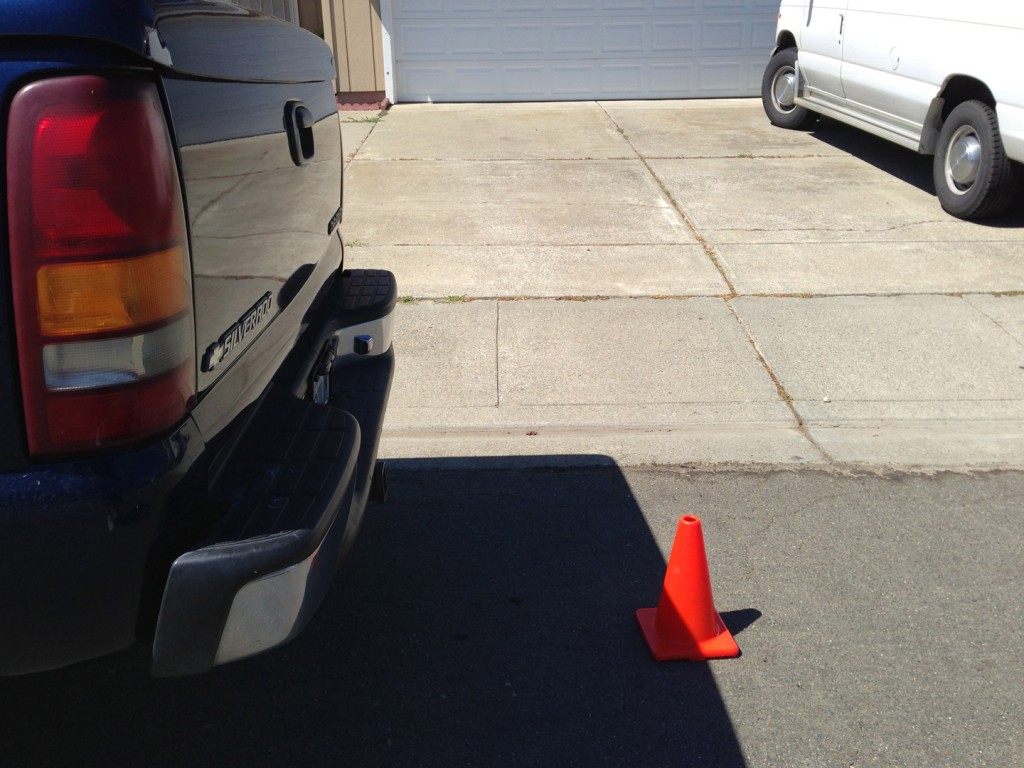
This is a side view of the cone placement so you can get an idea of the distance.

cone

I like the way it turned out. The radio switches to the camera input automatically when I go into reverse. I can also select the camera input on the radio while driving, which is a very strange view to watch while your in motion (only viewing as a passenger of course!). There is one issue that you may have noticed. The colors are off, way off on the camera. The trees in the far background in the photo above are pink instead of green! I didn’t order the “Rose-colored glasses version”. I’ve already filed for an exchange. Luckily the swap out will be a lot easier than the initial install!

I can’t wait to see how this will help when hitching the trailer… There’s your RV connection!

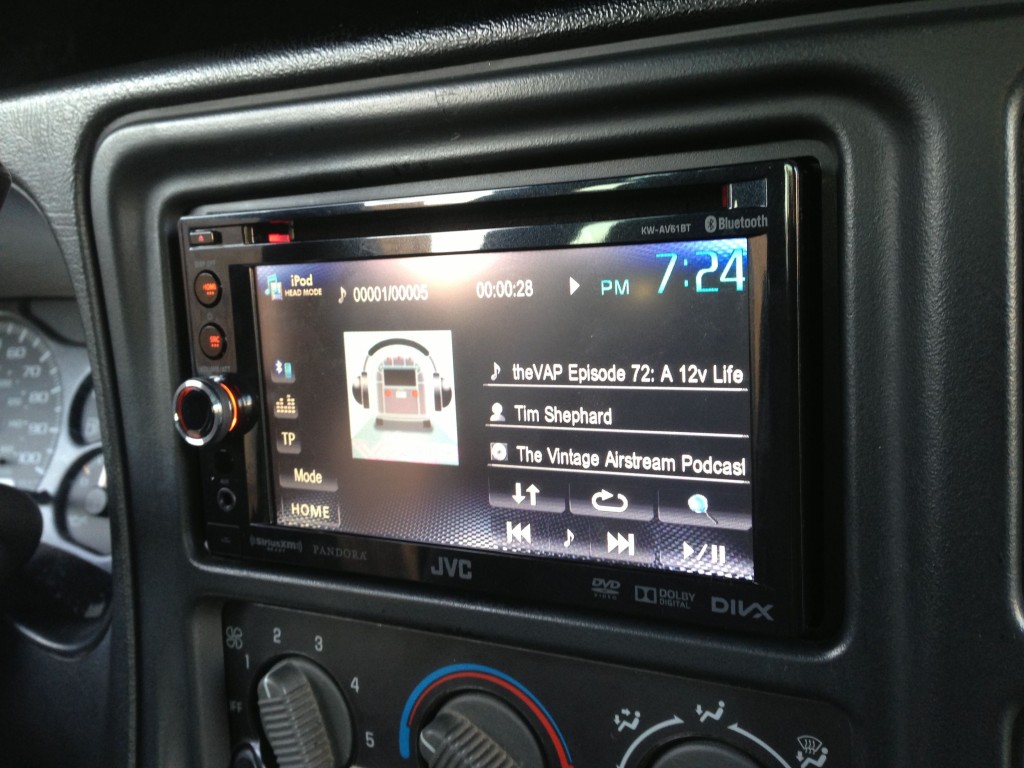
As I mentioned on Episode 190, I wasn’t happy with the initial look of modifying the original dash. I was able to locate a 2005 dash bezel with the proper opening as well as the radio bracket from the 2005. Results are much nicer!

radio1

Facebooktwitterredditpinterestlinkedinmailby feather

New propane regulator

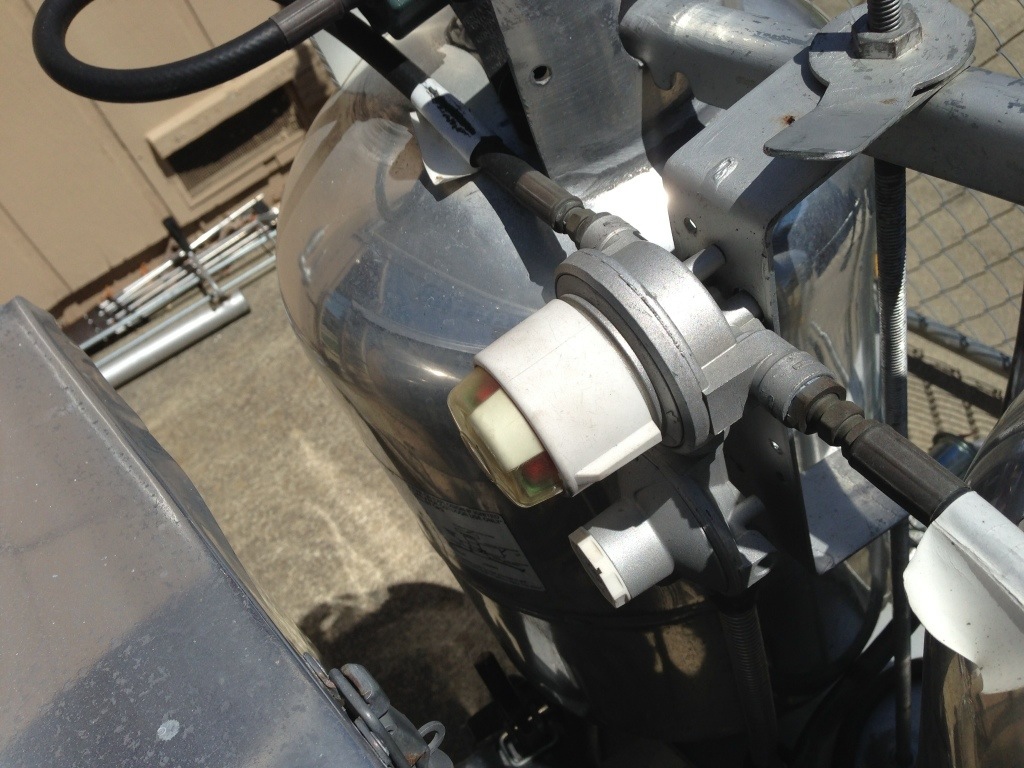
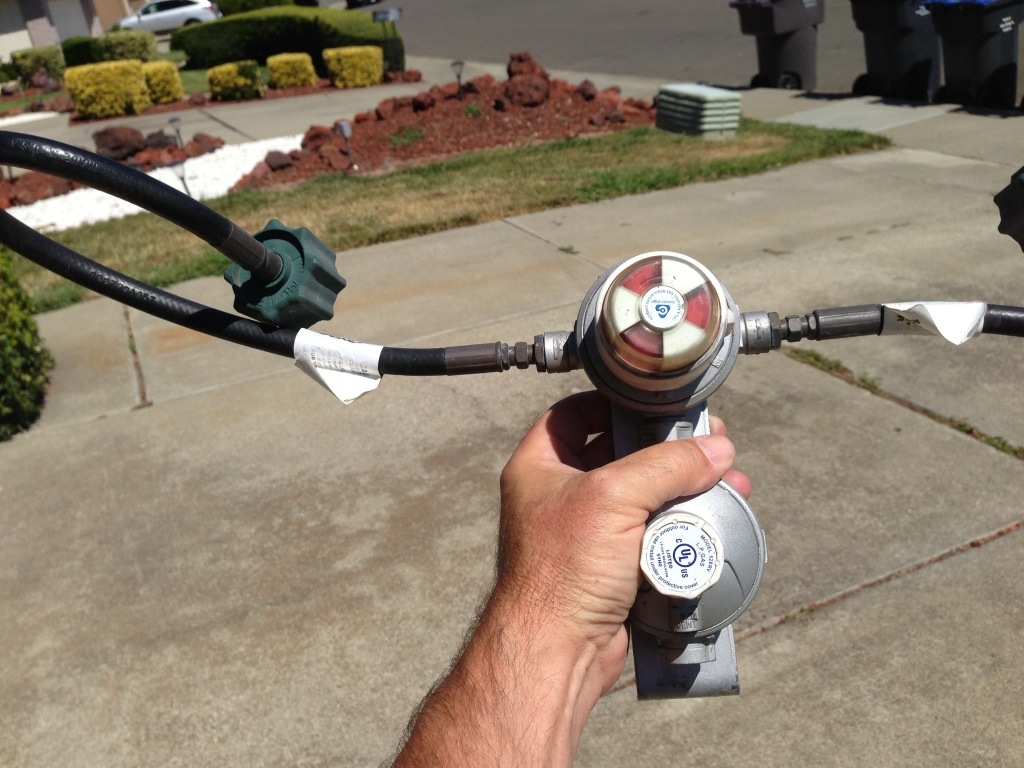
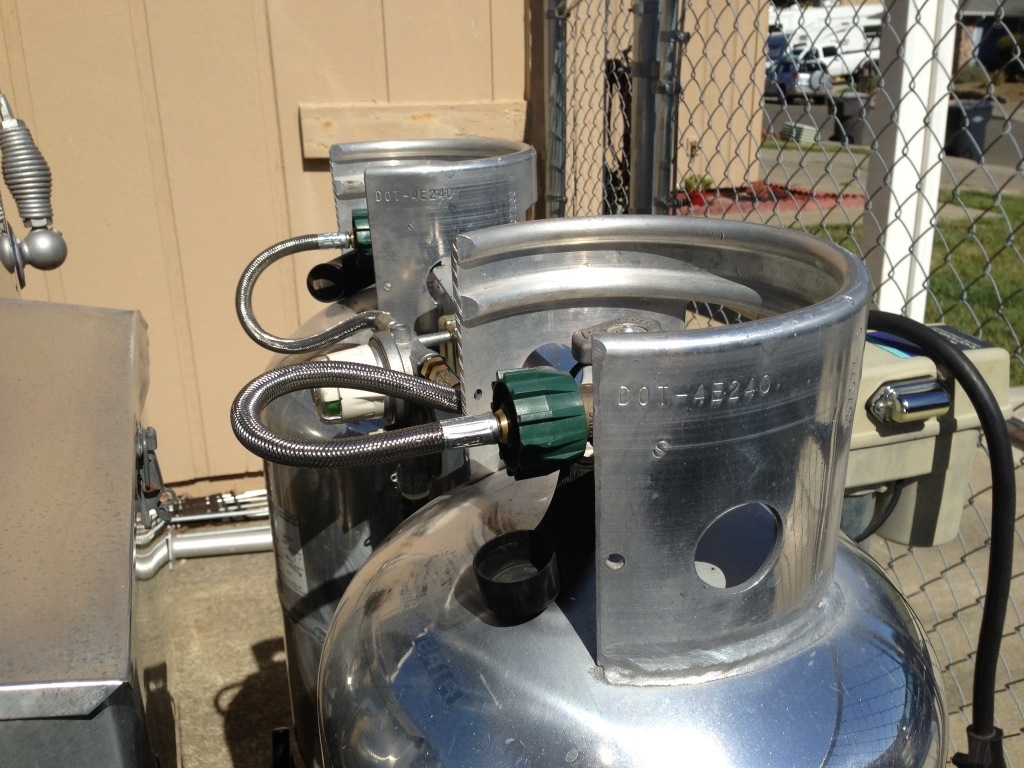
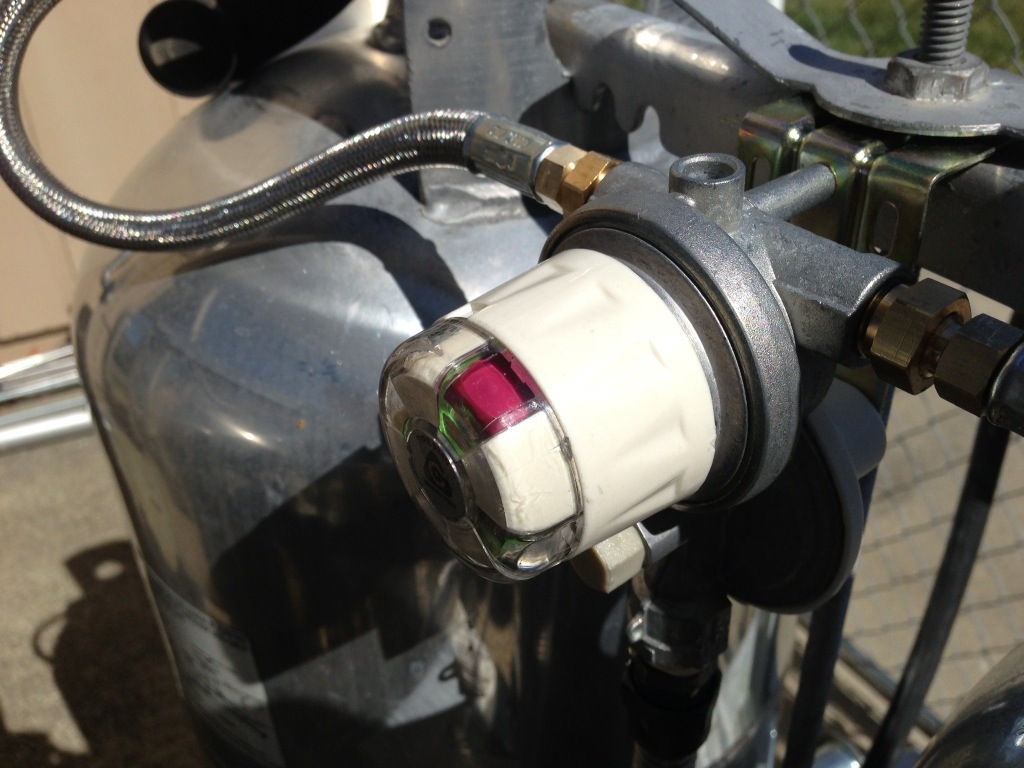
On our last trip I noticed our auto-switching propane regulator always indicated an empty tank. In case you don’t know, auto-switching regulators typically have a red/green indicator, which turns red when the tank is empty. There is a dial or knob of some kind to switch the indicator to the opposite tank. The propane itself auto-switches to keep your appliances supplied with propane without interruption. When turning the dial, you are only setting the indicator’s source. That said, my seven year old regulator always showed empty.

20130714-170317.jpg

20130714-170327.jpg

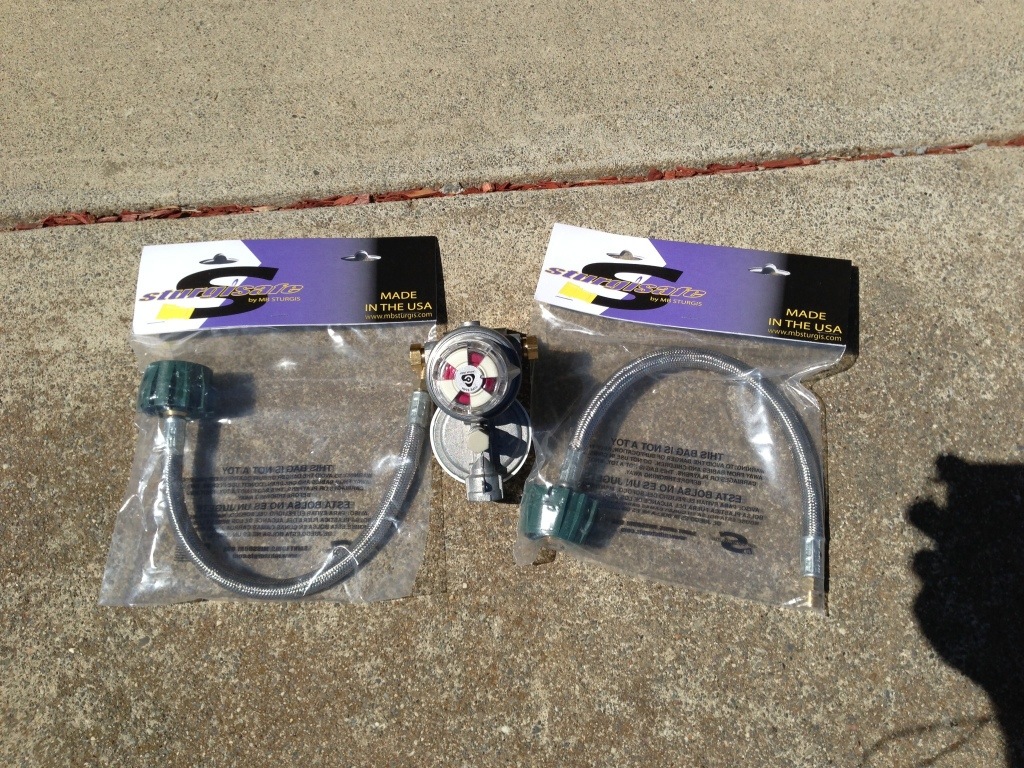
I decided to replace the regulator and hoses. These new stainless braided hoses are a nice addition.

20130714-170429.jpg

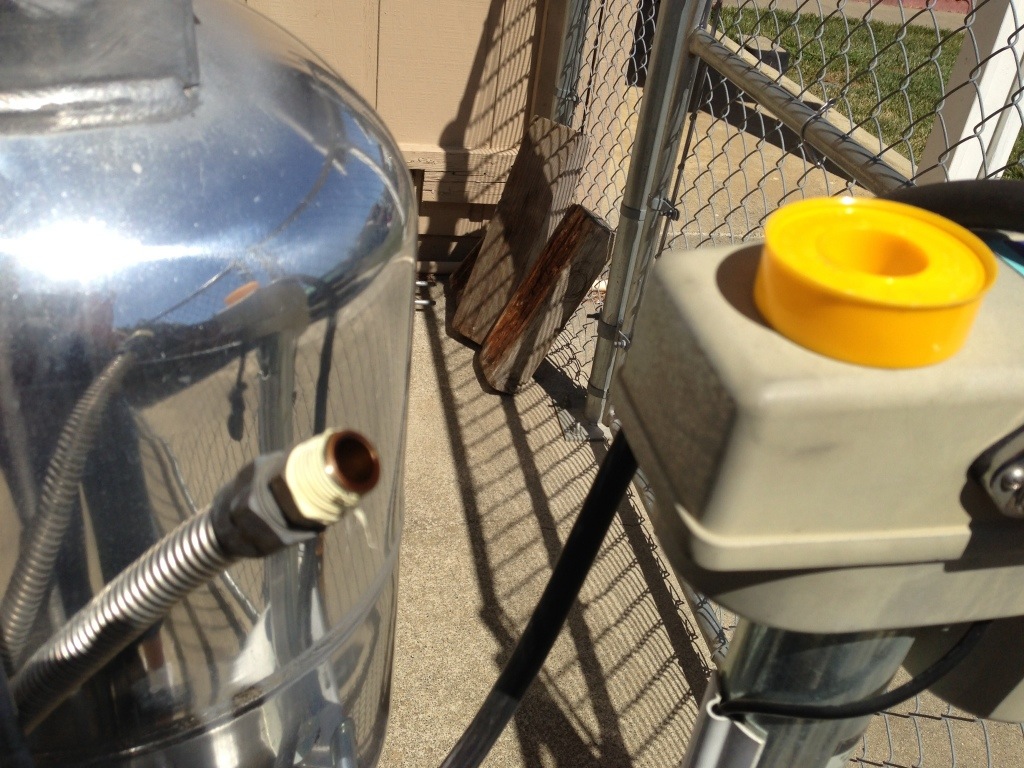
The new hoses match the regulators reversed-flair gas fittings perfectly. Always use two wrenches to tighten fittings. The connection to the trailer is a pipe fitting that I was able to reuse. Pipe fittings need some sealant on the treads since it does not seal gas like a flair connection. Always be sure to use a sealant rated for gas. Typically, it’s yellow as opposed to white, which is used for water.

20130714-170754.jpg

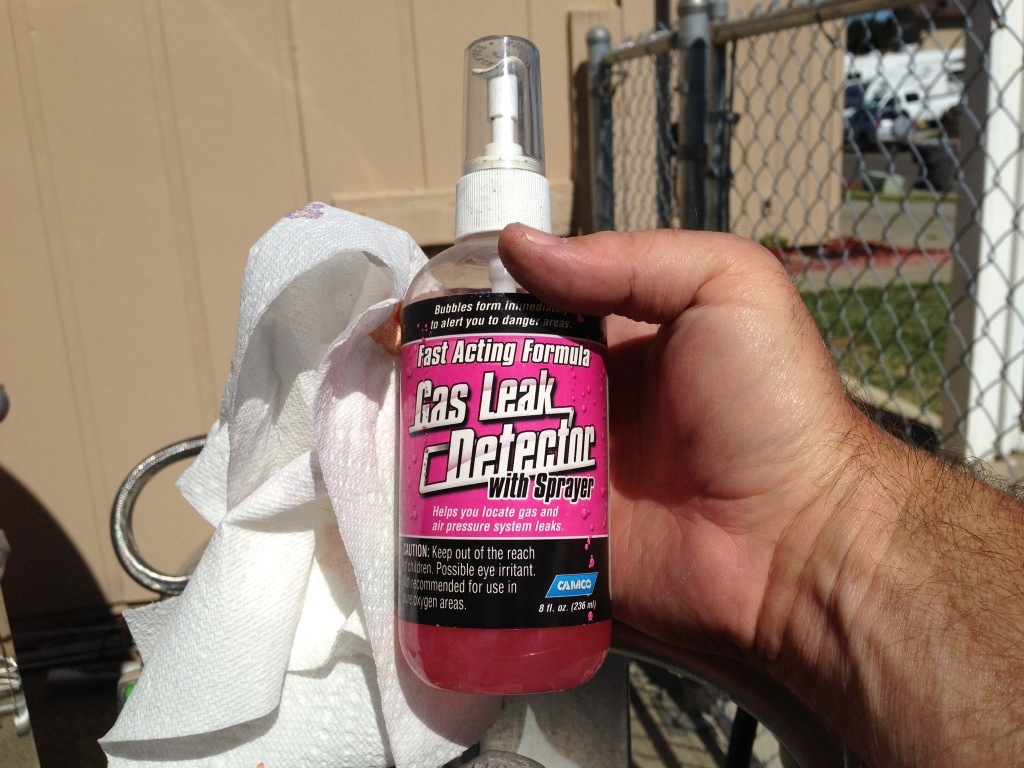
After all the connections were completed I checked for leaks with my gas leak detection spray. Everything checked out fine.

20130714-170912.jpg

20130714-170923.jpg

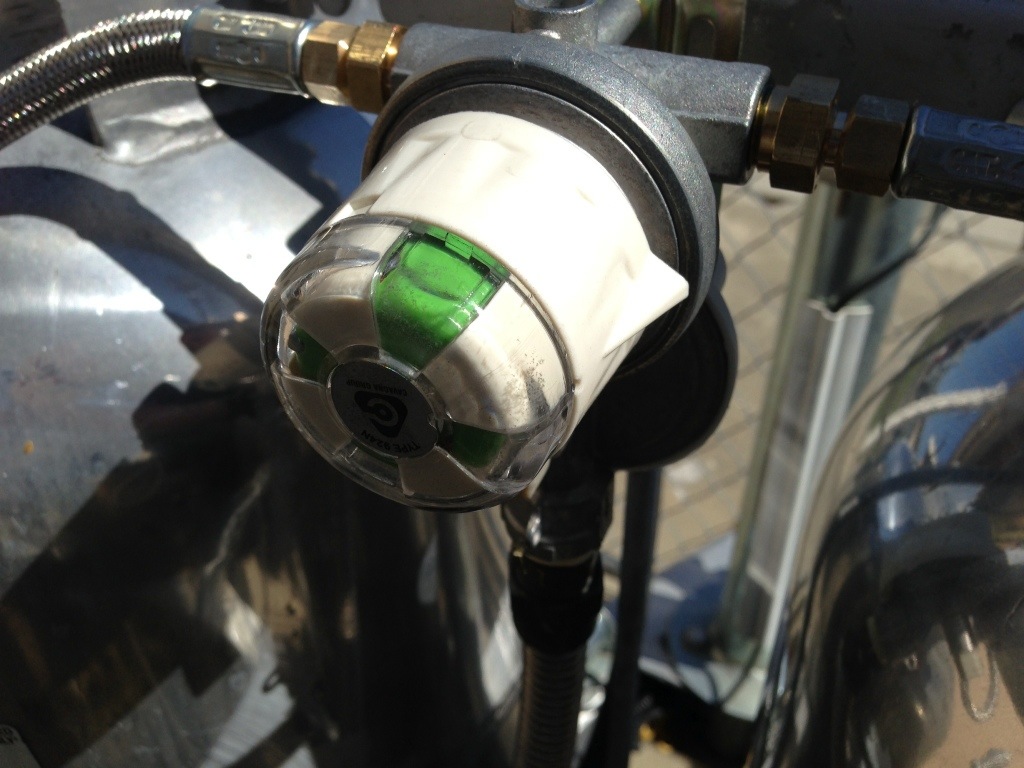
Time to light up and give it a good test. I lite all three burners and the water heater. Then with both tanks open, I closed one tank and watched the indicator turn to red. I checked and all of my gas appliances were still running, meaning the regulator did its job and switched to the opposite tank.

20130714-171118.jpg

After rotating the regulator’s indicator selector, it turned green again. All systems go!

20130714-171331.jpg

One more trailer project off my list!

Facebooktwitterredditpinterestlinkedinmailby feather

Owning an Airstream will change your life.

Airstream RV will change your life

June 28, 2013|By JULIANNE G. CRANE, Motor Matters

Owning an Airstream will change your life.

“It adopts you into a family of fellow trailerites whose love of aluminum shares a common bond,” says Tim Shephard, host of the popular The Vintage Airstream Podcast (thevap.com). “It’s like joining a culture.”

Individuals who commit to refurbishing a decades-old Airstream are paying homage to an American icon and often say they dream of simpler times from a lost era. “They remember seeing Airstreams in their childhood many years ago,” says Shephard, “and, owning one, no matter the age or condition, seems to satisfy a calling from within.”

Shephard’s recently published how-to memoir, “Restoring a Dream: My Journey Restoring a Vintage Airstream” (restoringadream.com), offers a unique twist on a classic trailer restoration tale. Along the way, he reveals his personal transformation from tent camping in the California redwoods to rebuilding two classic vintage Airstreams.

“I did not really camp as a child,” recalls Shephard. “After I was married, a friend of mine asked my wife and I to go camping with them. They were in a popup trailer and we were in a tent.” That helped jump-start us into camping and wanting a trailer.”

In 2001, Shephard and his wife, Debra, decided to purchase and restore a 23-foot 1971 Safari Airstream. They did not want to spend a lot of money buying a new trailer because they were not sure if they would enjoy the RV lifestyle. It turned out that the family, including three children, loved camping and the outdoors.

After four years, they sold their 23-foot Safari and found a larger 28-foot 1960 Ambassador Airstream on e-Bay. And as it turned out, the Ambassador needed a lot of work. Over the next year, Shephard spent a minimum of 15 hours a week, using most weeknights and Saturdays to complete the renovation.

“Like similar restoration projects in vintage cars, or antique furniture, it is purely a labor of love,” says Shephard. “Our final monetary tally of $33,000 cannot convey the amount of satisfaction gained from restoring a vintage time capsule and breathing life back into a piece of history that our family treasures. The fact that I did the restoration work myself means that I can continue to maintain and upgrade the Airstream.”

In “Restoring a Dream” Shephard shares valuable information on the four steps — Choosing, Inspecting, Recovering, Restoring — he followed in transforming an Airstream nightmare into a classic icon.

“Choosing” covers how to avoid the “Polished Turd,” searching by era, where to find an Airstream, and what it should it cost. “Airstream has been in business for nearly 80 years, there are many trailers out there from which to choose, so narrow your search by era,” advises Shephard. “The early 1960s called to me. It included real wood interiors, minimum custom parts and a strong monocoque exterior.”

“Inspecting” goes over evaluating skin condition, assessing appliances, and learning about axles. “It is important to understand exactly the extent to which you are getting involved,” says Shephard. With his 1960 Ambassador, he knew that he would be doing a full restoration. “In my case, it was all about attitude,” he says. “Knowing from the start that I was going to be doing whatever is needed saved a lot of heartache.”

“Recovering” talks about prepping for the pick up and getting it roadworthy. “Bringing the trailer home safely is the biggest first step on your restoration journey,” says Shephard. His 1960 Airstream was 2,400 miles from home when he found it on eBay, therefore he went prepared with four new tires. Once there, he had the brakes and lights checked. “It’s important to have all the safety components working.”

“Restoring” deals with such topics as planning, common problems, frame issues, weatherproofing, wiring and woodwork, plumbing and tanks, replacing appliances, and how to polish. “With the Airstream design, a solid frame, subfloor and shell means you will have a strong foundation for years to come,” says Shephard.

Once structural repairs are complete, “it is time to start with the fun stuff.” He installed new marmoleum flooring, appliances and soft goods. Lighting fixtures were restored and holding tanks were upgraded and replaced. The trailer is in better shape now than when it rolled off the assembly line 53 years ago.

“When people see our highly polished 1960 Airstream,” says Shephard, “they can’t help but smile. It may bring out a childhood memory or a sense of freedom the trailer symbolizes. Whatever it is, we always get friendly honks and thumbs-up while driving the highways of America.”

original article

Facebooktwitterredditpinterestlinkedinmailby feather