Monthly Archives: September 2012

Bearing Packing

During out trip across country, we found some grease on the outside of one of my street side wheels. I had it checked out by a local shop while we were in Arkansas. I had never done anything with wheel bearings before so I wanted a pro opinion before I drove another 2000 miles on it. Their opinion was it would be fine to continue my trip as is.

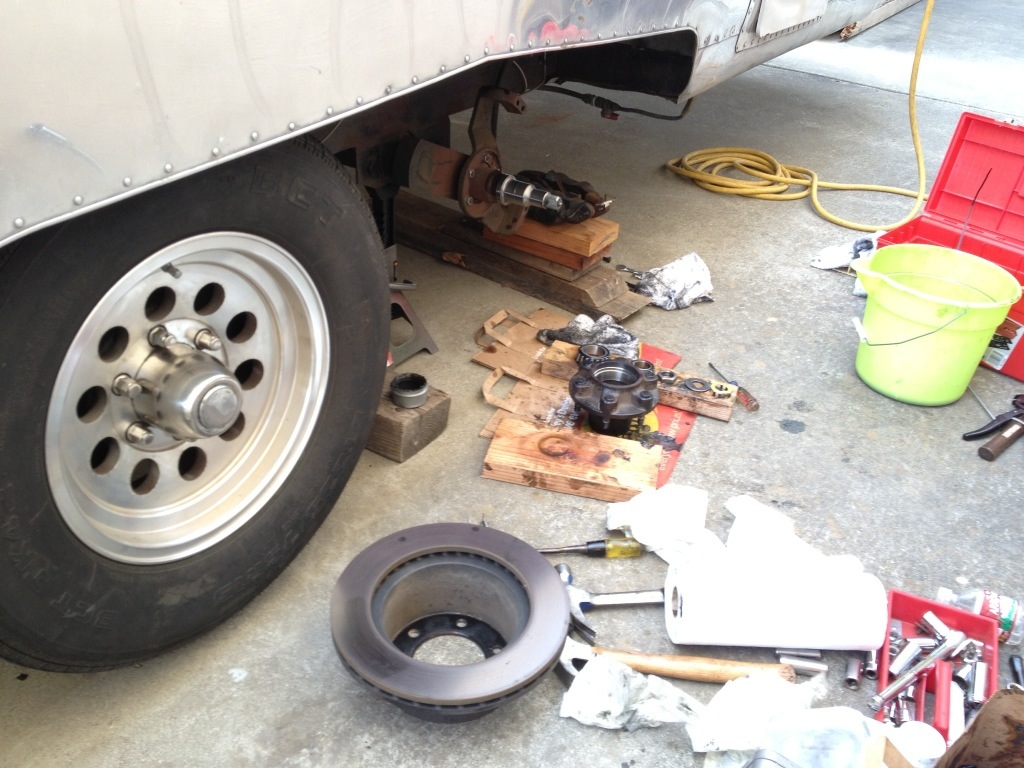
Since the bearings have never been packed in the five years that I’ve owned the trailer, I thought I would give it a go. First stop was YouTube. Got the basic idea there. I also hit up Dexters site for a PDF of the instructions.

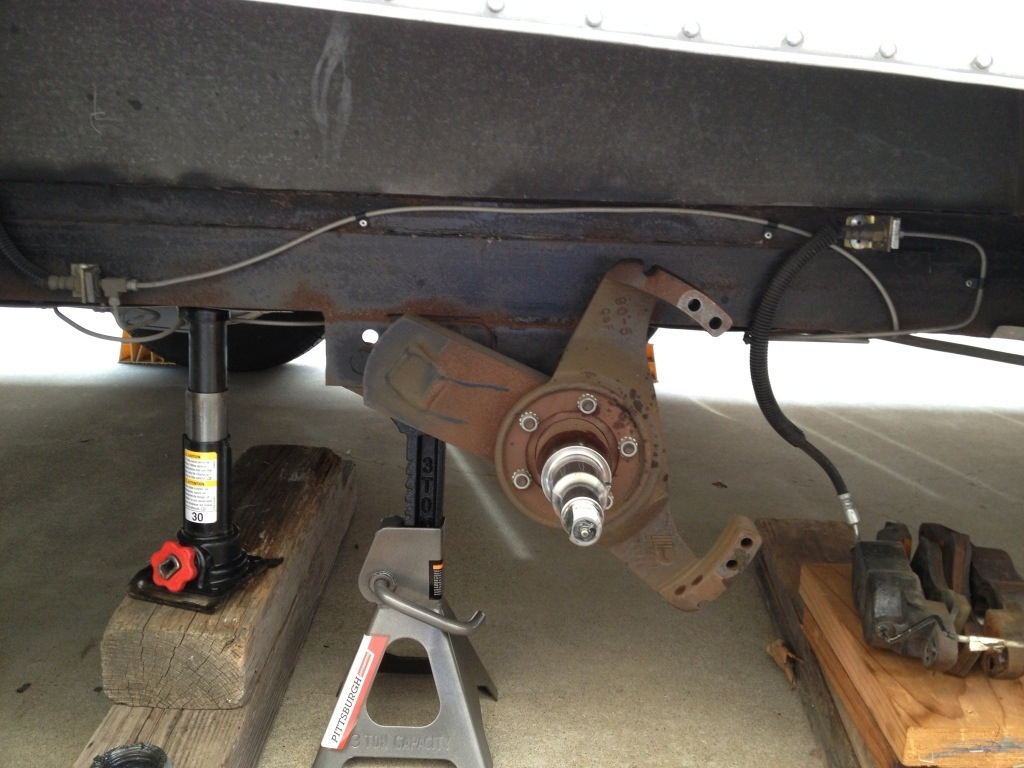
It was a little nerve racking since I have disc brakes. I had to move the calipers out of the way. After that it wasn’t too bad.

20120929-212846.jpg

20120929-212922.jpg

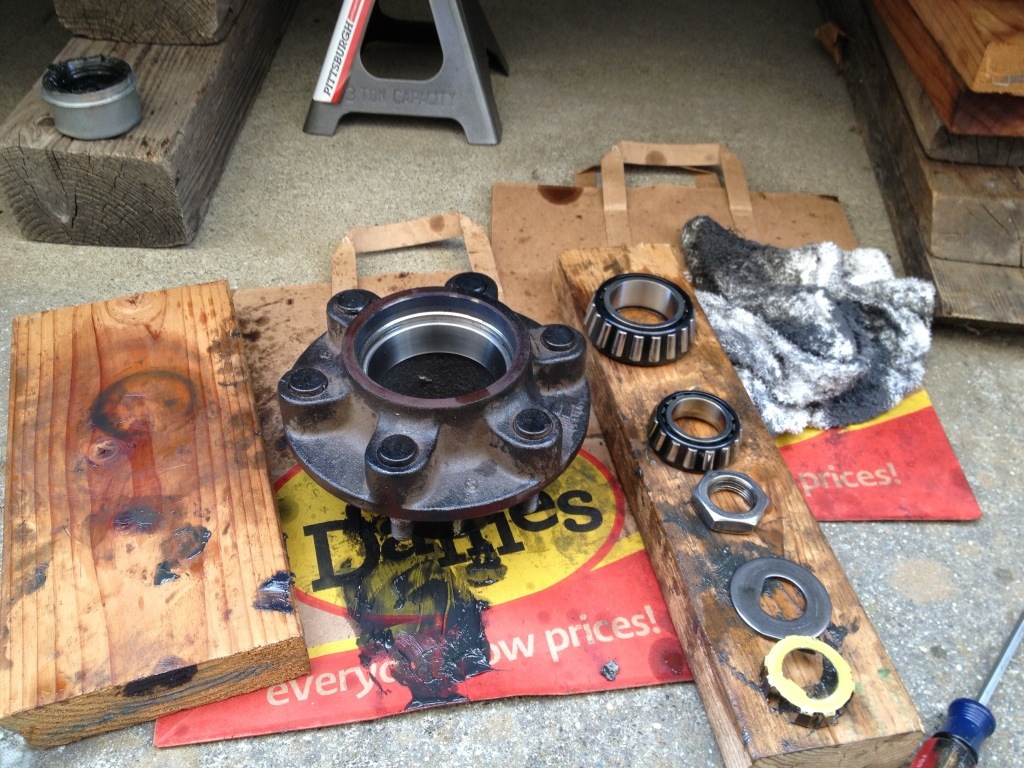
I cleaned the parts with mineral spirits and checked them for burnt spots. Everything looked ok. The worst part for me was getting the seals off. YouTube showed using a hammer and stick and pounding the seal out by hitting the bearing. It didn’t seem good but I could not get it out any other way. The problem was the second one I did, my wooden 2×2 started breaking apart and put splitter in the bearing! I called Colin and asked him about it. He said DO NOT POUND OUT YOUR BEARINGS! You can damage them that way. Don’t trust YouTube!

I checked the bearings over carefully and cleaned them up, no splinters. Hand packed them and the raceways. The last two wheels I used an awl and put a couple of dimples in the seal, then used the claw hammer to pry them out from the rear. This worked fine and left the rear bearings untouched.

20120929-213631.jpg

I put some grease on the spindle and slid the hub back on. Put the outside bearing, washer and nut on. The castle nut is held on with a clip ring instead of a cotter pin. This is where I made my second goof. I tighten the nut as hard as I could, then loosed it and put the clip on. I was talking to some mechanic friends who said I was supposed to put a quarter turn tight before I installed the clip. That didn’t sound right because I read you don’t want it too tight.

So I called dexter tech support. They told me I was supposed to spin the hub while I tightened the nut to full hand force on a 12″ wrench. I forgot the spinning part. Then I was to loosen the nut without rotating the hub, this would seat the bearings. Then hand snug the nut and put the clip on. The nut/clip combo should move slightly. If not, remove the clip, loosen the nut a 12th turn, then put the clip back on. The idea I think is that the metal will heat up some under tow. The metal will expand and tighten things up nicely without being too tight and causing undo wear on the bearings.

I had to remove the wheels and do the final adjustment again to be sure it was right.

20120929-214626.jpg

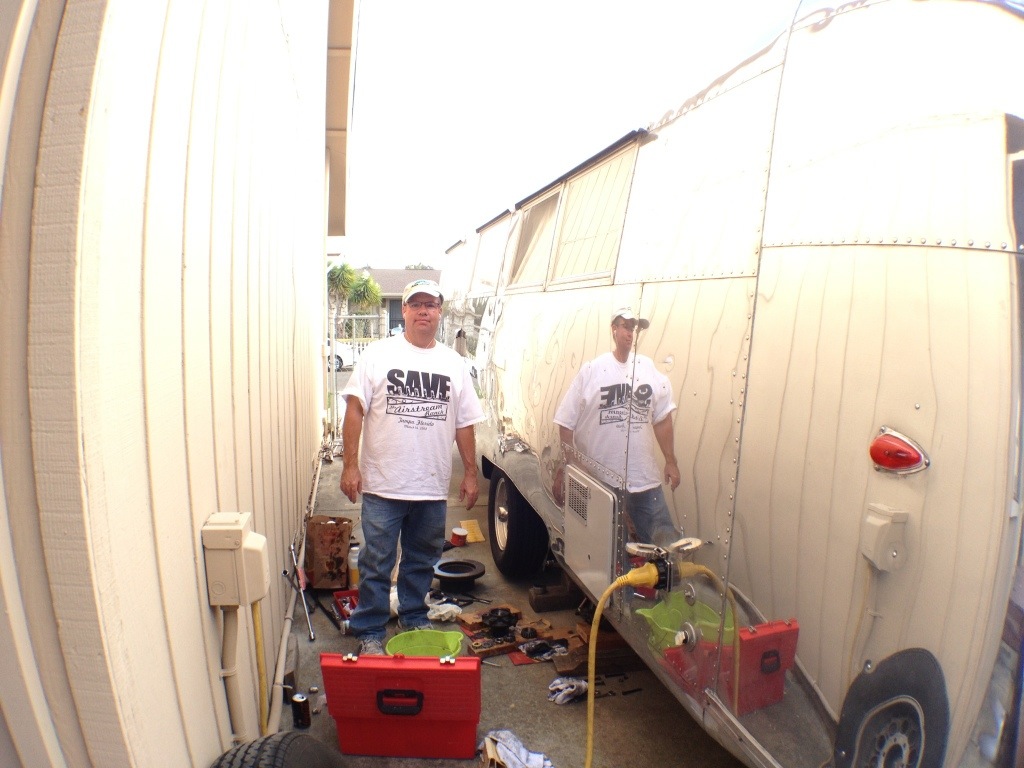
All in all, it was a good learning experience and I’m glad I did it myself. It’s a good thing to know how to do. Not only to save some money, but to know it was done right.

Facebooktwitterredditpinterestlinkedinmailby feather

SurgeGuard

If you recall, I have been recently researching ways to improve power when camping. I had reviewed the Hughes Autoformer for low voltage issues. During my research, I starting thinking about power protection.

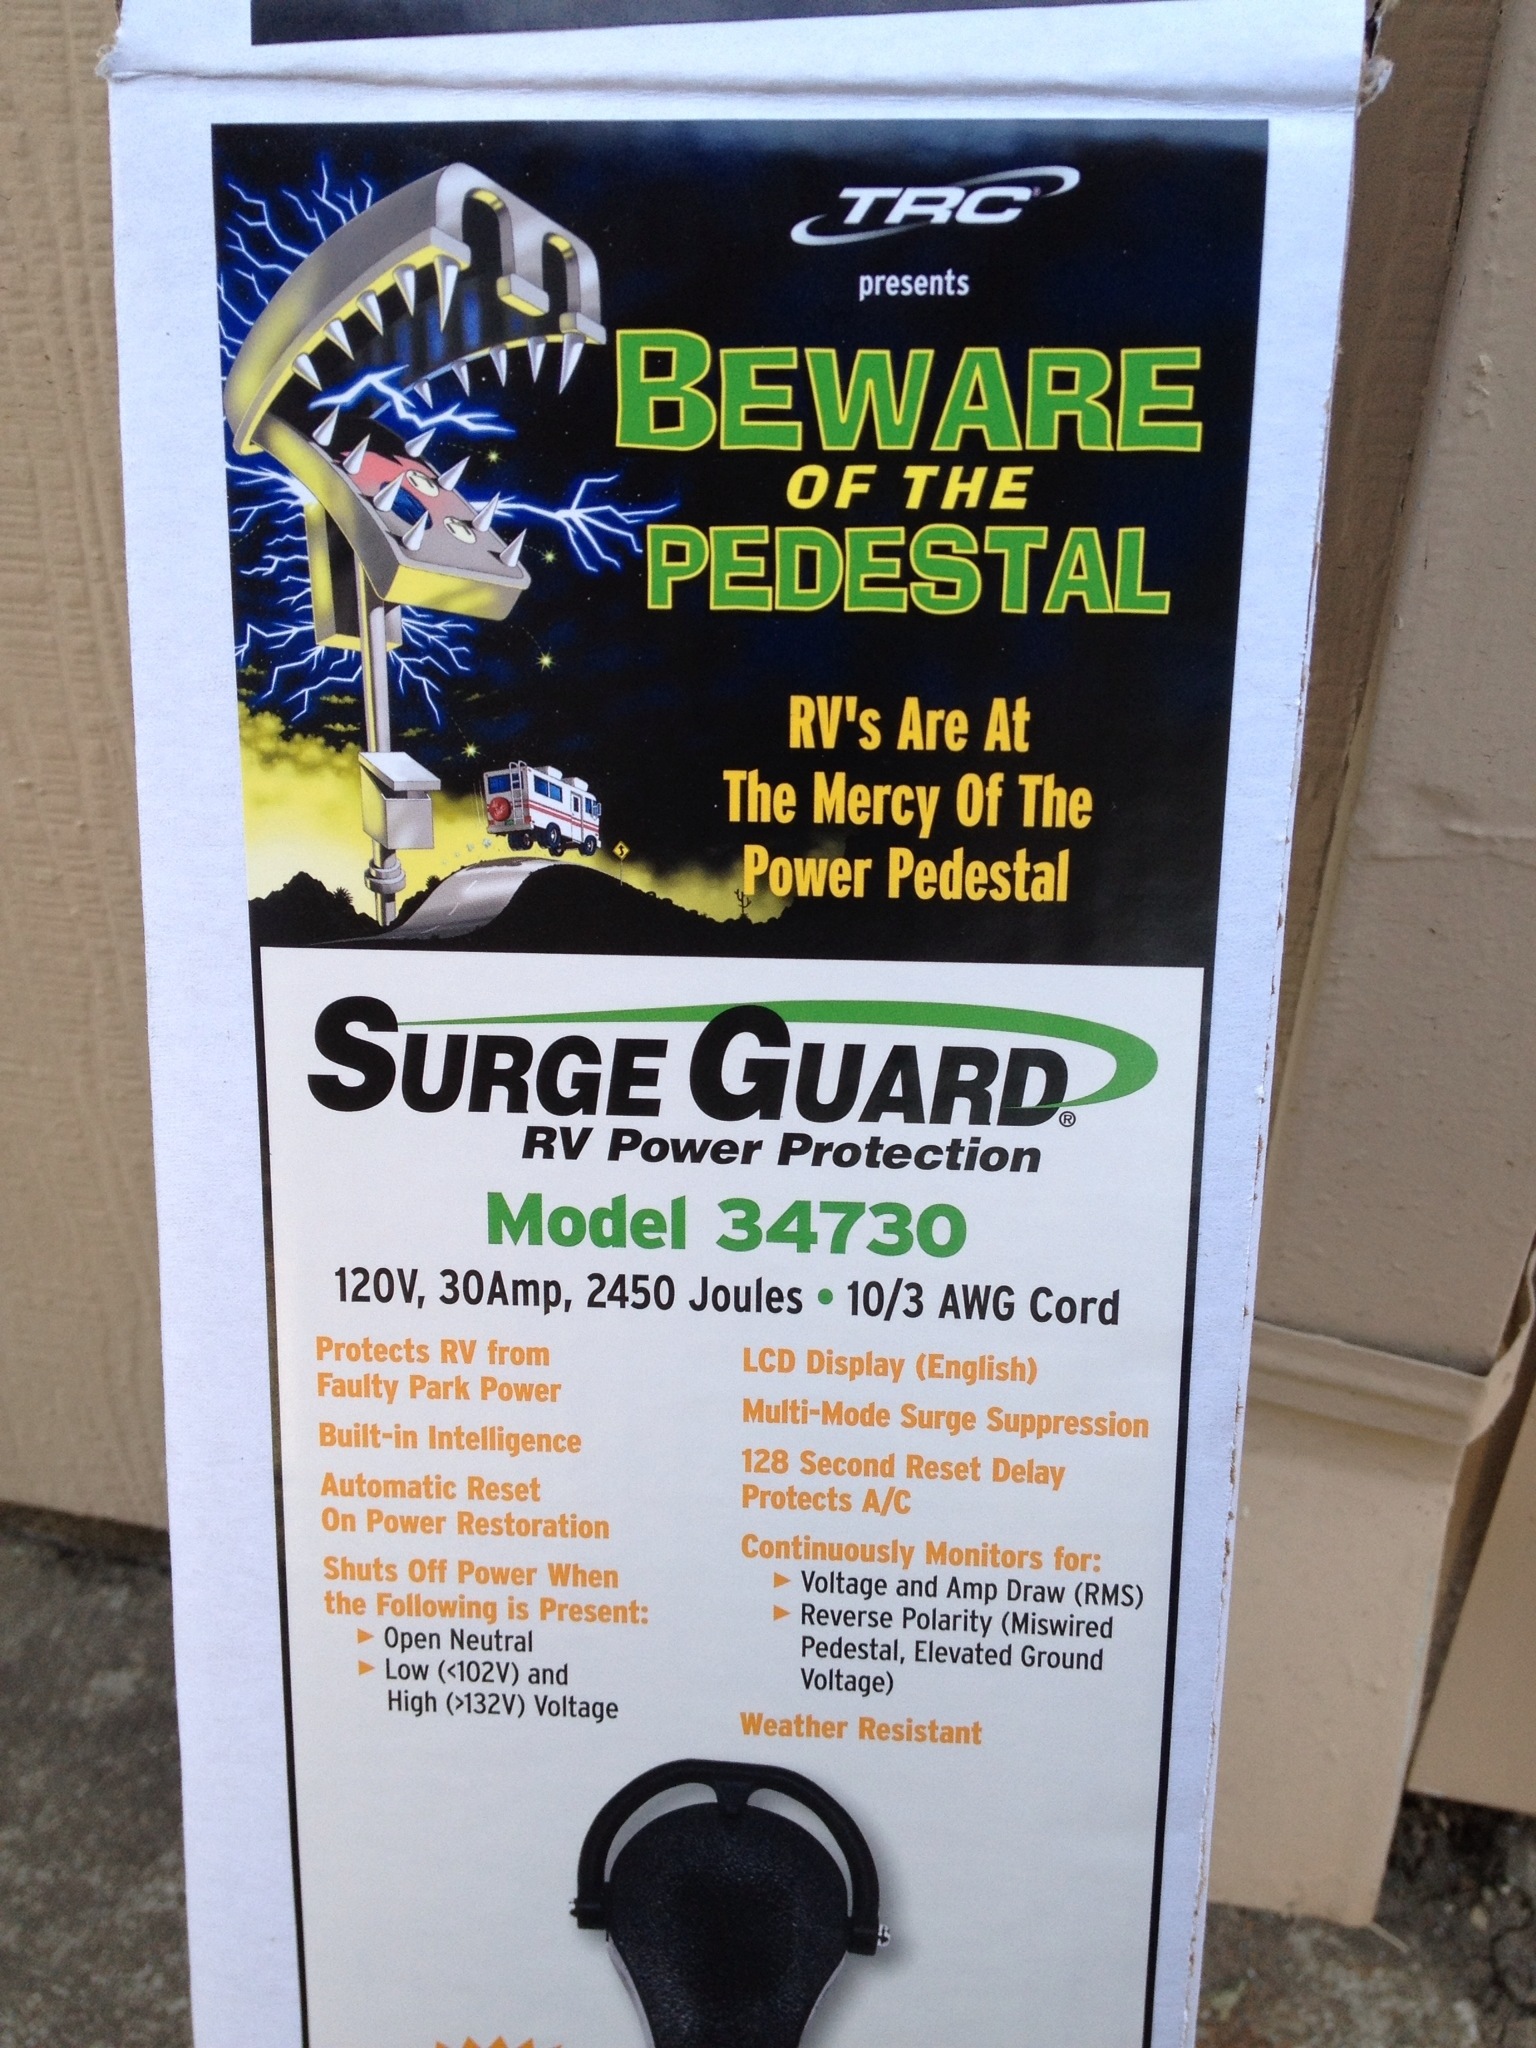
There are products out there that protect against, low and high voltage, open connections, and spikes. The SurgeGuard by RV Power Protection offers one such device and they sent me the 30amp model 34730 to review.

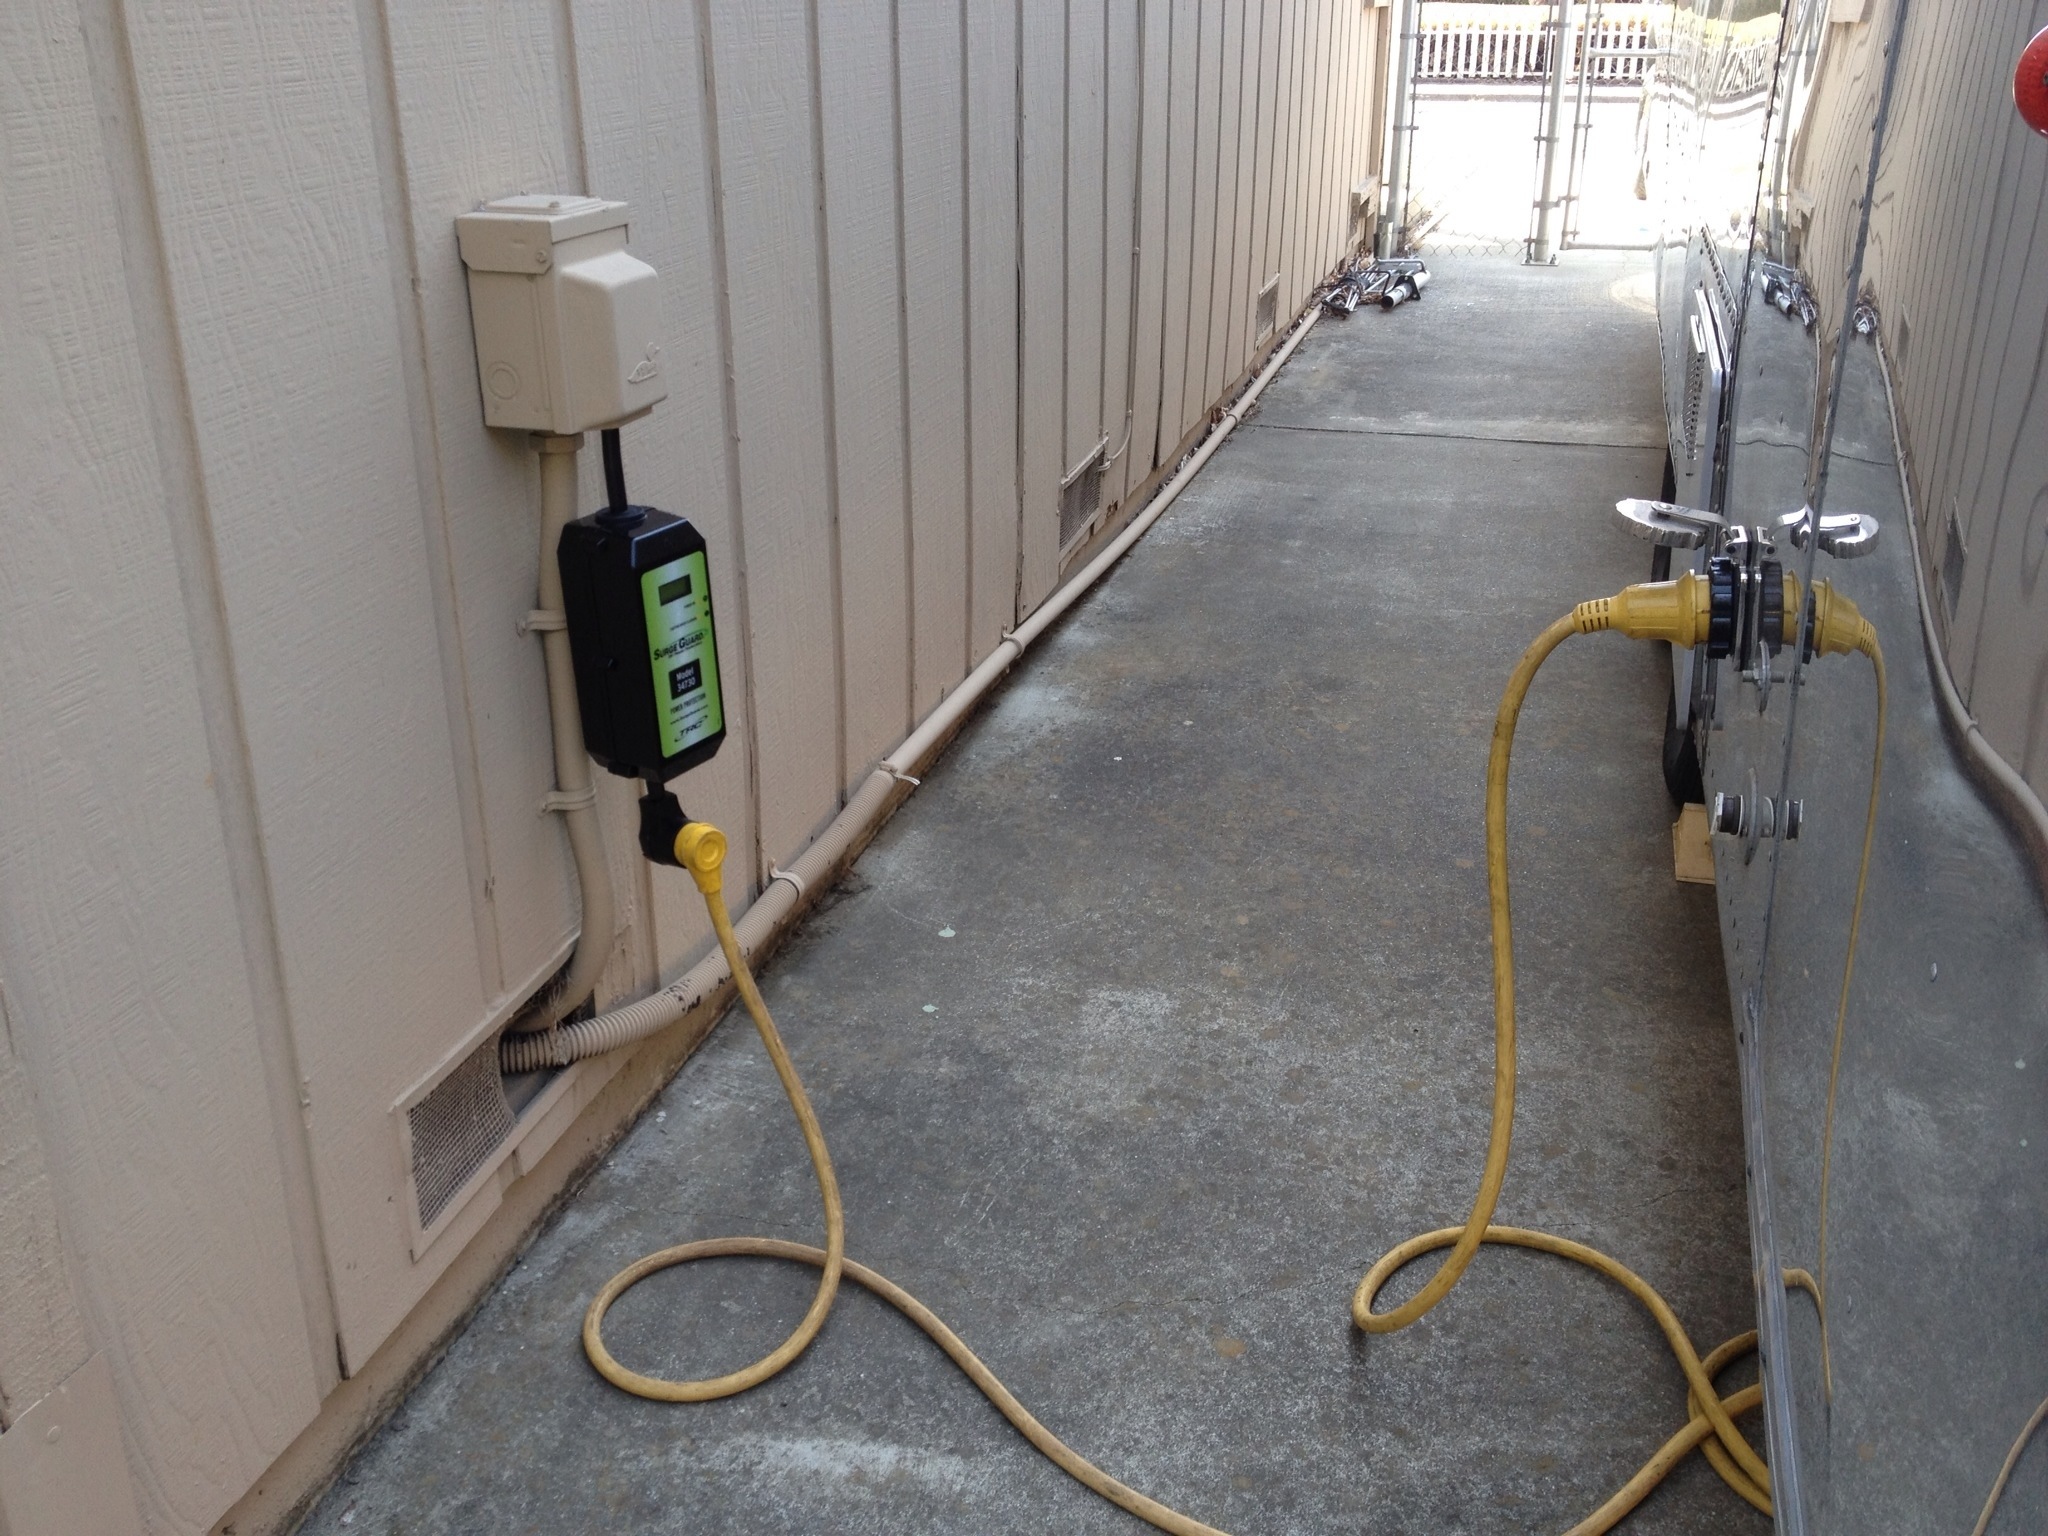
20120902-154956.jpg

The SurgeGuard 34730 is a new model in their line up. It’s rated for 120v @ 30a. It protects against low and high voltage, reverse polarity, open neutral, and surges. The 34730 is a portable model that you can easily plug inline with your power cable. It also has a convenient display that tells you what is going on. You get a read out of voltage and current draw.

Here is what it looks like during testing at theVAP Labs.

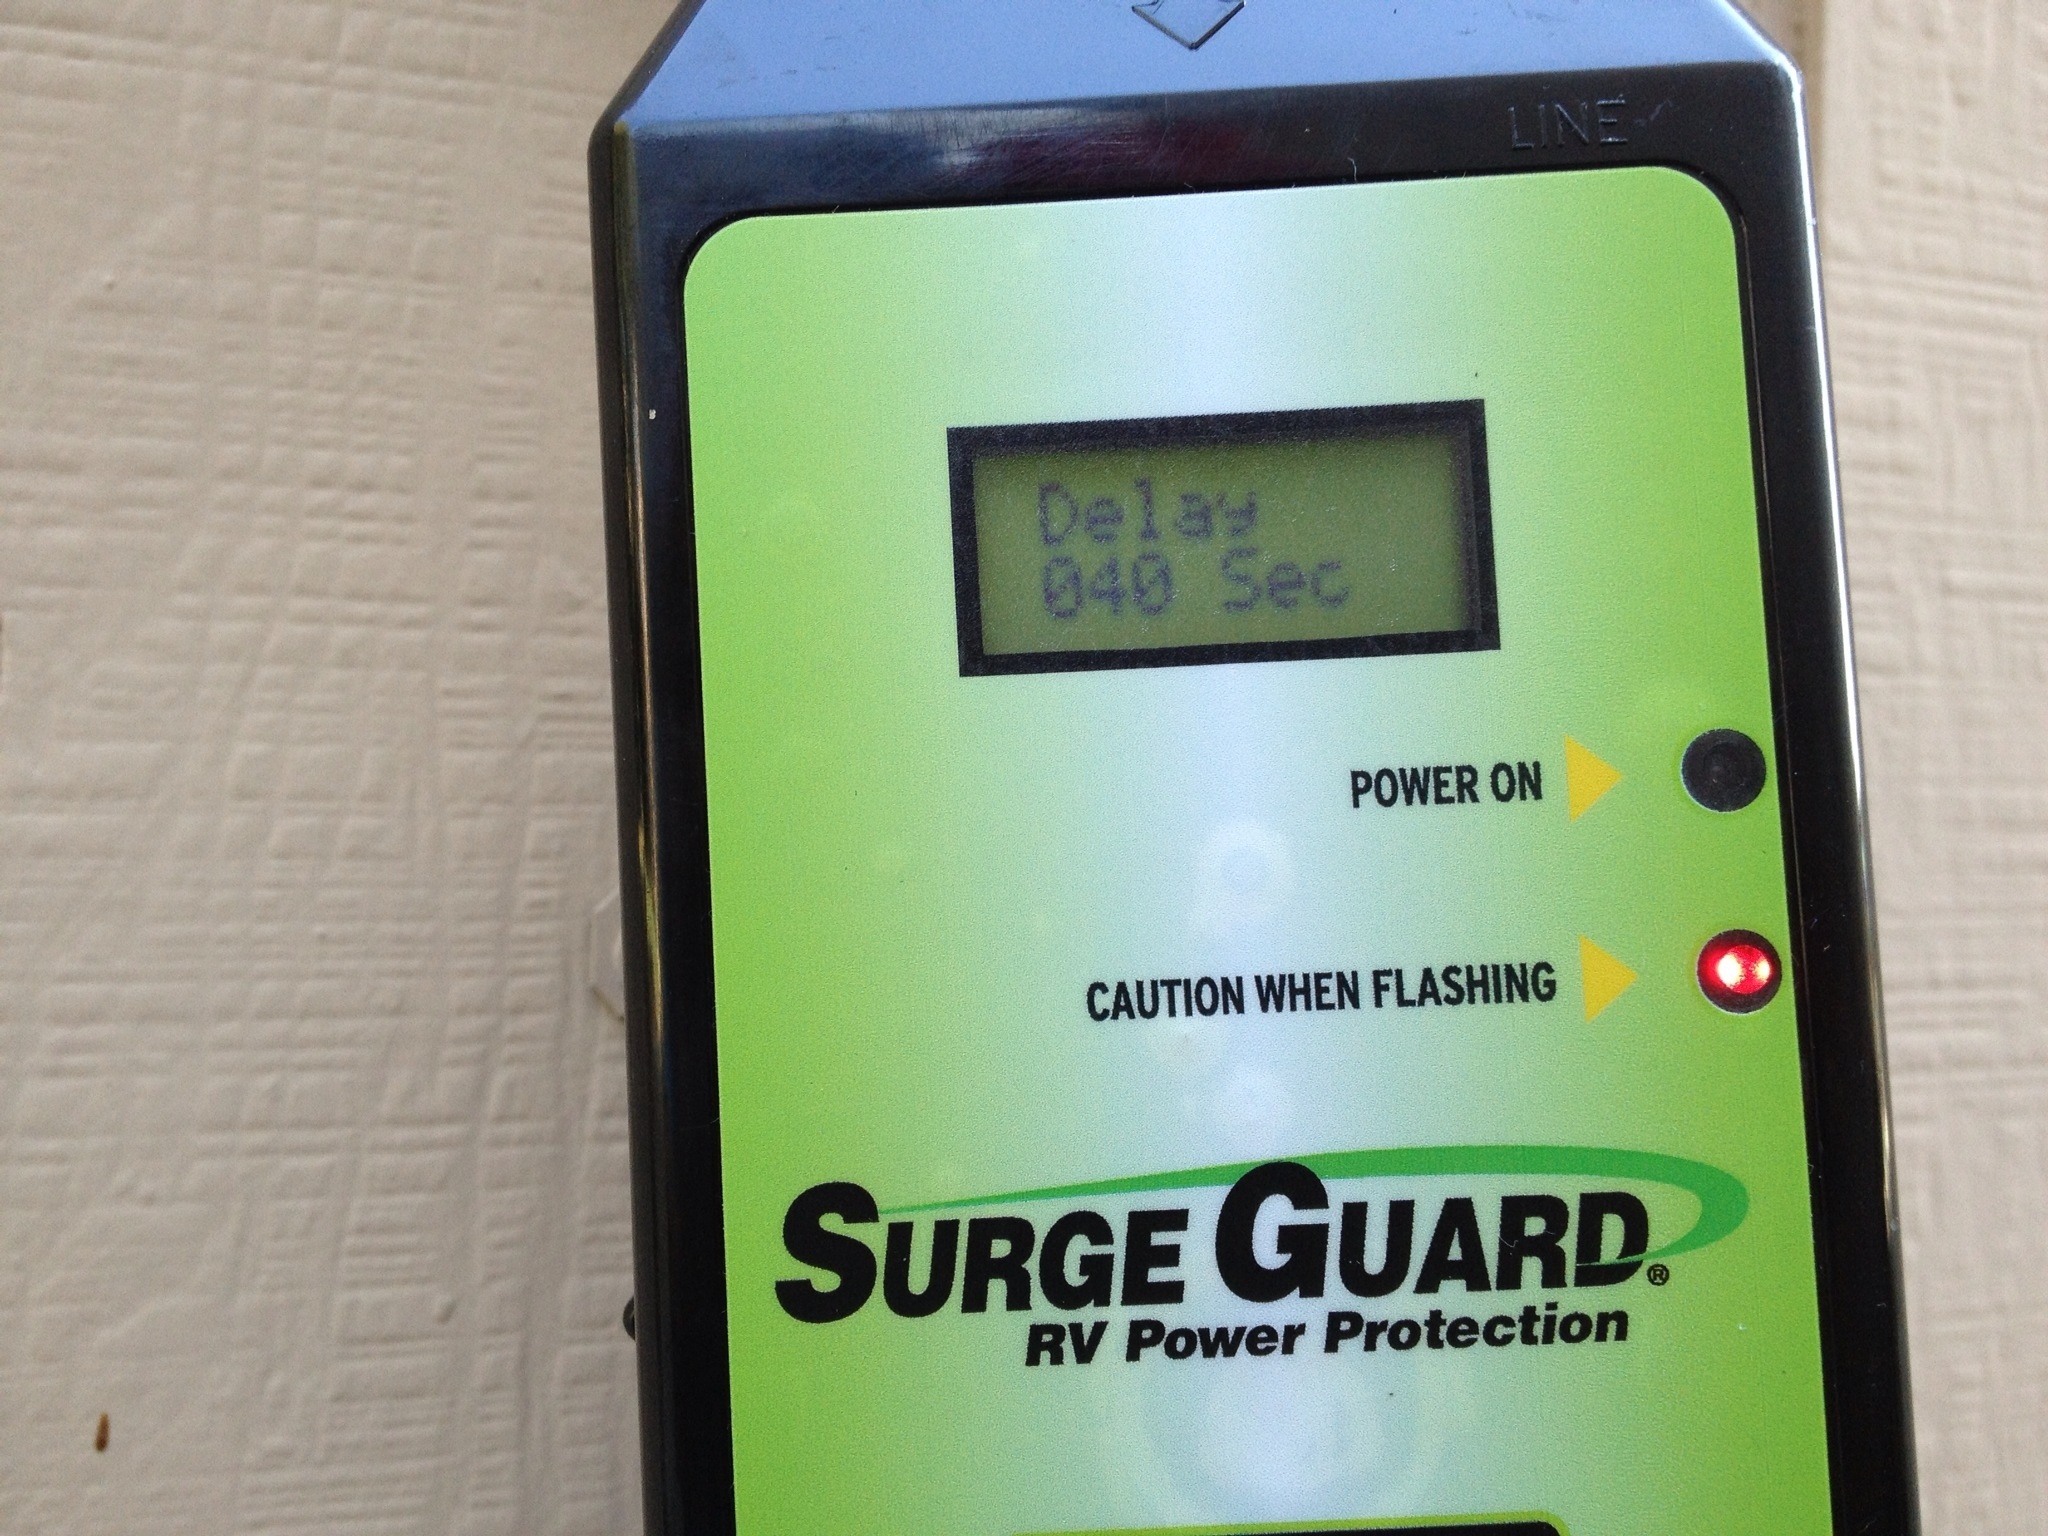
20120902-155204.jpg

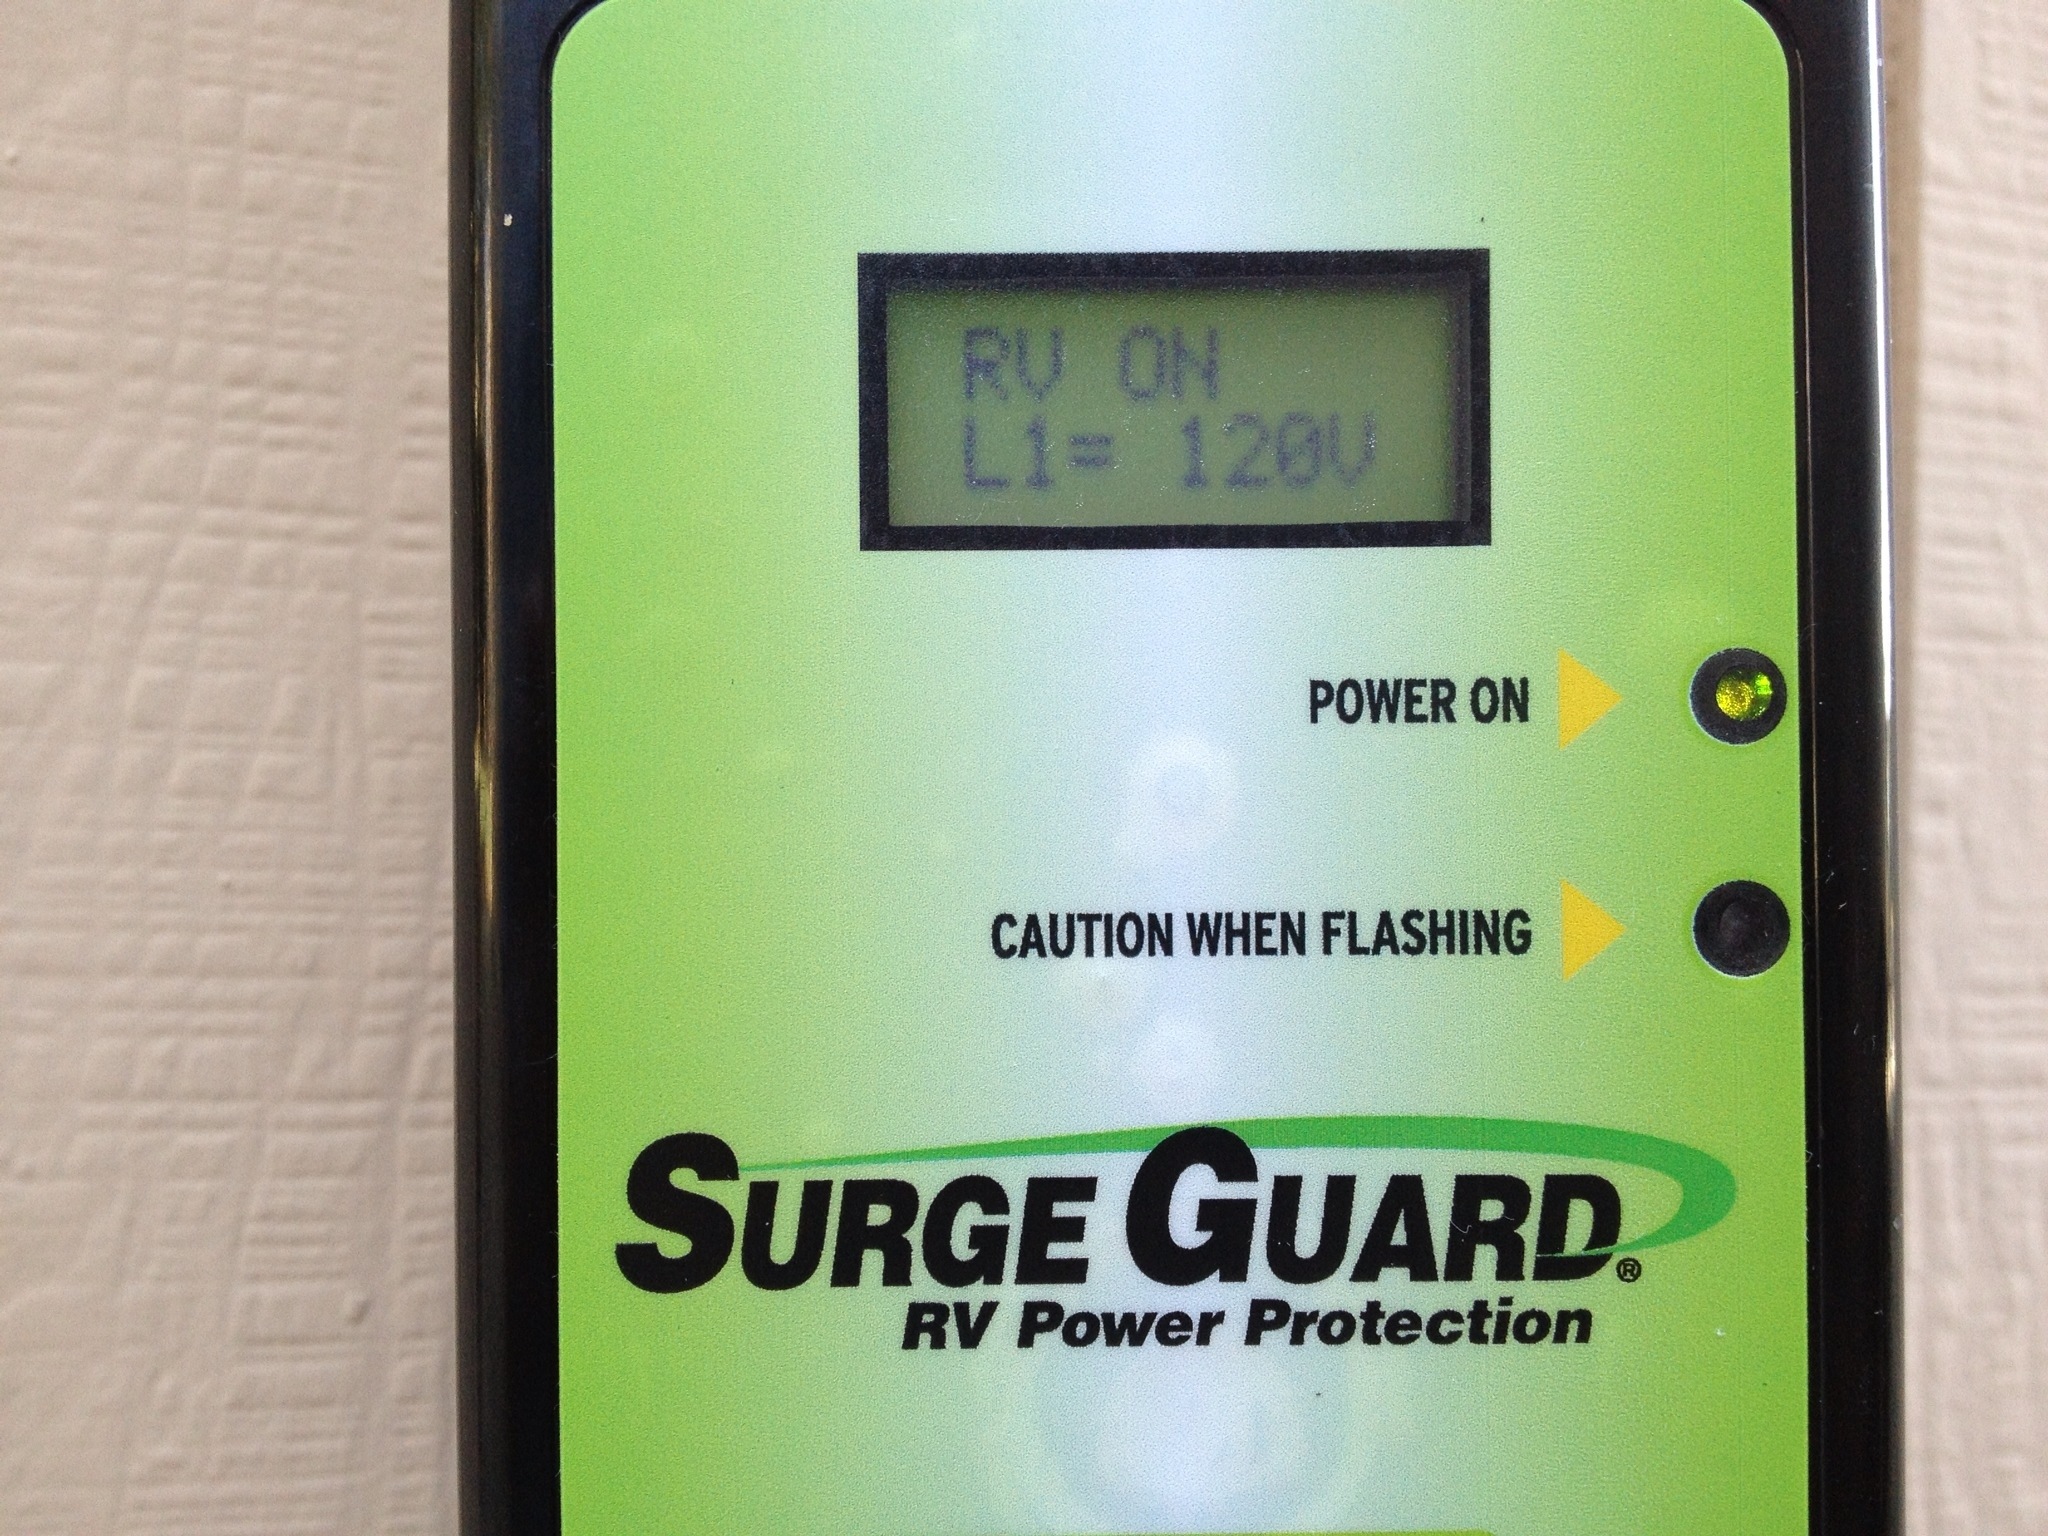
After I plugged it in, the SurgeGuard started a delay for 128 seconds before it passed the pedestal power to the trailer. The manufacturer says the reason for the delay is to protect the A/C compressor. During the delay period, the LCD display shows a count down timer, and the red LED indicator flashes. When the delay timer stops, power is applied to the trailer and the green LED will turn on. The red caution LED can also indicate miss-wiring at the pedestal or ground current. The display will show reverse polarity.

20120902-155825.jpg

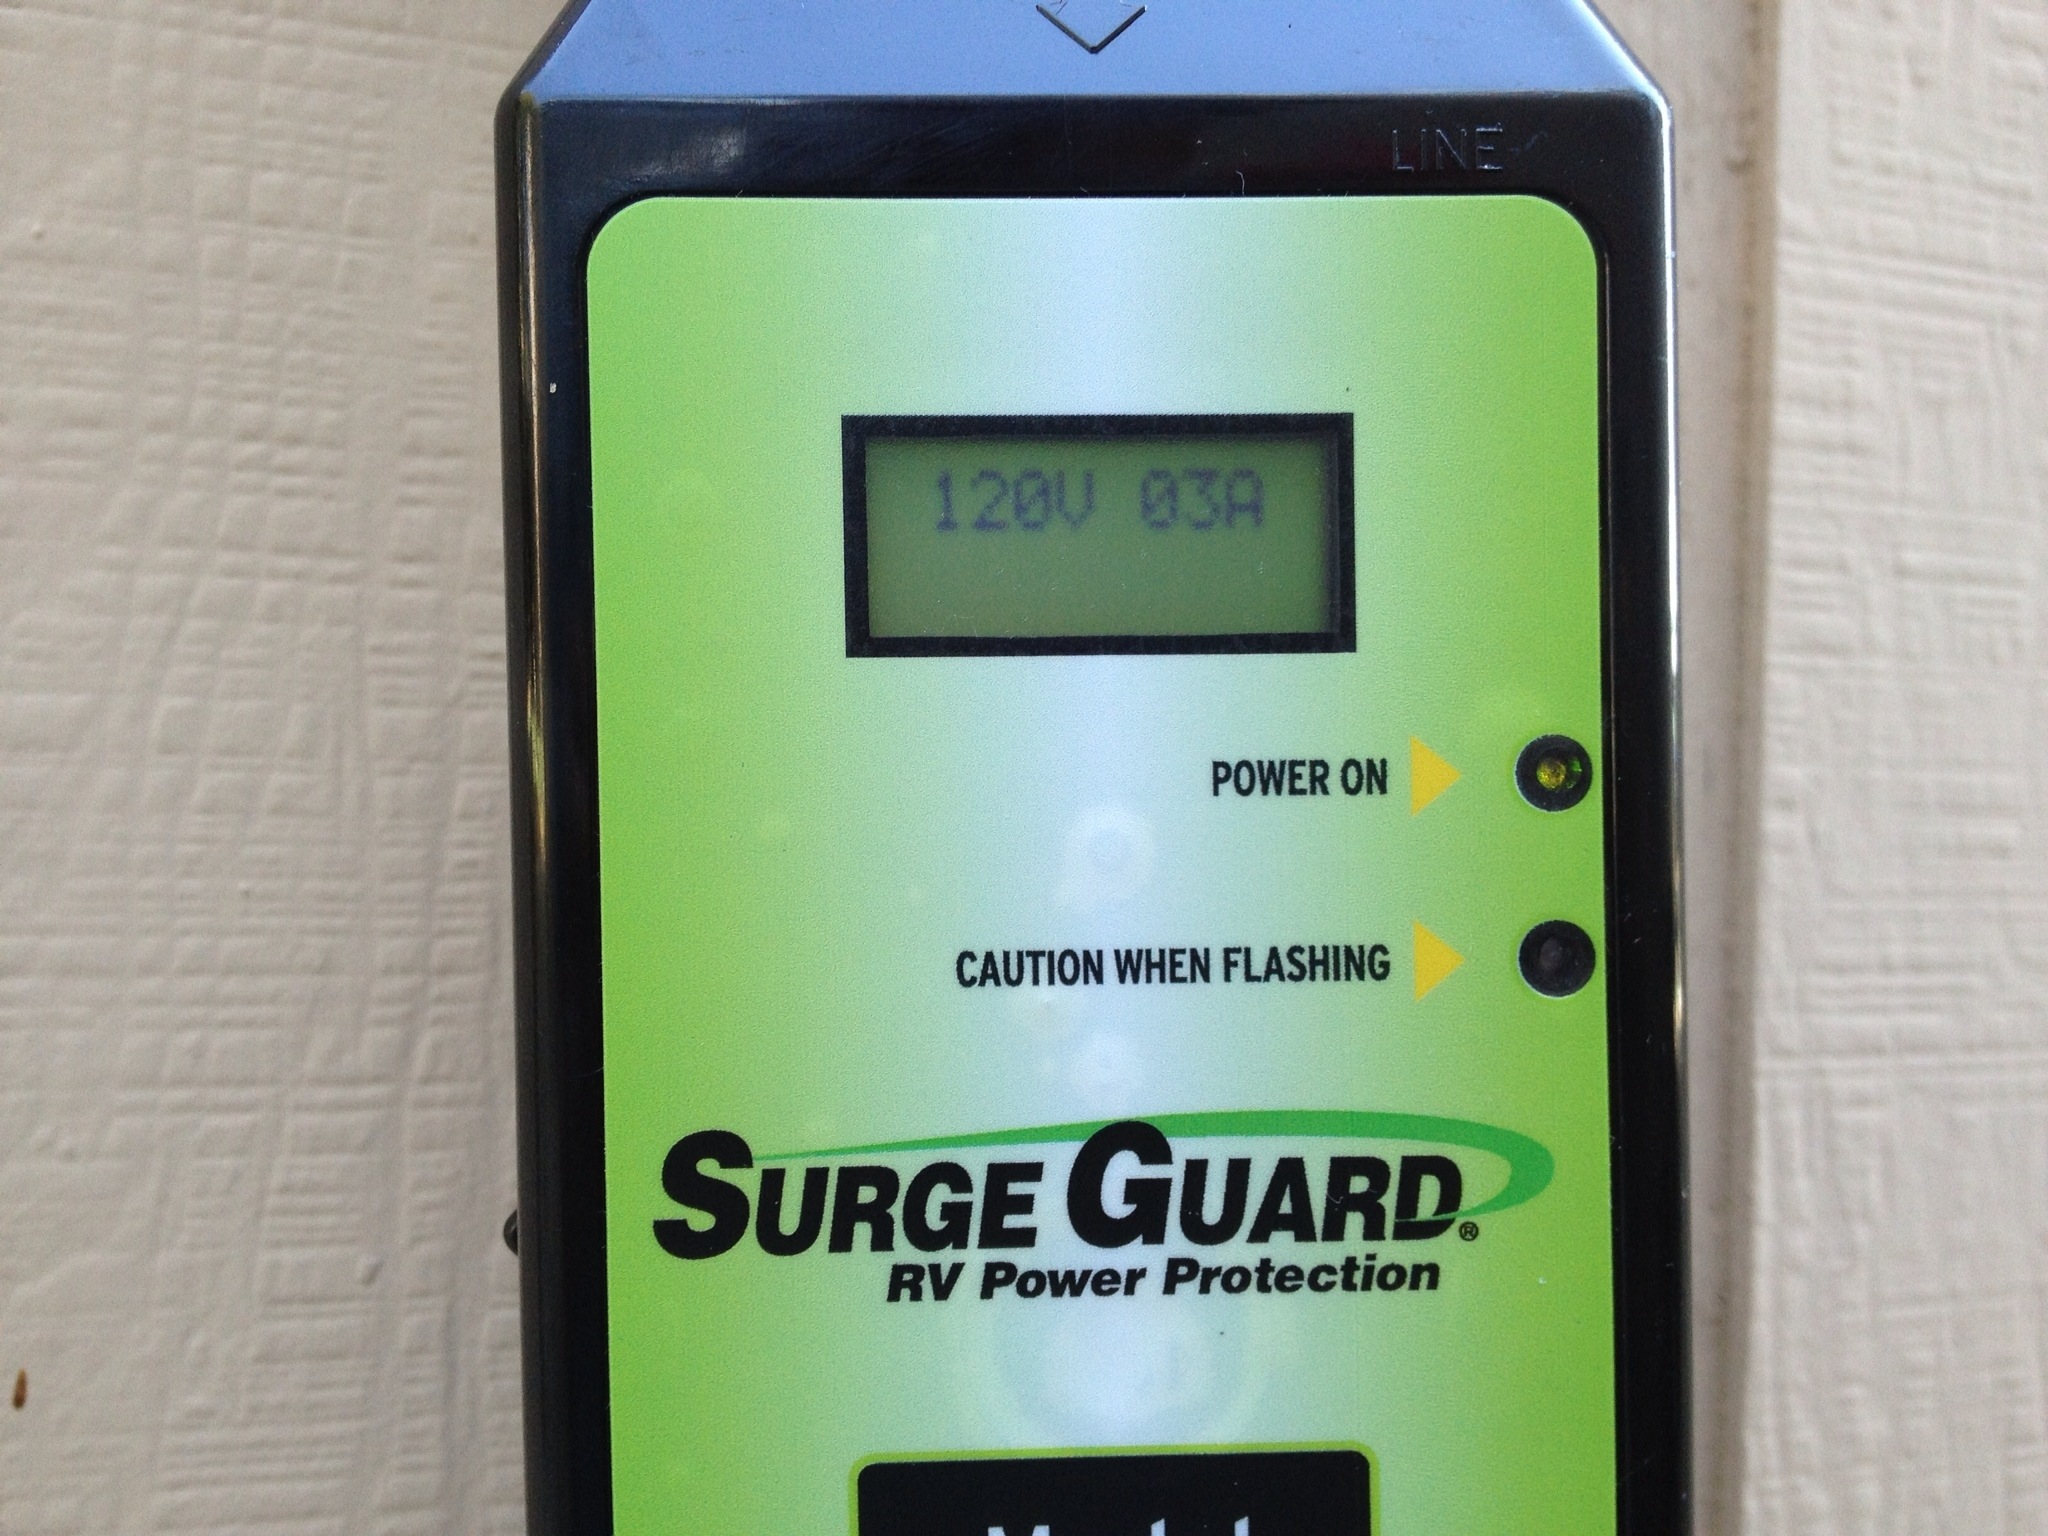
Once the power is applied, the display will alternate between showing voltage and current draw. I turned on the refrigerator to see how much current it draws. The display indicated 3 amps.

20120902-160344.jpg

20120902-160417.jpg

So now that is running, what exactly will it do? Well, if there was a problem with the pedestal power, it would have never applied the power to your trailer. The SurgeGuard will protect against power surges continually while in use. Finally this is what takes the SurgeGuard to the next level of protection, it will disconnect power if the voltage becomes too high or too low.

For example, if the voltage at your pedestal drops below 102v because everyone in the park is running their air conditioners, the SurgeGuard will automatically disconnect the power to your trailer. The idea here is that it will help to save your a/c compressor and other appliances from low voltage damage. The voltage will be restored once it rises back to proper levels.

The nice thing about the SurgeGuard is that it will save me some hook up time. I won’t need to check the power pedestal with my voltmeter and polarity tester anymore. Plus it adds the benefits of everything else I mentioned. The SurgeGuard is like an insurance policy, you don’t know you need it until something happens. They are a little pricey at around $300, but so are the items in your trailer, like the a/c, LED TV, stereo, computer, microwave…

Facebooktwitterredditpinterestlinkedinmailby feather