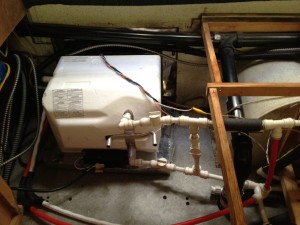
As I mentioned in the previous post we did have some problems with the trailer. The most notable one was the water heater went out. It was the Precision Temp Twin Temp Jr. I was able to work with them on the phone during the trip and get some use out of it on the way home. It was a big hassle for sure. After we returned I sent the whole unit back to the factory and they found that the main tank had corroded through. The cost to fix it was too high for me to invest in it further. I felt it should have lasted longer than four years.
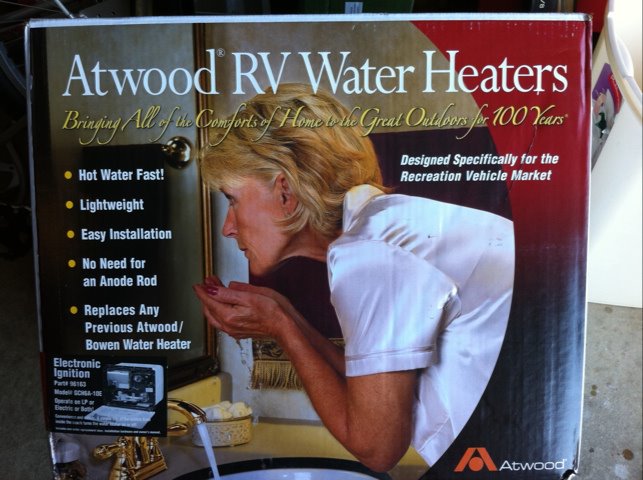
I reached out to Atwood Mobile who offered to send us a water heater for the show. They sent us their six gallon electric/gas combo unit with electronic ignition. Thanks Atwood!
First thing was to make room for it. I had to cut a hole in the side of the trailer, which is the same spot I had patched a hole from the original water heater.
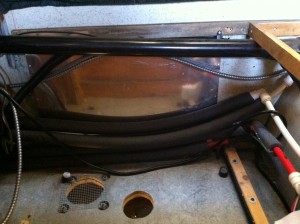
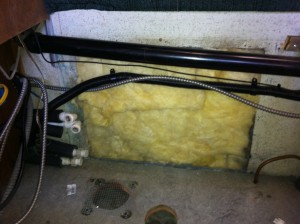
After some work on the PEX plumbing I freed up some space to remove the inside panel and insulation.
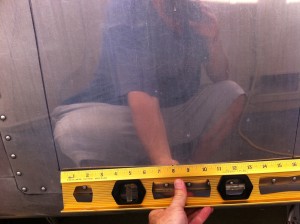
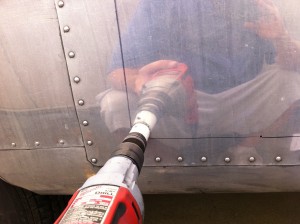
I used a drill to make a pilot hole out the side of the trailer in the center of where I wanted the opening. Then I went outside with my level and marked the overall dimensions.
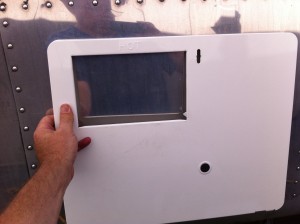
I held up the cover just to make sure my lines were good, i.e. that it covered the hole I was about to make.
The next step was to drill the corners out to prepare for the metal shear.
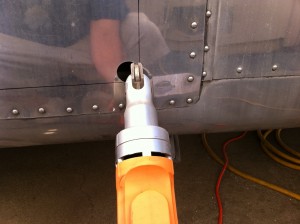
This electric shear from Harbor Freight has been worth its weight in gold! I highly recommend one.
Guess what, it fit perfect the first time. NOT! Had to make a few adjustments. Better to make it too small than too big. Take your time on this step.
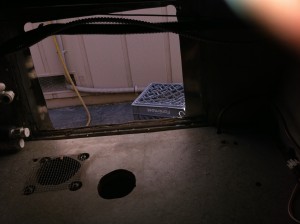
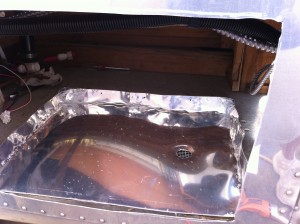
I fashioned the panel that I removed from the inside into a drain pan. I thought might as well since I had the screen air intake hole in the floor from the Twin Temp.
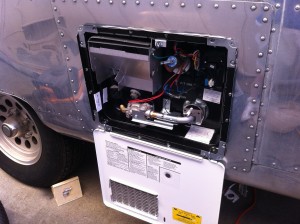
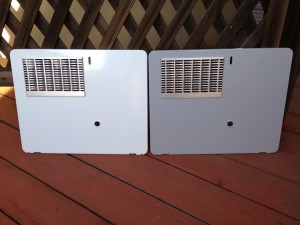
Here’s a shot with the water heater in place. The cover is the standard white one for aftermarket sales. Atwood does make a gray one, see pics below.
Here is the grey cover vs. the stock white one. The part number for the grey door is 91506 and you can get it from any Atwood dealer for list price of around $37.
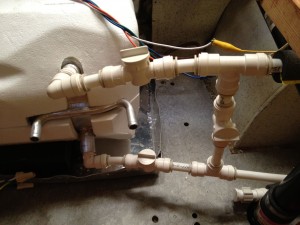
Here is the plumbing after reworking the PEX lines. Luckily I used SeaTech fittings that use quick releases so I could move everything around like a puzzle.
I decided to go ahead and add three valves for wintering purposes, even though I never do it. But the idea is that I can turn off the horizontal valves leaving the water heater and then drain the water heater via its external drain plug. Then I would open the valve between the hot and cold lines. This would allow me to pump special RV antifreeze into the lines bypassing the need to fill up the 6 gallon water heater. Remember this is NOT automotive antifreeze. It is made specifically for winterizing RV’s.
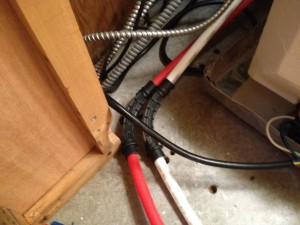
You can get this nice right angle brackets to put a 90 in a PEX line. The bracket also lets you screw the line down.
That’s it for now. I’m working on the wiring portion now. I’ve got some creative ideas on how to wire it to my SeeLevel RV Gauge that I already have installed in my panel. More on that in a future post.

