Monthly Archives: March 2007

Odds and ends

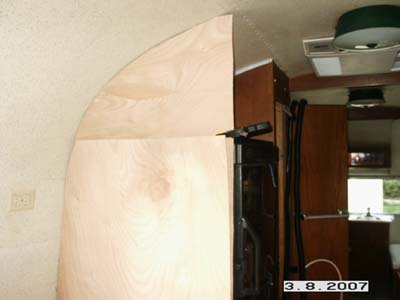
I’m waiting for a LCD TV mount I bought ebay to show up before I mount the bulkhead I made.  I may mount it with tee-nuts so I’m waiting.

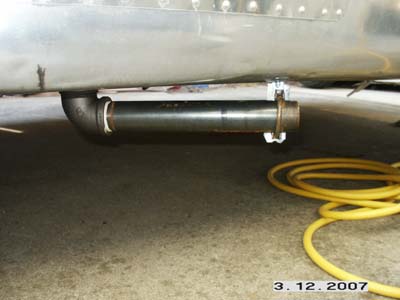
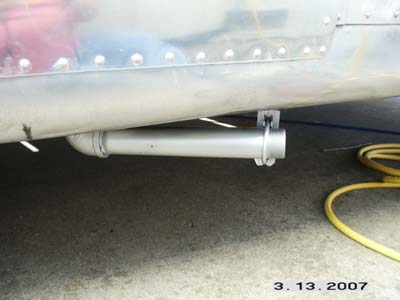
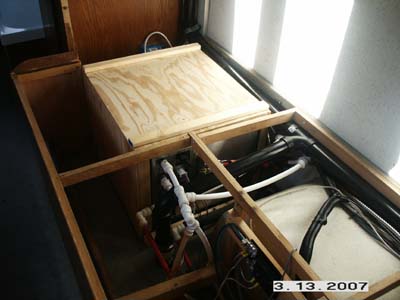
Today I got a few small projects done.  I painted the exhaust pipe on the TwinTemp Jr. with high temp paint.

pict0073a.jpg

pict0074b.jpg

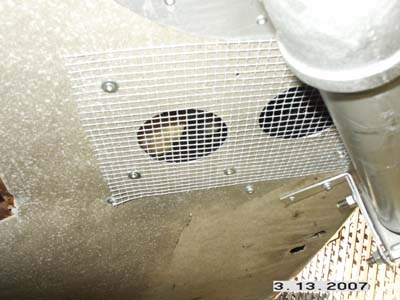
Next I added a screen over the two fresh air intakes I made for the Jr.  Looks like I missed a rivet! 🙂

pict0075c.jpg

Lastly on the Jr. I installed the cover.  Hopefully it can stay on for a while!

pict0076d.jpg

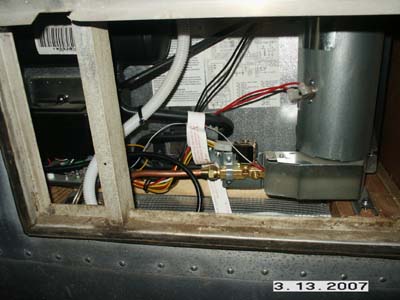
Next it was time to move on to the fridge.  I installed the 3/8″ copper gas line and fished the condensation drain out the bottom of the trailer.

pict0077e.jpg

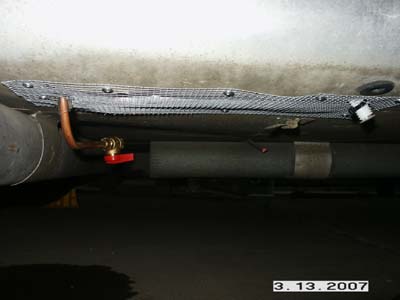
On each point of entry for the propane lines, I added a gas shut off valve.

pict0078f.jpg

Well that was it for the day.  The main propane line will be 1/2″ copper.  But I can’t run it until the new axles are installed.

Facebooktwitterredditpinterestlinkedinmailby feather

Wheels go round and round

Not much time for work today.  There were a couple of critical things I needed to get done.  I want to get some new wheels ordered and I needed to double check the wheel specs.

There is really a lot to wheels, more than I wanted to know, bore size, offset, backspace, width, load rating, it goes on and on.  And it’s critical to get it right.

The first thing I know is the tire size is a ST225/75R15.  The ST is Special Trailer, the 225 in milimeters tells you how wide the tread is that will contact the road.  The 75 is a ratio of the 225 number and tells you how high the tire is from the rim to the tread.  So in my case the height is 75% of 225mm or 168.75mm high.  The R designates a Radial tire, and the 15 is the size of the wheel in inches.

I went surfing the net to find a place to help explain the wheel specs. I came across this site: Wheel Technical Information.

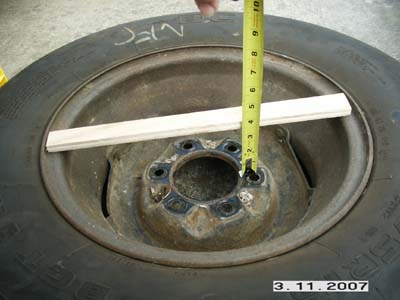
After pulling the wheel off the trailer, I cut a stick just long enough to fit into the wheel to measure the Backspace.  I got 3.5″. 

pict0068a.jpg

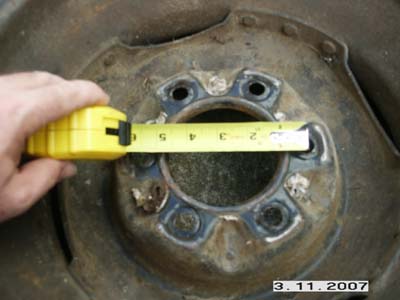
For the bolt pattern I simply needed to count the number of bolt holes.  There are six on my wheel.  When the number of holes are even you mesure across two of them center to center to get the spec.  I measured 5.5″.  So I have a 6 on 5.5 bolt pattern.
pict0069b.jpg

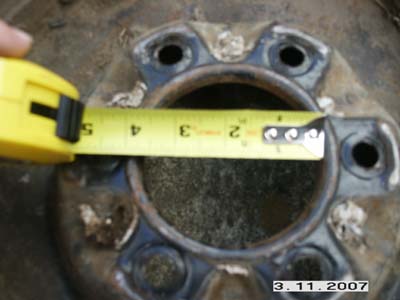
Next is bore size.  I’m not sure about this one.  I know it’s the center hole on the wheel.  Mine measured 3-5/8″.  I assume this will depend on your axle.  If you know, send me a note and fill me in :-).
pict0070c.jpg

So, now I know I need a 15″ wheel, with 6 on 5.5 bolt holes, 3.5″ backspace, and a 2600lb load rating since thats what Airstream uses.  Hopefully I have enough info to get the correct wheels coming.

The only other thing I had time for was lining the TwinTemp Jr. box with ceramic insulation.  This will help keep the heat transfer down when the Jr. is running with the cover on.
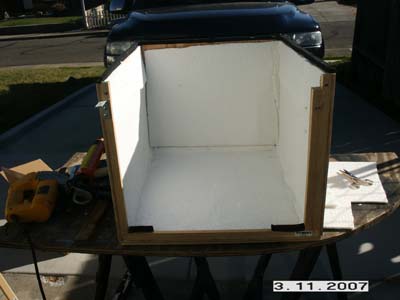
pict0072e.jpg

I have not put the cover back on yet there are a few items I want to tiddy first regarding the Jr.  Hopefully I can finish it up soon.

Facebooktwitterredditpinterestlinkedinmailby feather

Building a Bulkhead

A bulkhead is the term used for the little half walls in an Airstream.  I needed to build one to surround the refrigerator.  As you can imagine with all the curves in an Airstream this is no easy task to build from scratch.  Expecially for a rank ameatur woodworker like me :-).

I used a combination of techniques from the Story Stick I used earlier to the compass method we talked about in Episode 39.

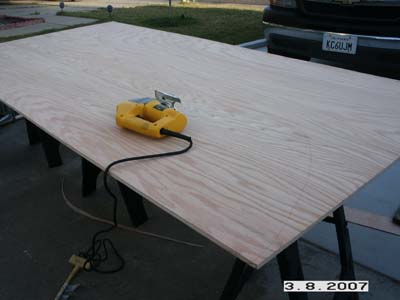
Before cutting my $39 sheet of 1/2″ oak, I used an $8 sheet of luan for a template.

pict0061a.jpg

I scribed and cut, scribed some more until it came out like this.  Then I laid it out over my oak sheet and traced it out.

pict0062b.jpg

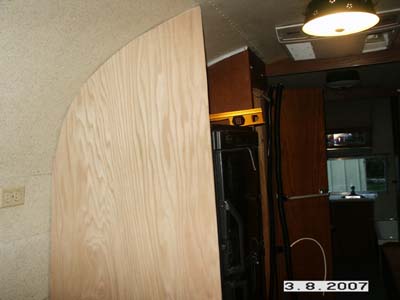
I cut it a little large and sanded the edges before I did my test fit in the trailer.

pict0063c.jpg

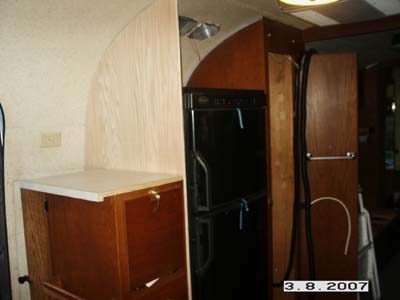
To my amazement it fit pretty well :-).  Next I trimed the vertical for the size I wanted and then placed my cabinet next to it to see how it will fit together.

pict0064d.jpg

Looks like it will work out fine.  Just some more sanding and staining and it will be good to go!

Facebooktwitterredditpinterestlinkedinmailby feather

More A/C Work

I had a couple of hours to get some more work done on the A/C unit today.

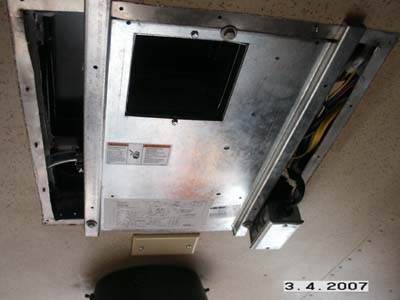
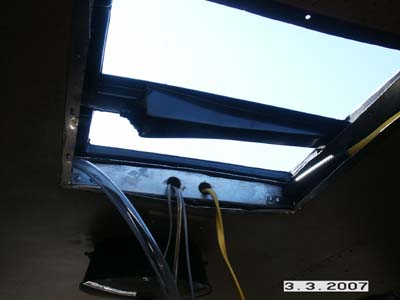
The wiring at the opening was connected to the heatpump.  This included the 110vac, Comfort Control Center, 12vdc, and furnace wiring.

pict0056a.jpg

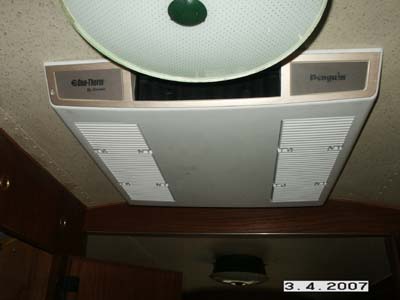
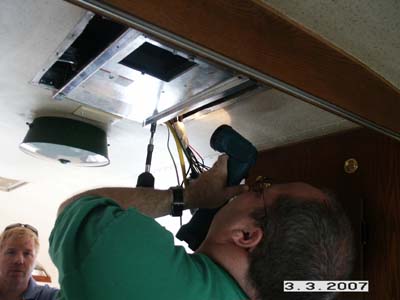
With the wiring tucked up in place, I mounted the ceiling package.

pict0058c.jpg

The final step in the instructions should have been the first step.  There is a set of dip switches that need to be set depending on your configuration of the heatpump.  The last instruction tells you how to set this switch.  However, the switch is located on the roof under the shroud! 🙁

So, up on the roof and pulling the cover was the next step.  I had to tell the system it will be connected to a furnace.  This will allow the Comfort Control Center to a) operate the furnace, and b) when running the heatpump and the outside temp drops to 30 degrees, the system will automatically shut down the heatpump and turn on the furnace.

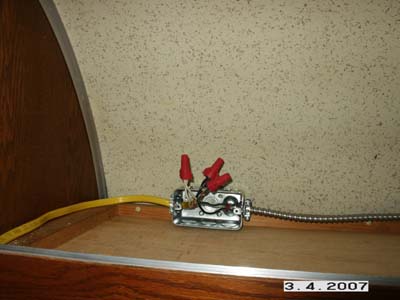
After I got that setup, I continued to wire up the rest of it.  I ran the 110vac 20amp dedicated circuit from the vent opening into the pantry.  From there it went into the overhead curbside cabinet and was wired to a junction box I had waiting for it.

pict0057b.jpg

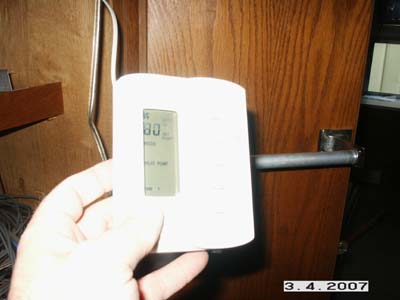
After the 110vac was wired I only had a few minutes left to work on the trailer.  I decided to temporarily wire the 12dc and plug in the Comfort Control Center for a quick test.

pict0060d.jpg

Everything appears to be working perfectly.  The one thing I like about the Comfort Control System compared to my older A/C unit is that the fan has an AUTO mode.  When the trailer reaches the temperature you set, the fan will shut off. 

So the mode selections are, Fan only, Cool, Heatpump, and Furnace.  Once I wire the thermostat leads from the TwinTemp Jr, I should be able to control everything from this one location.  Sweet! 🙂

Facebooktwitterredditpinterestlinkedinmailby feather

A/C Party

When I heard my brothers were coming to town this weekend, all efforts turned to getting the A/C ready. 🙂

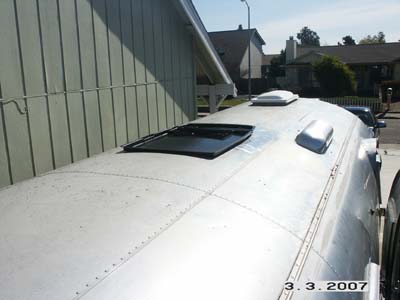
I had prepped the opening by running the electrical and drain line to the 14×14″ opening.  I also framed it out some to add some strength.

Here is a shot of the opening ready with drain pan in place.

pict0025a.jpg

The opening needed the AC power, 12vdc, furnace thermostat, and a control wire for the Comfort Control Center.  Also needed was the 1/2″ drain tube for the drip pan.  This will keep condenstation from running down the side of the trailer.

Here is a shot with the drain pan in place.  I put a good bead of vulkem around the opening before placing the pan down.

pict0031c.jpg


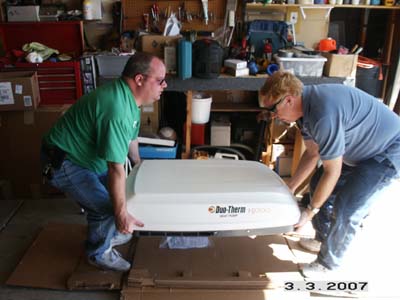
Me on the left and brother Mark on the right lift the 92lb heatpump from the carton.

pict0029b.jpg

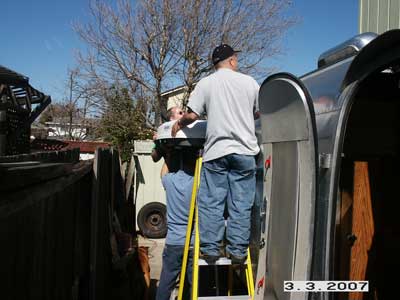
Next challange was getting the unit on the roof.  It took all three of us.  That’s Chuck in the foreground.  Of course my dad was the photo journelist today ;-).

pict0033.jpg

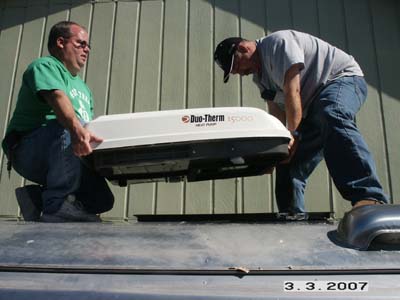
We basically walked it up using two ladders and set it on the edge of the roof.  Then we got up on the roof and walked it in place.

pict0034d.jpg

After carefully setting it in place and with one brother on the roof watching things over, I tightened down the three bolts until the gasket was evenly compressed all the way around.

pict0041e.jpg

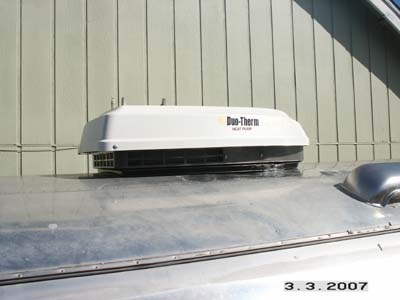
And here is how it looks now on the roof.  All thats left is hooking up all the wiring and mounting the lower piece.

pict0044f.jpg

Could not have done it without the help of my brothers and dad, thanks guys!


Facebooktwitterredditpinterestlinkedinmailby feather