Monthly Archives: February 2007

Quiet heat from the TwinTemp Jr.

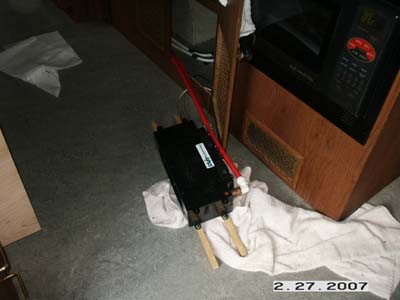
Gerry from Precision Temp sent me a replacement heat exchanger and it arrived today.  The rain let up just enough to give it a try.

Here’s the old exchanger.

pict0018a.jpg

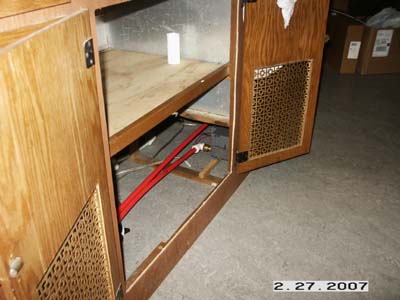
I replaced the one I broke with the new one and was extra careful to use two wrenches while tightening the fittings.  I added some water to the Jr. and ran the pump and watched for leaks.  Looks good! 🙂

Here is the replacement exchanger put back under the kitchen counter.

pict0020c.jpg

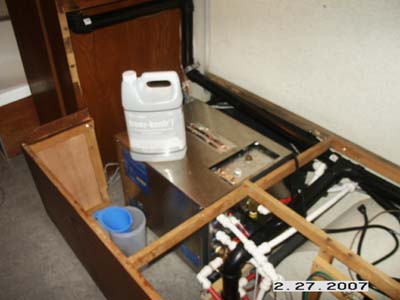
Next I had to pump a couple of gallons of water out so I could put the non-toxic antifreeze in.  I topped it off with water and hooked up my BBQ grills propane tank to give a test.

After a few minutes of the Jr. doing its thing we had heat!  Nice and quite coming from all three resgisters.

pict0019b.jpg

Just a couple of loose ends to button up on the Jr. system and it gets a DONE stamp!

As soon as I get some time I’ll hook up some water to the trailer and test for my instant and endless JR. hot water supply.  Stay tuned.


Facebooktwitterredditpinterestlinkedinmailby feather

Measure twice, order once

Made some pretty good progress this Presidents day.  My main goal was to continue to make the trailer towable to get it to the scales.  A secondary goal was to get the meaurements needed to order the axles.

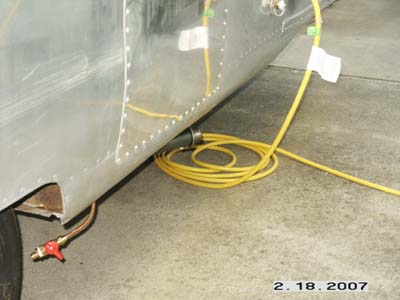
First step was to run one final wire in the belly for the grey tank sensor.  I also ran the drain pipe that will meet up with the drain valves some day.

Next was to start securing the belly pan back in place.  Easier said then done.  I found by crawling on my back and holding the aluminum up with my knees while I drilled and screwed and in some cases riveted it back was the technique that worked the best.

This first picture shows half of the belly pan back in place.

pict0091a.jpg

And the final shot after securing the remainder.

pict0093b.jpg

I’m pretty pleased with the way it turned out.  Of course there is some major belly pan work coming in the future.  The whole area below the grey tank needs a sheet.  And the last cavity in the rear of the trailer needs to be custom cut to line up with everything.  But this can wait.

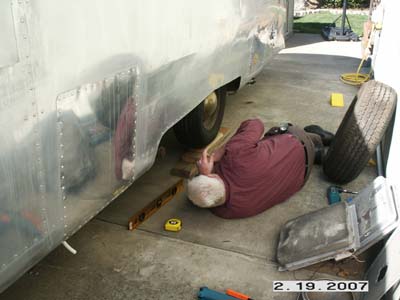
On to the axle measurements.  I pulled the rear two tires up on blocks and that made the front two free for removal.  No jacks needed.  Worked great.

On measuring axles, the first step is to get a pro to help.

pict0094c.jpg

Barring that you can use your dad like I did ;-).  Thanks dad!

We measured the two items we needed, outside frame rail to outside frame rail and hub face to hub face.  These are critical measurements so we took our time.

With some help from my dad, and the guys on the forums, mostly Uwe, here are the ordering specs I came up with for my new Dexter axles.

  • Hub face = 72 – 1/8″
  • Outside frame rail = 58 – 3/8″
  • Reversed bracket
  • Low profile bracket
  • TorFlex #11 axle down rated to 3000lb – 3500lb (I don’t know until I weigh it)
  • 32 degree down angle
  • 6000lb disc brakes
  • Camber
  • EZ-Lube (still deciding on this one)


Facebooktwitterredditpinterestlinkedinmailby feather

Trailer with a tail pipe!

Only had a couple of hours to work on the trailer today.  I’m trying to get it buttoned together enough so I can get it weighed.  I want to weigh it before I order the new Dexter axles.

Part of that was getting the fridge secured and now I need to get the belly pan tied back up at least temporarily so I can tow the trailer to a weigh station.

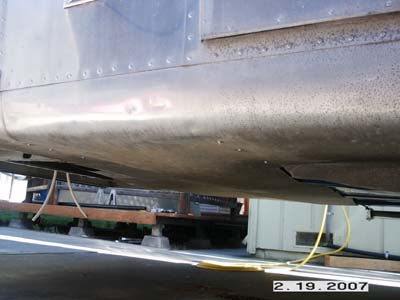
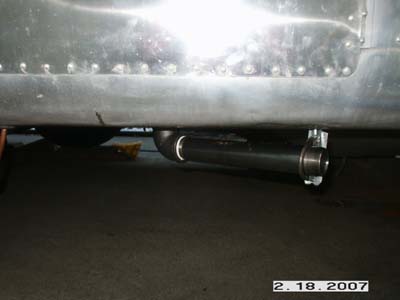
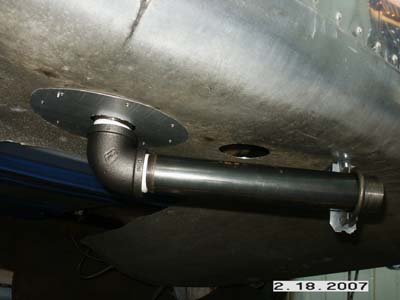
Today I finished up the exhaust system on the Twin Temp Jr.  Basically it is a 1-1/2″ black pipe that screws into the bottom of the Jr.  I needed to add one small nipple so I could extend it below the belly pan.  Then I dawned on me that I could have had it run through the belly pan and just have the exhaust pipe end exposed on the outer perimeter of the bellypan/side wall.  It would be great for ground clearance.

I had already built up this solution and it only extends a couple of inches below the bellypan so I don’t think I’ll catch it on anything.

Here you can see it just poking out the bottom.  I was told I can get a chrome exhaust pipe tip that will screw on.  I’ll have to look into that.

pict0088a.jpg

Here’s another shot at belly pan level.

pict0089b.jpg

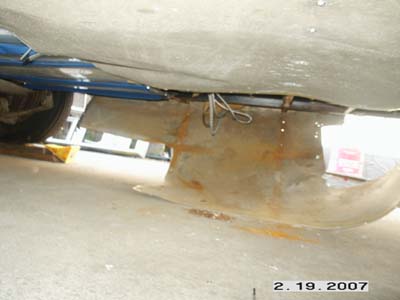
And the last one looking up from below.  It’s on there pretty sturdy.  But I’m sure I could rip it off on something if I tried hard enough!

pict0090c.jpg

That extra hole there is the fresh air intake for the Jr.  I am going to add a second one and then screen over them.


Facebooktwitterredditpinterestlinkedinmailby feather

Mounting the fridge

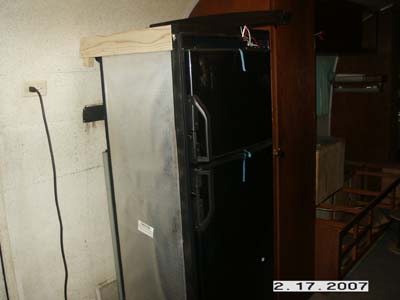
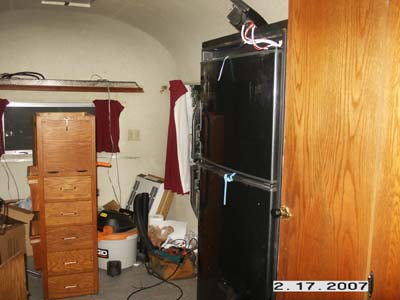
Today was the day to get the fridge mounted.  And of course it took the whole day.

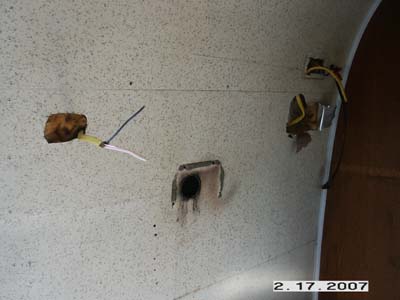
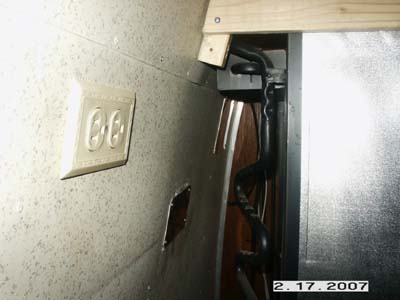
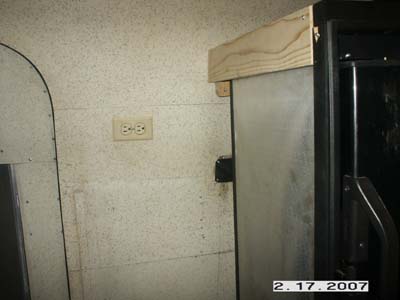
The first step was to move the original outlet that would end up behind the fridge.  I need this for my LCD TV later.  Of course the wiring was behind two ribs.  So I decided to open up the wall to drill through the ribs and then patch it.  It would be hidden behind the fridge.

pict0082b.jpg

Looks bad I know.  But it was the only way I could get a hole saw in there.  I used a 3/4″ hole saw and then fitted some plastic rings in to keep the wire protected.

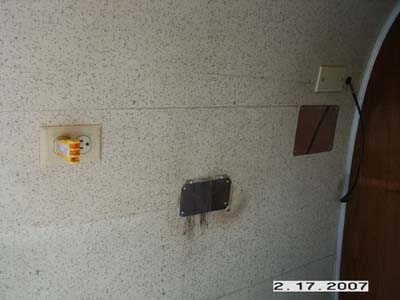
Here it is completed.  The patch in the middle of the photo was the original exhaust for the fridge.

pict0083c.jpg

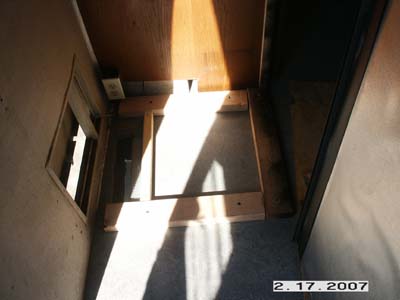
Now on to the fridge.  I started by building a 2×4″ base so I would have something to screw into.

pict0080a.jpg

Next it was just a matter of frameing it out enough the secure the fridge.  It’s in there quite sturdy now.  I just need to finish the side paneling and put some backing material in there to hold the TV wall mount as well.  I have the original cabinet that will go back in to the left of the fridge.

 pict0084d.jpg

I did not snap the top control panel back yet because you have to cover the top screws with aluminum tape and I can’t find mine :-(.

pict0085e.jpg

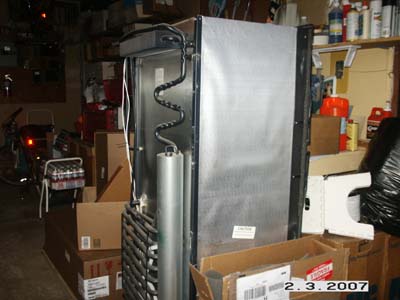
A shot from behind.  A tight fit for sure.  The specs say 0″ clearance is needed and that’s what I have!  Should cause all the chiminey air to flow right through the fins which is what I want.

pict0086f.jpg

Still a lot of work.  I need to finish the cabinetry around it.  Make a counter top for the top of it.  Wire the 12vdc and run the gas line.

pict0087g.jpg

It’s never ceases to amaze me that these things take all day, but such is the nature of restoration I guess.

Should have bought a 2000……

Facebooktwitterredditpinterestlinkedinmailby feather

As if I don’t already have enough leaks

I drilled another hole in the roof today.  A rather large one too.

First day without rain and I decided to get a head start on installing the new fridge vent.

The original vent was a 3″ hole that only vented the exhaust gases.  Now days the entire back of the fridge is vented so I needed to upgrade my chimney.  I thought about putting in a louvered grill for the upper vent but since my fridge is so large that would put the vent up high on the curved portion of the trailer.  That would look really out of place.

So I opted for a modern day Airstream fridge vent.  Cost wasn’t too bad.  About $70 for both the collar and the cap.

Here is the original vent.

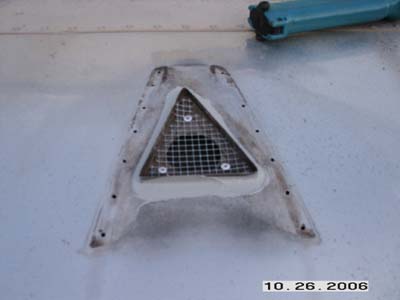
pict0072d.jpg

I removed it and use the position as the initial placement for the new vent and started drilling!

pict0076b.jpg

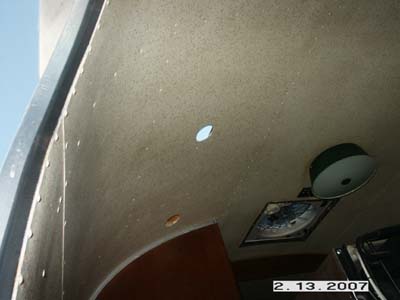
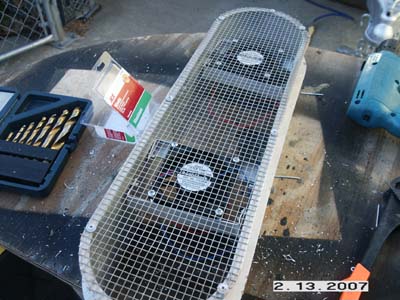
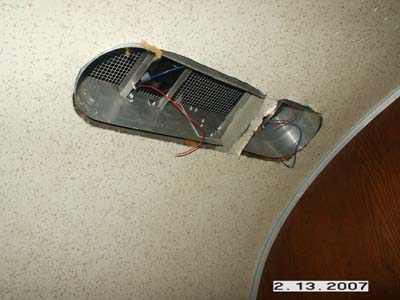
I added two fans in the vent to help the draft on those hot days.

pict0075a.jpg

Here is the vent collar dry fitted.  It got too dark to finish it up.  That will be for another day.

pict0077c.jpg

Lets just hope it doesn’t rain!

Facebooktwitterredditpinterestlinkedinmailby feather

One step foward two steps back

I only have a very limited time on Sundays to work on the trailer.  Today was spent trying to recover a little from yesterdays disaster.

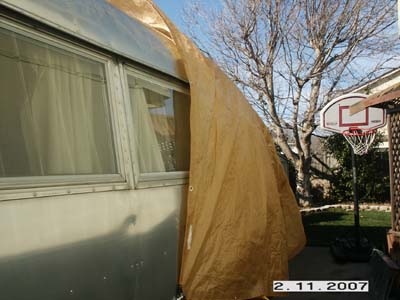
Here is a photo of the tarp I put on in the rain and dark.  It did stop the further leaks in the rear.

pict0072a.jpg

After whining on the forums of the problems yesterday I found two other people who had leaks in the rear window due to the seams leaking on the rear dome.  Both fixed by sealing the seams from the outside.  I’m running low on Parbond so I’ll get some more ordered and get going on it.

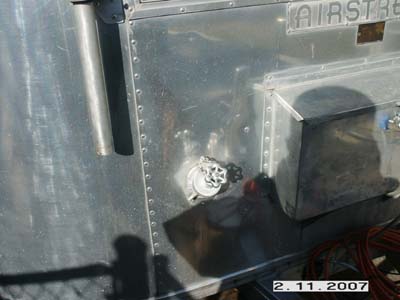
The other leak was the original water inlet spigot.  I sealed it before but it was a pretty flimsy setup since the original tank was missing and that is what secured it.

pict0073b.jpg

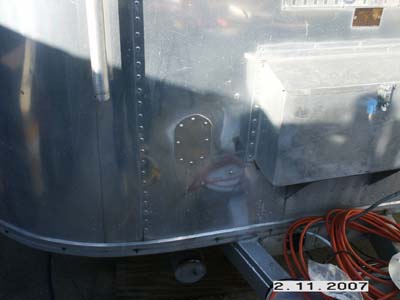
So it had to go.  I’ll probably get a new water fill for my new fresh water tank when ever I get to ordering it.   But for now I just made a simple patch.

pict0074c.jpg

The last major leak is the front door.  I was reminded of a way to test the seals for water tightness using a dollar bill.  I put the dollar in the hinge side of the door and closed it.  The bill was tight in the seam.  When I did the same test on the latch side, the bill fell out with no resistance.  So this is where the rain will find its way through.

Bad thing is I don’t really know of a good way to fix this.  Need to do some more homework on shaping the door.  I tried all kinds of ideas a few months ago and got it close, but not close enough.

Facebooktwitterredditpinterestlinkedinmailby feather

Ready to drop it off a cliff!

It’s been a bad week for the Ambassador.  So bad I don’t even  have any photos.

First was yesterday.  The great part of yesterday was I met the designer of the Twin Temp Jr.  Gerry from Precision Temp came by to help do some final testing on the Jr.  Gerry is a very nice and knowlegeable guy with a lot of excitment for his companies product.

The bad part is I was not quite ready with all the final wiring and propane hook up for his arrival.  Gerry politely helped with the final wiring and we used by BBQ propane tank for a fuel source.  We started puting water into the system ( I could not get the correct antifreeze in time), as the system built a little pressure we realized what a poor plumber I really am :-(  Two of the three heat exchangers leaked at the fittings because I did not have them tight enough.  So water poured all over the floor. 

We cleaned up and fixed the connections but one of the heat exhcangers had a crack in it.  Likely from me tightening down the fitting improperly.  We contiuned with the test in spite of the leak and the Jr. was putting out slient heat quite quickly.  All in all the test was a success.  However, I’ll need a replacement heat exchanger and check for leaks.  After there are none, I will have to pump out a gallon of water and replace it with anitfreeze.

Today I was hoping to start on the fridge chimney.  Mother nature had other ideas and has been sending downpours of rain the last three days with today being the worst.

I was meandering around the trailer scoping out the hole in the roof I need to make for the chimeny collar when a drop of water hit my face.  I was right under my new fantastic vent I installed.  I pulled the trim peice off but cannot locate the minor but continuous drip.

Next I walked back to the rear and found the vanity counter top covered in water.  I looked up and water was dripping from the top of the window frame.  I driled out the aluminum window trim and water just poured out.  So water is leaking in above the window frame somwhere.  I can’t figure it out yet.  The window has a rain gutter that I sealed the top long ago.

I ended up going out after dark in the rain and tied a tarp over the rear third of the trailer hoping that would help until I can figure it out.  Later it really started coming down.  So I went out with my flash light and when I opened the door there was about a foot puddle at the entrance ;-(  So the front door is still leaking.  You may remember I worked on that for days trying to get it to seal.  

I looked around a found another small leak on a side window coming in the lower corner.  And the last leak is a major one at the front which looks like its coming in from the original water hookup.  I had pulled this loose and resealed it with vulkem but I guess it did not take.  Or it may be leaking up higher like the rotor which I also resealed.

All this standing water is not good for my floating floor.  So I’m not sure what the state of this will be after all this rain.


Facebooktwitterredditpinterestlinkedinmailby feather

Lower fridge vent

I started out wandering aimlessly around the trailer.  Not too motivated to do much of anything.  I drilled the fresh air intake in the belly pan for the TwinTemp, and the hole for the exhaust pipe.  The exhaust pipe is too long, I’ll need to find a shorter one.  You are also supposed to put an exhaust pipe brace on the pipe which is not included and I don’t have one :-(.  So that project came to a stop.

Next I decided to put the glazing trim on the last window.  That was quick.

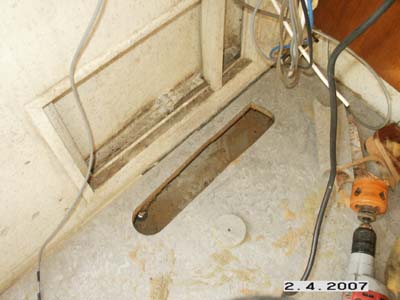
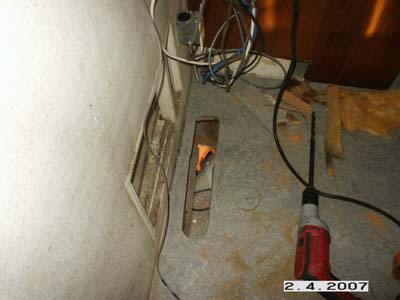
So I just went ahead and decided to install the lower air intake vent for the fridge.  I drilled through the floor and made the longest vent opening I could before it interferred with the storage pipe on the belly.

pict0061b.jpg 

Next was to drill down through the belly pan and cut it out as well.

pict0062c.jpg

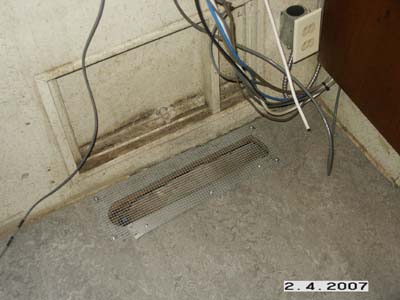
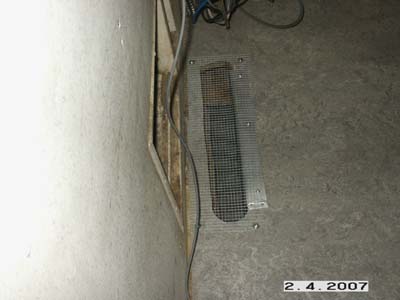
Finished up the topside by adding a baffle made of aluminum to keep the insulation in the belly clear of the vent.  Then I used some screen over the opening.

pict0066f.jpg

pict0067g.jpg

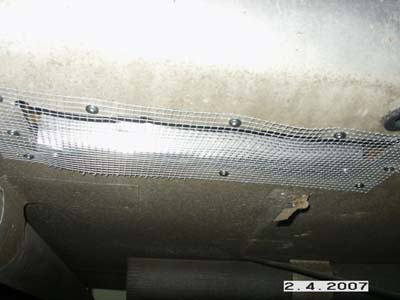
A few rivets and additional screen at the bottom and the lower vent is complete.

pict0063d.jpg

The opening is about 3″ x 15″ giving 45 sq in of vent.  Is that a enough?  Who knows :-).  I’m planing on adding two fans in the top vent install as well to help out when needed.

I liked the idea of the vent in the floor instead of the side.  My ’71 Safari vented in the floor and it worked great w/o any blow outs from wind or anything.  Also less change of getting water in as you would in a side vent.

However, if it proves to not be enough venting, I’ll take the service door off and have it punched with louvers.

Facebooktwitterredditpinterestlinkedinmailby feather

Shower plumbing and fridge prep

I had a few small projects to do today.  I was hoping at the end of the day I could get some help getting the fridge from the garage inside the trailer.  But my help got tied up so we’ll have to shoot for another day.

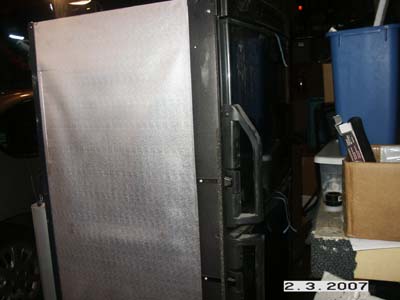
The fridge is a Dometic 1062RBS with the black stainless steel doors.  Here it is still sitting in the garage.

pict0059h.jpg

pict0058g.jpg

Its a monster standing at 60″ tall and amost 10 cu ft of storage.  The fridge was a contribution by Dometic to the Ambassador Project of theVAP.

The first small project I did was to get a dedicated air conditioner circuit routed from the breaker box to the overhead cabinet.  This is a 20 amp circuit that I will tie into when I install the air conditioner.  I decided to day to put the A/C in the same spot I put the Fantastic Fan.  So I will have to remove the fan and move it forward about three feet.  This will give a better center location for the A/C and will look better.  I don’t look forward to removing the fan, I put it on there pretty good 🙁

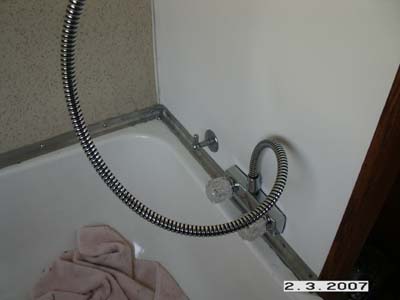
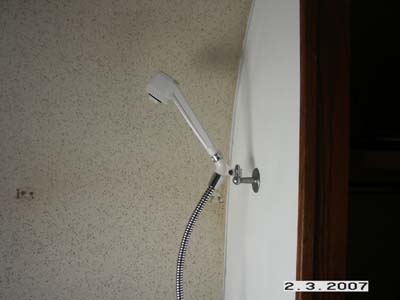
Next up was finishing the shower fixture.  I decided to get a new one as the original was too far gone to save.  I picked up a decent brass fixture from Camping World with a new hose and shower head.

pict0054c.jpg

pict0052b.jpg

pict0051a.jpg

I spent the rest of the time cleaning up the trailer.  A lot of sawdust and wire trimming were everywhere.  I wanted to get some working space ready for the fridge.  I ordered a modern Airstream fridge chimney and colar so I can put a proper roof vent in.

pict0055d.jpg

Well that’s it for the day.  Hopefully I’ll get the fridge in the trailer tomorrow or the next day.  And my supplies should come in this week for a possible fridge install next weekend.


Facebooktwitterredditpinterestlinkedinmailby feather