When I bought the trailer the rear window was a plexiglass replacement that had a fogged over texture. At first I thought about keeping it for the privacy it gave for the rear bathroom. But on further inspection, it looked like it was put in wrong and would likely leak.
The nice thing about this trailer is the window glass is standard 3/32″ single pane. Any glass shop can cut a piece for about $25. My last trailer, a ’71 Safari required cutsom curved glass for around $400 each for the front wrap windows.
Here is the original plexi.
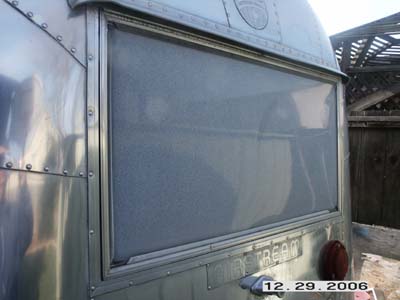
The plexi was so fragile it busted in several pieces as I removed it. I could snap it in more pieces with little effort.
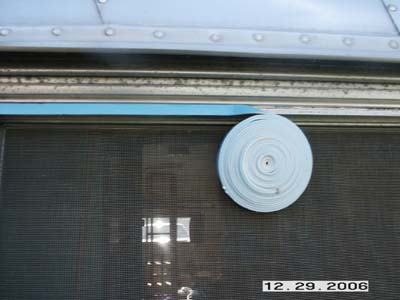
After cleaning the area, I put on new glazing tape. 1/16″ x 1/4″.
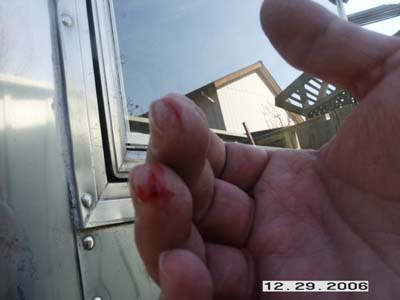
Appearently glass is sharp :-( As I worked it in place onto the tape, I must have cut my finger tips on the edge… I’d recommend gloves next time! Do you know how hard it is to update a blog with bandaids on your finger tips? 🙂
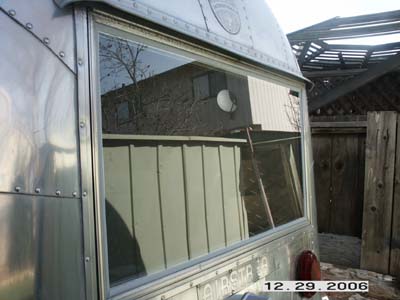
After a few drops of blood, the window was complete. Nice improvement. And it should be sealed against rain a lot better than that plexiglass was!
I also was able to do a little work on the inside. I got the kitchen cabinet secured, screwed to the side and back wall. I’m not screwing it to the floor because of floating floor.Â
I finished up the pluming for the sink, including the winterizing drains for the hot and cold lines and ran a pex line toward the front for a future fresh water tank.
I also wired up and plumbed the final heat exchanger. I modified the mount so that the exchanger can be removed AFTER the counter/microwave etc.. are installed.
I made a slot for the mount to slide into as you cannot get to this point after everything is assembled.
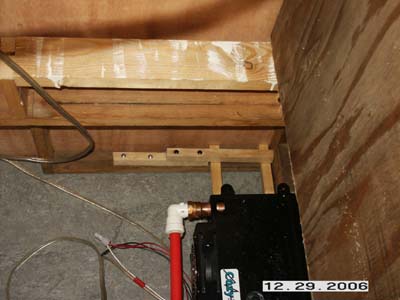
The opposite side is secured with screws that can be accessed inside the kitchen cabinet doors.
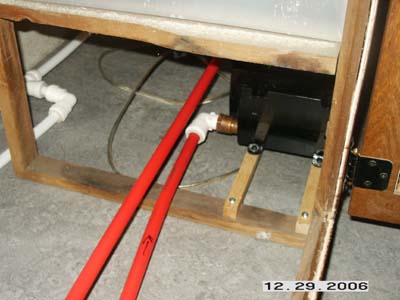
I really have to give Airstream engineers some credit for putting these things together first, but also keeping them serviceable as well.
Â
Â
