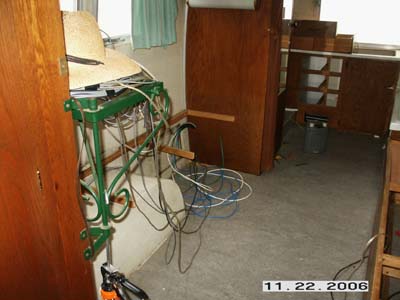
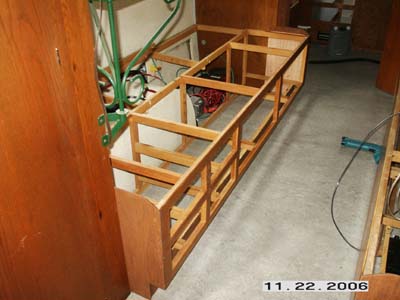
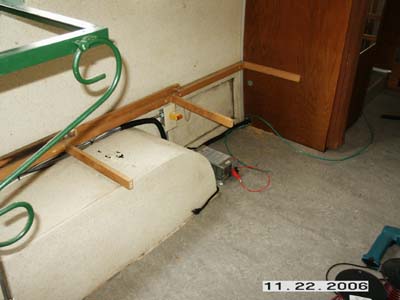
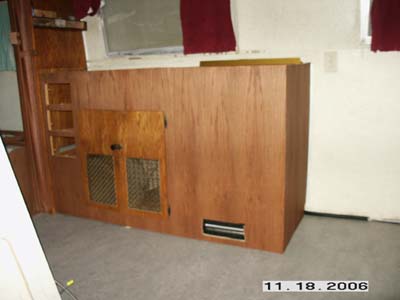
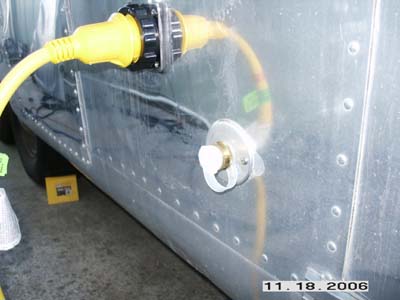
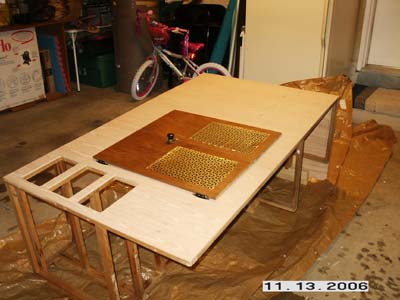
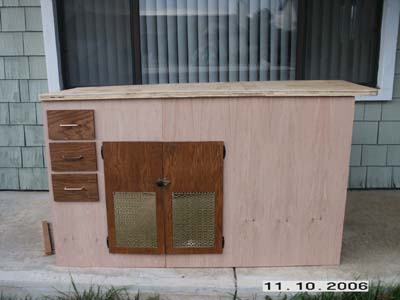
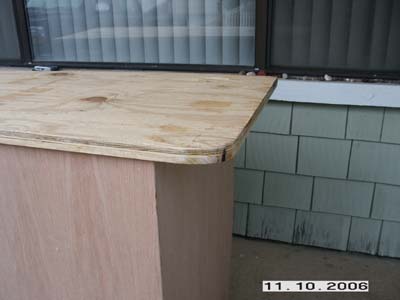
It has been a whirl-wind of work, but nothing being finished. This update shows work for the last couple of days. Mostly plumbing stuff. I’m waiting for some kitchen appliances so that is keeping me from securing the kitchen counter for now.
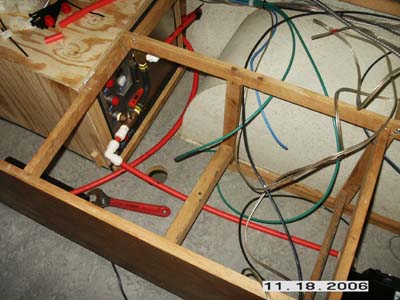
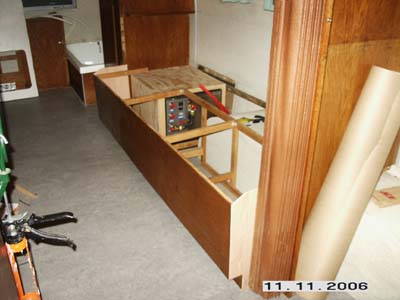
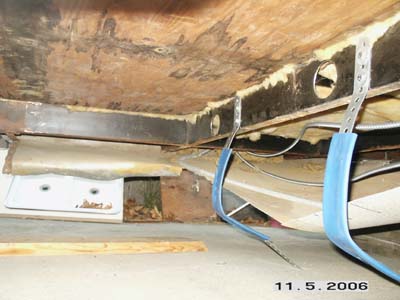
The bathroom is basically plumbed for heat and water. I have two drain valves for the hot and cold lines as well as a tee off for the water supply for the toilet.Â
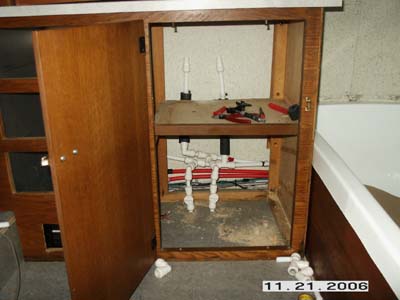
Thats a shut off valve for the toilet supply
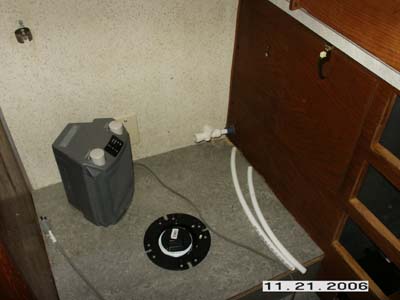
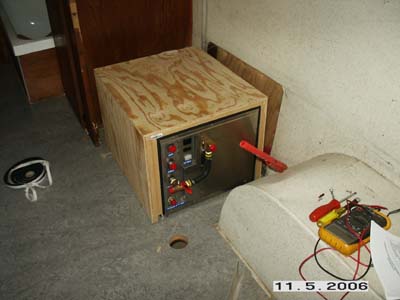
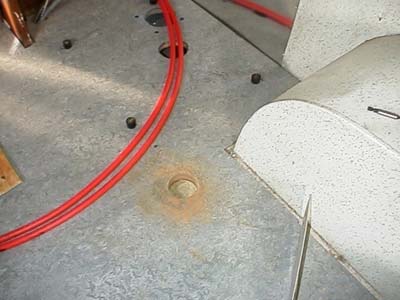
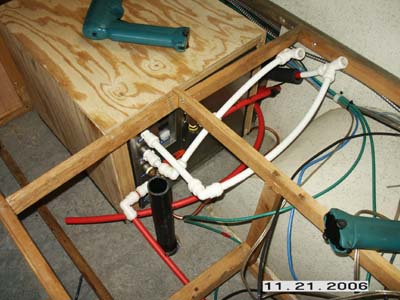
I also got the TwinTemp plumbed in as well. I put a new 3/8″ gas line today. It’s justed stubed down through the belly pan for now waiting for a shut off valve and all new gas lines below. The red pex lines are for the furnace portion. They will pump heated anti-freeze to the heat exchangers. The white pex lines are for the cold water in and hot water out of the TwinTemp.
I thought this sign would keep me on the right track 🙂
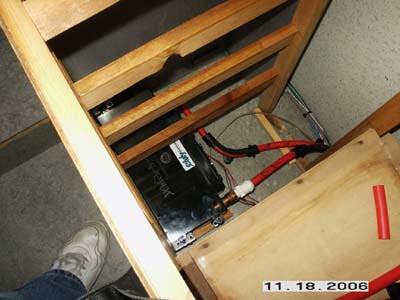
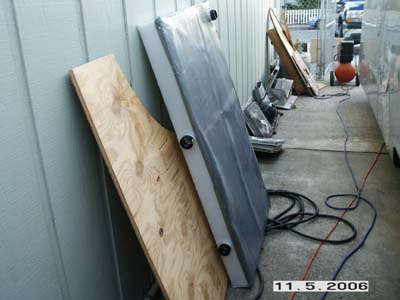
Actually I decided it might be a good idea to add a nail or screw gaurd where the grey tank is going below. I hope this will help stop an accidental grey tank puncture. At least its aluminum!
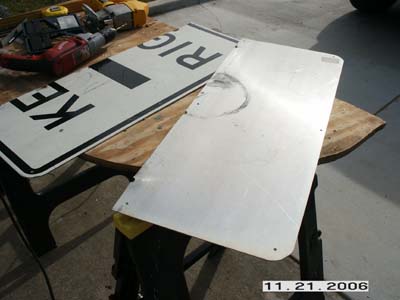
It was the perfect size. All I needed to do was cut it in half and screw it to the subfloor from below. I used one half for each side. The middle part is the aisle, so I don’t think anyone will be driving screws there!
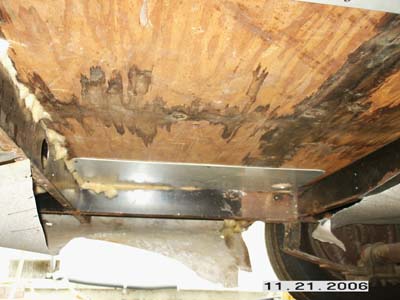
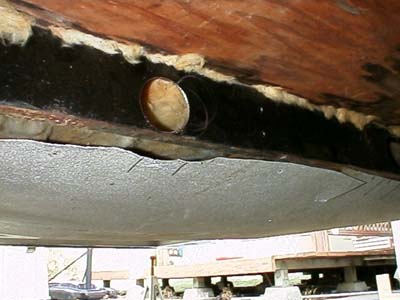
Everything was prepped and ready for the grey tank install. Luckily my cousin was able to give me a hand. It went in much eaiser with two people. A perfect fit! And it even lined up with the pre-drilled holes in the floor and cross member. 😉
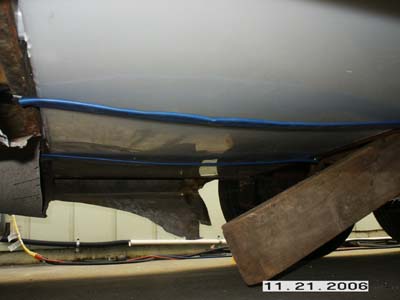
I’ll be adding a couple of more straps just to be on the safe side. Just what I want, more belly pan work.  Now go back and look at the third photo. You’ll see the black pipe sticking up temporarily. Thats the inlet for the grey tank 😉
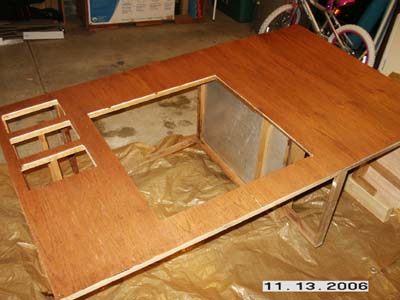
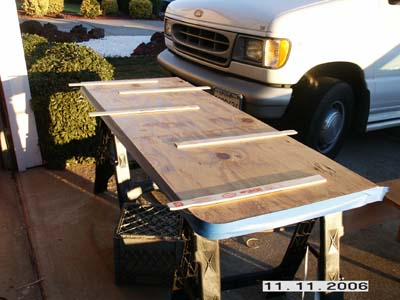
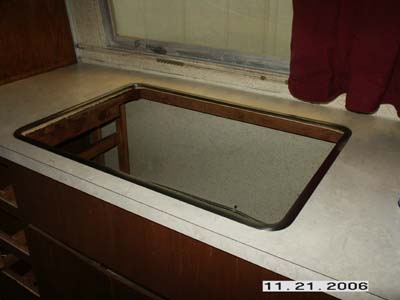
I got a couple of other jobs done in between. I decided to clean up the original porcelin sink and use it. I had trouble finding a small enough stainless steel sink. The original cleaned up nicely. It has a couple of porcelin paint touchups and may need a couple more but overall its in nice condition. And better quality than the stainless sink I was lookng at anyway. I got the cut out made for the sink in the new counter top. Still waiting for the new cooktop. I ordered it from a place about 50 miles from here. But for some reason its shipping from Iowa and will take a week and half! :-( At least I was able to pay CA tax on it…. 🙁 🙁
Â
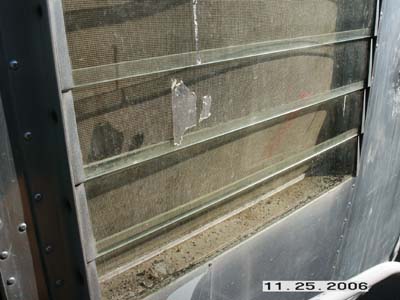
I had just enough daylight left to put new seals on one window. The original glazing strips had shrunk several inches in the past 46 years. These replacements are from Vintage Trailer Supply and they are a very nice fit. Here is a before photo.
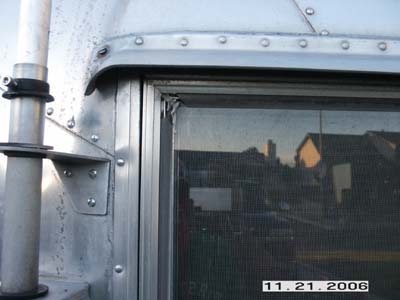
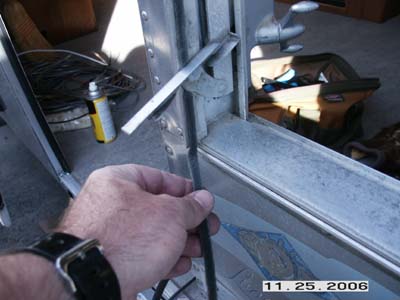
After pulling the old stuff out and cleaning the track, its just a matter of working the new stuff in.
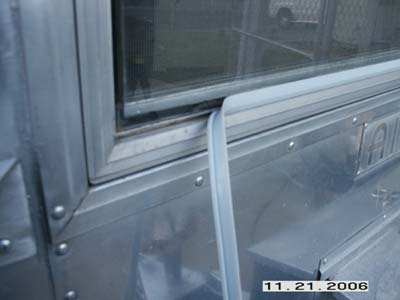
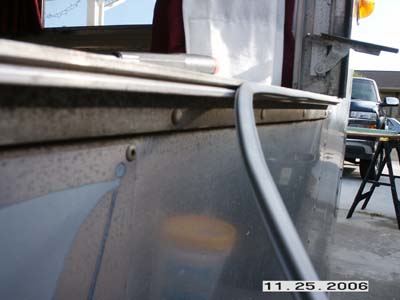
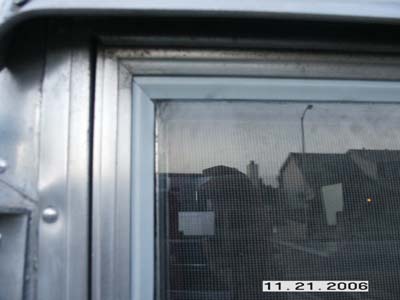
Here is an after shot of the same area above. Makes a big difference and should keep the water out!
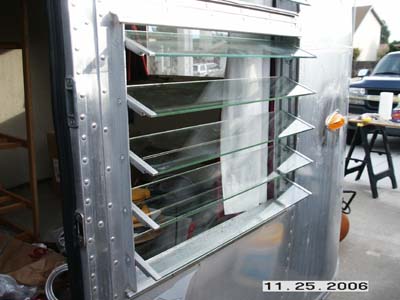
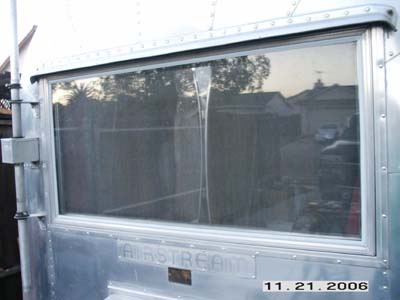
And lastly an overview shot of the window with all new seals. Looks sharp.
Well, thats a pretty big update for today. It spans two days work. We’ll see what tomorrow has in store.
Â


 by
by 
