First off, I got the taillights back on. These are now (knock on wood) leak free.
I also restored the license plate light even though its in the wrong spot since someone added the spare tire carrier and moved the license plate. I thought of moving the light when I had the inside skin off during the floor repairs but did not do it.
I may yet find a better place for the spare tire and put the license plate where it should go.
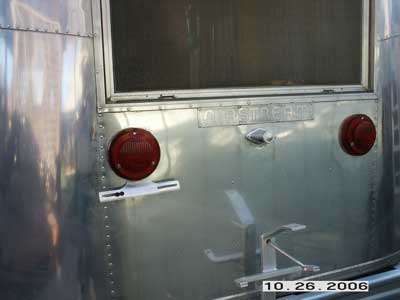
I had a few more potential leak sources to check out. The first of which are where some after market awning brackets were installed. They used rather large screws. My olympic rivets barely filled the holes.
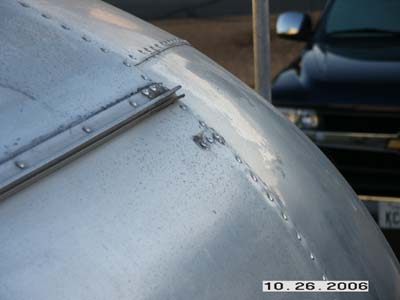
Still need a rivet shaver….
Next up was removing the *eyebrow* fridge vent cover. I wanted to see what learked inside 🙂
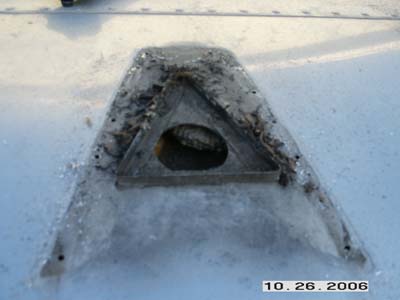
Yes more wasps nests. I have found tons of them in every conceivible hiding place. I was able to dig these out. Nice dry kindling for a fridge fire eh? At this point I also blew out the chimney from the inside with the air compressor just for good measure.
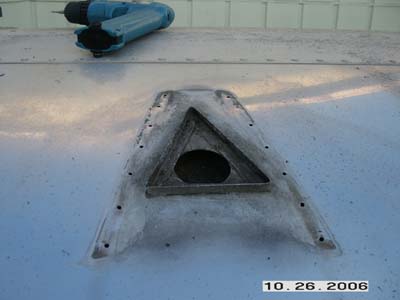
Next it was time to add a screen and vulkem around the opening to keep it water tight.
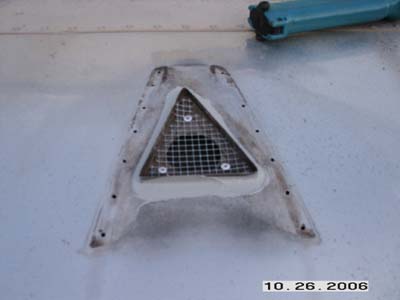
Probably would not keep wasps out anyway, but it should keep other creatures of larger stature out. Finally put it back together with the brow back on using pop rivets as original. I dipped them in vulkem first and put a dab of parbond on the tops when done.
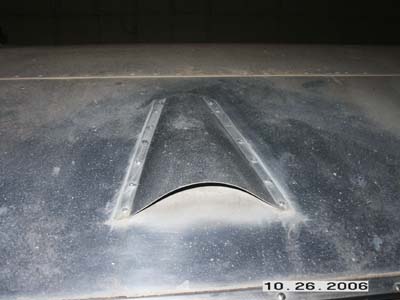
Here is what a restored 60’s fridge vent looks like. Nice and clean and leak free.
Of course, I’m not sure if I’m going to be able to use it or not when I put in a modern fridge. The original fridge only used the chimney to vent the combustible air out. Modern fridges also vent out the heated air from the back of the fridge out the top to create the airflow that allows for cooling. This small hole may not provide enough venting for a modern fridge.  If not, a new vent opening will have to be fabricated.
