
It took all day, but its done. Three trips to the hardware store for pluming parts…. which is in-line with my average.
First off I filled the tank to check for leaks.

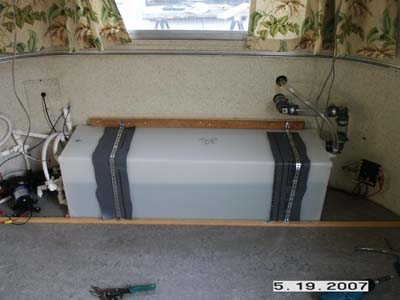
Looks ok, so on to the inside. Here is the completed shot.
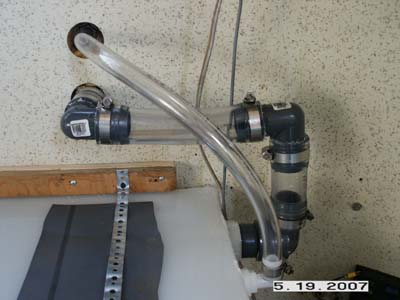
Now we’ll zoom in on the fill side. I thought this 1-1/2″ ID poly pipe would be the best for the fill side. It turns out it won’t bend w/o completely kinking. So I ended up with a couple of extra right angles. I really don’t like this for a solution. So I’ll keep my eye out for some more flexible pipe so I can have a straight shot. If you know of something better let me know.
The smaller hose is the air vent for the tank.
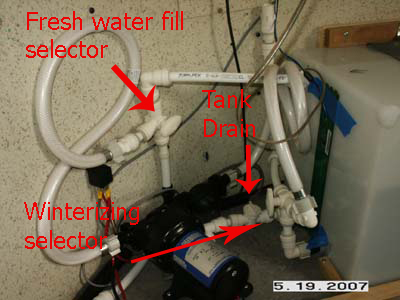
Next is the output side. There is a lot going on here. I added two 3-way selector valves so I can do a couple of things. First off, I can fill the tank from the city water input side. All I have to do when we are hooked up to city water is turn the selector knob on the wall and it will divert city water into the top tank connection.
The second selector chooses the pump input. In the normal position the pump input is connected the the tank. Pumping water on demand. The other position goes to a stubbed out connection where I can hook up a short hose that will go in a RV antifreeze bottle for winterizing.
And finally there is the standard drain valve for draining the tank.
Amazing how this took all day. But such is the life with vintage trailers.
Next up, hiding this mess behind a shelf before the couch gets here….