Monthly Archives: December 2006

Microwave and more!

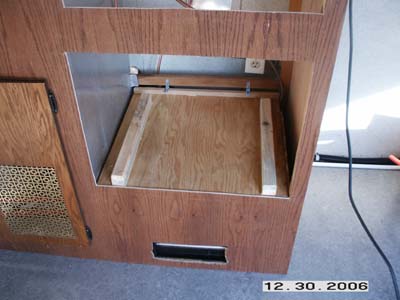
Today I worked on getting the convection microwave installed.  It needed a special shelf built and the addition of ductwork for the venting.  I had ordered the built-in kit.

Here you can see the special shelf.  I made it so that i can be removed w/o pulling the entire cabinet.

pict0038a.jpg

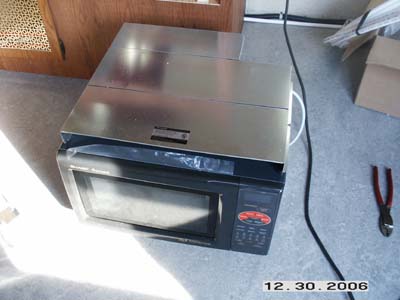
Next is the duct work that comes in the kit.  The kit sells for around $120, so its not cheap. 

pict0039b.jpg

I was hoping the kit included some secure way of mounting, but it did not.  I guess the fine folks at Sharp assume your cabinet in your house will not be traveling down the freeway at 65MPH :-).  So I ended up making a bracket in the front that attached to a screw on the bottom of the microwave, and I’ll add an “L” bracket on the rear.  Only problem with that is the microwave won’t be removeable from the front w/o pulling the cook top.

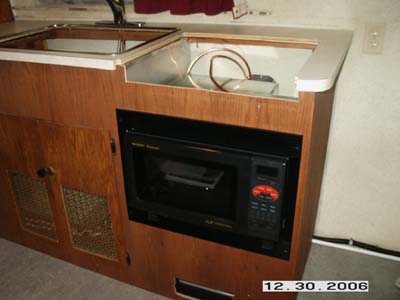
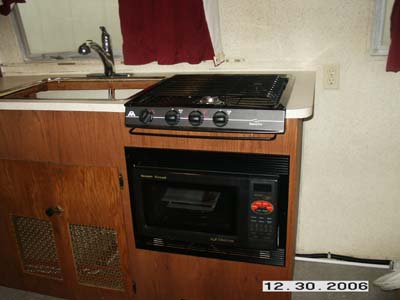
Here is the microwave in place all trimmed out.  Not bad for a first timer…

pict0041c.jpg

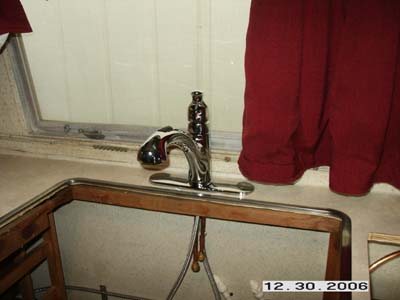
I moved on the kitchen faucet.  I picked up a single handle Moen.  Pretty nice with a pull out sprayer.

pict0043d.jpg

And here is a final shot of the day, with the cook top set in place so you can see how the finished kitchen will look real soon.

pict0044e.jpg

Well, thats it for now.  As always, more to come….

Facebooktwitterredditpinterestlinkedinmailby feather

Glass is class…

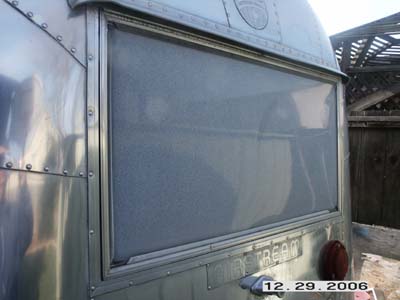
When I bought the trailer the rear window was a plexiglass replacement that had a fogged over texture.  At first I thought about keeping it for the privacy it gave for the rear bathroom.  But on further inspection, it looked like it was put in wrong and would likely leak.

The nice thing about this trailer is the window glass is standard 3/32″ single pane.  Any glass shop can cut a piece for about $25.  My last trailer, a ’71 Safari required cutsom curved glass for around $400 each for the front wrap windows.

Here is the original plexi.

pict0026a.jpg

The plexi was so fragile it busted in several pieces as I removed it.  I could snap it in more pieces with little effort.

After cleaning the area, I put on new glazing tape.  1/16″ x 1/4″.

pict0029c.jpg

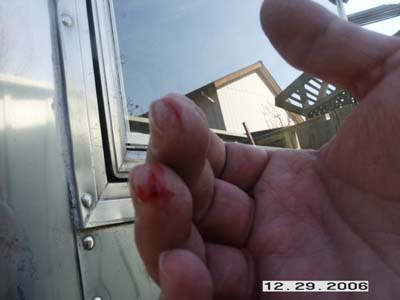
Appearently glass is sharp :-(  As I worked it in place onto the tape, I must have cut my finger tips on the edge…  I’d recommend gloves next time!  Do you know how hard it is to update a blog with bandaids on your finger tips? 🙂

pict0033e.jpg

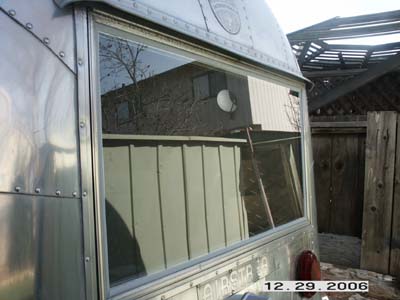
After a few drops of blood, the window was complete.  Nice improvement.  And it should be sealed against rain a lot better than that plexiglass was!

pict0034f.jpg

I also was able to do a little work on the inside.  I got the kitchen cabinet secured, screwed to the side and back wall.  I’m not screwing it to the floor because of floating floor. 

I finished up the pluming for the sink, including the winterizing drains for the hot and cold lines and ran a pex line toward the front for a future fresh water tank.

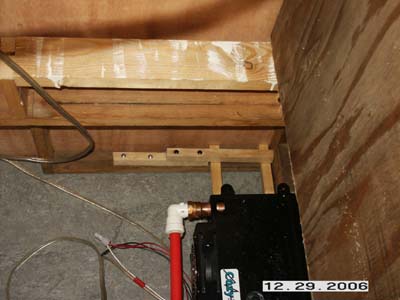
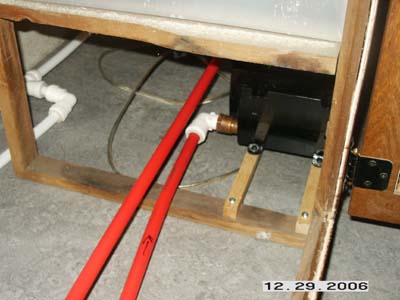
I also wired up and plumbed the final heat exchanger.  I modified the mount so that the exchanger can be removed AFTER the counter/microwave etc.. are installed.

I made a slot for the mount to slide into as you cannot get to this point after everything is assembled.

pict0036g.jpg

The opposite side is secured with screws that can be accessed inside the kitchen cabinet doors.

pict0037h.jpg

I really have to give Airstream engineers some credit for putting these things together first, but also keeping them serviceable as well.


Facebooktwitterredditpinterestlinkedinmailby feather

Kitchen stuff…

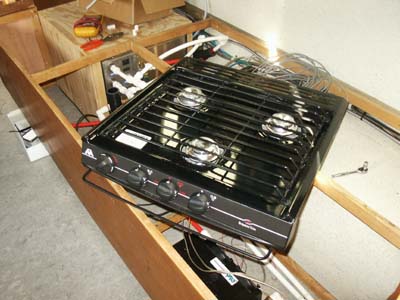
My long awaited scratch and dent Atwood cook top arrived today.  I had ordered a new drop in Wedgewood before and when it arrived it seemed a little cheap.  So I sent it back and ended up wining this Atwood three burner slide in.  It’s a better fit since its black and will match the convection microwave.  I’ll also get a black insert panel on the fridge when the time comes.

Like I said the cook top was about $100 off new.  It was a refurbished ebay purchase.  It does have a couple of bad scratches but I guess its worth $100 in savings.

pict0176b.jpg

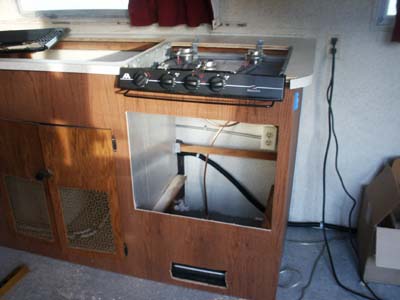
Nice thing about it is that it has a peizo lighter built in.  The last one reqiured a match :-(.  This is also a slide in as opposed to the drop in I originally wanted.  So I had to cut the front of the counter off and the top of the cabinet as well.  Without instructions! 🙂

pict0177c.jpg

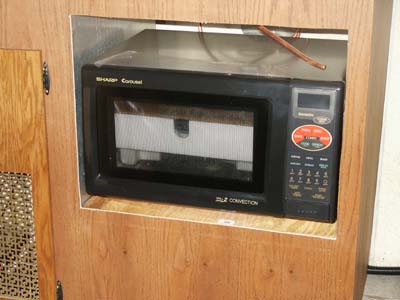
A little trial and some error, I got it fitted.  You might also noticed the large opening in the front.  That’s for the convection mircowave.  I ordered the build-in kit for it so it should look nice when finished.

Here is a shot with the microwave just sitting in place.

pict0178d.jpg

That’s it for now!  As always, more to come.

Facebooktwitterredditpinterestlinkedinmailby feather

Little stuff

Holiday season and trailer restorations do not go together.  No time to work on trailers and the time you have its cold and everything is much harder to do than it should be.

I did manage to get a couple hours in today and go some small items done.

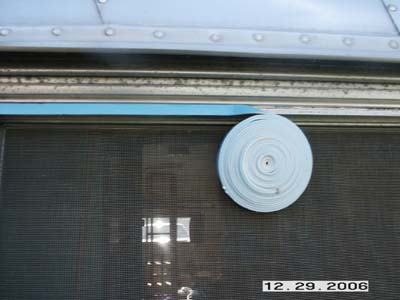
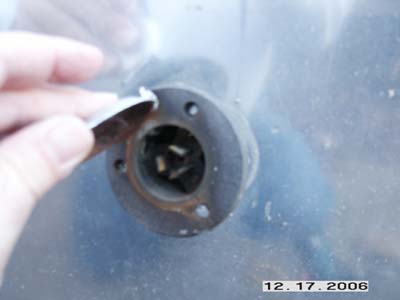
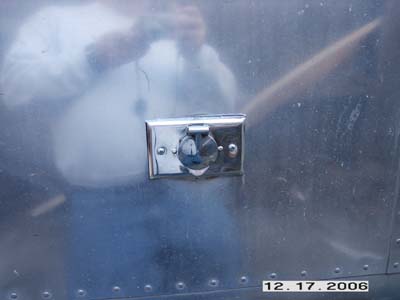
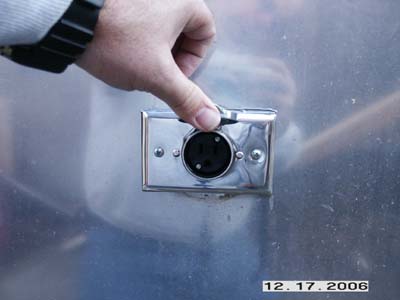
I abandoned the original power inlet on the curbside of the trailer for a safer modern version that I put on the streetside where the normal hookups are available at campgrounds.  So instead of leaving the useless inlet in place, I found an aluminum outlet on eBay that would replace it perfectly.

Here is the original inlet.

pict0151a.jpg

Too rusty and corroided to pull any meaningful power thorugh it.  If you have one of these I’d change it out asap.

Here is my new outlet installed.  Now I can use it for awing lights, or a portable radio or whatever when we are outside the trailer.

pict0152b.jpg

pict0153c.jpg

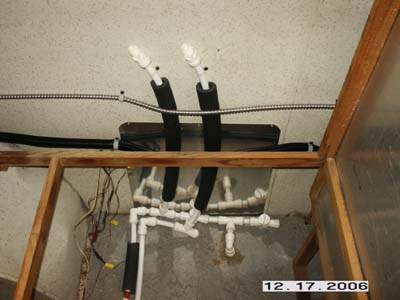
Other small items I acomplished today were getting the kitchen sink suppy lines stubbed in.  I also drilled through the flooring and added a drain for winterizing the water lines.

pict0154d.jpg

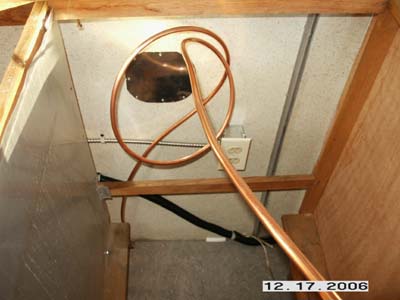
Lastly I put in a new gas line for the cook top I won on eBay this week.  It should be here in a few days.

pict0155e.jpg

Facebooktwitterredditpinterestlinkedinmailby feather

A trailers Lifeline

Not enough time to work on the trailer lately.  Lots of family and holiday stuff going on this time of year.

I did work on the battery system a little.  My battery and fuse holder showed up from Best Converter.  I went with a 12v 100 amp hour AGM battery.  The AGM batteries can take a faster charge and are not required to be vented outside the trailer due to their make up.

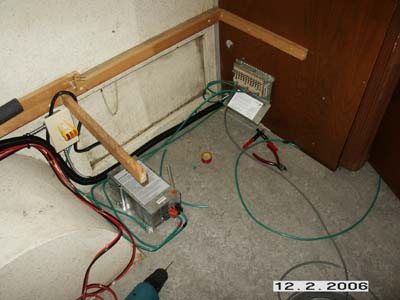
First step was to find a suitable location for the fuse panel.  I opted to install it on the lower closet wall so it can be accessed from the outside hatch or from the top under the bed.  It’s only partially wired.  I had run 10 gauge wire for some circuits but the fuse box is made for #12 (smaller wire), so I’ll probably run new lines.
pict0104a.jpg

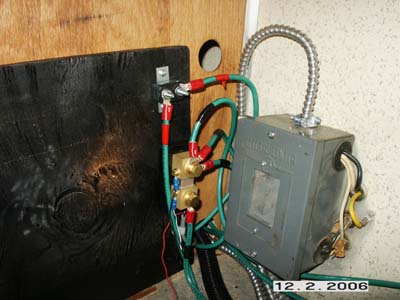
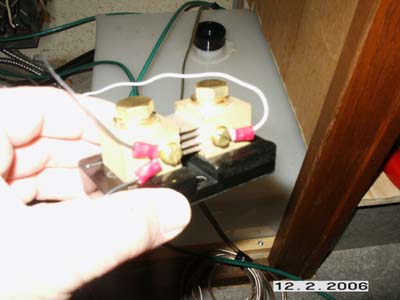
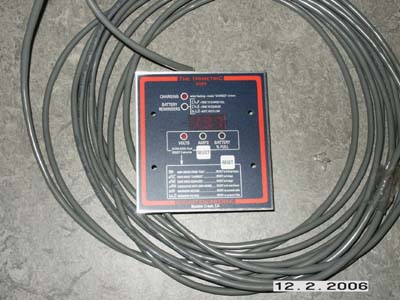
Part of the battery system is installing the Tri-Metric 20-20 provided by Best Coverter.  The system comes with a ground shunt that is wired in to the battery so that it can measure how much power is being used.  The shunt is good for 500 amps.  Here is what it looks like.
pict0105b.jpg

The battery ground and trailer grounds hook up to the large bolts on top.  The small white and black wires are the sensor wires that feed info back to the Tri-Metric.

Here is a shot inside the curbside closet.  The small box with two wires is a 50 amp resetable circuit braker.  One of the two wires goes straight to the battery positve terminal, the other goes to one of the input lugs of the fuse panel.

Below that is the Tri-Metric ground shunt installed.  The bottom wire goes to the battery negative.  The top three go to the trailer chassis, the converter, and the trailer ground wiring.  I’ll have to add at least one other ground wire to the shunt for the inverter I have to install.


pict0107d.jpg

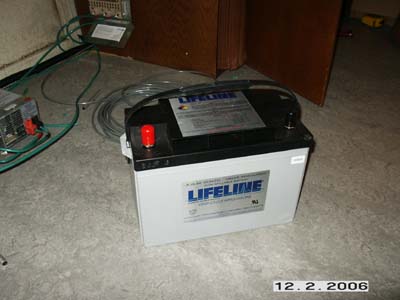
Here is the lifeline for any trailer.  The battery.   These are about the best battery you can get for a trailer.  They can even be mounted sideways if properly supported.
pict0108e.jpg

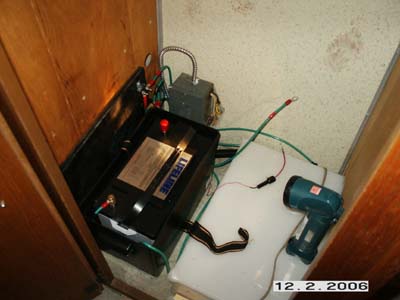
Of course, I’m not mounting it sideways ;-).  I got a plastic battery box that has a hold down straping system to mount it to the floor.  It fit just perfectly in the closet next to my black tank.
pict0109f.jpg

I just could not resist temporarily wiring in the Tri-Metric.  I wanted to see what it would do.  After wiring it up it read 12.9vdc.  And 0 amps, thank goodness since there are no loads hooked to the system yet. 😉

Next I plugged in the WFCO 55Amp converter and the Tri-Metric showed 13.7vdc and +4.5 amps meaning the battery was getting a charge.  If the amps were negative then power would be leaving the battery.  The top red led is on and means the battery is charging.
pict0112i.jpg

There is a whole lot more this Tri-Metric can do.  Unfortunalty the manual was written by an engineer so its a nice learning curve.  But once you get the Tri-Metric programed it can tell you how much power you have left in your batteries, so you can turn things off and conserve.

Facebooktwitterredditpinterestlinkedinmailby feather