
Dexter disc brakes and a Tekonsha P3 brake controller is stopping me. Finally.
What a job. Everything I read about putting disc brakes on your trailer says its worth the trouble. I sure hope so. It was a lot of work.
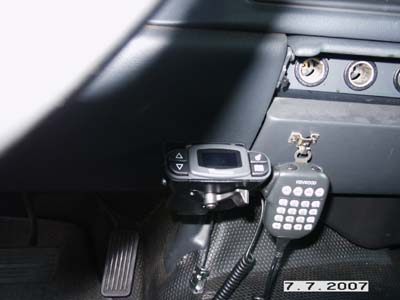
I started around 9am and the first thing I did was install the P3. It was releatively easy as they supplied the OEM cable. It was a simple matter of mounting and plugging it in.
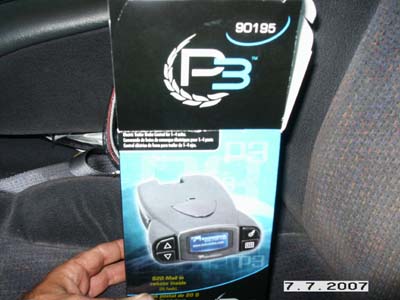
I replaced my Tekonsha Voyager brake controller. I don’t know if it would work the the Electric/Hydraulic Actuator or not. I do know the P3 does as it has a setting for it in the menu.
Next up. Hydraulic brake line installation. As you know I already had the E/H Actuator installed and stubbed out the hydraulic line under the trailer. So I needed to run the lines to the brake calipers. I ordered a tandom torsion brake line kit from BluDot. It has a lot of pre-determined brake lines lengths, tees, brackets etc…
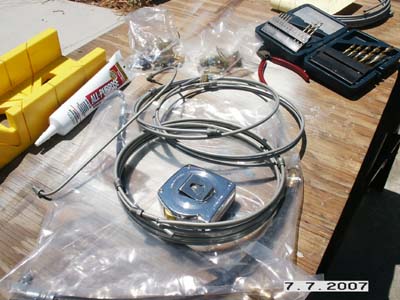
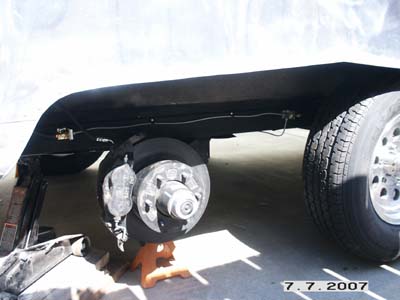
I had to jack up the trailer to take the wheels off to get access to the wheel well. Mounting the 3/16 steel lines to the brackets that transition to a rubber line to the caliper was just a matter of laying it out and bending the lines with a tubing bender as needed. Of course since I was not flairing my own ends, I had to work with the lengths provided. This ment a lot of coils tucked under the trailer.
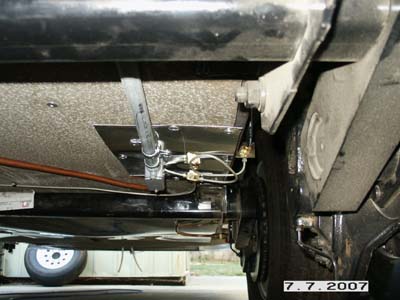
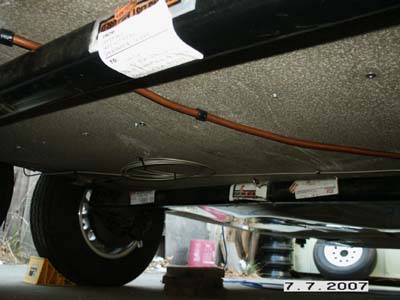
Here are some shots of the steel lines and rubber line transitions.
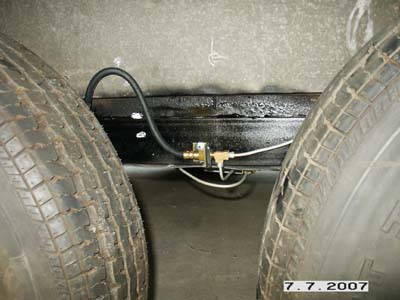
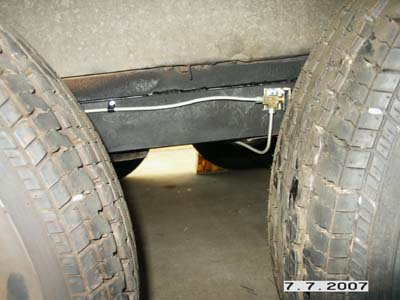
Care must be taken to not have too sharp a bend on the rubber lines. Although I must confess to a couple of U’s in my installation. If I was able to cut and flair my own hard lines that would have helped a lot. Of course I’ve never done this before either so thats a good excuse :-).
After all the lines were installed and secured. The next step was bleeding the lines. I had to enlist the help of my dad again.
The bleeder screws on the calipers are so hard to get to, you have to actually remove the wheel to get to it. So imagine, jacking up the trailer on one side, remove one wheel, apply the brake, and bleed the caliper. Put the wheel back on and remove the next one, add more fluid to the actuator, and bleed the caliper. Put that wheel back on and move to the other side and start the process all over.
When you’re finally done, you have to do it all over again. New installs require a minimum of two bleeds of the entire system…. very labor intensive.
Happy to say that its all done. Everything works. I have not done a test tow yet, but everything checks out.
So that was 11 hours on the trailer today. If I could have found someone at $60 an hour to do this, it would have cost $660 labor only for todays work.
If you have a vintage trailer, you’d better roll up you’re sleeves!