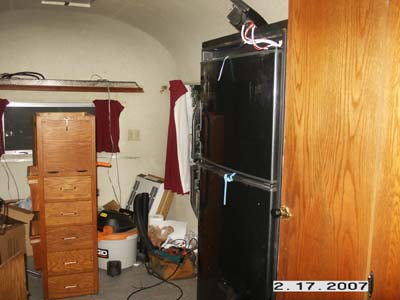
Today was the day to get the fridge mounted. And of course it took the whole day.
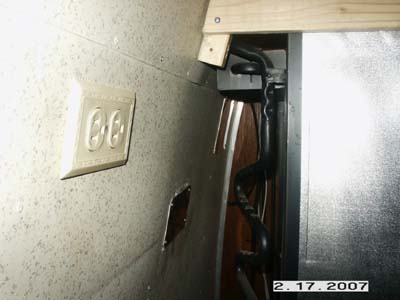
The first step was to move the original outlet that would end up behind the fridge. I need this for my LCD TV later. Of course the wiring was behind two ribs. So I decided to open up the wall to drill through the ribs and then patch it. It would be hidden behind the fridge.
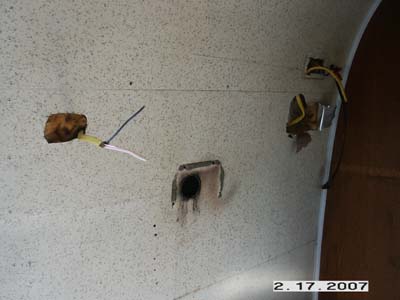
Looks bad I know. But it was the only way I could get a hole saw in there. I used a 3/4″ hole saw and then fitted some plastic rings in to keep the wire protected.
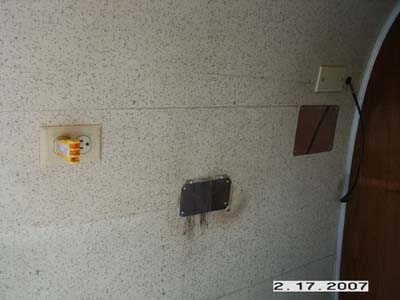
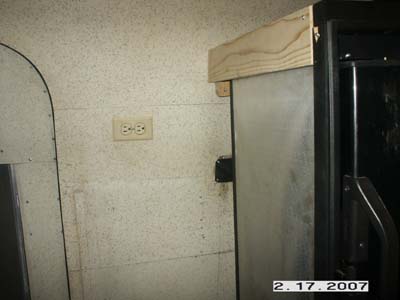
Here it is completed. The patch in the middle of the photo was the original exhaust for the fridge.
Now on to the fridge. I started by building a 2×4″ base so I would have something to screw into.
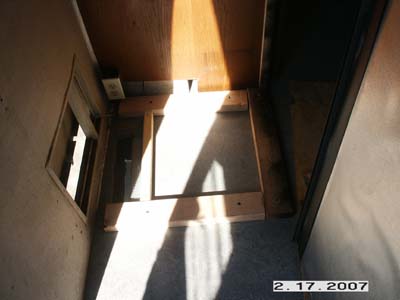
Next it was just a matter of frameing it out enough the secure the fridge.  It’s in there quite sturdy now. I just need to finish the side paneling and put some backing material in there to hold the TV wall mount as well. I have the original cabinet that will go back in to the left of the fridge.
 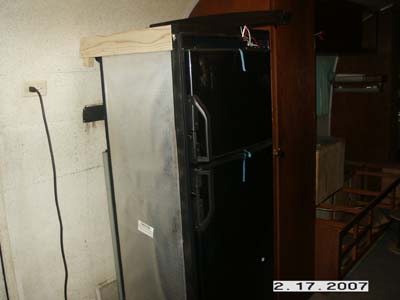
I did not snap the top control panel back yet because you have to cover the top screws with aluminum tape and I can’t find mine :-(.
A shot from behind. A tight fit for sure. The specs say 0″ clearance is needed and that’s what I have! Should cause all the chiminey air to flow right through the fins which is what I want.
Still a lot of work. I need to finish the cabinetry around it. Make a counter top for the top of it. Wire the 12vdc and run the gas line.
It’s never ceases to amaze me that these things take all day, but such is the nature of restoration I guess.
Should have bought a 2000……
