I decided to get the 12VDC stuff done as much as possible today. But before I could get started on that, I had the gas line on the cook top to finish. I thought I’d photograph each step for those who have not made a gas flair connection.
Step 1.
Cut the gas line to length with a tubing cutter.
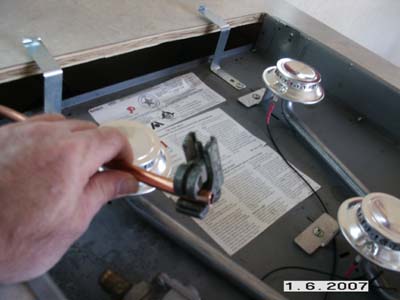
Step 2.
Push the nut on the pipe.
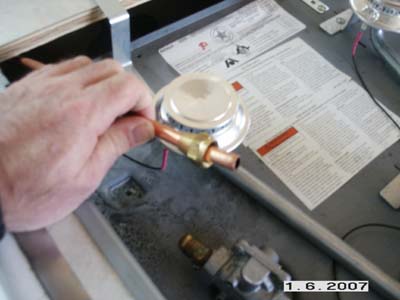
Step 3.
Get the flairing tool ready.

Step 4.
Tighten the flairing tool down until the end of the pipe is at a 45 degree angle. Hint: Practice a bit first on a spare pipe.
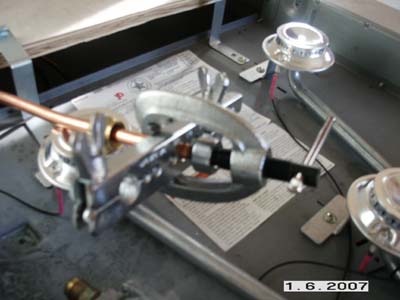
Step 5.
Tighen the connection with two wrenches. Test connection for leaks with soapy water.
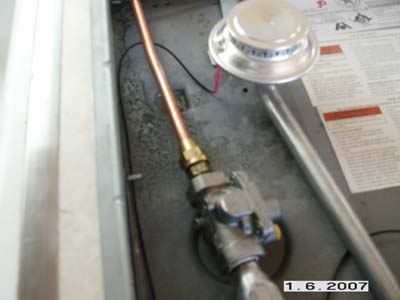
That’s all there is to it! Of course I could not test mine as the gas lines are not finished being plumbed below the trailer yet.
I had to pull the battery out that I had installed before and rewire everything because I had forgotten to wire in my 800W Astron inverter into the system. These inverters take a lot of power when used at the max wattage. This means that large wiring is needed. So I had to basically rework everything I did before with beefier wire, #4 for the inverter.
Here is a photo of the rewiring. You can’t make it out to well, but I wired a #4 to the ground shunt input and a #4 from the shunt output to the inverter. I also ran a #6 to the trailers ground bus. This way the Tri-Metric can measure all current used in the system including that of the inverter.
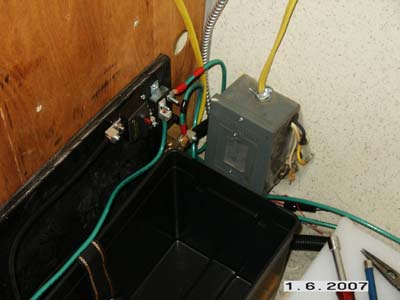
The black box with the red button is a 125 amp 12vdc breaker. I have it wired inline with the inverters #4 positive wiring. So I now have high current wiring to the inverter for maximum efficeintcy.
The inverter allows for an internal wire hookup for the inverted 115vac. I hard wired a romex wire into the inverter and ran it back into the closet until I come up with a nice transfer switch system.
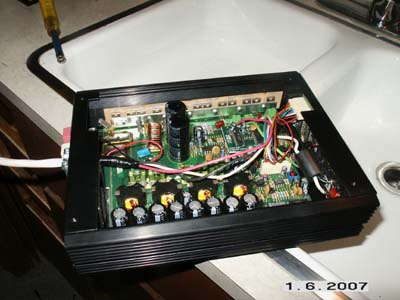
Here is the inverter mounted and wired. Note the white romex wire running out the back and into the closet.

Here is another view so you can see where its mounted. I still need a key for that hatch door! Colin…… are you listening?! 🙂
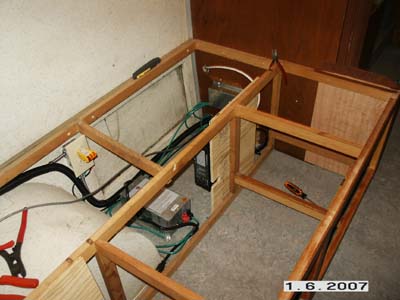
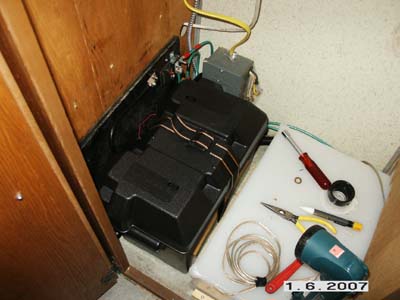
Here is the battery back in place. Charging up it’s merry way. You can see the three romex wires in the background. The metal one is from the breaker box and has line AC on it. The white one is from the inverter. And the yellow one is from the outlets on the curb side of the trailer. The idea is that I will have a system switch the curb side outlets between the inverter and the AC panel as needed.
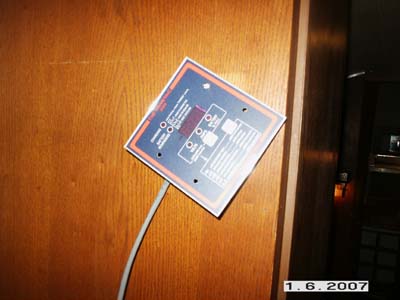
And last a quick shot of the Tri-Metric. If you look closely you can see it reads full 🙂
All in a days work….
Â
